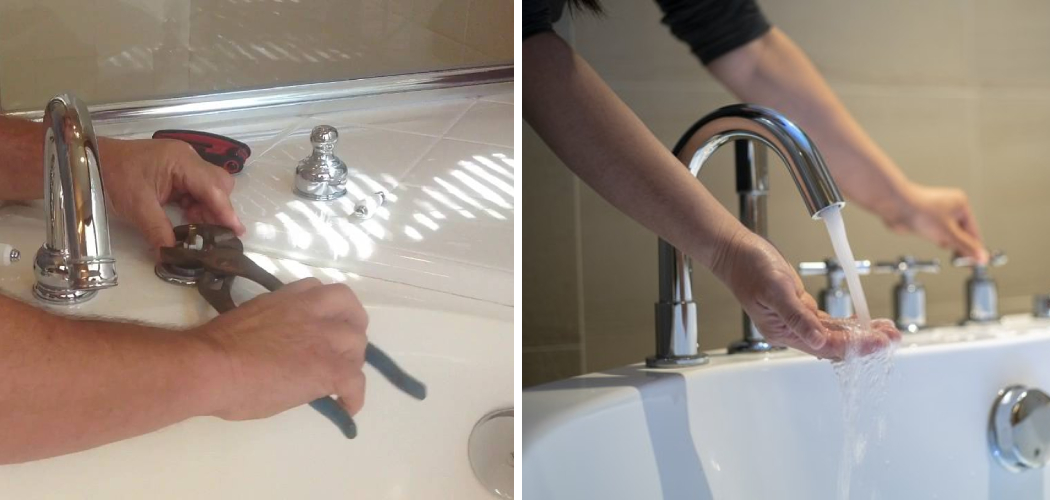
Are you tired of your old and worn-out Roman tub faucet? Do you want to replace it with a new one, but there is no access panel in sight? Don’t worry—it’s not an uncommon problem.
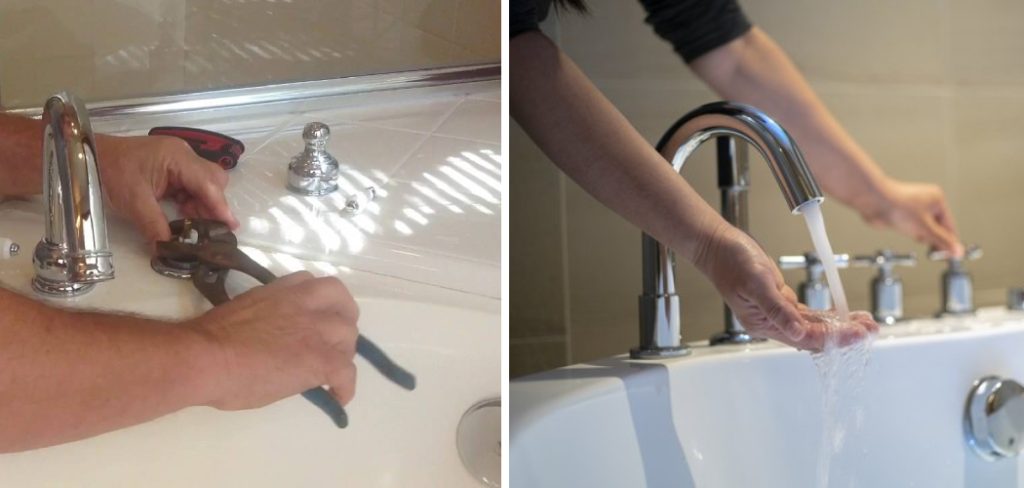
How to replace Roman tub faucet with no access panel might seem daunting, but it’s a doable project for those willing to tackle a bit of home improvement. This task requires patience, attention to detail, and a careful approach to avoid damaging your tub or plumbing. In this guide, we’ll walk you through the process step-by-step, ensuring you have all the information needed to successfully update your bathroom without the need for professional help.
By following these instructions, you’ll learn how to efficiently remove the old faucet and install a new one, giving your Roman tub a fresh look and improved functionality.
What are the Benefits of Replacing a Roman Tub Faucet?
Before diving into the steps, let’s discuss why it’s worth replacing your Roman tub faucet in the first place. Here are some potential benefits:
- Improved Functionality: Over time, your old faucet may start to leak or have low water pressure, making it challenging to use. Replacing it with a new one can improve its performance and make using your tub more enjoyable.
- Enhanced Aesthetics: A new faucet can completely transform the appearance of your bathroom. You can choose from various styles, finishes, and designs to match your personal taste and complement your existing decor.
- Increased Home Value: If you plan on selling your home in the future, updating your bathroom fixtures is a smart investment. A modern and functional Roman tub faucet can add value to your home and make it more attractive to potential buyers.
These are just a few reasons why replacing your Roman tub faucet is a worthwhile project. Now, let’s move on to the steps you must follow.
What Will You Need?
Before getting started, make sure you have all the necessary tools and materials on hand. Here’s a list of things you’ll likely need:
- New Faucet: Choose a new Roman tub faucet that fits your existing plumbing and matches your desired style.
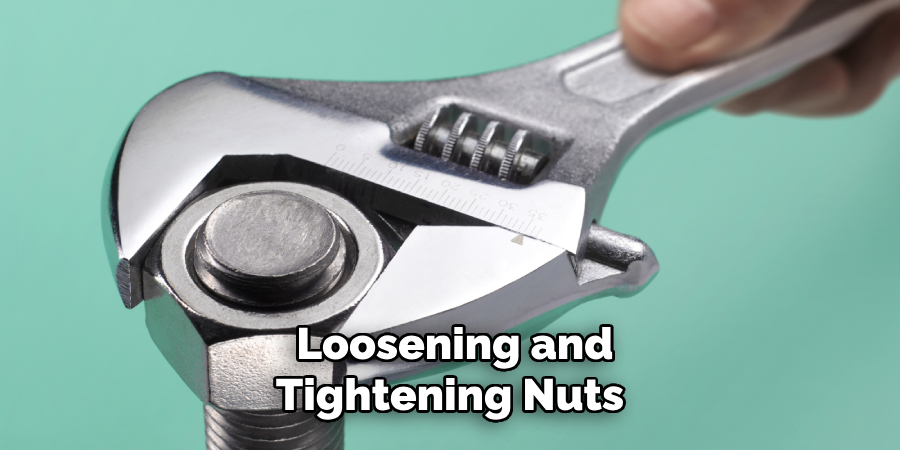
- Adjustable Wrench: This will be handy for loosening and tightening nuts and bolts.
- Screwdriver: Depending on the type of faucet, you may need a flathead or Phillips screwdriver to remove it.
- Plumber’s Tape: This helps create a watertight seal between connections.
- Caulking Gun and Caulk: You’ll need this to seal any gaps between the tub and the new faucet.
- Bucket: To catch any water that may drip during the process.
- Towels: To clean up any spills or messes.
- Flashlight: If your bathroom doesn’t have good lighting, a flashlight can help you see better in hard-to-reach areas.
Now that you have everything you need, let’s dive into the actual replacement process.
9 Easy Steps on How to Replace Roman Tub Faucet With No Access Panel
Step 1. Turn Off the Water Supply:
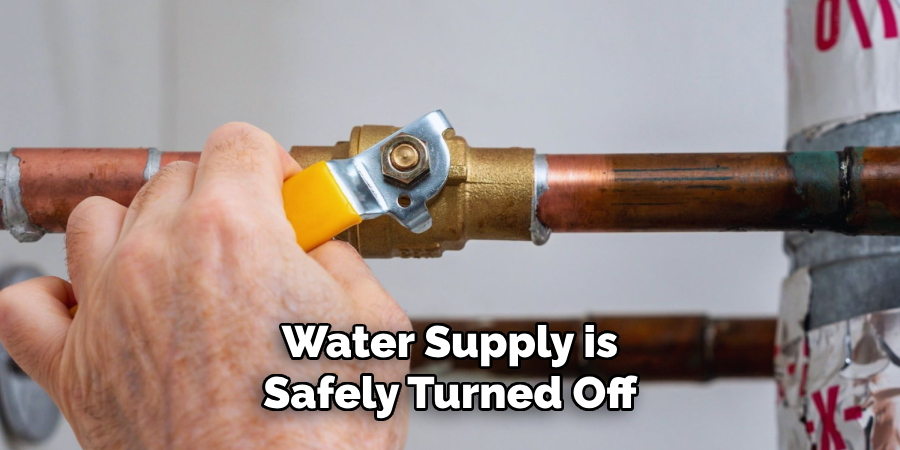
Before starting any work on your faucet, it’s crucial to ensure the water supply to your tub is completely turned off. This can usually be done at the main water valve for your home. Turning off the water will prevent any accidental spills or leaks while you’re working. Additionally, it’s a good idea to open the faucet and drain any remaining water in the lines before proceeding.
Step 2. Remove Handles and Trim:
Once the water supply is safely turned off, the next step involves removing the handles and trim from your current faucet. This is done to access the underlying components that need to be removed or disconnected to allow for the new faucet to be installed. Start by carefully prying off any decorative caps on the handles using a flathead screwdriver.
These caps often conceal screws that, once removed, will allow you to detach the handles from the faucet’s stem. With the handles off, proceed to remove any remaining trim or escutcheons by unscrewing them or gently pulling them away from the tub’s surface. Handling these parts carefully is important to avoid damaging your tub or the finish.
Be mindful to keep all screws and small parts in a safe place as you work since you might need them if your new faucet requires any of the existing hardware for installation. If you encounter any stubborn components, applying a bit of penetrating oil can help loosen them without the need for excessive force.
Step 3. Disconnect the Old Faucet:
With the handles and trim removed, you can now access the faucet’s connections. Use an adjustable wrench to carefully disconnect the water supply lines from the faucet.
It’s likely that some water will still be in the lines, so position your bucket underneath to catch any spills. Next, locate the mounting nuts that secure the faucet to the tub. Depending on your specific setup, these might be located under the tub’s rim or underneath. Use the wrench to loosen and remove these nuts.
Once disconnected, you should be able to carefully lift and remove the old faucet from the tub. If resistance is felt, double-check to ensure all connections and mounting hardware have been fully removed or loosened.
Step 4. Clean the Surface:
Before installing the new faucet, it’s important to clean the area where the old faucet was mounted. This step will ensure a proper seal and a clean appearance for the new installation.
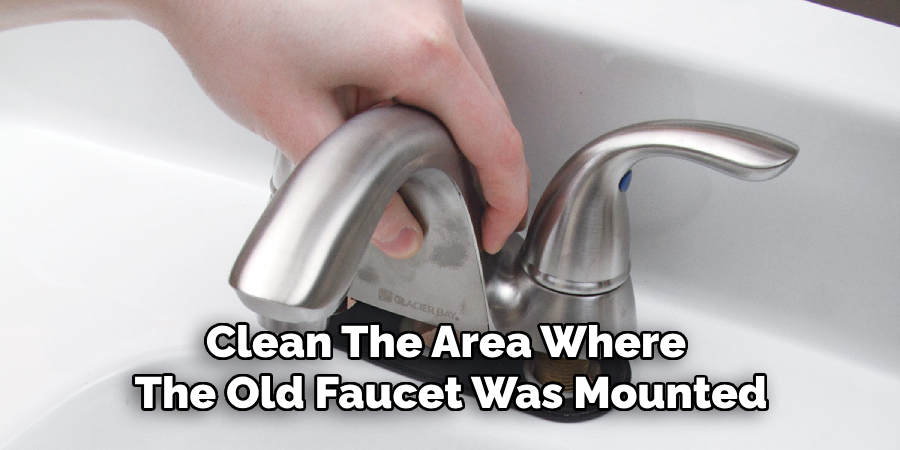
Use a mild cleaner and a soft cloth to remove any grime, sealant, or rust from the tub’s surface. Be thorough but gentle to avoid scratching the finish of your tub. If there’s stubborn residue, consider using a plastic scraper to carefully remove it.
Once the area is clean, dry it completely with a towel. This preparation provides an ideal surface for mounting your new faucet and helps prevent leaks by ensuring that the seals and connections are tight and clean.
Step 5. Install the New Faucet:
After ensuring the area is clean and dry, you’re ready to install your new Roman tub faucet. Start by positioning the new faucet in place on the tub and aligning it with the holes or mounting points where the old faucet was attached.
If your new faucet includes a base plate or gaskets, make sure these are positioned correctly before securing the faucet. Use the plumber’s tape to wrap the threads of the water supply lines, ensuring a watertight connection. Carefully connect the water supply lines to your new faucet using the adjustable wrench to tighten them.
Avoid over-tightening, as this can damage the fittings. Next, secure the faucet to the tub using the mounting nuts provided. Make sure the faucet is firmly in place but again, be cautious not to over-tighten and damage the tub or the faucet. With the faucet installed, proceed to attach any handles or decorative trim, following the manufacturer’s instructions.
Step 6. Test for Leaks:
Once the new faucet is securely installed and all the handles and trim are in place, it’s time to test your work for leaks. Slowly turn the water supply back on at the main valve, watching the faucet for any signs of leaking. Pay particular attention to the connections at the water supply lines and where the faucet mounts to the tub.
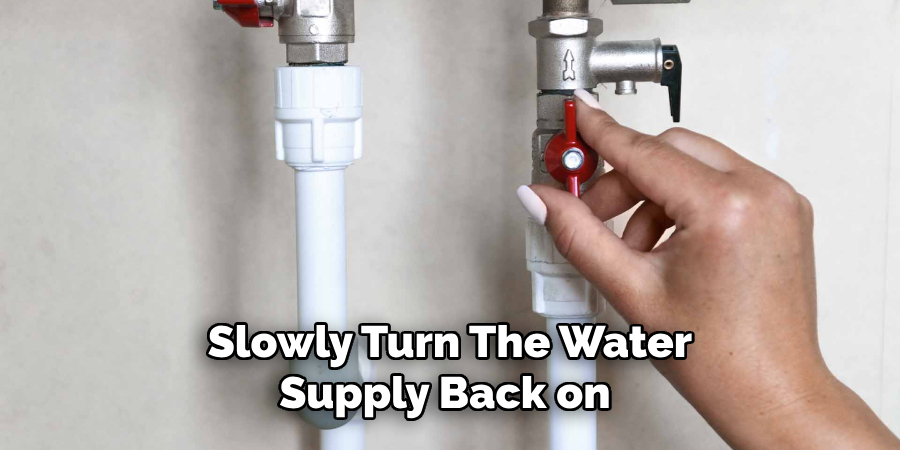
It’s also a good idea to turn the faucet on and off a few times to ensure proper operation and to check the drainage. If you notice any drips or leaks, turn off the water supply and gently tighten the connections or seals where necessary. Testing thoroughly at this stage can save you from future problems and potential water damage.
Step 7. Apply Sealant (If Necessary):
Depending on the design of your new faucet and your tub, you may need to apply a bead of plumber’s sealant or silicone caulk around the base of the faucet.
This step helps ensure a water-tight seal, preventing water from seeping under the faucet and causing damage to your tub or floor. If your faucet’s design requires this, carefully apply the sealant around the base, being sure not to obstruct any water outlet holes.
Allow the sealant to dry completely according to the manufacturer’s instructions before using the tub. This waiting period is crucial for the sealant to set properly and provide effective protection against leaks.
Step 8. Final Inspection and Cleanup:
After the sealant has fully dried and your new Roman tub faucet is securely installed, conduct a final inspection to ensure everything is in working order.
Check the handles for smooth operation and ensure the faucet’s finish is clean and free of fingerprints or smudges. It’s also a good time to revisit all connections and mounting points to confirm that nothing has loosened during the installation process.
Finally, tidy up your work area and properly dispose of old parts, packaging, and cleaning materials. With these steps completed, your bathroom will now benefit from the upgraded aesthetic and functionality of your new Roman tub faucet, marking the successful completion of your installation project.
Step 9. Enjoy Your New Faucet:
Congratulations! With the installation complete and all checks ensuring a leak-free, functional new Roman tub faucet, the final step is simply enjoying the fruits of your labor. Fill the tub, relax, and take pleasure in the upgraded look and performance of your bathroom’s centerpiece.
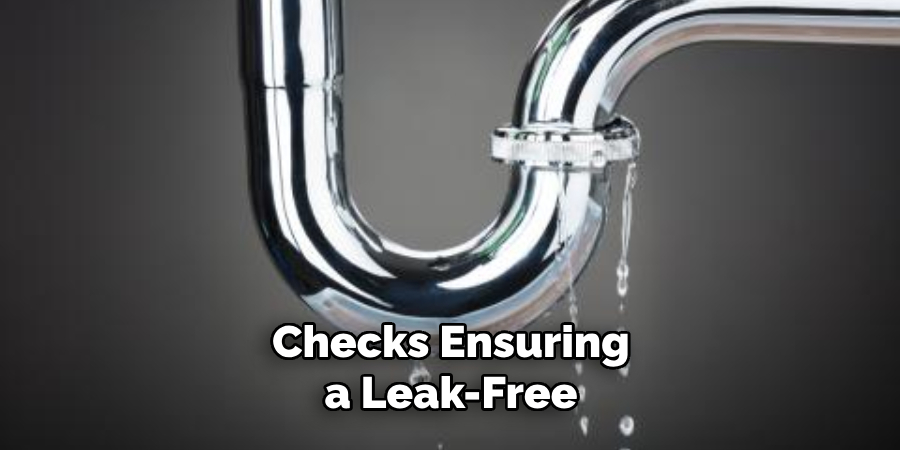
Your effort has not only increased the value and appeal of your space but also ensured a more luxurious and enjoyable bathing experience. Remember, maintaining your new faucet according to the manufacturer’s guidance will ensure its longevity and optimal performance for years to come.
By following these steps and taking the time to properly install your new Roman tub faucet, you can achieve a flawless result that adds beauty and functionality to your bathroom.
5 Additional Tips and Tricks
- Utilize a Flexible Extension Hose: When replacing a Roman tub faucet without an access panel, consider using a flexible extension hose for the water lines. This can simplify the connection process and allow more maneuverability in tight spaces.
- Choose a Faucet with an All-in-One Design: Opt for a faucet that combines the spout and handles in a single unit. This design can significantly ease installation by reducing the number of components that need to fit through the limited access space.
- Employ an Inspection Camera: An inspection camera can be a crucial tool in this scenario. It allows you to see behind the tub without cutting into the wall, helping you identify the faucet connections and any potential obstacles.
- Magnetic Tools Can Be Lifesavers: Magnetic tools, such as magnetic screwdrivers or wrenches, can prevent screws and nuts from falling into hard-to-reach places. They’re especially useful when you’re working in a confined area where retrieving dropped items is difficult.
- Prepare for Potential Leaks: Plan for potential water leaks before beginning the replacement. Have towels, a bucket, and a water vacuum ready. It’s also wise to familiarize yourself with the main water shut-off valve location to quickly turn off the water supply if needed.
With these additional tips and tricks, replacing a Roman tub faucet without an access panel can be much more manageable.
5 Things You Should Avoid
- Do Not Rush the Process: Taking shortcuts or rushing through the faucet replacement can lead to mistakes or damage. Ensure you understand each step and proceed with caution.
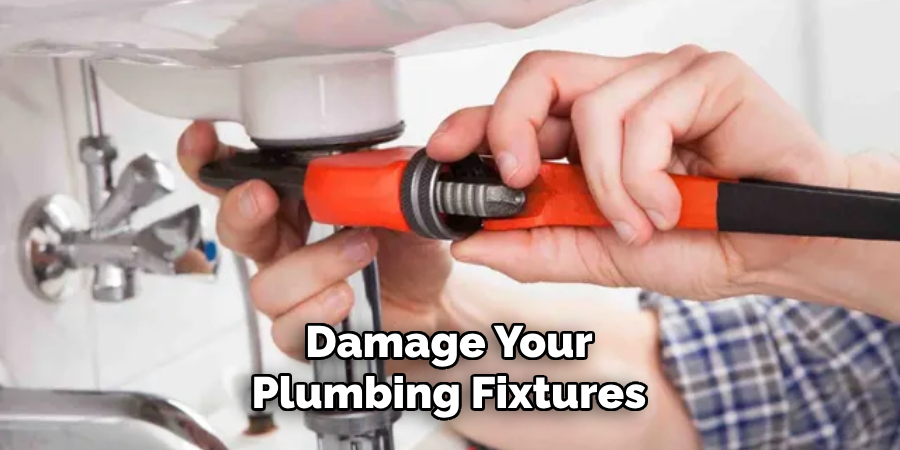
- Avoid Using Force on Plumbing Fixtures: Applying too much force can damage your plumbing fixtures or the tub itself. Always use the appropriate tools for loosening or tightening connections.
- Never Ignore Leak Tests: After installation, testing for leaks is crucial. Skipping this step can result in water damage that might take time to be apparent.
- Do Not Overlook the Compatibility of New Fixtures: Ensure the new faucet is compatible with your existing plumbing setup. Installing incompatible fixtures can lead to more problems and require starting over.
- Avoid Working Without Turning Off the Water Supply: Always ensure the water supply is turned off before beginning any work. This prevents possible flooding and water damage during the replacement process.
By avoiding these common mistakes, you can have a successful and stress-free experience replacing a Roman tub faucet without an access panel.
What are the Signs that You Need to Replace Your Roman Tub Faucet?
There are a few signs that indicate it may be time to replace your Roman tub faucet:
- Leaking: If you notice consistent leaking from the faucet or handles, it could be a sign of worn or damaged internal components.
- Corrosion or Rust: Water exposure can cause corrosion and rust on metal fixtures over time. This not only affects the appearance but can also impact the functionality of your faucet.
- Difficult to Turn Off or On: If you find it increasingly challenging to turn your faucet handles, it could be a sign that they are worn out and need replacement.
- Cracked or Damaged Handles: Cracks or damage to the handles can make them difficult to grip and operate properly. This is especially important for safety reasons, as a broken handle could lead to accidents.
- Outdated Appearance: If your Roman tub faucet is outdated or doesn’t match the rest of your bathroom fixtures, replacing it can help improve the overall aesthetic of your bathroom.
If you notice any of these signs, consider replacing your Roman tub faucet. Don’t wait until it becomes a bigger problem; take action as soon as you notice these issues to prevent any further damage or inconvenience.
What Can Damage Your Roman Tub Faucet?
There are several things that can damage your Roman tub faucet, including:

- Hard Water: Hard water contains high levels of minerals like calcium and magnesium, which can build up in your faucet over time. This buildup can cause corrosion and reduce the lifespan of your faucet.
- Constant Use: Like any household fixture, a roman tub faucet will wear down over time with frequent use. This can lead to worn out or damaged components that affect its functionality.
- Harsh Cleaning Products: Using harsh chemicals or abrasive tools to clean your faucet can cause scratches and damage to the finish, making it appear dull and worn out.
- Lack of Maintenance: Neglecting regular maintenance on your Roman tub faucet can lead to issues like leaks, corrosion, and worn-out parts.
- Improper Installation: If the faucet is not installed correctly or with the appropriate tools, it could lead to damage over time. It’s important to ensure proper installation for the longevity of your faucet.
By understanding what can cause damage to your Roman tub faucet, you can take preventive measures and prolong its lifespan.
Conclusion
In conclusion, How to replace Roman tub faucet with no access panel can be a challenging task, but with the right tools and techniques, it can be done successfully.
Using a flexible extension hose, choosing an all-in-one design, and employing magnetic tools are just some of the tips that can make the process easier. It’s also crucial to avoid common mistakes like rushing or using force on plumbing fixtures.
Knowing the signs that indicate a need for replacement and understanding what can damage your faucet can help you take preventive measures to prolong its lifespan.
By following these tips and tricks, you can have a functional and aesthetically pleasing roman tub faucet in no time. Just remember to proceed cautiously and don’t hesitate to seek professional help if needed. Happy DIY-ing!

