Are you tired of stepping in puddles every time you take a shower? Has your once sleek bathroom floor become uneven over time? Do you ever take a shower and suffer from dreaded ankle sprains because of bumpy, uneven floors? Or do you worry about your family member’s safety in the bathroom due to an unlevel floor surface? If these issues sound familiar, you might be dealing with an issue known as a slope in your bathroom floor. Don’t worry! Slope can be fixed, and it’s easier than you think to make adjustments so that water drains properly.
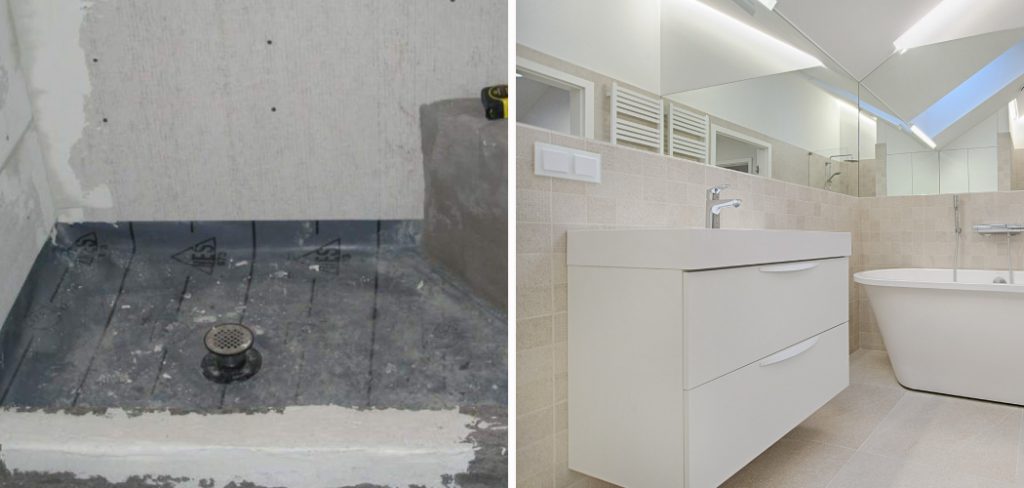
In this blog post, we’ll walk through the simple steps needed to correct the slope in your bathroom floor and have a safe space for showering again. You’ll learn how to get accurate readings with tools like a level or string line, as well as what materials need to be used when installing new plywood subflooring. Read on and learn how to correct slope in bathroom floor to maintain yours—and others’—safety when it comes to using the shower or bath tub.
What Causes Slope in Bathroom Floor?
Slope in bathroom floors can be caused by a few different issues.
- One of the most common causes is water stains and other damage from prolonged water exposure. These spots of saturation will cause the flooring material to bend or warp, particularly if it’s been exposed for an extended period of time. This can lead to unevenness underfoot, which can be dangerous and uncomfortable.
- Another common cause of slope in bathroom floors is poor installation. When the subflooring isn’t installed correctly, there will be unevenness in the flooring that could lead to a noticeable dip or rise from one side to the other. Improperly laid tile or linoleum may also contribute to a sloping bathroom floor.
Things to Consider Before Starting
Before embarking on the journey to correct the slope in the bathroom floor, there are a few things you’ll want to consider.
- First, look at the type of flooring material that is currently in your bathroom and determine whether it needs to be replaced or not. If it does need to be replaced, make sure you have the necessary materials on hand before beginning the project.
- Second, determine what kind of slope you need to correct. If there is a minor dip or rise in your bathroom floor, you may be able to install a self-leveling compound to fill the gap instead of replacing the entire subflooring. However, if the difference is more noticeable or significant than this, you will likely need to install new subflooring.
- Third, make sure that you have the necessary tools for the job. This includes a level, string line, saws (if needed), and other equipment that may be required.
- Finally, take the necessary safety precautions before beginning any DIY project in your home. Wear protective clothing and eye protection, and make sure that the area is well-ventilated.
Required Materials for Correcting Slope in Bathroom Floor
Once you have determined that a new subfloor is necessary and have gathered all the necessary materials, it’s time to begin correcting the slope in the bathroom floor.
- The most important material that you’ll need for this project is plywood subflooring. This will provide a stable base for your flooring material, as well as help to level out any unevenness in the existing floor. To ensure that your subfloor is durable and long-lasting, make sure you choose plywood with a thickness of at least ⅝ inches.
- Additionally, you’ll need screws or nails for attaching the new subflooring to the joists below (if applicable). You’ll also need 1 or 2-inch foam insulation, which will help to reduce any sound transmission from the subfloor to the room above.
- Finally, you may need a floor leveler if your existing floor is particularly uneven. This product can be used to fill in minor dips and rises without needing to install a new subfloor.

10 Steps on How to Correct Slope in Bathroom Floor
Now that you have all the necessary materials and tools, it’s time to start correcting the slope on the bathroom floor.
Step 1: Measurement
Begin by measuring the existing slope of your bathroom floor with a level, and then mark any areas of concern. The right measurement will help you determine the extent of the problem and plan for a successful installation.
Step 2: Preparing the Room
Once you have identified any areas where the slope needs to be corrected, it’s time to prepare the room. Start by removing any existing flooring material, such as tile or linoleum, as well as any adhesive residue. You will also need to remove any existing insulation unless it’s in good condition and can remain in place.
Step 3: Installing the Subfloor
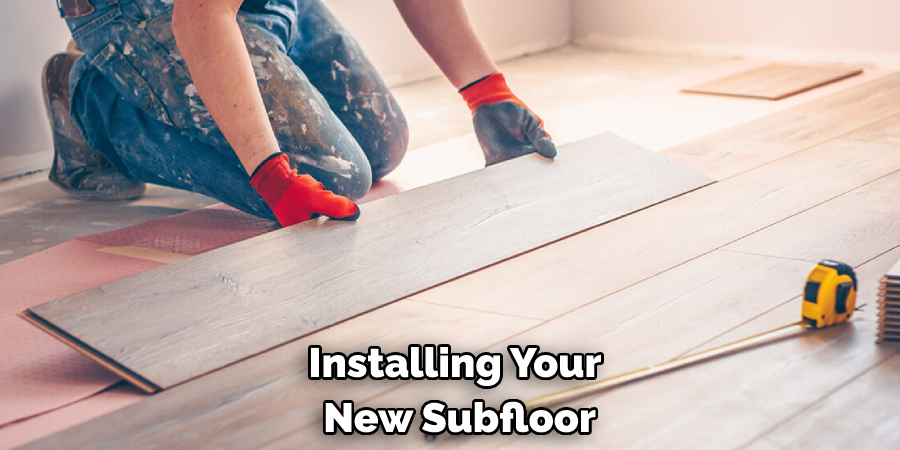
Now you’re ready to begin installing your new subfloor. Start by laying one sheet of plywood subflooring on top of the joists and use screws or nails to secure it in place. Make sure you check for level using a long level before securing the subflooring to the joists and make any adjustments as needed.
Step 4: Installing Foam Insulation
Before installing your new flooring material, you’ll need to install foam insulation between the joists and subflooring. This will help to reduce sound transmission and keep the room temperature regulated.
Step 5: Installing Leveler
If you’re dealing with an uneven floor, it may be necessary to use a self-leveling compound or floor leveler to fill any dips or rises. This can help create an even subfloor before installing your new flooring material.
Step 6: Installing the Flooring
Once you have a level surface, it’s time to start installing your new flooring material. Depending on your choice of flooring, this may involve glue or nails for installation. Make sure that you lay the material in one direction and keep any gaps between boards as minimal as possible.
Step 7: Finishing Touches
Finally, it’s time to finish off the project by adding a threshold or transition piece between your existing and new flooring material. This will help to hide any rough edges and create a seamless look.
Step 8: Clean Up
Once you have installed all the materials, it’s time to clean up the site. Make sure that all tools and materials are removed from the area, and dispose of all debris properly.
Step 9: Final Inspection
Before you call the project complete, it’s important to inspect your work one last time. Make sure that everything is level and secure, paying particular attention to any seams or edges where new material has been installed.
Step 10: Maintenance & Care
Finally, remember to take proper care of your new bathroom floor. Regularly sweep and mop the area to keep dirt and debris from building up. This will help extend the life of your flooring and ensure it looks great for years to come.
Following these steps should help you easily correct the slope in your bathroom floor and have a beautiful, level surface that you can be proud of.
5 Maintenance Tips to Prevent Slope Problems in Bathroom Floors
When it comes to bathroom floors, the slightest hint of slope can affect not only their appearance but also the safety of your family and guests. The good news is that there are several ways you can prevent or correct these problems before they become major issues. Here are 8 maintenance tips to help you prevent and correct slope issues in your bathroom floors:
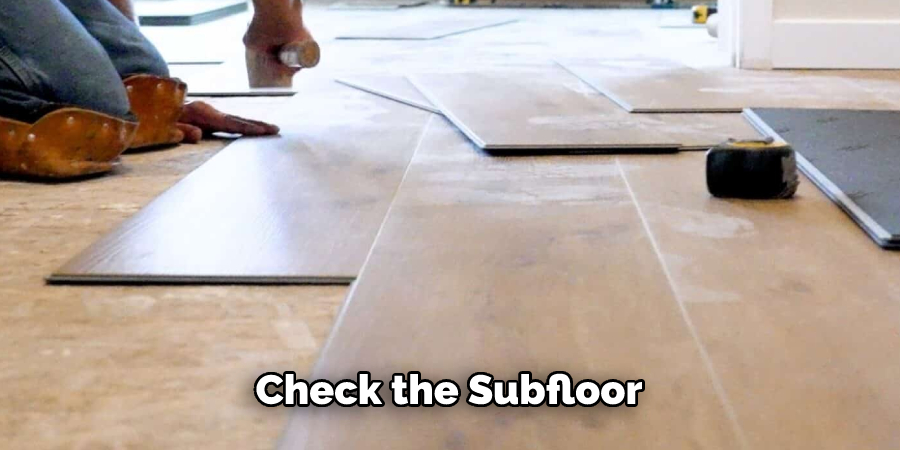
1. Check the subfloor for any significant flaws during the installation or repair of your bathroom floor. If there is a noticeable incline, it should be corrected before installing the tiles. It will be much easier to address the slope now than to attempt a fix after the tiles are in place.
2. Make sure the subfloor is free of dust and debris before installing your bathroom flooring. Any dirt or debris on the subfloor will negatively affect tile adhesion and cause sloping issues further down the line.
3. Use a level to make sure your bathroom floor is even before tiling. If the
subfloor has not been levelled properly, it can cause tiles on either side of your floor to sit at different heights, which could lead to slope problems.
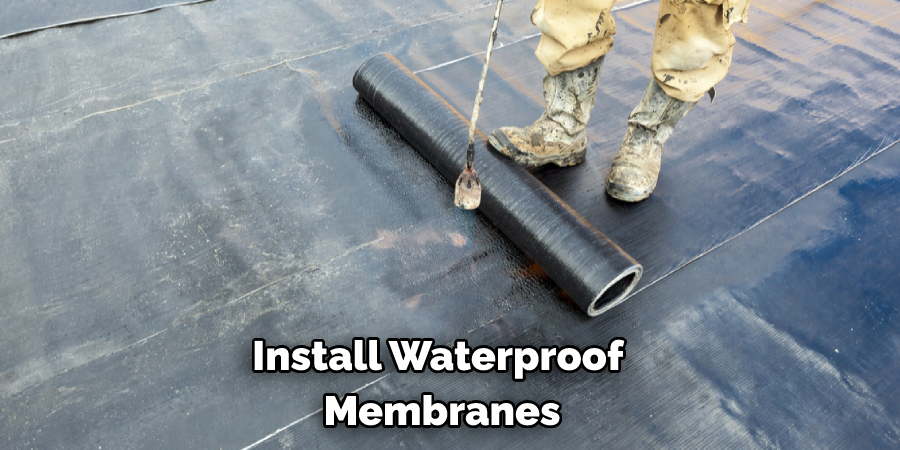
4. Install waterproof membranes underneath bathroom tiles to protect them against moisture damage. Waterproof membranes help to prevent water from seeping into the subfloor, which can cause sloping due to warping and shifting.
5. Make sure tiles are laid in a staggered pattern rather than a grid during installation. This will help to create an even surface across your bathroom floor and reduce the likelihood of slope issues in high-traffic areas.
By following these tips, you can help to prevent and correct any slope problems on your bathroom floor.
Conclusion
Replacing your bathroom floor is an expensive process and time-consuming one. An easier, less expensive, and faster solution to the problem of a slope in your bathroom floor is to add a leveling compound. This simple addition will help prevent serious water damage and can make the entire bathroom look much better.
With the right products and techniques on how to correct slope in bathroom floor, you can restore your bathroom floor to its original level, preventing structural damage and safeguarding your home from potential issues down the line. Remember that when it comes to adjusting the pitch of a bathroom floor, even the most minor corrections are important— never underestimate what tiny changes can do!