Are you looking for reliable ways to support your fiberglass bathtub? If so, then you’ve come to the right place! This blog post will discuss a few essential steps that will help ensure your fiberglass bathtub is safely and securely mounted and supported.

From identifying what materials work best with the installation process to understanding the importance of proper measurements when installing a tub, following these tips can increase both the security and longevity of your new fiberglass bathtub.
If you’re installing a new fiberglass bathtub, the first step is to ensure it is properly supported. The most common way to do this is by using blocking. So, if you’re ready to learn more about how to support a fiberglass bathtub in order to keep it secure and strong for years, let’s get started!
What Will You Need?
Before you get started, make sure to have the following supplies:
- ¾ inch and 1 ½ inch plywood
- A power drill with a Phillips head bit
- 2×4 studs or other framing lumber
- Construction grade screws (1 5/8”)
- Leveler
- Measuring tape
- Pencil
Once you have these materials, you’re ready to get started on supporting your fiberglass bathtub.
10 Easy Steps on How to Support a Fiberglass Bathtub
Step 1: Prepare the Area
First, take a few moments to measure the area where you plan to install the tub. Ensure the measurements are accurate and double check them with a leveler for assurance. Once that is complete, mark the area off with a pencil or chalk.
Step 2: Install the Blocking
Next, identify the locations where blocking will be needed on your wall studs. Blocking are horizontal pieces of lumber (2x4s) installed between the wall studs. They provide extra support for the rim of the bathtub.
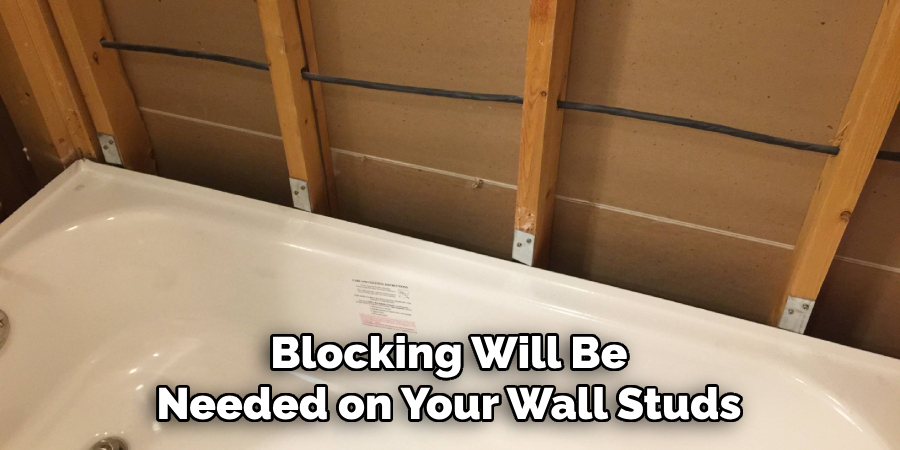
Cut your 2x4s to the appropriate length according to your earlier measurements. Position the blocking at the right height, ensuring it is level, then secure it to the wall studs using your power drill and construction grade screws. Remember, the top of the blocking should line up with the top of the bathtub rim. Once installed, double-check with your leveler for assurance.
Step 3: Position the Bathtub
After installing the blocking, it’s time to position the bathtub. Carefully lift the tub and settle it into place. Ensure the tub sits flush against the wall and the top aligns with the top of the blocking. If needed, use shims to adjust the position of the bathtub until it lines up perfectly.
Remember to protect the bottom of the tub with cardboard or a soft cloth to prevent accidental damage. Once positioned correctly, mark the tub’s top edge on the blocking and studs. This will be your guide when attaching the flange later.
Step 4: Secure the Bathtub
Now it’s time to secure the bathtub to the blocking. Using your power drill, attach the tub flange to the blocking and the studs at the marks you made earlier. Use construction grade screws to ensure the tub is firmly attached. Be careful not to over-tighten the screws, which could damage your bathtub. It’s important to remember that the flange should not be under strain or bending – it should rest flat against the blocking and the studs.

Step 5: Reinforce the Bottom
To provide extra support for your fiberglass bathtub, you can reinforce the bottom with a mortar or structural foam bed. This is not mandatory, but it can help distribute weight evenly across the bottom of the tub and prevent cracking or flexing when the tub is in use.
If you use mortar, mix it according to the manufacturer’s instructions and apply a layer to the floor of the tub’s area before setting it in place. If you use structural foam, spray it onto the bottom of the tub and let it expand and harden according to the manufacturer’s instructions. Always ensure the tub is level after setting it back in place.
Step 6: Check for Stability
Once the tub is secured and the additional support is in place, it’s crucial to check for stability. Apply weight to various areas of the tub — especially around the edges and in the middle — to ensure no movement or flexing.
If the tub does move, check your attachments and possibly apply more structural foam or mortar for added support. Be sure to level the tub again after any adjustments. The stability of your fiberglass bathtub is vital for both safety and longevity, so take your time with this step to ensure everything is as secure as possible.
Step 7: Install the Drain and Overflow
The next step in supporting your fiberglass bathtub is installing the drain and overflow. These components are crucial because they prevent water from accumulating and causing potential damage to your bathroom.
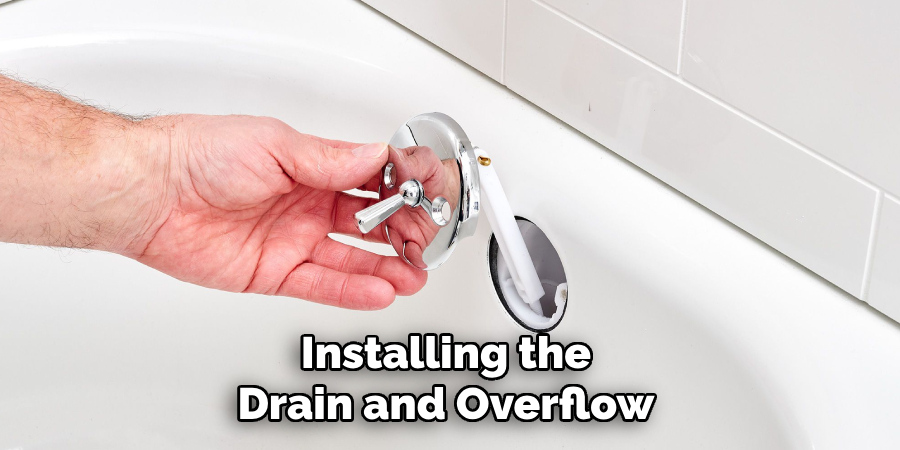
Begin by applying a bead of plumber putty around the underside of the drain flange. Insert it into the drain hole and screw it into place, ensuring it’s tight but not over tightened. Then, attach the overflow pipe to the overflow hole in the tub, connect it to the drain, and secure it with screws. Always double-check to ensure the drain and overflow are securely in place and functioning correctly.
Step 8: Seal the Edges
After the drain and overflow are installed, it is time to seal the edges of your bathtub. This step ensures that there are no leaks and that water flows into the drain as intended. Use a high-quality silicone caulk and apply it around the edges where your bathtub meets the wall. Smooth out the caulk with a caulk smoothing tool or your finger to ensure clean, smooth lines. Allow the caulk to dry according to the manufacturer’s instructions completely.
Step 9: Test Your Bathtub
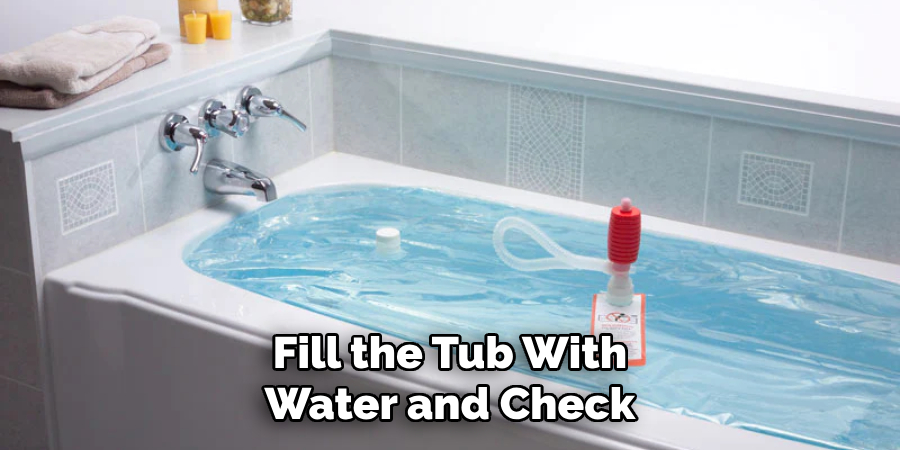
Before using your new bathtub, it’s essential to test it. Fill the tub with water and check for leaks around the drain, overflow, and sealed edges. If you notice any leaks, identify the source and fix them. Test the stability of the tub once more by applying weight to various sections of the tub. Ensure the tub is stable and secure, without flexing or moving.
Step 10: Enjoy Your Bathtub
Congratulations, you have successfully supported and installed your fiberglass bathtub! Now it’s time to enjoy your efforts. Remember, proper maintenance and care can prolong the life and aesthetics of your bathtub. Regularly clean your bathtub and inspect it for any potential issues. Fix any issues promptly to prevent them from escalating. Enjoy the comfort and relaxation that your new bathtub provides!
By following these steps, you can successfully support and install your fiberglass bathtub. With proper care and maintenance, you can ensure that your bathtub provides long-lasting comfort for many years!
5 Additional Tips and Tricks
- For extra support, consider using a bathtub liner. These are made from either acrylic or fiberglass and help further protect the tub from damage caused by water seepage or accidental spills.
- In order to prevent any rusting or corrosion on your bathtub’s metal components, use a waterproof sealant when attaching them. This will ensure they remain free from rust and stay in good condition for years.
- If you are installing a bathtub on an uneven surface, use adjustable feet to ensure the tub is level. This will help reduce the stress on the tub and prevent any potential cracking or leaking.
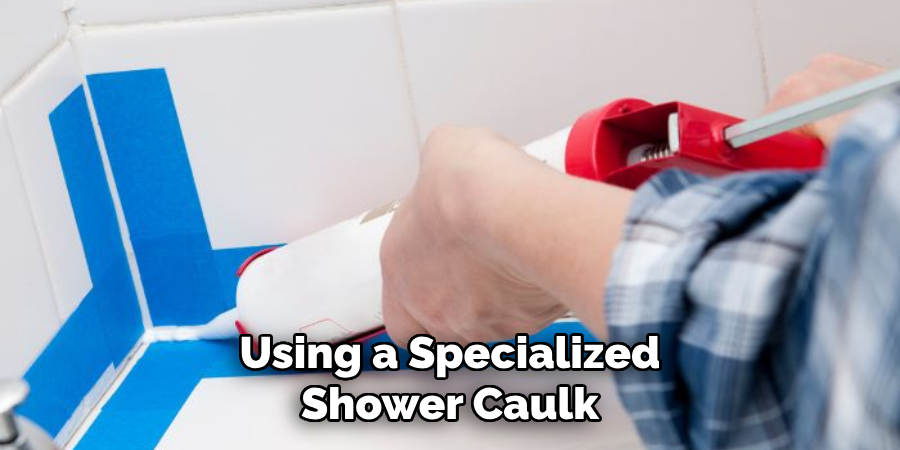
- Consider using a specialized shower caulk instead of regular silicone caulking. Shower caulk is designed to withstand the moisture levels in bathrooms and will help keep water out of your tub for many years.
- If you plan on using a freestanding bathtub, ensure it has adequate support underneath it. This can be accomplished by installing additional blocking or reinforcing the joists with structural foam or mortar. Doing so will help prevent any movement or flexing of the tub while in use.
Using these tips and following the steps outlined above, you can ensure that your fiberglass bathtub is properly supported and installed for years of safe and comfortable use.
5 Things You Should Avoid
- Avoid overextending your bathtub when securing it in place. This can cause strain and damage to the tub and any nearby fixtures or walls.
- Do not overtighten the metal components of your tub. Doing this could strip the screws or create bends in the pipes.
- Be sure not to use regular silicone caulk on your bathtub. Although it is waterproof, shower caulk is a better option for tubs as it stands up to higher levels of moisture.
- Avoid using structural foam or mortar on the underside of the tub if you plan on putting a liner in place later. This material can interfere with the attachment of the liner and cause damage.
- Do not use your new bathtub until you have tested it for leaks and stability. Doing this will help ensure that your tub is secure and functioning correctly. So don’t forget it.
Using these tips, you can ensure that your fiberglass bathtub installation process goes smoothly and safely. With proper support and care, your tub will provide years of comfort and relaxation!
Do Fiberglass Tubs Crack Easily?
Fiberglass bathtubs are very resilient and do not crack easily. However, if the tub is not properly supported or installed, it can become susceptible to cracking or other damage due to flexing or movement. To avoid this, be sure to follow all of the steps outlined in this guide and regularly inspect your tub for any potential issues.

Additionally, ensure that you always use the recommended weight limits for your bathtub. Overloading a tub with too much weight can cause it to flex and crack, which could result in water leakage or other damage.
By taking these precautions, you can ensure that your fiberglass bathtub stays free from cracks and continues to provide years of comfort and relaxation!
Is Epoxy Stronger Than Fiberglass?
Epoxy is generally stronger than fiberglass. However, it also depends on the specific type of epoxy and fiberglass being compared. Epoxy can be tailored to a variety of strength levels, from soft enough for woodworking projects to strong enough for industrial applications. Fiberglass, on the other hand, typically has a consistent level of strength regardless of its application.
When it comes to bathtub support, fiberglass is the preferred material due to its strength and durability. It is less likely to crack or bend compared to other materials, making it an ideal choice for a bathtub base.
Overall, epoxy may be stronger than fiberglass in certain cases, but fiberglass is still a great option for supporting your bathtub and providing long-lasting comfort.
Conclusion
All in all, having the knowledge and understanding of properly supporting a fiberglass bathtub is crucial for preventing future problems. Having this ‘know-how’ saves time and effort and could save you money in the long run by avoiding costly replacements. If you’d like to ensure your fiberglass bathtub is supported correctly, contact a professional who can give you an expert opinion.
Taking the extra steps now will help your fiberglass tub last for years to come! Be sure to stay up to date on regular inspections and upkeep – it truly pays off in the long run!
Hopefully, the article on how to support a fiberglass bathtub has been helpful and informative. With the right knowledge, you can now support your bathtub with confidence and enjoy years of relaxation! Thanks for reading this article. Good luck on your project! Have fun!

