Winterizing your home is an essential chore to prepare it for winter weather. While much of the focus is on areas like windows and insulation, one room often overlooked in this process is the bathroom. If you want to prevent issues such as frozen pipes and more during the cold months, it’s crucial that you make sure your plumbing system stays well-maintained throughout the season.

In this blog post, we’ll walk you through step-by-step how to winterize toilet so that your plumbing remains in good condition during those chilly days and nights!
Tools and Materials You Will Need to Winterize Toilet
- A Bucket
- An Adjustable Wrench
- Silicone Sealant
- Teflon Tape or Pipe Dope
- A Garden Hose
- Plumber’s Tape or Thread Sealant
- Antifreeze (optional)
Step-by-Step Guidelines on How to Winterize Toilet
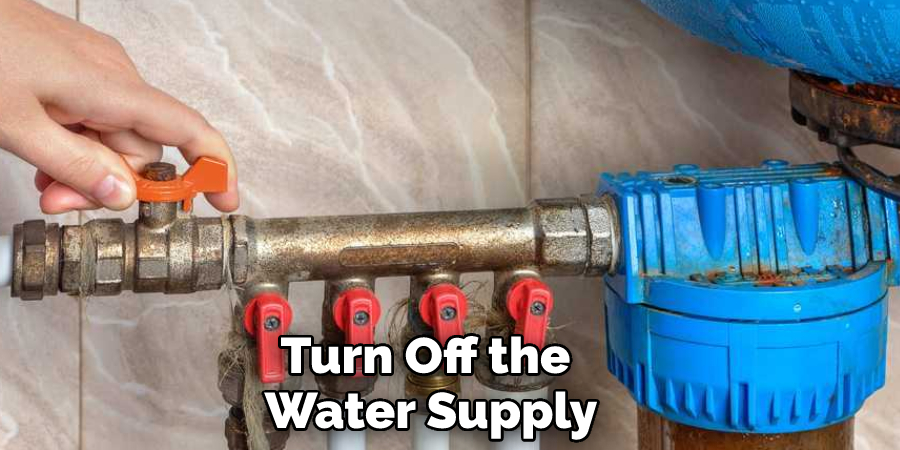
Step 1. Turn Off the Water Supply to Your Toilet:
This can usually be done by turning a valve located near the base of the toilet, or in some cases, you may need to locate and turn off the main water shutoff for your home. Either way, you’ll need to ensure that no water is running into the toilet before proceeding. If water comes out of the valve or shuts off once it is opened, close it again and wait several hours before attempting to winterize your toilet.
Step 2. Drain the Toilet Tank:
Once the water supply has been shut off, remove the tank lid and flush the toilet to drain as much water as possible. Then use a bucket to scoop out the remaining water or use a sponge to soak it up. Make sure also to remove any water left in the bowl. Because water will evaporate from the bowl, you may need to keep checking and refilling it with a bucket of water to finish draining all the remaining water.

Step 3. Disconnect the Toilet Supply Line:
Using an adjustable wrench, loosen and detach the nut holding the toilet supply line in place. Make sure that you have a bucket underneath this to catch any water that may still be inside it. Once the nut is off, pull out the supply line and let any remaining water drip into the bucket.
Step 4. Seal Around Toilet Flange:
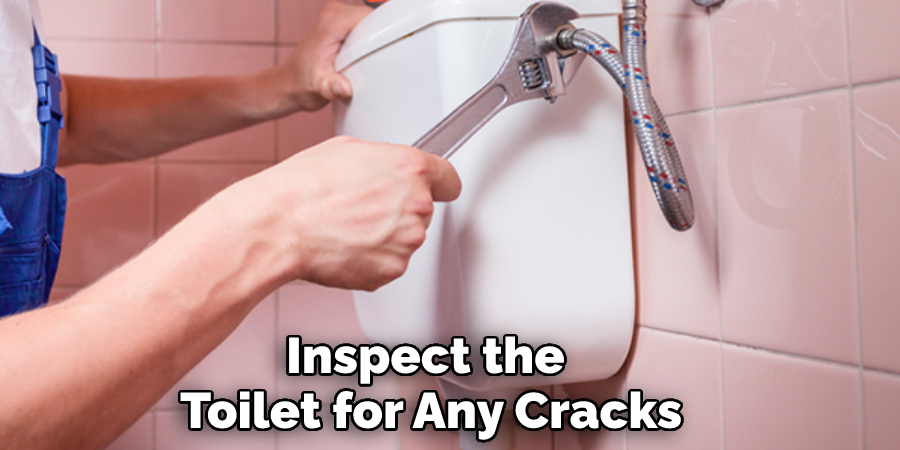
Once you have detached the toilet supply line from the flange, inspect it for wear and tear or leakage. If there are any cracks or gaps around the flange, use silicone sealant or Teflon tape to seal them up. This will help prevent the cold air from entering and potentially freezing your pipes.
Step 5. Attach a Garden Hose to the Toilet Supply Line:
Once you have sealed around the flange, attach a garden hose to the toilet supply line’s opening. Make sure to tighten it with the plumber’s tape or thread sealant to ensure a leak-proof connection. Use the hose’s other end to drain any remaining water into a bucket or sink.

Step 6. Add Antifreeze (Optional):
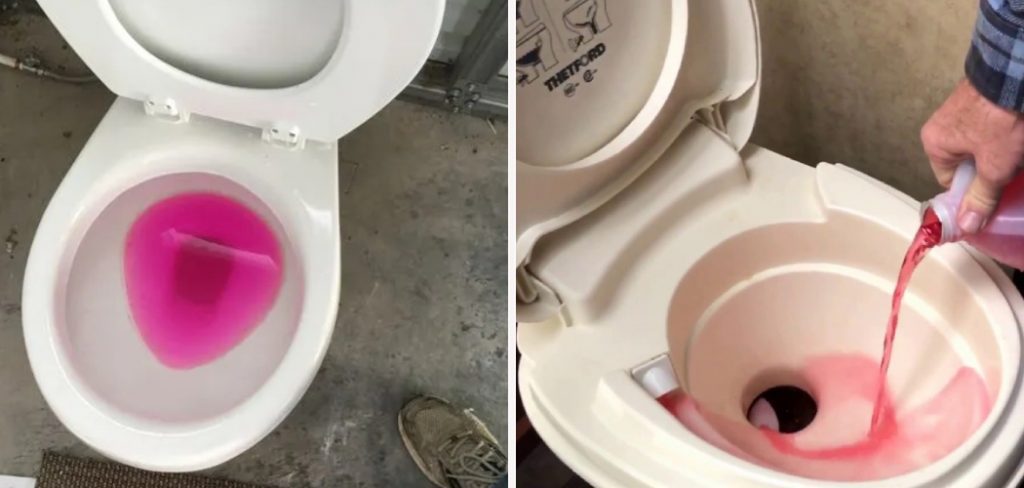
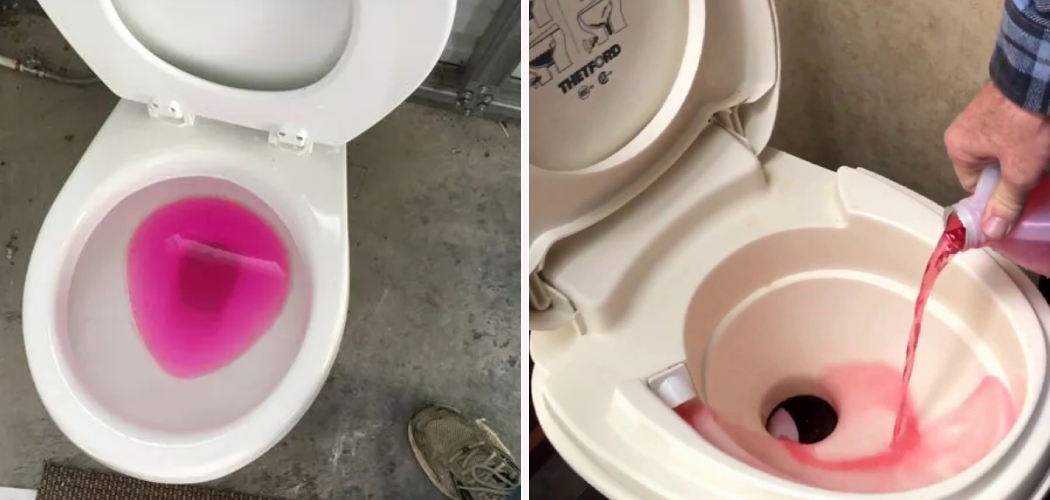
If you live in an area where temperatures can drop below freezing, it is recommended that you add antifreeze to the toilet supply line and tank before winterizing your toilet. This will help prevent it from freezing when the temperature dips. If you add antifreeze, make sure to use the non-toxic, food-grade type and follow the manufacturer’s instructions.
Step 7. Turn On the Water Supply and Flush:
Now, slowly turn on the water supply and flush the toilet several times until all of the antifreeze has been flushed out. If you don’t want to use antifreeze, you can fill the toilet with a few gallons of water and then turn it off once again.
Step 8. Close the Main Water Shutoff Valve:
Once all the water has been flushed from your toilet, close the main shutoff valve that controls the flow of water to your home’s plumbing system. This will help prevent any water from entering the lines and potentially freezing them during winter.
Congratulations! You have now successfully winterized your toilet and are ready for cold weather!
Some Tips and Tricks to Follow for Winterizing Toilet
1. To start, turn off the water supply to your toilet. This can usually be done by turning off a valve near your toilet’s base. If you cannot locate this valve, it is important to shut down the main water supply in your home.

2. Once the water is turned off, flush the toilet and leave it in the down position. This will help prevent any remaining water from sitting inside your tank and freezing once winter arrives.
3. Next, it is important to disconnect the water line coming from the wall or floor to your toilet. If you have flexible supply lines, simply remove them from their connections on either side of your toilet tank. When dealing with hard water lines, you may need a wrench or pliers to loosen the connection and remove the supply line.
4. Once you have removed your toilet’s water supply, you can move on to draining your tank by flushing it one last time. Afterward, remove any excess water from both your tank and the bowl. Finally, use a sponge or towel to remove any remaining moisture from both areas.
5. Now that you have drained and dried your toilet, you can add antifreeze to the tank and bowl for added protection against winter weather. Make sure to use propylene glycol antifreeze, as it is safe for use in plumbing situations.
6. Finally, you should cover your toilet with a lid or plastic wrap to help protect it from the cold winter air. This will also keep out any drafts that could potentially damage the inside of your toilet tank or bowl.
Following the tips and tricks outlined above, you can easily winterize your toilet and ensure it is ready for the cold weather.
Things You Need to Consider While Winterizing Toilet
1. Make sure the entire toilet system is turned off. This includes shutting off the water supply at the main shut-off valve and draining any remaining water from the tank.
2. Inspect the toilet for any cracks, leaks, or other damage that could cause problems during freezing temperatures. If found, make repairs before winterizing to prevent further damage.

3. Remove any items from the tank, such as a toilet brush or other objects that could freeze and cause damage.
4. Clean the entire toilet, including the bowl and tank, to remove any debris or buildup that could interfere with winterization efforts.
5. Once the water is turned off completely, you can begin winterization. This includes draining any remaining water from the toilet, adding antifreeze to the tank and bowl, and applying insulation around pipes or other exposed areas to prevent freezing.
6. Ensure all of your plumbing fixtures are properly insulated before winter to reduce the risk of frozen or burst pipes when temperatures drop below freezing.
7. Check your toilet periodically during the winter to ensure it is still properly insulated and not leaking or damaged in any way. This will help you avoid costly repairs due to frozen or burst pipes. 8. Finally, don’t forget to turn the water back on when spring comes so that you can use your toilet again!
With these considerations in mind, winterizing your toilet should be easy. Just make sure to take the proper precautions and follow these steps closely to ensure that your toilets will stay safe and operational throughout the cold months.
Precautions Need to Follow for Winterizing Toilet
1. Turning off the water supply at the shutoff valve is important before winterizing a toilet. The shutoff valve should be near the toilet’s base, and it will usually have an arrow or other indicator showing the direction in which to turn it off.
2. After turning off the water supply, flush the toilet and remove any remaining water by using a sponge or other tool to soak it up.
3. Disconnect the fill valve from the shutoff valve and remove the float cup or valve.
4. Check for any debris or obstruction that can cause a blockage in the drain. If necessary, use a plumbing snake to clear any clogs or obstructions.
5. Place a block of wood inside the toilet bowl and put some rags over it to prevent freezing temperatures from damaging the porcelain.
6. Once everything is thoroughly cleaned and dried, it is important to coat the toilet with some form of antifreeze or other waterproofing material. This will help prevent freezing temperatures from damaging the pipes or components of the toilet.
7. Replace any parts that have become worn or damaged during the winterization process.
8. After completing all these steps, turn the water supply back on and test the toilet for any leaks or other problems. If there is a problem, fixing it immediately before using the toilet in cold weather is important.
With these precautions in place, winterizing a toilet can help prevent costly repairs and ensure that it is ready for cold weather.
Conclusion
Winterizing your toilet is important to protecting your home from winter’s chill. By following the steps outlined above, you can easily understand how to winterize toilet. While the temperatures keep dropping, make sure to take some preventative measures for your toilets so you won’t have to worry about experiencing any problems during wintertime.
Keeping an eye on the temperature and remembering to use pipe insulation can go a long way when it comes to preventing damage. Scheduling regular check-ups with a professional plumber can ensure your toilet functions smoothly throughout the colder months. Be prepared this season by following these steps, and make sure that winter passes without any plumbing inconveniences!

