The bathroom is a sanctuary for many, and over time, the shower tile can become a canvas for wear and tear. Learning how to paint shower tile offers a cost-effective way to breathe new life into your bathroom without the need for a full renovation. This guide explores the art and science behind refreshing your shower area, transforming it with just a coat of paint.

Opting to paint the shower tile has several advantages. First, it is significantly more affordable than replacing tiles. Additionally, painting tiles allows for a customizable approach to bathroom decor, enabling homeowners to experiment with colors and finishes. It also provides an opportunity to seal and protect older tiles, extending their lifespan.
The process of how to paint shower tile involves several key steps, starting from assessing the condition of the existing tiles to the final maintenance of the painted surface. Each stage, from preparation and choosing the right materials to the actual painting and sealing, must be approached with care to ensure a durable and aesthetically pleasing result.
Assessing Tile Condition
A. Inspecting Tile for Damage or Mold
Before you begin the process of how to paint shower tile, it’s crucial to inspect the existing tiles thoroughly for any signs of damage or mold. Look for cracked tiles, areas where caulk or grout is missing, and signs of mold or mildew especially in corners and hard-to-reach places. Addressing these issues before painting is essential for ensuring the paint adheres properly and lasts longer.
B. Cleaning Tile Surface Thoroughly
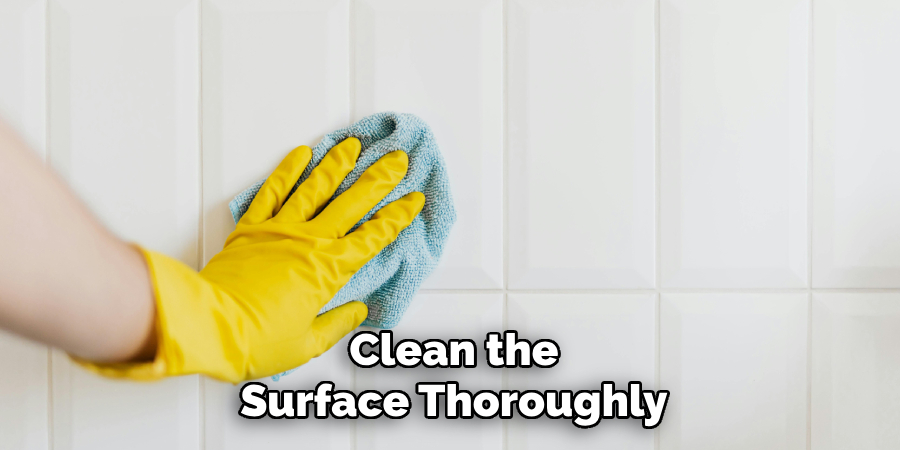
Once you’ve assessed the condition of your tiles, the next step is to clean the surface thoroughly. This means removing all the dirt, soap scum, and mildew that can interfere with the paint application. Use a mild cleaning solution and a non-abrasive pad to scrub the tiles. A mix of baking soda and water can be effective for stubborn areas. Rinse the tiles well after cleaning and make sure no residue is left behind.
C. Allowing Tile to Dry Completely
After cleaning, it’s imperative to allow the tile surface to dry completely before proceeding with any painting. Any moisture trapped beneath the paint can lead to peeling and mold issues down the line. Opening windows for natural ventilation or using a fan can speed up the drying process. This waiting period also offers the opportunity to review your work and ensure all cracks or damage have been satisfactorily repaired.
Preparing Tile Surface
A. Sanding Tile to Create Texture
The first crucial step in preparing your shower tile for painting is sanding. This process creates a rougher surface texture, allowing the primer and paint to adhere more effectively. Using fine-grit sandpaper, lightly sand the entire tiled area in circular motions, ensuring even coverage without applying excessive pressure to avoid damaging the tiles. Wipe away the dust with a damp cloth after sanding, and let the tiles dry completely.
B. Applying Primer Suitable for Wet Environments
After sanding, applying a primer specifically designed for wet environments is essential. This primer will enhance the paint’s adhesion and provide additional protection against moisture. Using a small roller or angled brush, apply the primer evenly across the tiles, starting from the top and working your way down to prevent drips. Allow the primer to dry according to the manufacturer’s instructions, typically between 4 to 6 hours, before proceeding to the next step.
C. Taping Off Surrounding Areas
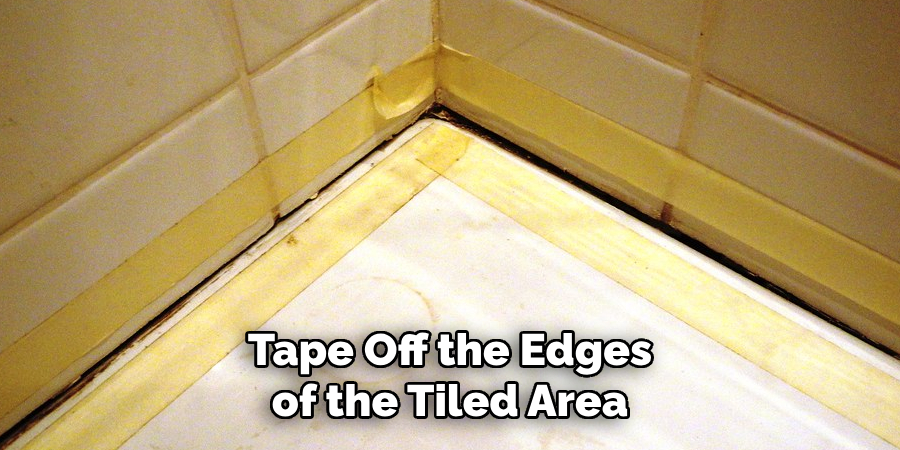
Protecting the adjacent walls, fixtures, and flooring is paramount in achieving a clean and professional finish. Use high-quality painter’s tape to carefully tape off the edges of the tiled area, including the ceiling, side walls, shower fixtures, and the floor. Ensure the tape is firmly pressed to prevent paint from seeping underneath. Covering larger areas like the shower floor and bathtub with a drop cloth or old newspapers will further shield them from paint splatters.
Choosing Paint and Supplies
A. Selecting Paint Suitable for Shower Tile
When considering how to paint shower tile, selecting the correct type of paint is crucial for durability and aesthetic appeal. Epoxy-based paints are often recommended for their resilience to water and ability to adhere well to tile surfaces. These paints come in a variety of colors, allowing for custom decor.
Additionally, using mold-resistant paint can further protect your shower from the common issues of moisture and warmth in bathrooms. Always check the manufacturer’s guidelines to ensure the paint is suitable for high-moisture environments and that it meets your design needs.
B. Choosing Appropriate Brushes or Rollers
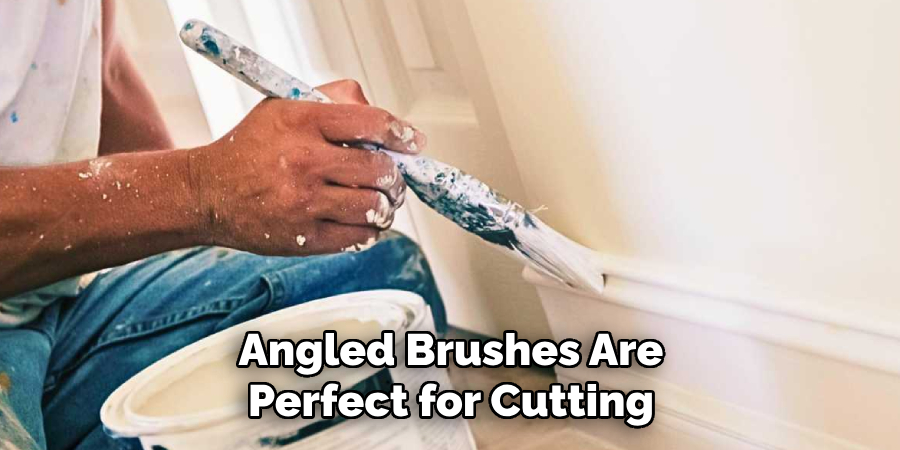
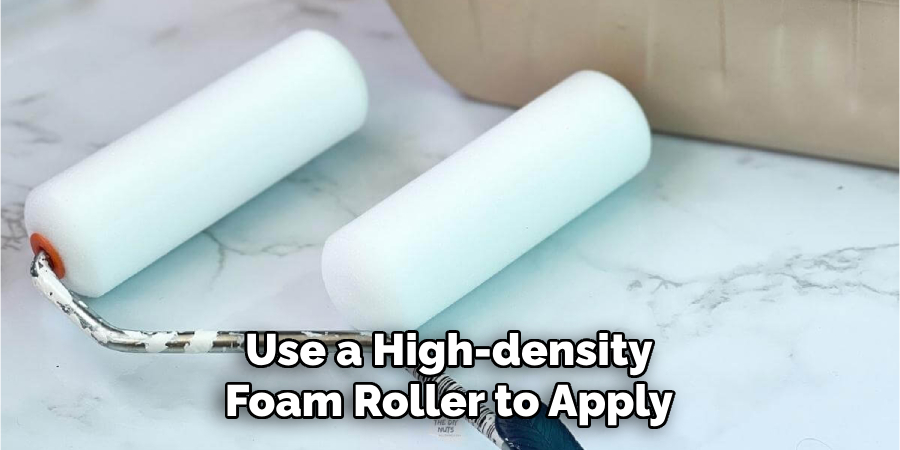
The right tools can make a significant difference in the outcome of your project. For painting shower tile, it’s beneficial to have a variety of brushes and a small, high-density foam roller. Angled brushes are perfect for cutting in around edges and tight spaces, whereas rollers can efficiently cover large tile areas for a smooth finish. Opt for a roller with a fine finish to avoid air bubbles and ensure an even coat. Quality paintbrushes and rollers reduce the likelihood of bristles or foam pieces detaching and sticking to the painted tiles.
C. Gathering Safety Equipment (e.g., Mask, Gloves)
The process of how to paint shower tile involves sanding and potentially working with strong fumes from epoxy-based paints and primers. Therefore, personal protective equipment is essential to safeguard your health.
A mask with a filter, such as a N95 respirator, can protect you from inhaling dust and chemical vapors. Nitrile gloves protect your hands from paint and cleaning chemicals, while safety goggles will prevent dust and paint splashes from irritating your eyes. Ensure that the room is well-ventilated throughout the project to further mitigate the risk of inhaling harmful substances.
How to Paint Shower Tile: Painting Tile
A. Applying the First Coat of Paint Evenly
Once your shower tile is clean, prepped, and the primer is dry, it’s time to begin painting. Stir the paint thoroughly before use to ensure it is well-mixed. Start with a small, angled brush to paint the edges and hard-to-reach areas first. This technique helps create a seamless base for using the roller.
Afterward, use a high-density foam roller to apply the first coat of paint over the larger surfaces of your tiles. Move the roller in smooth, even strokes to ensure uniform coverage. Avoid overloading the brush or roller with paint to prevent drips or uneven layers. This first layer should be thin, acting as a base for the subsequent coat.
B. Allowing First Coat to Dry Completely
Patience is crucial at this stage. Allow the first coat of paint to dry completely before applying the second coat. Refer to the paint manufacturer’s instructions for drying times, but typically, this can take anywhere from 4 to 24 hours. Ensure the room remains well-ventilated during this period to aid the drying process. Avoid touching the paint to check if it’s dry, as you might leave fingerprints or remove the paint if it hasn’t fully set. Instead, give it the recommended drying time.
C. Applying Second Coat for Full Coverage
After the first coat has dried completely, inspect the tile for any missed spots or areas needing more coverage. Lightly sand any drips or rough spots with fine-grit sandpaper, wiping away the dust with a damp cloth afterward. Once the surface is smooth and clean, apply the second coat of paint using the same method as the first—using the angled brush for the edges and the foam roller for the main surfaces.
The second coat will provide full coverage, enhancing the color’s richness and ensuring a uniform and professional finish. Allow this coat to dry completely, following the same precautions and time frames as after the first coat. Depending on the paint used and your bathroom’s ventilation, this could again take several hours to a day. This second layer solidifies the transformation, turning your old shower tiles into a refreshed and vibrant space.
How to Paint Shower Tile: Allowing Paint to Cure
A. Following the Manufacturer’s Instructions for Drying Time
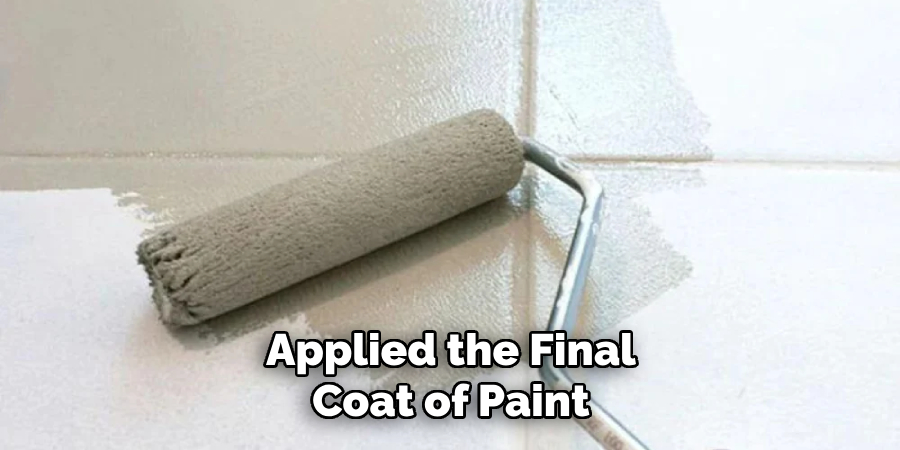
The curing process begins once you’ve applied the final coat of paint. This step is crucial for the paint to achieve its maximum durability and resistance to moisture. Adhering to the manufacturer’s guidelines for drying time is essential. Most epoxy-based paints used in bathrooms require at least 48 to 72 hours to cure fully, but this may vary. It’s important not to rush this phase, as premature exposure to moisture or heavy touch can compromise the paint’s adherence and finish.
B. Ensuring Proper Ventilation in the Bathroom
Proper ventilation is necessary during application and drying and crucial throughout the curing process. Maintaining airflow helps speed up drying time and reduces the likelihood of mold and mildew formation, which can be problematic in damp environments like bathrooms. Keep windows open, and use an exhaust fan to facilitate continuous air movement if possible. This step ensures that any remaining fumes are expelled and that the paint cures in a healthy environment.
C. Avoiding Water Contact During the Curing Process
Avoiding water contact during the curing process is pivotal. Water can easily damage the paint’s surface or even wash it away before it can fully harden. It’s advisable to use alternative showering facilities if possible during this period. Also, be mindful of humidity levels, as excessive moisture in the air can affect the paint’s curing process. Taking these precautions will help ensure that the paint adheres properly, providing a long-lasting and durable finish that transforms your bathroom’s appearance.
Sealing Painted Tile
A. Applying Clear Waterproof Sealer
The final step in transforming your shower tile through painting is applying a clear, waterproof sealer. This protective layer is crucial for maintaining the integrity of the paint, especially in the high-moisture environment of a shower.
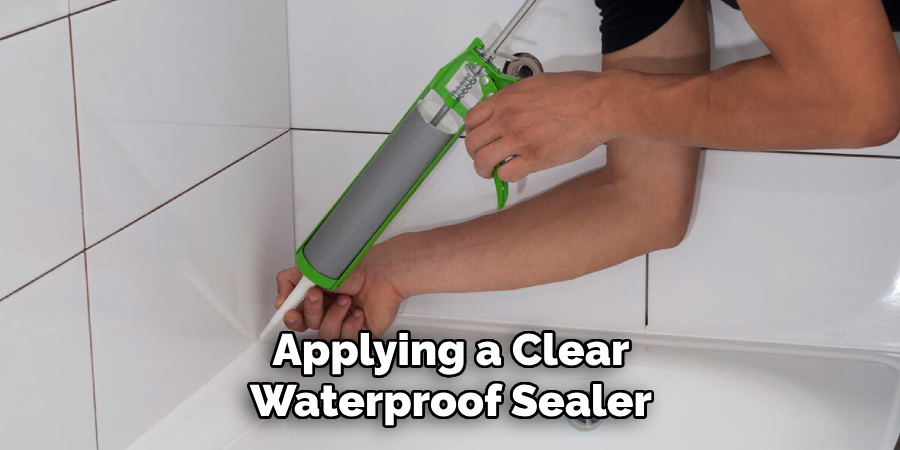
Select a sealer designed for use in wet areas and compatible with your paint type. Apply the sealer with a clean, fine-bristle brush or a foam roller, starting at the edges and corners and then moving to the larger tile surfaces. Ensure even coverage, applying the sealer in thin, uniform layers without over-application, which can lead to runs or drips.
B. Allowing Sealer to Dry Completely
After applying the waterproof sealer, it is imperative to allow it to dry completely before exposing the shower to moisture. Consult the sealer manufacturer’s instructions for the specific drying time, which can vary from 24 to 48 hours, depending on the product and environmental conditions. Keep the bathroom well-ventilated during this time to facilitate drying. Avoid touching or disturbing the sealed surfaces during drying to prevent smudges or damage to the protective layer.
C. Checking for Proper Seal and Coverage
Once the waterproof sealer has dried completely, thoroughly inspect the shower tiles to ensure proper seal and coverage. Look for any missed spots or areas where the sealer may be too thin. Pay particular attention to grout lines and edges, as these are areas prone to moisture penetration.
If necessary, apply an additional coat of sealer to areas that require it, following the same application and drying process. This meticulous approach ensures that your newly painted shower tiles are fully protected against water, providing a durable, long-lasting finish that revitalizes your bathroom’s appearance.
Post-Painting Clean-Up
A. Removing Painter’s Tape and Drop Cloths
Once the waterproof sealer has fully dried and your bathroom begins transforming, it’s time to start the clean-up process. Begin by carefully removing the painter’s tape from the edges and any protected surfaces.
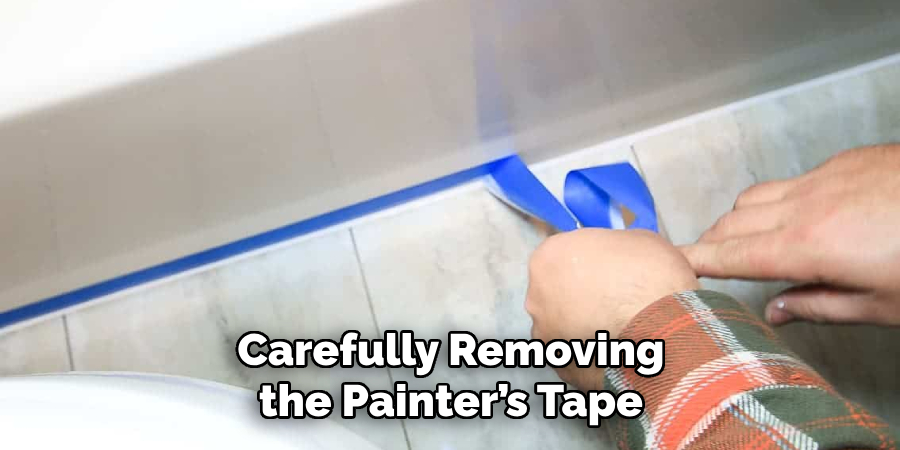
Pull the tape back over itself at a 45-degree angle to avoid damaging the newly painted surfaces. Following removing the tape, gather and properly dispose of or store drop cloths. Ensure that any paint spills or drips on the clothes are dry to prevent accidental smearing on other surfaces.
B. Cleaning Brushes or Rollers with Soap and Water
Cleaning your tools immediately after use is essential for maintaining their condition and ensuring they can be used for future projects. Rinse brushes and rollers underwater, using a brush comb or hand to remove paint particles for water-based paints.
Then, wash thoroughly with soap and water until the water runs clear. For oil-based paints, use the appropriate solvent to remove the paint, followed by soap and water cleaning. Finally, allow the brushes and rollers to air dry before storing them properly.
C. Wiping Down Surrounding Areas for Splatter
Despite all precautions, paint splatters and spills are common during any painting project. Now is the time to inspect and clean any surrounding areas that may have been affected. Using a damp cloth, gently wipe down walls, floors, fixtures, and any surfaces where unwanted paint has landed. For tougher spots, a mild detergent may be necessary. Be careful not to use harsh cleaners or scrub too vigorously on or near freshly painted surfaces to avoid damage.
This comprehensive clean-up ensures the longevity and efficacy of your painting tools and maintains the cleanliness and integrity of your newly transformed bathroom space.
Maintenance and Care
Maintaining the fresh look and durability of your newly painted shower tiles requires regular upkeep and some cautious handling to ensure the longevity of the finish.
A. Using Mild Cleaners for Regular Maintenance
Keeping the painted surfaces clean is crucial, but always opt for mild, non-abrasive cleaners. Harsh chemicals can damage the paint and the sealer, reducing their lifespan and effectiveness. For regular cleaning, a mixture of warm water and a gentle soap is often enough to keep the tiles looking their best. This simple approach can effectively remove soap scum and mild residues without compromising the paint or waterproof sealer.
B. Avoiding Harsh Scrubbing or Abrasives
In maintaining your shower’s appearance, avoiding harsh scrubbing practices or abrasive tools, such as steel wool or scrubbing sponges, is important. These can create scratches and even remove layers of paint and sealer, exposing the underlying tile to moisture and potential damage. If encountering stubborn stains, soak the area with a mild cleaning solution for a few minutes before wiping it away gently with a soft cloth or sponge.

C. Touching Up Paint as Needed
Despite careful maintenance, you may find small chips or wear over time, especially in high-use areas. Keeping a small amount of your original paint and sealer on hand allows you to perform touch-ups as needed easily. Clean the area needing repair, apply a small amount of paint, then re-seal once dry. This proactive approach helps maintain the pristine condition of your bathroom, ensuring it remains a space of tranquility and beauty.
Adhering to these maintenance and care practices will ensure that your bathroom remains a stunning testament to your DIY skills, offering a durable and beautiful space for years to come.
Considerations and Limitations
When painting shower tiles, it’s crucial to weigh both the potential rewards and the inherent risks or limitations involved. This analysis will ensure that your efforts result in a satisfactory and long-lasting enhancement to your bathroom’s aesthetics.
A. Understanding Potential Risks and Limitations of Painting Tile
Painting shower tiles can offer a significant aesthetic transformation at a fraction of the cost of a full renovation. However, it’s essential to recognize the limitations and potential risks involved.
The primary concern is the durability of the paint when exposed to constant moisture, heat, and cleaning agents, which can lead to peeling, flaking, or discoloration over time. Additionally, painted tiles may not have the same high-quality feel or wear resistance as their original or replacement ceramic counterparts, potentially affecting the resale value of your home.
B. Considering Long-Term Durability
The long-term durability of painted tiles is contingent upon several factors, including the quality of the paint and sealer used, the thoroughness of the preparation process, and the ongoing maintenance and care routine. While painting can provide a fresh look in the short term, the lifespan of this update is generally shorter than that of unpainted, properly glazed tiles. Regular touch-ups may be required to maintain the appearance and integrity of the paint.
C. Exploring Alternative Solutions for Tile Updates
Before committing to painting as the solution for updating shower tiles, exploring alternative options is worthwhile. Re-tiling, although more costly and labour-intensive, offers a permanent and durable solution.
For those seeking a middle ground, tile stickers or decals can provide a temporary, customizable, and entirely reversible update. Another option is the application of grout colorant to refresh the look of the tile work without altering the tiles themselves. Each of these alternatives comes with its set of advantages, costs, and longevity considerations, providing a spectrum of choices to suit different needs and budgets.
Conclusion
The process of painting shower tiles encompasses various stages – from initial cleaning and surface preparation to applying primer, paint, and sealer. Each step is designed to ensure that the painted tiles not only look appealing but are also capable of withstanding the humid and wet conditions of a bathroom.
Opting to refresh your shower tiles with paint can breathe new life into a tired bathroom without needing a costly renovation. This approach offers an immediate aesthetic transformation, allowing for customization and creativity. Furthermore, it is an eco-friendly option that reduces waste by repurposing existing materials.
When considering how to paint shower tile, remember that preparation is key. Ensuring the tile surface is clean, making repairs, and carefully applying each coat of primer, paint, and sealer will greatly influence the project’s success. Lastly, maintaining the painted surfaces with gentle cleaning and touch-ups will preserve their beauty and longevity. By following these guidelines, your painted shower tiles will stand the test of time, serving as a testament to your DIY prowess.

