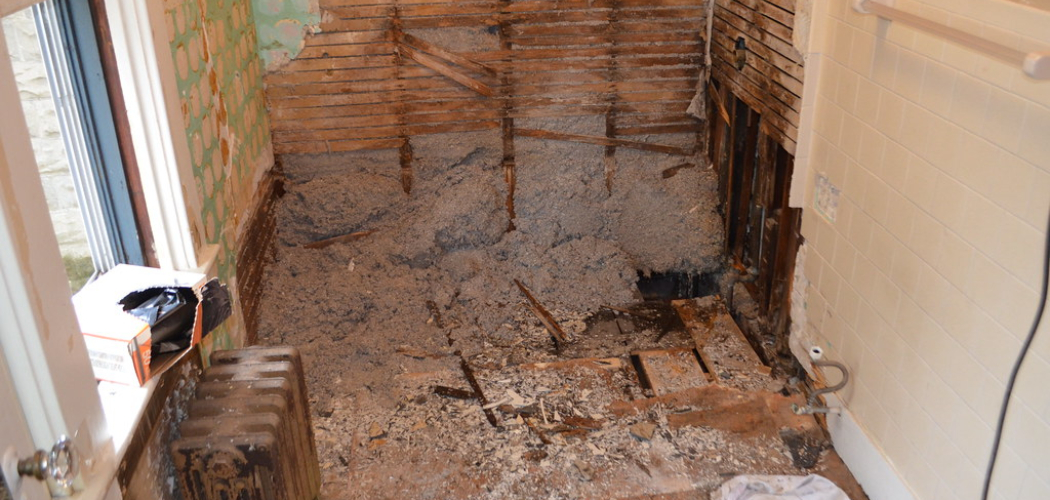
If you’re thinking of selling your home, then prepping the bathroom for potential buyers should be a priority. Demoing a bathroom doesn’t have to be difficult or expensive; with careful planning and the right approach, you can effectively showcase your space and make a good impression on prospective buyers.
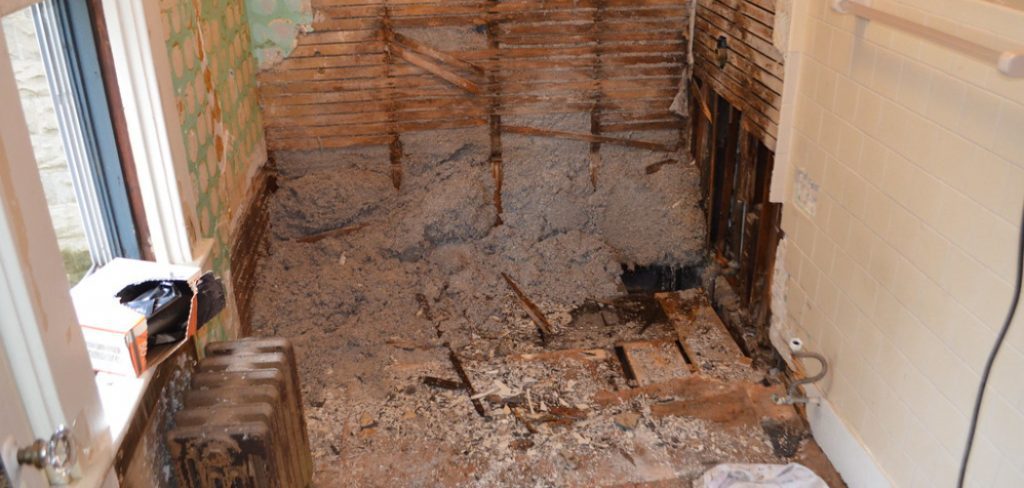
Whether it’s clearing out outdated fixtures, sprucing up the paint job, or rearranging furniture, there are lots of creative ways to give your bathroom an upgrade without breaking the bank. In this blog post we will discuss how to demo a bathroom in preparation for sale so that you can maximize its appeal. Keep reading to learn more!
Is It Hard to Demolish a Bathroom?
Demolishing a bathroom is not as difficult as it may seem. The process of removing existing bathroom fixtures, walls, and floors requires some effort but can be done in a day or two with the right tools and knowledge.
Before you tackle the job, there are a few things to consider: safety precautions, what materials to use, waste disposal rules and regulations, types of tools needed, and how to properly demarcate an area for demolition.
Safety should always come first when doing any kind of demolition work. Protective eyewear, including goggles and face masks, should be used at all times while handling hazardous substances such as dust particles or asbestos (if present). It is also important that proper ventilation is provided throughout the entire demolition process.
When selecting the materials to use, it is important to choose those that are suitable for the type of bathroom being demolished and the tools necessary to complete the job.
For example, if you are demolishing tile walls and floors, then you should select a hammer with a chisel head or an electric grinder to break apart the ceramic tiles quickly and safely. If you’re dealing with drywall, then utility knives may come in handy.
Consider also how you will dispose of demolition waste. Depending on your location, there may be certain regulations regarding what can be put into general trash pick-up containers or local recycling centers. It is important to familiarize yourself with these rules before starting any demolition project so that you can properly dispose of the materials.
10 Methods on How to Demo a Bathroom
1. Remove All Personal Items:
Before beginning to demo the bathroom, all personal items, such as toiletries and decorations, should be removed. This helps create a clean, organized workspace that is free of distractions. If necessary, place items in a storage container or bag to maintain order.
While keeping the items in sight, they should not interfere with the progress of the project. However, be sure to keep a record of all items that are moved. To save time, take this opportunity to discard any unnecessary items.
2. Turn off the Water
Supply. Before you start the demo, it’s essential to turn off the main water supply for your bathroom. This will help prevent any flooding or water damage that could occur during the demolition process. If you’re not sure how to shut off the main water supply, check the manual that came with your bathroom fixtures for instructions.
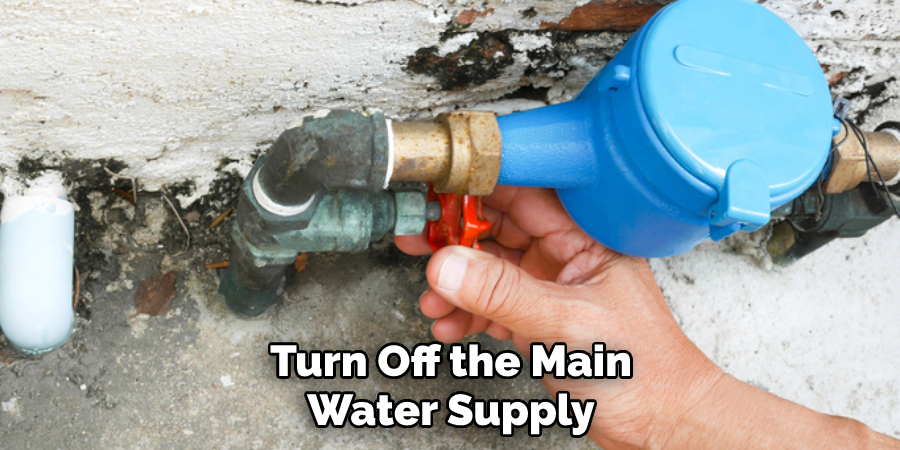
Additionally, you can always call a plumber to shut off the water supply for you. To be extra safe, you can open the faucets and flush toilets a few times to ensure no water remains in the pipes. However, make sure all the water has drained before you start tearing out fixtures. Make sure to keep any valves you remove and make notes of where they go so they can be reinstalled during the remodeling process.
3. Remove All Fixtures
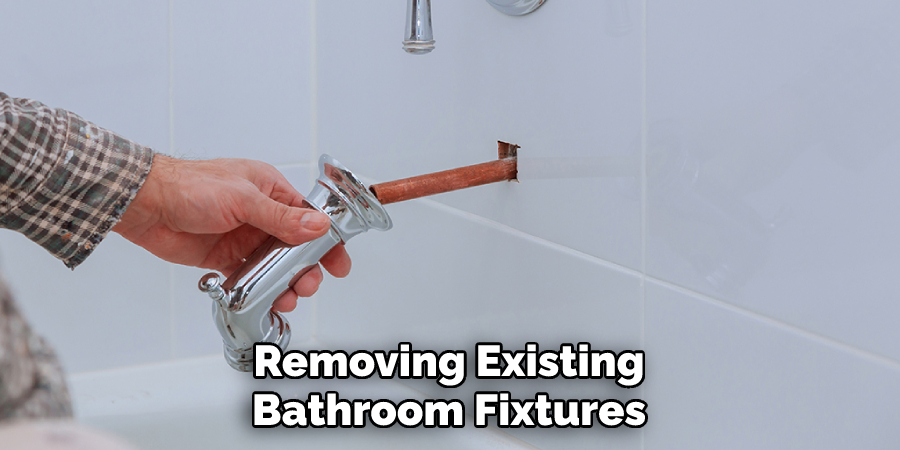
Once the room has been cleared, it is time to remove all fixtures, such as the sink, toilet, bathtub, etc. Begin by turning off the water lines for each fixture. Then, use specialized tools to disconnect them from the plumbing and remove them from the room. Make sure to save all the parts for future installation.
If the fixtures need to be replaced, dispose of them according to local regulations. To safely dispose of old materials, contact your local waste management service. While the fixtures are out of the room, inspect the walls and floors for any damage or areas that need to be repaired. Make sure to mark down any repairs that need to be done before reinstalling the fixtures.
4. Take out the Vanity
The vanity is typically the first item to be removed. To do this, turn off the water and disconnect any pipes or hoses connected to the sink. Then unscrew and remove the vanity from the wall or floor. Make sure to keep track of all components, as they will be needed for reinstallation.

Once the vanity is removed, it can easily be transported to its new location. To make things easier, you can use a utility cart or dolly. While the vanity is out, it’s a great opportunity to clean and inspect any plumbing and wiring connections. Try to make sure that the vanity is secure and that any liquids don’t damage it.
5. Rip out the Flooring
Once the vanity is removed, you can begin to demolish the floor. Depending on what type of flooring you have, you may need to use a power saw or chisel to remove it. If the flooring is tile, you’ll have to chip away at it with a chisel and hammer.
If the floor is made of vinyl or linoleum, you’ll need to use a razor blade to cut it into strips and peel them away. Be sure to wear protective gloves, glasses and mask as you work to protect yourself from any particles or dust that may be created. Once the floor is removed, you can begin to prepare the area for new flooring installation.
6. Remove Walls and Ceiling
Once the floor has been removed, the walls and ceiling can then be taken down. This should be done carefully, as the inner workings of the bathroom may be exposed. Consider taking pictures before and after for reference in case something needs to be replaced.
Pay attention to any areas that may need extra attention, such as electrical wiring or pipes. Once the walls and ceiling have been removed, it’s time for the installation of the new materials. If the walls are to be replaced, make sure that they are properly insulated as this will help keep the bathroom warm in cold weather.
7. Clear Out the Fixtures
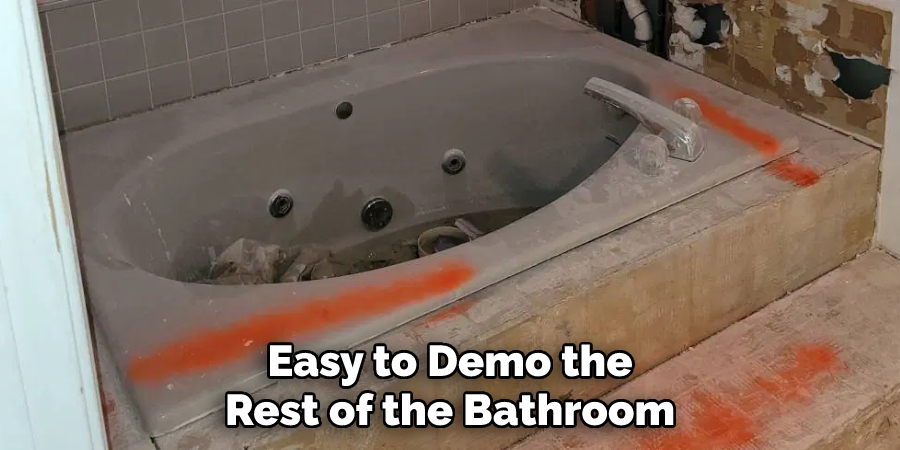
Once all of the walls and ceilings have been removed, it is important to clear out all of the fixtures, such as light fixtures, shower heads, and faucets. This will make it easy to demo the rest of the bathroom without having these items in the way.
Be sure to wear safety glasses and gloves when disconnecting items like these, as there is a risk of bodily harm. Use caution when removing any electrical components, such as wires and outlets. Once the fixtures have been cleared, you can move on to the next step of demoing your bathroom.
8. Dispose of the Waste
Once all of the fixtures and debris have been cleared, it is time to dispose of the waste. Depending on your locational regulations, you may need to have a professional come in and dispose of the hazardous materials. Most areas require that all waste is taken to an approved waste disposal location.
If you are unsure of the regulations in your area, contact your local government office for assistance. After all the waste is collected and taken to the appropriate disposal locations, your bathroom demo is complete!
9. Clean the Area
After disposing of the waste, it’s important to clean up any dust or debris that has been left behind. This will help ensure that the area is free of any particles that could interfere with the demo process. Use appropriate cleaning supplies, such as a vacuum cleaner, broom and mop, to make sure that the area is spotless.
Once all of the debris has been removed, you can move onto the next step. To prevent any unnecessary mess or contamination, make sure to wear protective gear such as gloves and goggles while cleaning.
10. Prepare the Room
Finally, it’s time to prepare your newly demolished bathroom for renovation. This may include patching up any holes in drywall, removing large debris, and sweeping the room. Once you’ve completed all these tasks, it’s time to begin the renovation process.
Depending on the scope of your project, you may need to hire a professional contractor or plumber to complete the job. As you move along the renovation, don’t forget to keep up with regular maintenance and cleaning to ensure that your newly renovated bathroom looks its best.
Conclusion
In conclusion, demolishing a bathroom is a complex process that requires plenty of preparation and know-how. It’s important to make sure you have the right materials and equipment on hand before getting started (and not skip any steps!).
Use these practical tips, along with additional advice from experienced contractors or seasoned DIYers, to help make your bathroom demolition project go as smoothly as possible. Good luck – it’s definitely not an easy job, but it can be managed with the right amount of foresight and caution. Now that you know more about how to demo a bathroom, you’re ready to get started!

