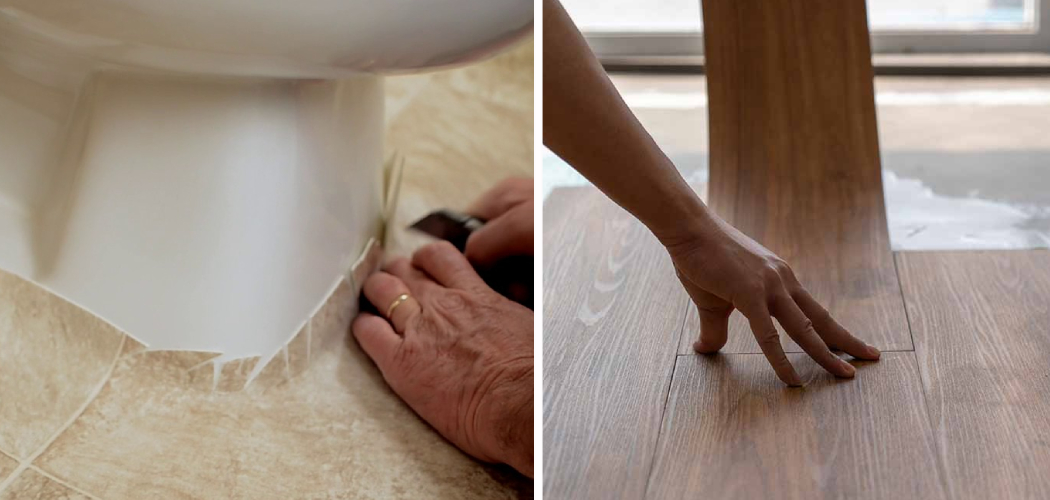
Laying linoleum flooring in a bathroom can transform the space, offering a fresh, clean look while being highly functional. This guide aims to equip you with the knowledge and steps necessary for installing linoleum flooring successfully, ensuring that you understand the process from start to finish. Whether you’re renovating or simply updating your bathroom’s look, learning how to lay lino in bathroom is a valuable skill that can save you time and money.
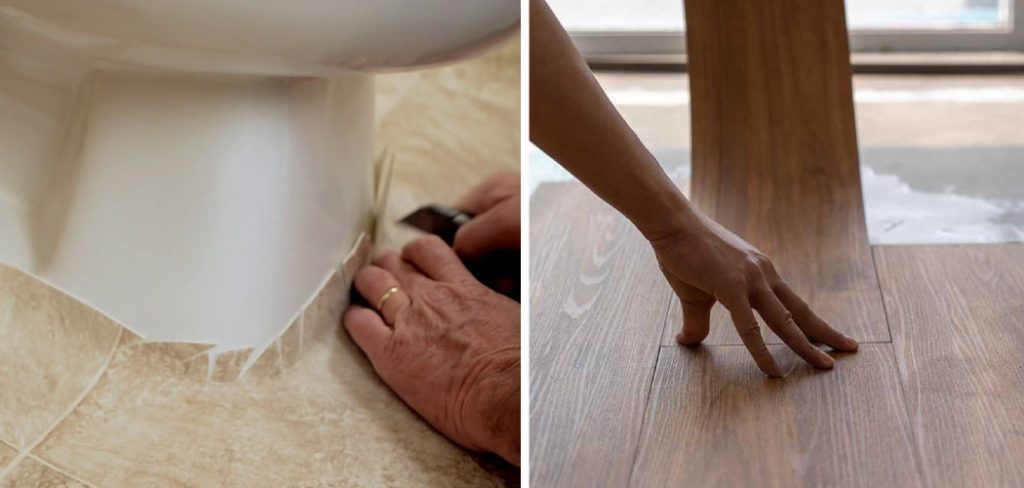
Linoleum flooring is celebrated for its durability, cost-effectiveness, and ease of installation and maintenance. It’s an eco-friendly option made from natural materials like linseed oil and cork dust, contributing to its biodegradability. Additionally, linoleum is water-resistant, making it ideal for a bathroom’s humid environment. Its versatility in design and color also means it can fit a wide range of bathroom styles.
The process of installing linoleum in a bathroom involves several key steps: preparing the bathroom and subfloor, measuring and cutting the linoleum, applying adhesive, and laying down the flooring. Each step requires attention to detail to ensure a smooth, durable installation. With the right tools and a bit of patience, learning how to lay lino in a bathroom can be a straightforward and rewarding DIY project.
Preparing the Bathroom
A. Clearing the Bathroom of Obstacles and Furniture
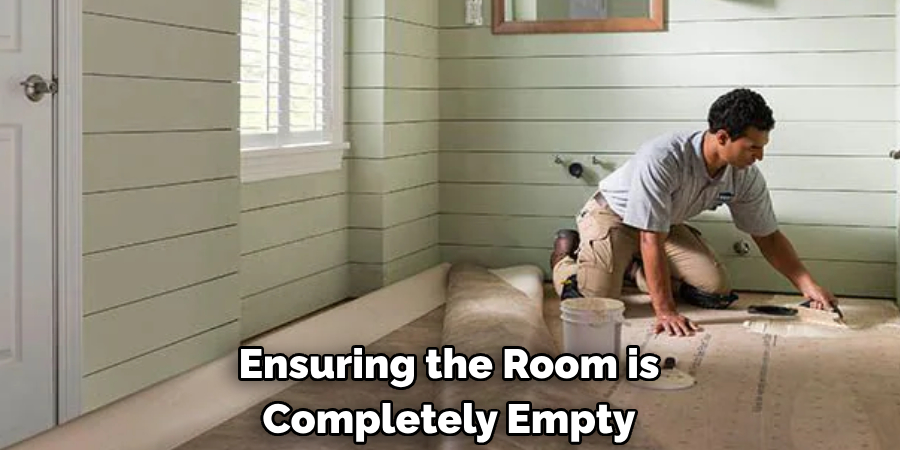
The first step in preparing for linoleum flooring installation is to clear the bathroom of any obstacles and furniture. This includes removing items such as the toilet, vanity, and any freestanding storage units. Ensuring the room is completely empty allows for easier access to the floor and prevents any damage to your bathroom fixtures.
B. Removing Existing Flooring Material
Next, you’ll need to remove the existing flooring material. This may involve peeling off old linoleum, lifting tiles, or scraping away adhesive remnants from previous installations. Removing all traces of the old floor is crucial to creating a clean slate for your new linoleum. Make sure to wear safety gear during this process to protect against dust and debris.
C. Ensuring a Clean and Smooth Subfloor
Once the old flooring is removed, thoroughly clean the subfloor to remove any dust, dirt, or adhesive residue. Inspect the subfloor for any damage, such as cracks, holes, or water damage. It may be necessary to repair these issues before proceeding. Achieving a clean and smooth subfloor is essential for a successful linoleum flooring installation, ensuring the new floor will lay flat and adhere properly.
Measuring and Cutting the Linoleum
A. Measuring the Bathroom Space Accurately
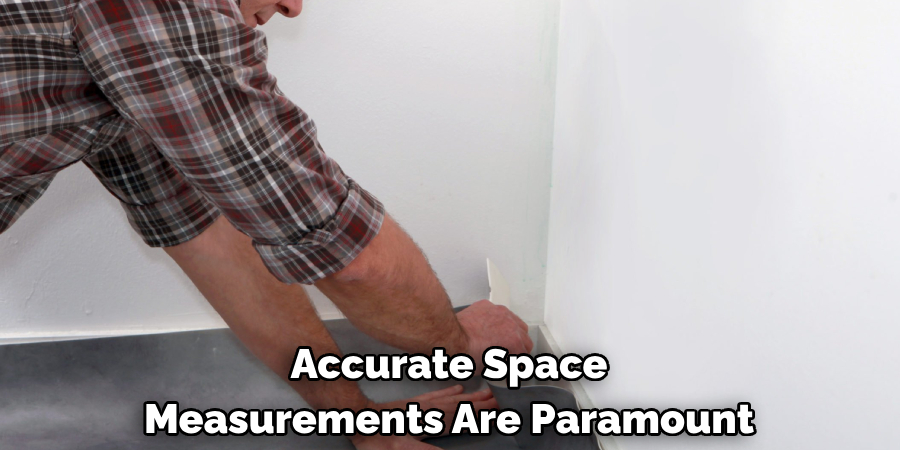
Accurate space measurements are paramount to ensure a professional finish when laying linoleum in your bathroom. Start by measuring the length and width of your bathroom floor in meters or feet, and multiply these numbers to get the total square footage. Remember to measure any alcoves or recesses, as these areas will require linoleum too. Purchasing a little extra material is always recommended to account for any mistakes or miscalculations.

B. Allowing for Expansion Gaps and Trim
When planning how to lay lino in a bathroom, allowing for expansion gaps around the room’s edges is crucial. Linoleum, like many flooring materials, can expand and contract with changes in temperature and humidity. A gap of about 1/8” (3mm) around the room’s perimeter is usually sufficient. These gaps will be covered by baseboard or trim after the installation, so they won’t be visible.
C. Cutting Linoleum Sheets to Fit Bathroom Dimensions
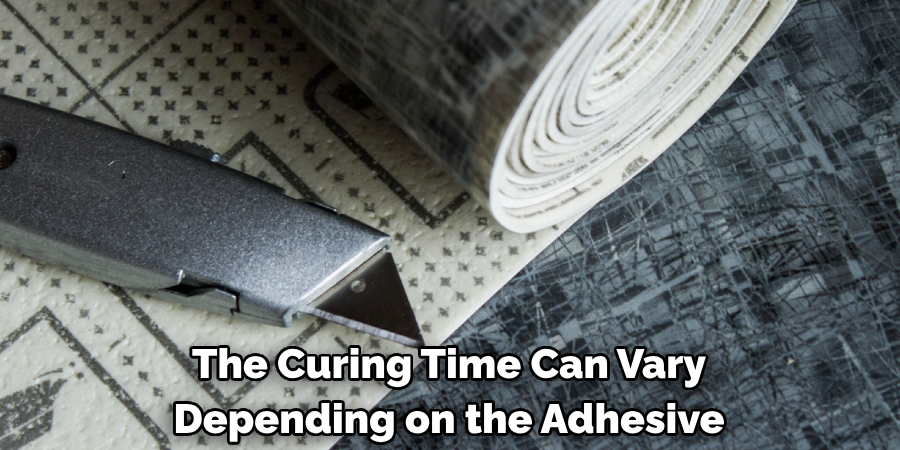
With your precise measurements in hand, it’s time to cut the linoleum sheets. Roll out your linoleum on a flat, clean surface larger than the material itself. Mark your measurements on the linoleum’s backing using a chalk line or straight edge. Use a sharp utility knife, making several passes to ensure a clean cut through the material. For more complex cuts, such as those around the toilet flange or doorways, create a template with paper or cardboard for accuracy. Always cut linoleum in a well-ventilated area to avoid inhaling any dust or particles.
Applying Adhesive
A. Choosing the Right Adhesive for Linoleum Flooring
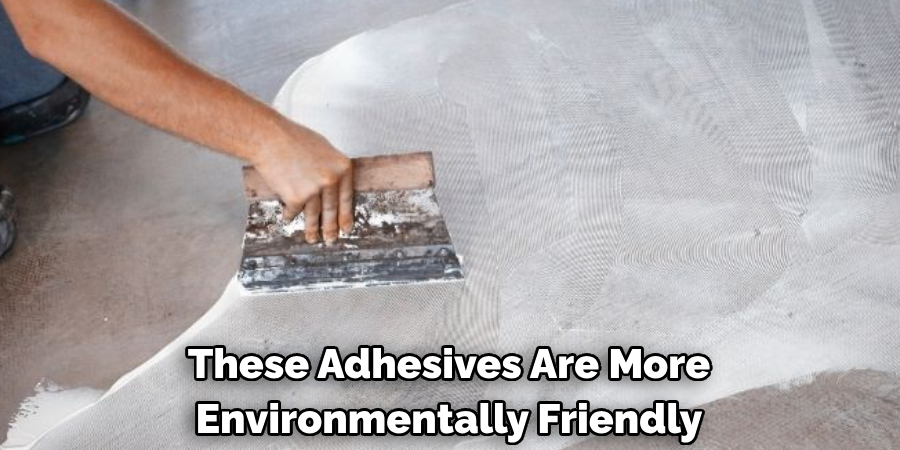
Selecting the appropriate adhesive is a critical step in the process of how to lay lino in bathroom. Not all adhesives are suitable for linoleum, and using the wrong type can lead to issues down the line such as peeling or bubbling. For linoleum flooring, it’s advisable to use a solvent-free adhesive specifically designed for linoleum installations. These adhesives are more environmentally friendly, ensure a strong bond, and are less likely to cause discoloration or damage to the flooring.
B. Applying Adhesive to the Subfloor Using a Notched Trowel
Once the right adhesive has been selected, the next step is to apply it to the subfloor. This task requires a notched trowel, which ensures an even adhesive application across the surface. Start at the furthest corner from the door and spread the adhesive in small, manageable sections to maintain control of the application. The notches on the trowel create ridges in the adhesive, which are crucial for ensuring effective adhesion and allowing for the expansion and contraction of the linoleum. Work systematically, covering the entire floor but leaving the expansion gaps adhesive-free.
C. Allowing Adhesive to Cure Proper Tackiness
After applying the adhesive, allowing it to cure until it reaches the correct tackiness before laying the linoleum is essential. The curing time can vary depending on the adhesive brand, room temperature, and humidity levels, so it’s important to refer to the manufacturer’s instructions. Typically, this can take anywhere from 15 to 30 minutes. The adhesive should be tacky to the touch but should not transfer to your fingers. Placing the linoleum onto adhesive that is too wet can result in weak adhesion while waiting too long can make the adhesive too dry to form a strong bond. Achieving the right level of tackiness is crucial for a successful installation.
How to Lay Lino in Bathroom: Installing Linoleum Flooring
A. Positioning the First Sheet of Linoleum Carefully
The initial step in installing linoleum flooring is to position the first sheet of linoleum accurately. Begin by aligning one corner of the linoleum with the corner of the bathroom, taking special care to ensure that it is perfectly square with the room. This is crucial as it sets the precedent for the remaining sheets. Gradually unroll the linoleum, making sure there are no twists or creases. If you’re working with cut pieces for specific areas, check that each piece fits correctly in its designated space before applying any pressure.
B. Pressing Down on Linoleum to Ensure Proper Adhesion
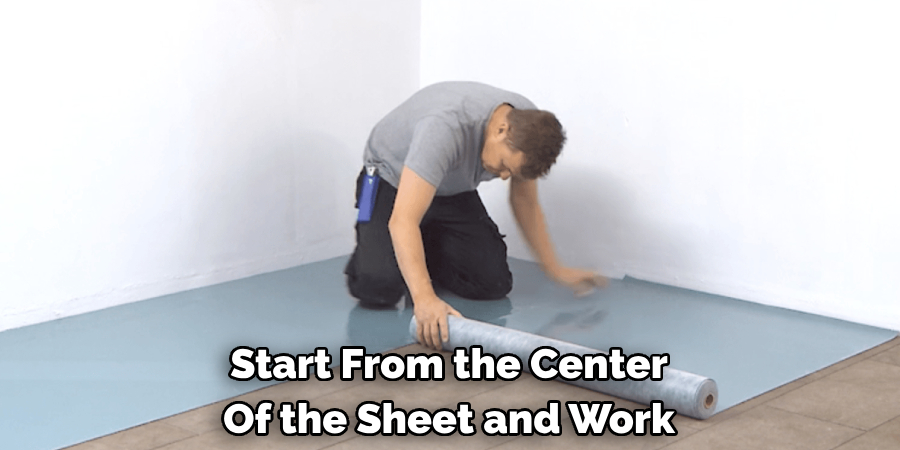
Once the linoleum is correctly positioned, the next step is pressing it down to ensure it adheres firmly to the adhesive below. Start from the center of the sheet and work your way outwards to eliminate any air bubbles trapped beneath the surface. A roller or clean broom can apply even pressure across the linoleum, ensuring a smooth, flat surface. Pay special attention to the edges and corners, pressing them into place securely to guarantee a tight bond with the adhesive.
C. Continuing Installation Row by Row
After securing the first sheet of linoleum, continue with the next piece, positioning it closely to the first to minimize gaps. Ensure that the pattern (if applicable) matches up between sheets, creating a seamless look across the floor. Repeat the process of rolling or pressing down on each new piece to ensure full adhesion, aligning all edges correctly and smoothly. Continue this process, working row by row until the entire bathroom floor is covered. Remember to leave the expansion gaps around the edges untouched, as these will be covered with baseboard or trim after the installation is complete.
Laying linoleum flooring in your bathroom rejuvenates the space and provides a durable and water-resistant surface. By following these meticulous but straightforward steps, homeowners can achieve a professional-looking finish, enhancing their bathroom’s overall aesthetics and functionality.
How to Lay Lino in Bathroom: Trimming and Fitting Around Fixtures
A. Cutting Linoleum to Fit Around Toilet Flange and Other Fixtures
Once the linoleum flooring is laid out, precise trimming around the toilet flange, sink piping, and other fixtures is crucial for a neat installation. Measure the base of these fixtures carefully, and use a compass or a cardboard template to replicate the linoleum’s exact size and shape. When cutting, leave a slight allowance for a snug fit. A sharp utility knife is essential for these intricate cuts, as it allows for precision and reduces the risk of tearing the material. Making several smaller cuts can be more manageable for complex shapes than a single continuous cut.

B. Ensuring Tight and Seamless Edges
Achieving tight and seamless edges around fixtures and at the room’s perimeter enhances the professional look of your linoleum flooring. It prevents water and moisture from seeping underneath, which is crucial in a bathroom setting. Use a roller or a soft mallet to firmly press the linoleum into place around these areas. For added protection, you can apply a thin bead of waterproof caulk around the base of fixtures. This not only secures the linoleum further but also provides a watertight seal.
C. Checking for Proper Fit and Adjusting as Necessary
Inspect thoroughly after trimming and fitting the linoleum around the fixtures to ensure every piece fits perfectly. Pay close attention to the edges and corners — these are areas where mistakes are most noticeable. If any sections of the linoleum are not laying flat or showing gaps, gently lift the piece and reapply the adhesive or trim excess material as needed. It might take a few adjustments to get a perfect fit, especially around complex fixtures or in uneven bathroom areas. Once satisfied with the fit, applying pressure or rolling over the linoleum one final time will help secure it into place, ensuring a smooth, professional finish that will last for years.
Cleaning Up
A. Removing Excess Adhesive and Trimmings
After completing the installation and fitting of your new linoleum flooring, the next important step is cleaning up. Begin by carefully removing any excess adhesive that has squeezed out from under the linoleum sheets or that may have been accidentally applied to the top surface. A damp cloth can effectively wipe away wet adhesive, while a putty knife or plastic scraper may be needed for dried spots. Next, collect and dispose of all the leftover trimmings and cuttings. Ensuring the area is clear of debris provides a clean, professional finish and prepares the space for the project’s final steps.
B. Wiping Down the Linoleum Surface to Remove Dust and Debris
Once all the excess adhesive and trimmings are removed, the next task is thoroughly wiping down the linoleum surface. Use a soft, damp mop or cloth to gently clean the floor, removing any dust, dirt, or debris that may have accumulated during installation. Using a non-abrasive cleaner is important to avoid scratching or damaging the new flooring. This step not only enhances the floor’s appearance but also provides an opportunity to inspect the linoleum for any unnoticed imperfections or issues that may require attention.
C. Allowing Flooring to Set and Cure Completely
The final step in the installation process is to allow your new linoleum flooring to set and cure properly. This involves giving the adhesive enough time to dry completely and ensuring the linoleum is securely bonded to the subfloor. The curing time can vary based on the adhesive used, room temperature, and humidity levels; however, it typically ranges from 24 to 48 hours. Avoid walking on or placing furniture on the flooring during this time to prevent shifting or bubbling. Once the floor has fully cured, you can replace furniture and fixtures, leaving the space refreshed and revitalized.
Maintenance and Care
Proper maintenance and care are crucial for extending the life of your linoleum flooring and keeping it looking its best. Following a few simple guidelines can help preserve the appearance and durability of your new floor.
A. Sweeping or Vacuuming Regularly to Remove Dirt and Debris
Regularly removing dirt and debris prevents scratches and wear on your linoleum flooring. Use a soft-bristled broom or a vacuum with a hard floor attachment to gently sweep or vacuum the floor. This should be done daily or as often as necessary, depending on the area’s foot traffic level. Keeping the floor clean maintains its appearance and contributes to a healthier indoor environment.
B. Mopping with Mild Soap and Water for Routine Cleaning
Mopping your linoleum floor with mild soap and lukewarm water is recommended for routine cleaning. Use a soft mop or cloth to avoid scratching the surface. Be sure to wring out the mop thoroughly to prevent excess water from seeping into the seams, which could damage the adhesive or the subfloor. Cleaning with a gentle, pH-neutral cleaner will help maintain the floor’s luster and prevent dulling.
C. Avoiding Harsh Chemical Cleaners to Preserve Linoleum Finish
It’s important to avoid harsh chemical cleaners, as they can strip the linoleum’s natural finish, leaving it looking dull and lifeless. Abrasive cleaners, strong alkaline solutions, or those containing ammonia should be avoided. If you encounter a stubborn stain, apply a small amount of a mild cleaning solution directly to the stain and gently rub it with a soft, damp cloth. Always test any cleaner in an inconspicuous area before applying it to the entire floor. Proper care and maintenance will ensure your linoleum flooring remains beautiful and functional for years to come.
Troubleshooting and Tips
Effective troubleshooting can address common issues that may arise during or after the linoleum flooring installation process. Here are some tips for managing these challenges:
A. Dealing with Bubbles or Wrinkles in Linoleum
Occasionally, bubbles or wrinkles might appear in the linoleum, often due to trapped air or improper adhesive application. To rectify this, pierce a small hole in the bubble’s center with a needle to release the trapped air. Then, moderate pressure, working from the center towards the edges, is applied to flatten the bubble. If the issue persists or the bubble is large, carefully lift the affected area, reapply the adhesive, and smooth it down.
B. Using Heat Gun or Hairdryer to Soften Linoleum for Easier Installation
Working with linoleum can sometimes be challenging, especially if it’s stiff or hard to manipulate. A practical tip is to use a heat gun or a hairdryer to gently heat the linoleum, making it more pliable and easier to work with. This is particularly useful for fitting linoleum around corners or complex shapes. Ensure to apply heat evenly and avoid overheating, as excessive heat can damage the linoleum.
C. Seeking Professional Help for Complex Installations or Issues
While DIY linoleum flooring installation is achievable, certain situations may call for professional intervention. Hiring a professional might be your best bet if you encounter complex underfloor conditions, severe leveling issues, or persistent problems that cannot be resolved through troubleshooting. Expert flooring contractors have the experience, tools, and knowledge to tackle difficult installations and to ensure your linoleum flooring is installed correctly and to the highest standards.
Conclusion
This comprehensive guide has walked you through the critical steps of how to lay lino in bathroom, from preparing the subfloor to the maintenance and care of your new linoleum flooring. Each step, whether it be measuring and cutting the linoleum, applying adhesive, or ensuring the flooring sets and cures properly, plays a vital role in achieving a professional and durable finish.
Linoleum flooring is an excellent choice for bathrooms due to its water-resistant properties, durability, and ease of cleaning. Additionally, its versatility in design and color options allows for a personalized touch to any bathroom decor. The eco-friendly nature of linoleum made from natural materials also contributes to a healthier indoor environment.
To ensure a successful linoleum installation in your bathroom, always start with a clean, smooth, and dry subfloor. Remember, accurate measurements and careful cutting are crucial for a snug fit. Novice DIYers wondering how to lay lino in bathroom should not hesitate to seek advice from professionals when faced with complexities. Finally, patience during curing ensures the adhesive bonds effectively, resulting in a stunning and long-lasting bathroom floor.

