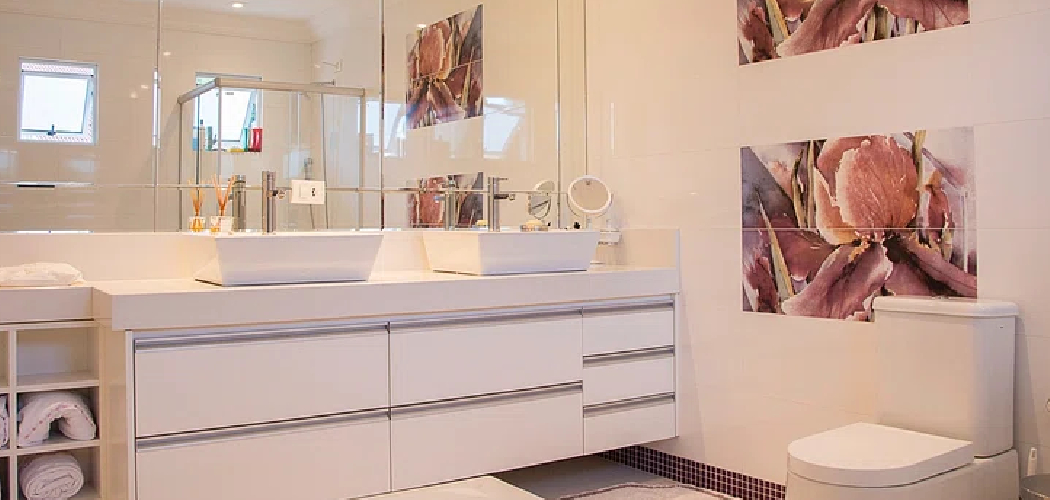
If you’re tired of the outdated, dull mirror in your medicine cabinet, or if it’s cracked or broken, it may be time to replace it. Replacing a medicine cabinet mirror is a simple and cost-effective way to update the look and functionality of your bathroom. In this tutorial on how to replace medicine cabinet mirror, we’ll guide you through the steps to successfully replace your medicine cabinet mirror.
Necessary Items
Before you begin, make sure you have all the necessary items on hand to complete the job. You will need:
- A new mirror that fits your medicine cabinet
- Measuring tape
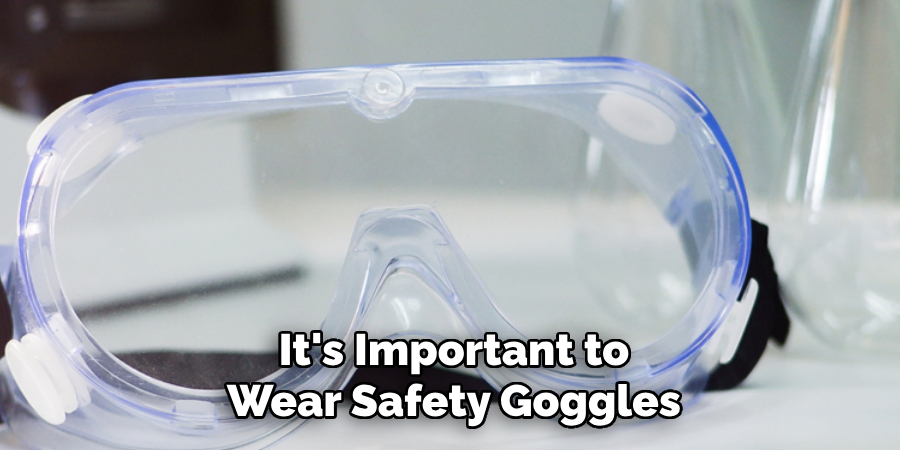
- Safety goggles
- Gloves
- Screwdriver or power drill with screwdriver attachment
- Painter’s tape
- Adhesive or silicone caulk
12 Steps on How to Replace Medicine Cabinet Mirror
Step 1: Measure the Existing Mirror
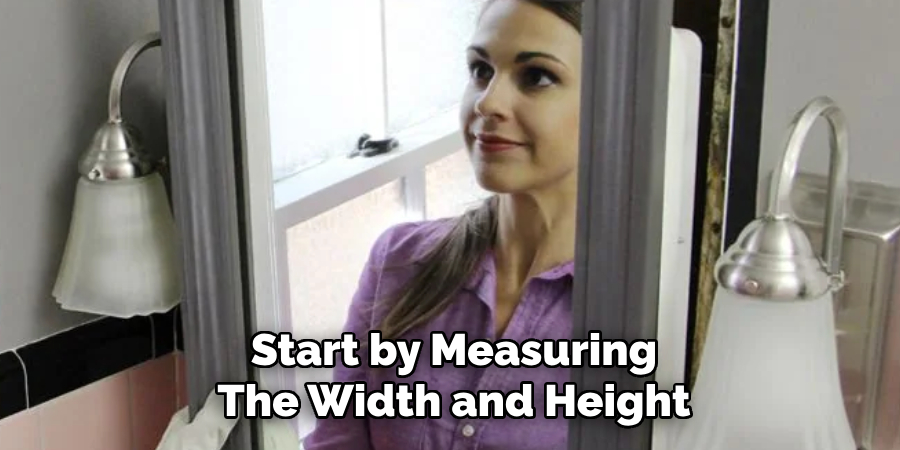
Start by measuring the width and height of your existing mirror. This will help you determine what size replacement mirror you need to purchase. So, before you go shopping for a new mirror, make sure you have the correct measurements.
Step 2: Purchase a Replacement Mirror
Now that you know the size of your existing mirror, it’s time to purchase a replacement. You can find medicine cabinet mirrors at most home improvement stores or online retailers. Make sure to choose a mirror that is the same size as your existing one or slightly smaller to ensure it will fit inside the cabinet.
Step 3: Prepare Your Work Area
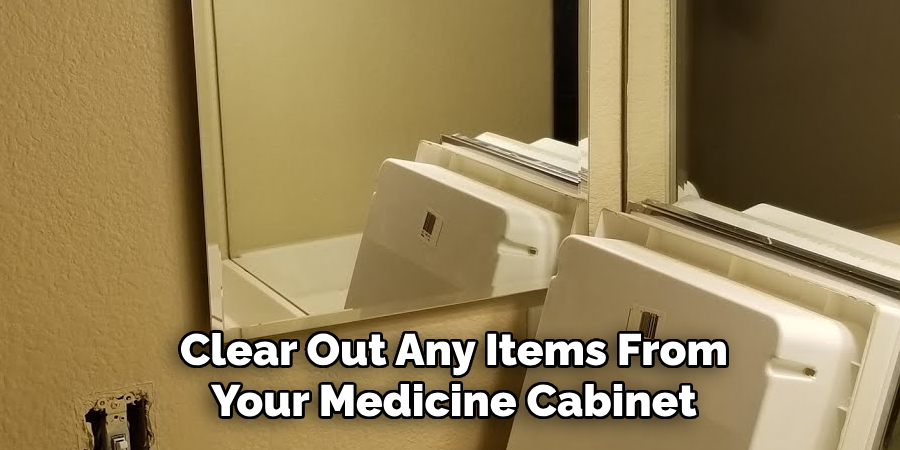
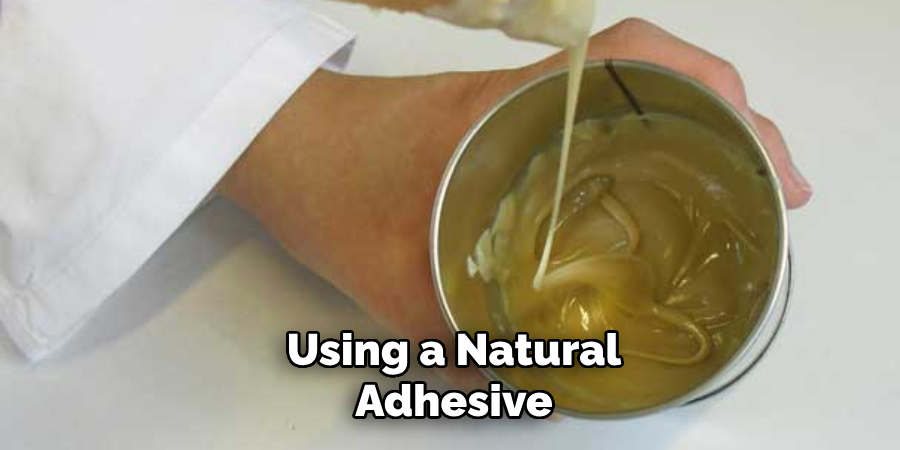
Before you start working, clear out any items from your medicine cabinet and lay down a towel or drop cloth to protect your countertop or vanity. It’s also a good idea to open a window for ventilation. Even if you’re using a natural adhesive, the fumes can be strong.
Step 4: Wear Protective Gear
Put on safety goggles and gloves to protect yourself from any broken glass or sharp edges. Safety should always come first when handling glass. While accidents are rare, it’s better to take precautions.
Step 5: Remove the Old Mirror
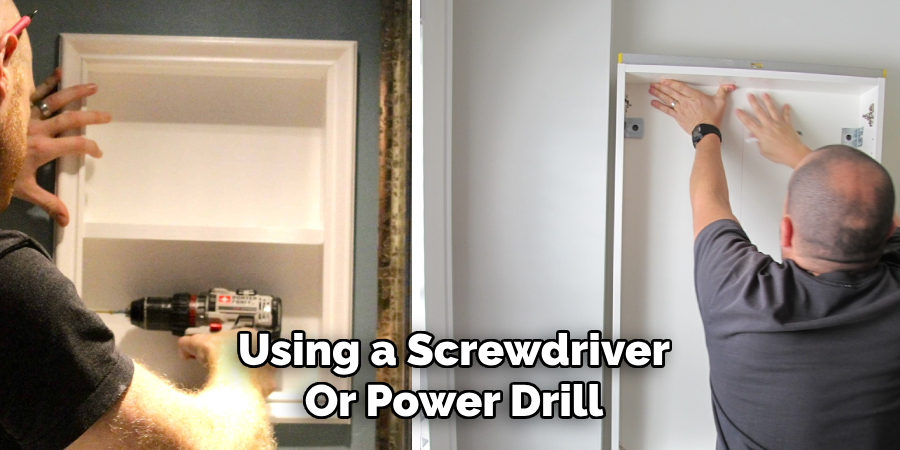
Using a screwdriver or power drill, remove the screws that hold your old mirror in place. If there is adhesive securing the mirror, gently pry it off with a putty knife. Carefully remove the old mirror and set it aside.
Step 6: Clean the Inside of the Cabinet
Before installing your new mirror, take a moment to clean the inside of the medicine cabinet. You can use a mild cleaner or vinegar and water solution to remove any dirt or residue. Let it dry completely before moving on to the next step.
Step 7: Apply Adhesive or Caulk
If your new mirror comes with adhesive strips, simply follow the manufacturer’s instructions to apply them to the back of the mirror. If your new mirror does not come with adhesive, you can use silicone caulk instead. Apply a small amount in a zig-zag pattern on the back of the mirror.
Step 8: Position the New Mirror
Gently place the new mirror inside the cabinet and press it firmly against the back wall. If using caulk, make sure it is evenly distributed and press down slightly to secure it in place. Also, make sure the mirror is level before moving on to the next step.
Step 9: Secure the Mirror
If your new mirror comes with clips or brackets, use a screwdriver to attach them to the cabinet. If using caulk, let it dry completely for at least 24 hours before putting any items back inside the cabinet.
Step 10: Remove Excess Adhesive or Caulk
If using caulk, once it’s dry, use a putty knife to remove any excess adhesive around the edges of the mirror. This will give your new mirror a clean and finished look. Even if you use adhesive strips, it’s a good idea to run your finger along the edge of the mirror to ensure it’s securely in place.
Step 11: Clean Up
Carefully remove any remaining painter’s tape and wipe down the outside of the cabinet with a damp cloth. Dispose of any broken glass or old caulk safely. Even if you use adhesive strips, it’s a good idea to run your finger along the edge of the mirror to ensure it’s securely in place.
Step 12: Enjoy Your New Mirror
Congratulations, you have successfully replaced your medicine cabinet mirror! Admire your new mirror and enjoy the updated look and functionality it brings to your bathroom. Remember to properly dispose of any old materials and to always prioritize safety when handling glass.
Replacing a medicine cabinet mirror may seem like a daunting task, but with the right tools and steps, it can be done quickly and easily. With just a few simple steps, you can update the look and functionality of your bathroom without breaking the bank. So why live with an outdated or broken mirror any longer?
Follow these 12 easy steps and enjoy your new, refreshed medicine cabinet mirror. Keep in mind that this tutorial can also be applied to any other type of cabinet or mirror replacement project, so don’t hesitate to use these skills for future DIY projects around your home.
9 Safety Measures to Follow when Replacing a Medicine Cabinet Mirror
1) Wear Protective Gear
As mentioned earlier, it’s important to wear safety goggles and gloves when handling glass. This will protect you from any potential accidents or injuries. Also, make sure to wear closed-toe shoes to avoid any broken glass pieces getting stuck in your feet.
2) Use a Sturdy Ladder or Step-stool
When removing and installing the mirror, make sure to use a sturdy ladder or step-stool for reach. Avoid standing on countertops or furniture that may not be stable enough to support you. If you are uncomfortable with heights, consider asking a friend or family member to assist you.
3) Clear the Work Area
Before starting the project, clear out any items from the medicine cabinet and surrounding area. This will prevent anything from getting in your way or getting damaged during the process. Even if you’re using adhesive strips, it’s better to be safe than sorry and remove any items from the cabinet.
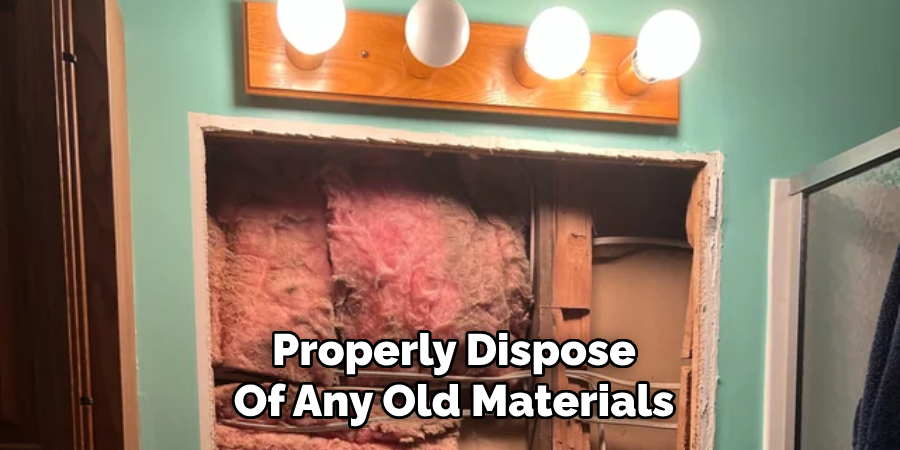
4) Properly Dispose of Old Materials
When removing the old mirror, make sure to handle broken glass or old caulk safely. Use gloves and a dustpan to carefully pick up any broken pieces and dispose of them in a sturdy trash bag. If using caulk, make sure to dispose of any old tubes or materials properly.
5) Ventilate the Room
Whether you’re using a natural adhesive or silicone caulk, it’s important to have proper ventilation in the room. Open a window or turn on a fan to avoid inhaling strong fumes while working. This will also help the adhesive or caulk to dry faster.
6) Follow the Manufacturer’s Instructions
If your new mirror comes with adhesive strips, be sure to follow the manufacturer’s instructions for proper application. This will ensure that the mirror is securely in place and prevent any accidents or damages. If using silicone caulk, read the directions carefully and apply them evenly for the best results.
7) Double Check for Levelness
Before securing the mirror in place, make sure to double-check that it is level. A crooked or uneven mirror can be not only aesthetically displeasing but also potentially hazardous. Use a level tool for accuracy.
8) Take Breaks if Needed
Replacing a medicine cabinet mirror may seem like a quick and easy task, but don’t hesitate to take breaks if needed. This will prevent fatigue and allow you to work more efficiently and safely. While taking breaks, make sure to properly store any tools or materials to avoid accidents.
9) Ask for Help if Necessary
If, at any point during the process, you feel overwhelmed or uncomfortable, don’t hesitate to ask for help. Don’t risk your safety attempting something beyond your capabilities. Reach out to a friend or family member for assistance, or consider hiring a professional for the job. Safety should always be the top priority when handling any DIY project.
By following these safety measures, you can ensure a smooth and accident-free experience while replacing your medicine cabinet mirror. Remember to always prioritize safety and take necessary precautions to protect yourself and those around you. Happy DIY-ing! So why live with an outdated or broken mirror any longer?
8 Things to Avoid when Replacing a Medicine Cabinet Mirror
1) Rushing the Process
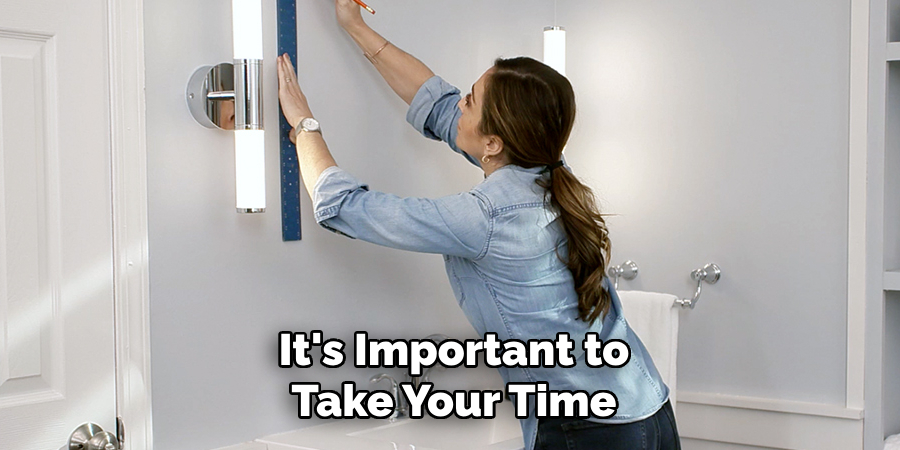
Although replacing a medicine cabinet mirror may seem like a simple task, it’s important to take your time and follow the steps carefully. Rushing can lead to mistakes or accidents, so make sure to give yourself enough time to complete the project properly.
2) Not Wearing Protective Gear
As mentioned earlier, it’s important to wear safety goggles and gloves when handling glass. Not wearing protective gear can lead to injuries or accidents, so make sure to prioritize your safety. While it may seem unnecessary, it’s better to be safe than sorry.
3) Using Improper Tools
Using the wrong tools can not only make the process more difficult but also increase the risk of accidents or damages. Make sure to use appropriate tools for each step and handle them with care. Some tools may require special training or experience, so consider seeking professional help if necessary.
4) Installing a Damaged Mirror
If the new mirror you purchased is damaged or cracked, do not attempt to install it. This can be dangerous and could result in further damage or injuries. Inspect the mirror before starting the project and return it if necessary.
5) Not Properly Cleaning the Surface
Before attaching the new mirror, make sure to clean the surface of any debris or residue. This will ensure that the adhesive or caulk properly adheres and prevents any loose particles from getting stuck under the mirror.
6) Using Excessive Force
When removing the old mirror or working with tools, avoid using excessive force. This can cause damage to the cabinet or result in injuries. Instead, use gentle and controlled movements for a safe and successful project.
7) Neglecting to Securely Attach the Mirror
Properly securing the mirror is crucial for safety reasons, as well as for longevity. Avoid cutting corners or skipping steps when attaching the mirror to ensure it stays in place and doesn’t become a hazard in the future.
8) Not Following Proper Disposal Methods
Once the project is completed, make sure to dispose of any old materials properly. This includes tools, packaging, and old mirror pieces. Improper disposal can be harmful to the environment and potentially hazardous for others. Follow proper recycling or disposal methods to ensure a safe and environmentally-friendly project.
By avoiding these mistakes on how to replace medicine cabinet mirror, you can successfully replace your medicine cabinet mirror without any accidents or complications. Remember to prioritize safety and take necessary precautions throughout the entire process.
8 Additional Tips for Replacing a Medicine Cabinet Mirror
1) Measure Twice, Cut Once
Before making any cuts or installations, make sure to double-check your measurements. This will prevent any mistakes and ensure that the mirror fits properly in the cabinet. As the saying goes, measure twice and cut once.
2) Use a Stud Finder
If you are installing a large or heavy mirror, it’s important to find and attach it to the studs in the wall for added support. Use a stud finder tool to locate the studs and mark them before attaching the mirror.
3) Consider Using Caulk Instead of Adhesive Strips
While adhesive strips may be the easier option, using silicone caulk can provide a stronger and more long-lasting hold. Consider using caulk for added durability and security. More caulk tips can be found in step 6 of the original content.
4) Add a Small Amount of Vaseline to the Screws
To prevent screws from getting stuck or breaking, add a small amount of Vaseline to the threads before screwing them into place. This will make it easier to remove the screws in the future if needed.
5) Use a Damp Cloth to Clean Up Any Excess Adhesive or Caulk
If any adhesive or caulk spills onto the mirror or surrounding area, use a damp cloth to clean it up immediately. Once dried, these substances can be difficult to remove and may affect the appearance of your mirror.
6) Keep Children and Pets Away from the Work Area
To ensure their safety and prevent any distractions, keep children and pets away from the work area during the project. This will also prevent them from accidentally coming into contact with any tools or materials.
7) Don’t Dispose of Old Materials Until the Project is Completed
In case anything goes wrong during the installation process, it’s important to keep the old materials until the project is completed. This will allow you to easily compare and make any necessary adjustments.
8) Have a First Aid Kit Handy
Accidents can happen, even with the best precautions in place. Make sure to have a well-stocked first aid kit nearby, just in case. It’s better to be prepared and have it on hand rather than scrambling to find one in case of an emergency.
With these additional tips on how to replace medicine cabinet mirror, you can have a successful and safe experience while replacing your medicine cabinet mirror. Remember to prioritize safety and take necessary precautions throughout the entire process.
Frequently Asked Questions
Can I Replace the Mirror Without Removing the Entire Cabinet From the Wall?
In most cases, it is possible to replace the mirror without removing the entire cabinet. However, it may depend on the specific design and installation of your medicine cabinet. Refer to the manufacturer’s instructions or seek professional help if you are unsure.
How Often Should I Replace My Medicine Cabinet Mirror?
There is no set time frame for when you should replace your medicine cabinet mirror. However, if it becomes cracked, damaged, or difficult to clean, it may be time for a replacement. It’s also a good idea to replace the mirror if it has become outdated or doesn’t match the aesthetic of your bathroom.
Can I Use a Different Type of Mirror for Replacement?
As long as the mirror fits properly in your medicine cabinet and is securely attached, you can use any type of mirror for replacement. Consider factors such as weight, thickness, and adhesive options when choosing a new mirror to ensure it will work well with your cabinet.
Should I Seek Professional Help for Replacing My Medicine Cabinet Mirror?
If you are unsure about any aspect of the replacement process or feel uncomfortable handling tools and working with mirrors, it’s best to seek professional help. This will ensure a safe and successful outcome without risking any damage or injuries.
Conclusion
Replacing a medicine cabinet mirror may seem like a daunting task, but with the right precautions and techniques, it can be done easily and safely. Avoiding common mistakes, following additional tips on how to replace medicine cabinet mirror, and being prepared will ensure a successful project. Remember to prioritize safety and take necessary precautions throughout the entire process for the best results. So go ahead and confidently tackle that outdated or damaged mirror and enjoy a refreshed look in your bathroom.

