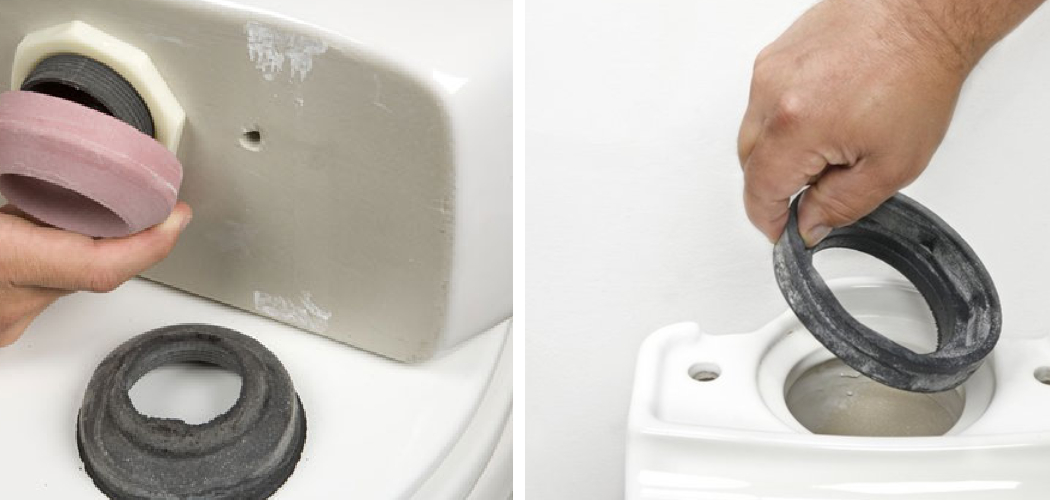
Are you tired of constantly hearing the sound of water running in your toilet tank? It could be due to a faulty toilet tank gasket. Replacing a worn-out gasket can help save water and prevent potential leaks that could damage your bathroom floor.
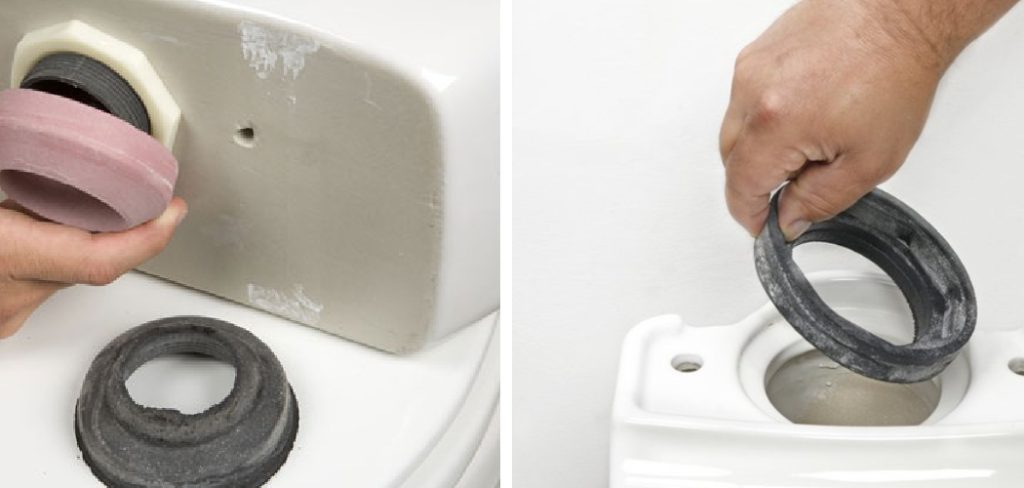
Replacing a toilet tank gasket is necessary when you start noticing leaks between the toilet tank and bowl. This seemingly small issue can lead to water damage and increased water bills if not addressed promptly. Fortunately, with the right tools and a bit of patience, this is a DIY project that most homeowners can tackle over a weekend.
This guide will walk you through the steps on how to replace toilet tank gasket, and complete the replacement process efficiently. Whether you’re a seasoned DIY enthusiast or a novice looking to save on plumbing costs, this guide promises to make the process straightforward and hassle-free.
What are the Importance of Replacing a Toilet Tank Gasket?
Replacing a worn-out toilet tank gasket is essential for maintaining the overall functionality and efficiency of your toilet. Here are some reasons why it’s important to replace the gasket when needed:
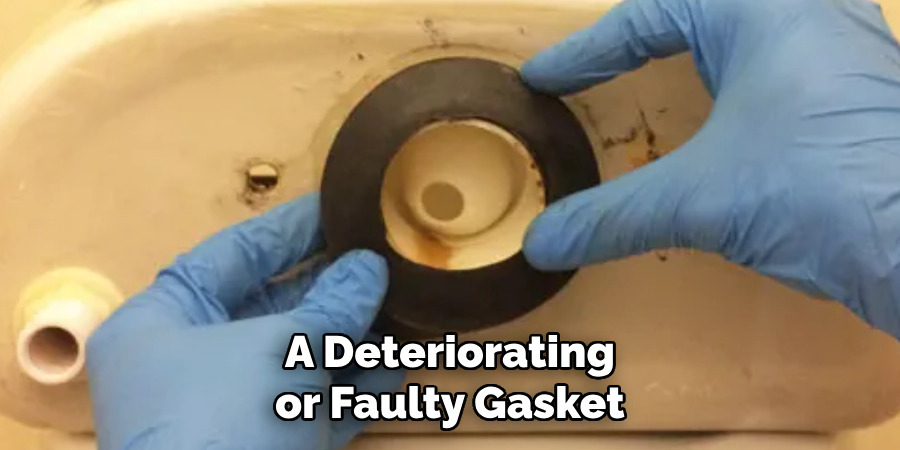
- Stops Leaks: A deteriorating or faulty gasket can cause leaks between the toilet tank and bowl, leading to water wastage and potential damage to your bathroom floor.
- Prevents Mold Growth: A leaking toilet tank can create a moist environment, breeding ground for mold and mildew. Replacing the gasket helps prevent this issue and ensures a healthy and hygienic bathroom.
- Saves Money on Water Bills: A constantly running toilet due to a faulty gasket can significantly increase your water bills. By replacing the gasket, you can save money and conserve water.
- Maintains Toilet Efficiency: A properly functioning gasket ensures a tight seal between the tank and bowl, allowing for efficient flushing and preventing unnecessary water wastage.
- Easy DIY Project: Replacing a toilet tank gasket is a relatively simple and inexpensive DIY project that requires basic tools and minimal plumbing knowledge.
These are just a few reasons why replacing a toilet tank gasket is crucial for maintaining the overall functionality and efficiency of your toilet.
Tools and Materials Needed
Before starting the replacement process, make sure to gather all necessary tools and materials. Here’s a list of what you’ll need:
- Replacement toilet tank gasket
- Adjustable wrench
- Flathead and Phillips screwdrivers
- Towels or rags
- Bucket or small container
Once you have all the necessary tools and materials, it’s time to start replacing your toilet tank gasket.
10 Easy Steps on How to Replace Toilet Tank Gasket
Step 1: Turn Off the Water Supply
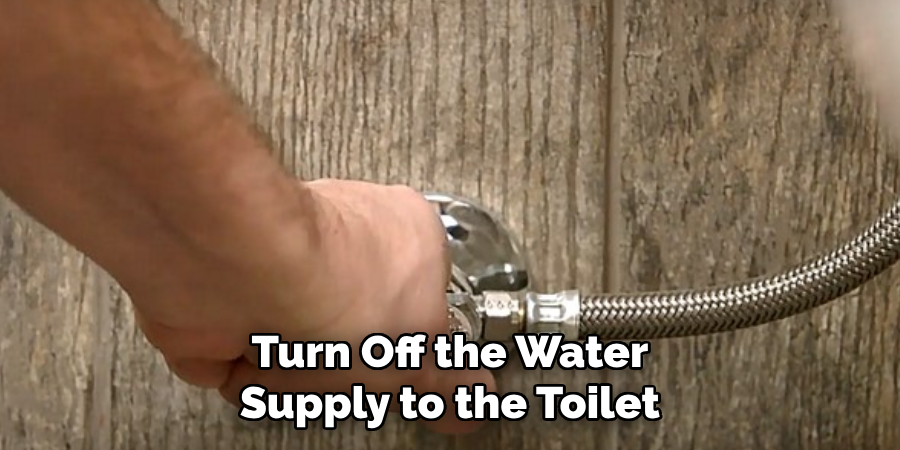
The first step is to turn off the water supply to the toilet. This can be done by turning off the valve behind or beside the toilet. If you can’t find a dedicated valve for your toilet, you can turn off the main water supply to your house.
Step 2: Drain the Tank
After turning off the water supply, flush the toilet to drain as much water as possible from the tank. You may need to hold the flush lever down to ensure most of the water is emptied out. Once flushed, a small amount of water will still be left at the bottom of the tank. Use towels or a sponge to soak up and remove this remaining water.
If necessary, have a bucket or small container handy to dispose of the water without making a mess. This step is crucial for keeping your work area dry and preventing accidental water spillage during gasket replacement.
Step 3: Disconnect the Water Supply Line
With the tank emptied, the next step is to disconnect the water supply line from the bottom of the toilet tank. This is typically done with an adjustable wrench. Carefully loosen and remove the connection. Be prepared for a small amount of water to drip out once you disconnect the line, so having a towel or bucket handy can help manage any spills. Ensure the connection is completely detached to allow for the removal of the toilet tank in the following steps.
Step 4: Remove the Tank Bolts
Now that the water supply line has been disconnected, locate the bolts that secure the toilet tank to the bowl. These are usually found at the bottom of the tank and can be accessed from underneath. Use an adjustable wrench and a screwdriver to hold the bolt head in place while you unscrew the nut from below.
There may be two or three bolts, depending on your toilet model. Remember to keep the nuts, bolts, and washers in a safe place, as you may need them to secure the tank after replacing the gasket. If the bolts are corroded and difficult to remove, applying a penetrating oil can help loosen them. Proceed with caution to avoid cracking the tank or bowl.
Step 5: Lift Off the Tank
With the tank bolts removed, you can now carefully lift the toilet tank off the bowl. It’s a good idea to enlist the help of a second person, as toilet tanks can be heavy and awkward to handle alone. Lift the tank straight up and then set it aside on a flat, stable surface to avoid damage or cracking.

Make sure to place it on a towel or rag to prevent any remaining water from spilling onto your floor. This step exposes the old gasket, allowing you to assess its condition and prepare for the installation of the new one.
Step 6: Remove the Old Gasket
Once the toilet tank is safely removed and set aside, locate the old gasket. It’s typically positioned at the bottom of the tank, around the opening that sits above the bowl. Carefully pry the old gasket away from the surface. If it’s been in place for a long time, removing it may require a bit of effort due to deterioration or a buildup of minerals.
Once removed, take a moment to clean the area where the gasket was seated, removing any residue or buildup that could impede the sealing of the new gasket. A clean surface is essential for a secure, leak-free fit. Dispose of the old gasket appropriately.
Step 7: Install the New Gasket
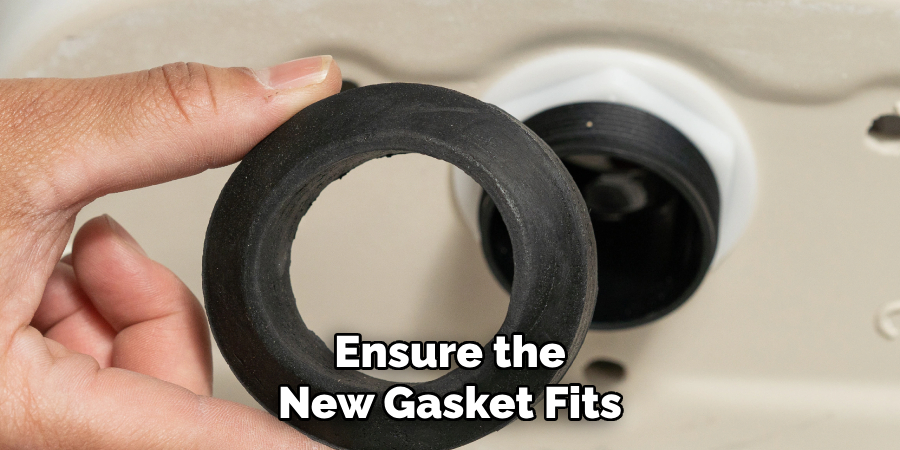
With the area clean, it’s time to install the new gasket. Place your replacement toilet tank gasket around the opening at the bottom of the tank, ensuring it sits evenly and securely. The gasket must be aligned properly to avoid any leaks or water waste in the future. Press down gently to ensure it is fitted snugly against the surface.
If necessary, refer to the gasket’s packaging or instructions for any specific installation guides or tips that may apply to your toilet model. A properly installed gasket will create a tight and effective seal, preventing water from leaking between the tank and bowl.
Step 8: Reattach the Tank
Now, carefully lift the toilet tank and align it back on top of the bowl. Ensure the new gasket fits neatly into the opening above the bowl. Once in position, reinsert the tank bolts through the holes at the bottom of the tank and initially tighten them by hand. Then, using the adjustable wrench and screwdriver, continue to tighten the bolts while being careful not to over-tighten, as this could crack the porcelain. Tightening the bolts evenly by alternating between them is recommended to ensure a level and secure fit.
Step 9: Reconnect the Water Supply Line
With the tank securely in place, reconnect the water supply line to the bottom of the toilet tank. At first, hand-tighten the connection, then use the adjustable wrench to fasten it securely without overtightening to avoid damaging the valve or the line.
Ensure the connection is leak-free by placing a towel beneath it as you gradually turn the water supply back on. This will help you spot any drips or leaks immediately.
Step 10: Test the Flush and Check for Leaks
Finally, turn the water supply valve back on and allow the tank to fill. Once full, flush the toilet several times to ensure everything is working correctly and that there are no leaks between the tank and bowl or at the supply line connection. Check around the base of the toilet for any sign of water leakage.
It may be necessary to make minor adjustments to the tank bolts or the water supply line connection to achieve a perfect seal. Your gasket replacement is complete once you have confirmed there are no leaks and the toilet flushes efficiently.
By following these steps, you can easily replace the toilet tank gasket and keep your bathroom functioning properly.
5 Additional Tips and Tricks
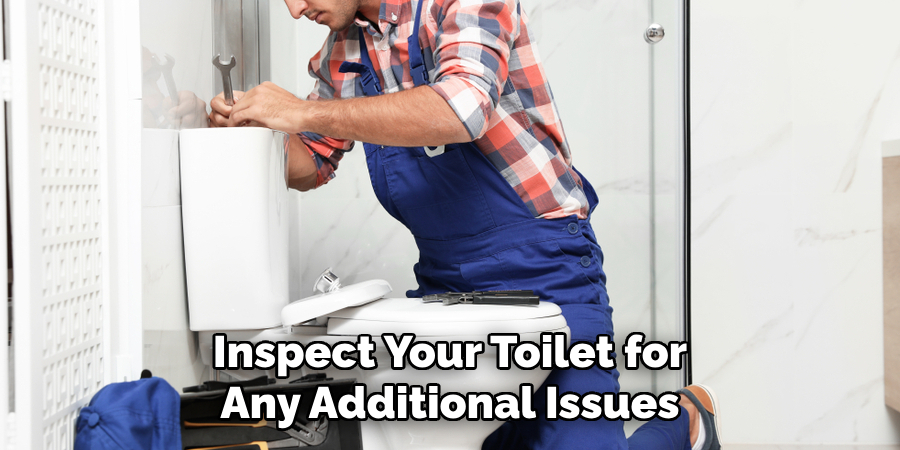
- Pre-Inspection: Before starting the gasket replacement, inspect your toilet for any additional issues, such as cracks in the tank or bowl, which may require professional help or a complete toilet replacement.
- Proper Tools Preparation: Ensure you have all the necessary tools ready before you begin. This includes a pair of gloves, a bucket, towels, an adjustable wrench, a screwdriver, and penetrating oil for rusted bolts.
- Avoid Over-Tightening: When reassembling the tank onto the bowl and reconnecting the water supply, ensure you securely tighten the bolts and connections, but avoid over-tightening. This can prevent potential damage to the porcelain or fittings.
- Sealant Option: In some cases, applying a thin layer of silicone sealant around the new gasket before installation can provide a layer of leakage protection. Make sure to check the gasket manufacturer’s recommendations before applying any sealant.
- Regular Maintenance Check: After replacing the gasket, it’s a good practice to regularly check your toilet for any signs of leaks. This includes inspecting the base of the toilet and the connection points periodically, which can help prevent future leaks and water damage.
With these additional tips and tricks, you can confidently tackle gasket replacement on your own and ensure your toilet remains in proper working condition.
5 Things You Should Avoid When Replacing a Toilet Tank Gasket
- Ignoring Manufacturer’s Instructions: Every toilet model may have slightly different specifications. Avoiding the manufacturer’s instructions can lead to improper gasket installation, which may result in leaks or damage.
- Overlooking Gasket Compatibility: Not all gaskets are universal. Ensure you avoid choosing a replacement gasket solely based on appearance. Always select a gasket that is compatible with your toilet model to ensure a proper fit and seal.
- Reusing Old Hardware: While it may be tempting to reuse old bolts and nuts to save time or money, this can lead to issues down the line. Avoid reusing old, potentially corroded hardware to ensure a secure and leak-free installation.
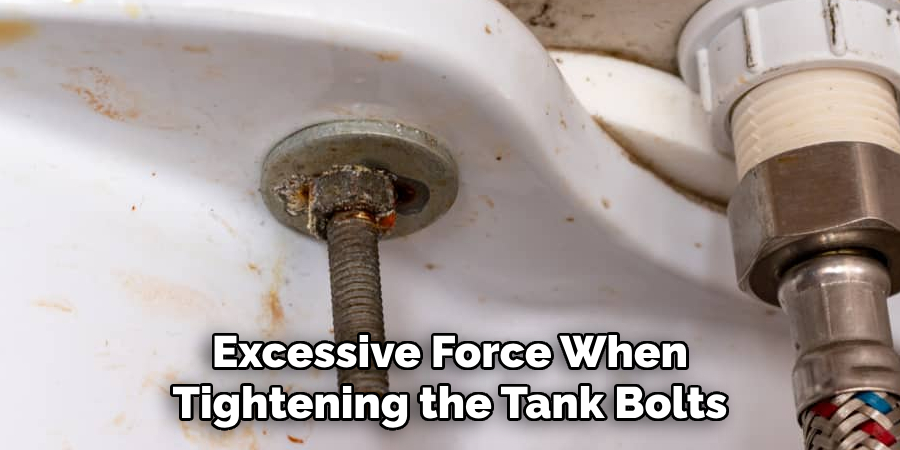
- Overtightening Bolts: Applying excessive force when tightening the tank bolts can crack the porcelain of the toilet tank or bowl. Avoid overtightening by using a hand to feel the tension and ensure an even and secure fit without excess force.
- Skipping Leak Tests: After the gasket is replaced and the toilet is reassembled, skipping the leak test can lead to water damage over time. Avoid ignoring this crucial step. Conduct multiple flush tests and check for leaks to ensure a successful gasket replacement.
By avoiding these common pitfalls, you can ensure a smooth and successful toilet tank gasket replacement process, keeping your bathroom facilities in optimal condition.
How Do You Know if Your Toilet Tank Gasket is Bad?
A few signs may indicate a faulty or worn-out toilet tank gasket. These include:
- Constantly Running Water: If you hear your toilet constantly running even after flushing, it could be a sign of a bad gasket. The gasket helps maintain the proper seal between the tank and bowl, and if it is damaged or deteriorating, it can cause water to continuously leak into the bowl.
- Water Leaking Around the Base of the Toilet: If you notice water pooling around the base of your toilet, it could be a sign of a faulty gasket. The gasket helps create a seal between the tank and bowl, and if it is damaged or worn out, it can allow water to leak out.
- Visible Cracks or Leaks in the Gasket: Over time, the rubber material of the gasket can deteriorate, crack, or become misshapen. If you notice any visible damage to the gasket, it is likely time for a replacement.
- Toilet Wobbling or Loose: A bad gasket can also cause the toilet to become loose or wobbly. The gasket helps secure the tank to the bowl; if it is damaged, it can lead to an unstable toilet.
If you notice any of these signs, it may be time to replace your toilet tank gasket to avoid potential water damage or further issues with your toilet.
What are the Causes of a Bad Toilet Tank Gasket?
There are several reasons why a toilet tank gasket may become faulty or damaged over time. These include:
- Age and Wear: The most common cause of a bad toilet tank gasket is simply age and natural wear and tear. Over time, the rubber material can deteriorate due to constant exposure to water and chemicals in the tank.
- Hard Water Deposits: If your home has hard water, mineral deposits can build up in the tank and damage the gasket, leading to cracks or leaks over time.
- Misalignment During Installation: If the tank bolts or connections are not properly aligned during installation, it can put pressure on certain areas of the gasket and cause damage or improper sealing.
- Chemical Cleaners: Harsh chemical cleaners can also damage the gasket’s rubber material and lead to deterioration over time. It is recommended to use mild, non-abrasive cleaners for toilet maintenance.
By understanding the potential causes of a bad toilet tank gasket, you can take preventative measures and ensure proper installation and maintenance to prolong the gasket’s lifespan.
Do Toilet Gaskets Dry Out?
Yes, toilet gaskets can dry out over time and become less effective. This is especially true for older gaskets or those exposed to harsh chemicals or hard water deposits. It is important to regularly check your gasket for signs of wear and replace it if necessary to prevent leaks and potential water damage.
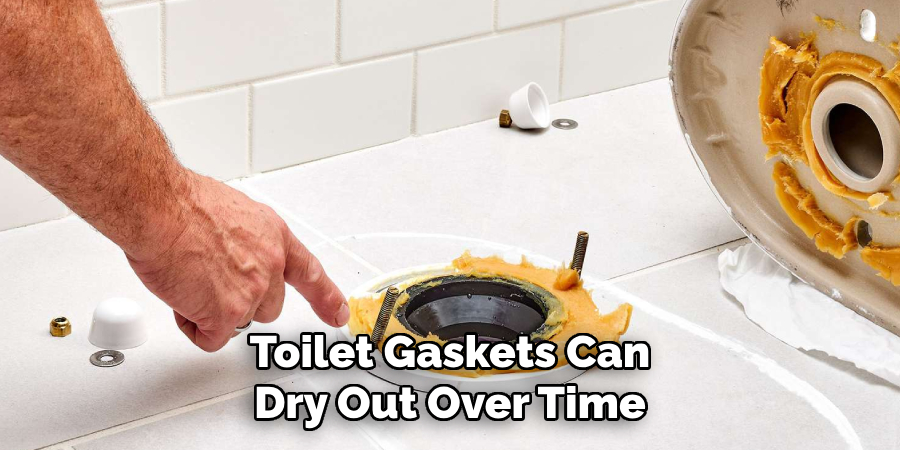
Additionally, using gentle cleaning products and avoiding over-tightening during installation can help prolong the lifespan of your gasket. With regular maintenance and proper care, you can prevent your toilet gasket from drying out and ensure a secure and leak-free seal between the tank and bowl.
Conclusion
How to replace toilet tank gasket can seem daunting, but with the right preparation and attention to detail, it’s a manageable task for most homeowners. The key steps involve shutting off the water supply, draining the tank, removing the tank, replacing the gasket, and carefully reassembling the components while avoiding common pitfalls like overtightening bolts and ignoring leak tests.
Remembering to check the gasket’s compatibility and using fresh hardware can further ensure a successful replacement. Regular maintenance, including occasional checks for wear and prompt replacement of a faulty gasket, can prevent leaks and save water and money over time.
Armed with these insights and a cautious approach, replacing a toilet tank gasket can be a straightforward part of maintaining your home’s plumbing health.
Hopefully, this guide has provided helpful information and tips for successfully replacing a toilet tank gasket.

