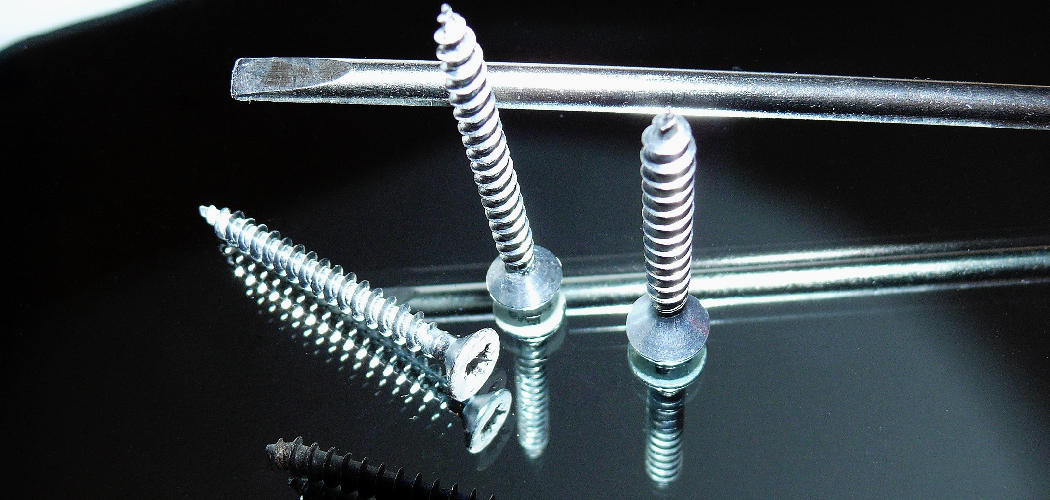
Removing a set screw from a shower handle is a common task that may be necessary for various reasons, such as repairing a leaky faucet or replacing the handle with a new one. However, dealing with set screws can be tricky if you’re unfamiliar with the process. Set screws are small, threaded fasteners that are typically used to secure handles or knobs to faucet stems or cartridges.
In this guide, we’ll explore the steps on how to remove set screw from shower handle, regardless of whether it’s stuck or corroded. From using the right tools and techniques to applying lubricants and exercising patience, we’ll provide comprehensive instructions to help you successfully tackle this task and complete your bathroom maintenance or upgrade project with ease.
Importance of Removing a Set Screw for Shower Handle
Proper removal of the set screw from a shower handle is an essential step in the maintenance or upgrade of bathroom fixtures. It serves as the primary mechanism that secures the handle to the faucet’s stem, which in turn controls water flow and temperature. Failure to remove the set screw correctly can lead to several problems. It can result in damage to the shower handle or faucet, making the situation worse and potentially increasing repair costs.
Furthermore, a stuck or corroded set screw can prevent you from accessing the internal components of the faucet, hindering your ability to perform essential repairs such as replacing worn out parts or fixing leaks. Thus, understanding how to efficiently and safely remove the set screw is crucial for anyone looking to maintain or enhance the functionality and lifespan of their shower fixtures.
Identifying the Set Screw
Before attempting to remove the set screw from your shower handle, it’s vital to correctly identify it among other components. A set screw is typically a tiny, threaded bolt, often found at the base or side of the handle. It may be hidden under a decorative cap or label, which can usually be gently pried off or twisted open, revealing the set screw beneath.
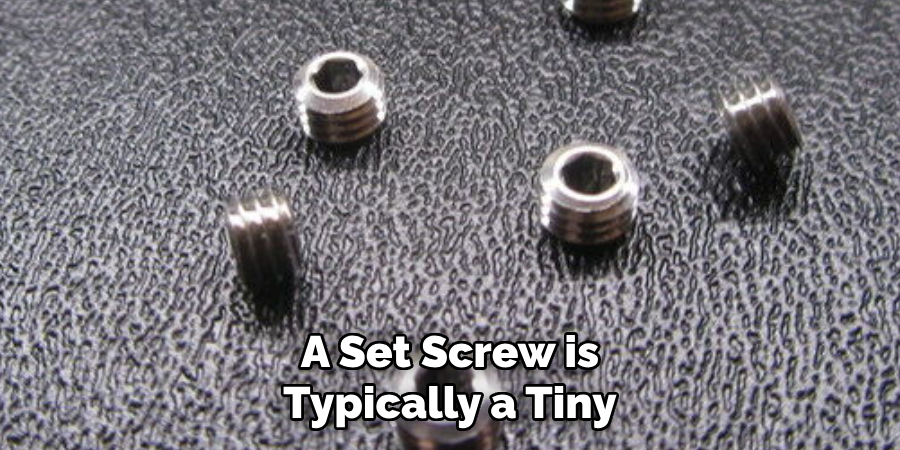
In some shower handles, the set screw might be more visible, requiring no removal of caps or covers to access it. Identifying it correctly is crucial; this ensures that you are manipulating the correct component without inadvertently damaging other parts of your shower fixture. Knowing the set screw’s location and appearance aids in selecting the appropriate tools for removal, paving the way for a smoother maintenance process.
Understanding the Purpose of The Set Screw in Securing the Handle
The set screw plays a pivotal role in the structural integrity and functionality of a shower handle. Its primary purpose is to secure the handle firmly to the stem or cartridge, which allows for the control of water flow and temperature adjustments. Without the set screw, the handle would lack stability, possibly leading to imprecise control or even detachment during use.
This small but crucial component ensures that the handle remains attached to the faucet’s main body, preventing accidental or unwanted movement. Understanding this purpose is essential for anyone looking to maintain or repair their shower fixtures, as it underscores the importance of both the set screw’s presence and the need for its proper installation and removal.
Tools and Materials Needed
Before beginning the process of removing a set screw from your shower handle, it’s essential to gather all necessary tools and materials to ensure a smooth and efficient operation. Here is a list of items you will need:
- Hex Keys or Allen Wrenches: These are used to turn hexagonal set screws. Having a set with various sizes is beneficial because set screws can come in different sizes.
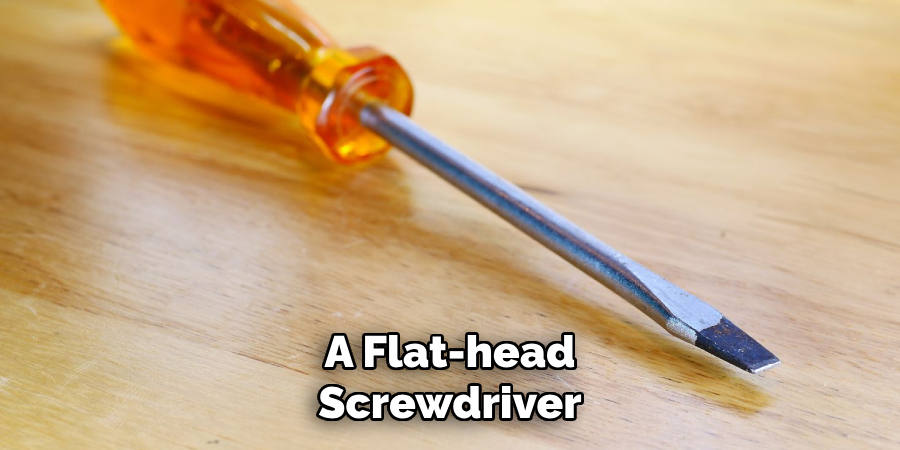
- Screwdrivers: A flat-head screwdriver and a Phillips-head screwdriver may be needed, depending on the type of set screw or if there are any other screws involved in attaching the handle.
- Penetrating Oil: This helps in loosening a stuck or corroded set screw. Apply and allow it to sit for several minutes before attempting removal.
- Tweezers or Needle-nose Pliers: These can be helpful in removing any decorative caps or labels that cover the set screw.
- Clean Cloth: Used to clean the area around the set screw and to wipe away any excess penetrating oil.
- Flashlight: Helps in better visualizing the set screw, especially if it’s located in a poorly lit area.
- Safety Glasses: Optional but recommended to protect your eyes from any debris or chemical splashes.
Having these tools and materials ready before you start will not only save time but also prevent any unnecessary interruptions during the process.
Importance of Using the Correct Size and Type of Tool
The successful removal of a set screw from a shower handle largely depends on the use of the correct size and type of tool.
Using a tool that is too small or too large can strip the head of the set screw, rendering it nearly impossible to remove without specialized equipment. Stripped screws complicate the repair or maintenance task at hand, leading to increased frustration and potentially causing damage to the shower handle or faucet.
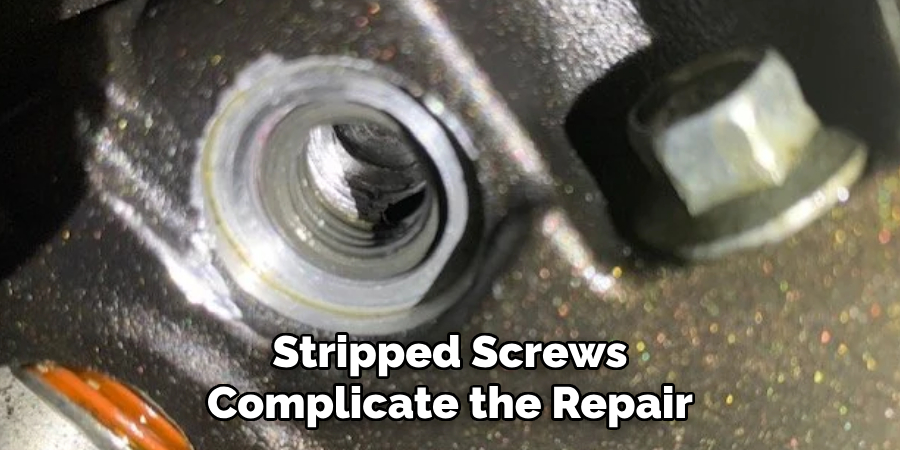
Similarly, the type of tool used is equally crucial. For instance, employing a standard flat-head screwdriver when the job calls for a hex key or Allen wrench can cause irreparable damage to the set screw and the surrounding area. This not only complicates the task further but may also necessitate the replacement of the entire shower handle or faucet unit, leading to unnecessary expenses.
Furthermore, the material and quality of the tool matter as well. Tools made from robust, durable materials apply the necessary torque without breaking or bending, which ensures a smooth removal process.
Thus, taking the time to select the appropriate size and type of tool is not just a preliminary step; it is a critical part of ensuring the maintenance or repair process is conducted efficiently, safely, and without causing damage to your bathroom fixtures.
10 Methods How to Remove Set Screw from Shower Handle
1. Identify the Set Screw Location:
Before attempting to remove the set screw, locate its position on the shower handle. Set screws are typically found either on the side of the handle or underneath a decorative cap. Use a flashlight if necessary to inspect the handle and identify the set screw’s location.
2. Choose the Right Tool:
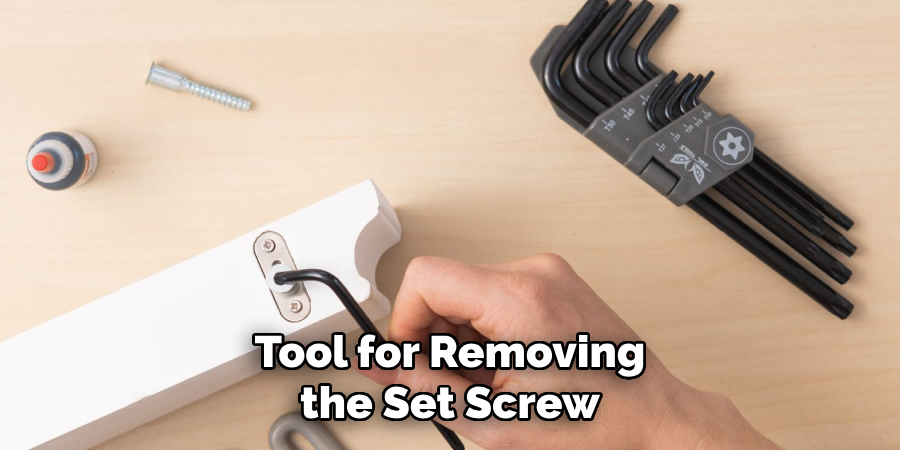
Select the appropriate tool for removing the set screw based on its size and type. A hex key or Allen wrench is commonly used for set screws with hexagonal heads, while a screwdriver may be suitable for slotted or Phillips-head screws. Ensure the tool fits securely into the screw head to prevent stripping or damaging it.
3. Apply Penetrating Oil:
If the set screw is stuck or difficult to turn, apply a penetrating oil such as WD-40 or PB Blaster to help loosen it. Spray the oil directly onto the set screw and allow it to penetrate for several minutes. The lubricating properties of the oil will help dissolve rust and corrosion, making it easier to remove the screw.
4. Heat the Set Screw:
Stubborn set screws can often be loosened by applying heat. Use a heat gun or a hairdryer on the lowest heat setting to warm the area around the set screw. Heat expands the metal, which may help break the bond between the screw and the handle. Be cautious not to overheat the handle, as excessive heat can damage the finish or surrounding components.
5. Use a Screw Extractor:
If the set screw is severely stuck or stripped, a screw extractor tool can be used to remove it. Drill a small hole into the center of the set screw using a drill bit slightly smaller than the extractor. Insert the extractor into the hole and turn it counterclockwise using a wrench or pliers to grip and remove the screw.
6. Tap the Set Screw:
Lightly tapping the set screw with a hammer or mallet can sometimes help dislodge it. Use a small punch or screwdriver to tap the screw head in the direction opposite of its threading. This can help break any corrosion or rust bonds holding the screw in place, making it easier to turn.
7. Apply Mechanical Force:
In some cases, applying mechanical force may be necessary to remove a stubborn set screw. Use a pair of locking pliers or vice grips to grip the head of the screw firmly. Apply steady pressure while turning the pliers or grips counterclockwise to loosen the screw. Be careful not to apply too much force, as this can damage the screw or surrounding components.
8. Soak in Vinegar Solution:
Vinegar is an acidic solution that can help dissolve rust and corrosion on metal surfaces. Create a vinegar solution by mixing equal parts vinegar and water in a container. Submerge the shower handle with the set screw into the solution and let it soak for several hours or overnight. The vinegar will help loosen the screw and make it easier to remove.
9. Use a Tapping Tool:
A tapping tool, also known as a tap wrench or tap handle, can be used to manually turn the set screw. Insert the appropriate size tap into the screw head and turn it counterclockwise using the handle. The threads on the tap will grip the screw and help remove it from the handle. This method is especially useful for stuck or stubborn set screws.
10. Seek Professional Assistance:
If all else fails or if you’re uncomfortable attempting to remove the set screw yourself, consider seeking professional assistance from a plumber or handyman. Professionals have the experience and tools necessary to safely and effectively remove stubborn set screws without causing damage to the shower handle or surrounding components.
Reassemble and Test the Shower Handle
Once the stubborn or stuck set screw has been successfully removed, it is crucial to carefully reassemble the shower handle. Ensure that all parts are clean and free from any corrosion or debris. Apply a small amount of lubricant, such as silicone grease, to the threads of the set screw before reinserting it. This can help prevent future issues with sticking or corrosion.
Tighten the set screw securely, but avoid over-tightening, which could damage the handle or make future removal difficult. Finally, test the shower handle to ensure that it is securely attached and functioning properly. Regular maintenance, such as cleaning and periodic lubrication, can help avoid similar issues in the future and prolong the life of your shower handle.
Considerations for Specific Handle Types
When removing set screws from shower handles, it’s important to consider the specific type of handle involved, as the approach may vary.
Single-Lever Handles: These often require a special tool or a specific size of hex key to remove the set screw. It is usually located under a decorative cap on the handle’s side or front. Exercise caution not to lose the small parts contained within.
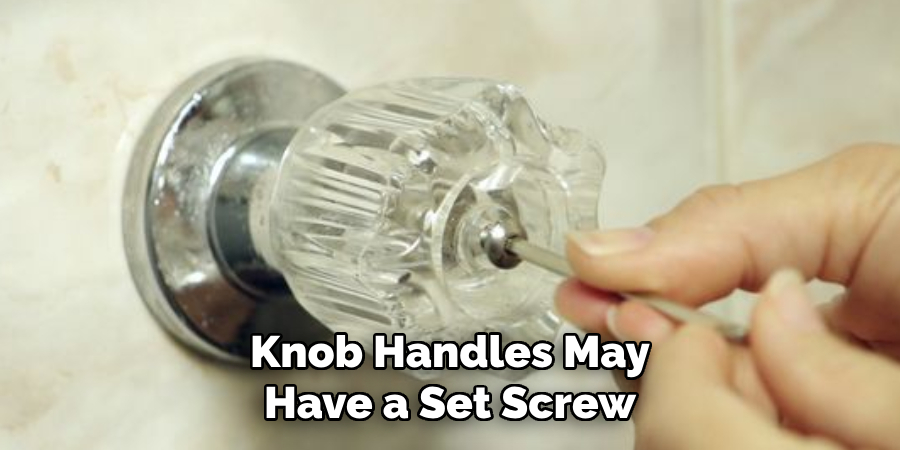
Knob Handles: Knob handles may have a set screw hidden under a cap on the side or at the base. These usually require a Phillips-head or flathead screwdriver. Ensure the water supply is turned off before attempting removal to prevent any accidental water flow.
Cross or X-Shaped Handles: These may have set screws located on the underside or hidden within the middle of the cross. A detailed inspection may be required to locate the screw, and a needle-nose plier might be useful for removal if space is tight.
Touchless or Electronic Handles: For these modern types, always ensure that the power supply or batteries are disconnected before attempting any repair work. The set screw may be located in less obvious places, and special care must be taken to avoid damaging electronic components.
Thermostatic and Diverter Handles: These handles control the water’s temperature and direction and often come with their unique set of challenges. The set screws in these handles can be highly specialized, requiring specific tools for removal. It’s critical to note the handle’s position before removal to ensure correct reassembly.
In all cases, refer to the manufacturer’s instructions for guidance tailored to your specific shower handle type. Manufacturers may provide valuable insights or recommend tools that can prevent damage during the removal process.
Alternative Methods for Removing Set Screws in Difficult Situations
Sometimes traditional methods may not suffice for removing a stubborn set screw from a shower handle. In these cases, exploring alternative methods can provide a solution to break free the stuck screw without causing damage. Here are some unconventional yet effective techniques:
Chemical Penetrants: Specialized chemical penetrants designed to loosen rusted or frozen metal parts can be highly effective. Apply the penetrant generously around the set screw, allowing it ample time to work into the threads. These chemicals can break down rust and corrosion, making it easier to turn the screw.
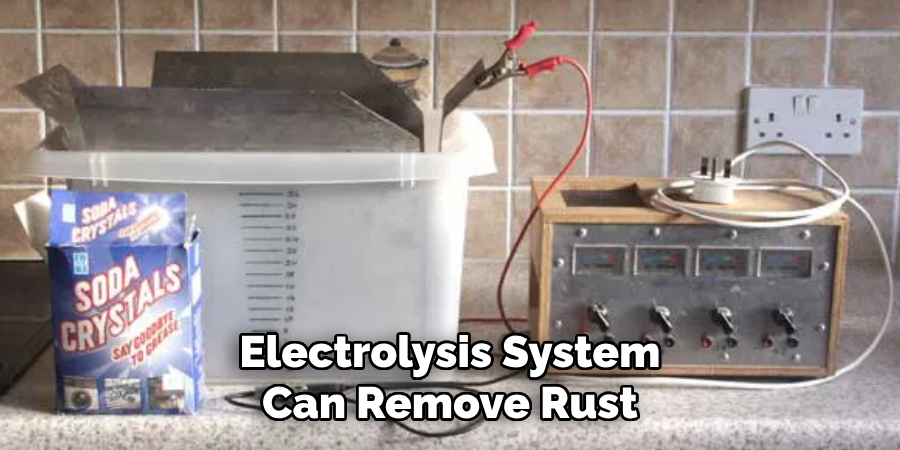
Electrolysis for Rust Removal: In cases where rust is a significant factor, setting up a simple electrolysis system can remove rust effectively. This process involves using a car battery charger, water, and a soluble electrolyte to create a reaction that dissolves rust without damaging the original metal. It requires careful setup and safety precautions, as it involves electricity and chemicals.
Using Heat and Cold Cycles: Alternating the application of heat and cold can cause micro-expansions and contractions in the metal, potentially breaking the corrosion bond. Using a hairdryer or a heat gun, carefully heat the set screw and then immediately apply a cold spray or ice. This thermal shock may help loosen the screw enough to remove it.
Epoxy Bond Method: If the set screw head is stripped, creating a new grip point can help. Using a strong epoxy, bond a disposable tool or a piece of metal to the stripped screw head. Once the epoxy has set, use the newly formed grip to turn and remove the screw. This method requires patience and a strong adhesive that can bond to metal.
Ultrasonic Cleaning: For set screws that are seized due to debris or mineral deposits, ultrasonic cleaning can be an effective method. This technique uses high-frequency sound waves to agitate a liquid solution, which can clean and loosen particles at a microscopic level. This method is commonly used in jewelry cleaning and can be adapted for small parts like set screws.
Laser Rust Removal: Advanced methods such as laser rust removal can be considered for extremely difficult cases. This technology uses short laser pulses to remove rust and corrosion effectively without damaging the underlying metal.
Conclusion
In conclusion, successfully removing a set screw from a shower handle is a crucial step in shower handle repair or replacement. By following the step-by-step guide and utilizing the appropriate tools outlined in this article, you can effectively loosen and remove the set screw without causing damage to the handle or surrounding surfaces. Remember to exercise patience and caution, especially when dealing with stubborn or stuck screws, and consider seeking professional assistance if needed.
Proper preparation and attention to detail are key to ensuring a smooth removal process. With the knowledge and techniques provided, you can confidently tackle this task and address any issues with your shower handle efficiently. Thanks for reading, and we hope this has given you some inspiration on how to remove set screw from shower handle!

