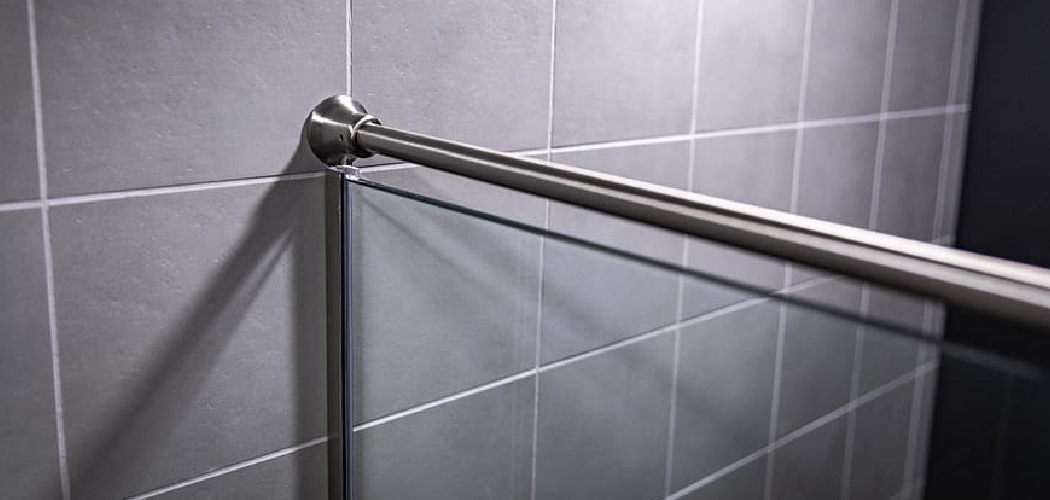
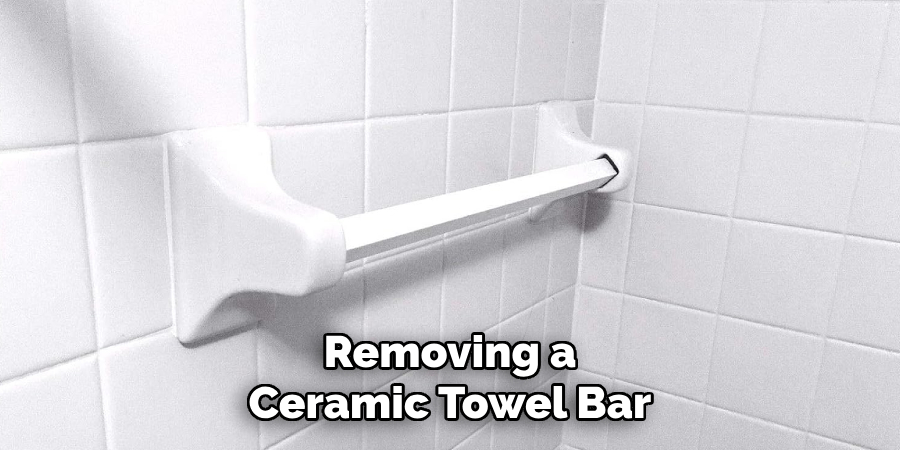
If you’re looking to update your bathroom decor or need to make some repairs, removing a ceramic towel bar is often necessary. While it may seem like a daunting task, with the right tools and techniques, you can easily remove a ceramic towel bar without causing any damage. In this guide, we’ll walk you through the steps on how to remove ceramic towel bar.
Tools and Materials
Before you begin, make sure you have all the necessary tools and materials on hand. Here’s what you’ll need:
- Screwdriver
- Putty knife or scraper
- Safety glasses
- Gloves
- Adhesive remover (optional)
- Caulk softener (optional)
12 steps on How to Remove Ceramic Towel Bar
Step 1: Prepare the Area
Start by clearing out the area around the towel bar. Remove any towels, toiletries, or other items that may be in the way. This will give you more space to work and prevent anything from getting damaged during the removal process.
Step 2: Put on Safety Gear
Before you begin removing the towel bar, put on your safety glasses and gloves. These will protect your eyes and hands from any flying debris or sharp edges. And, if you’re using any chemical products, make sure to read and follow the instructions carefully.
Step 3: Unscrew the Mounting Brackets
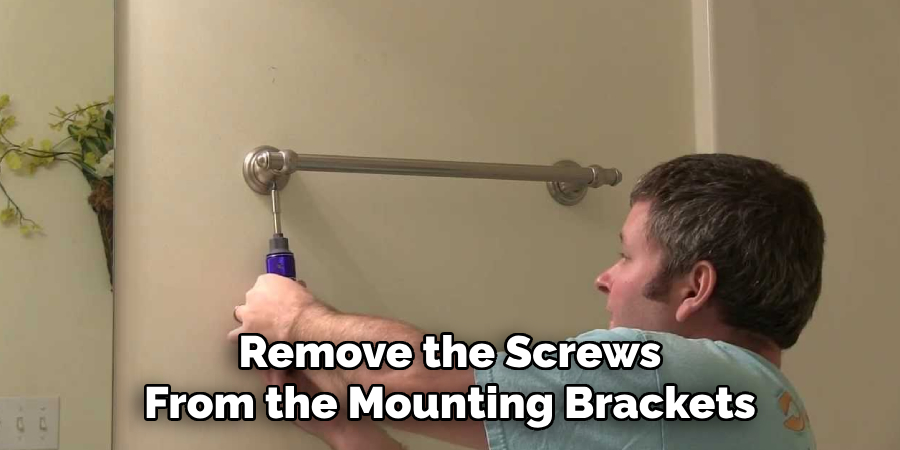
Using a screwdriver, remove the screws from the mounting brackets that are holding the towel bar in place. Depending on how old your towel bar is, there may be visible screws or hidden ones behind decorative caps. If the screws are difficult to remove, you can use a penetrating oil to help loosen them.
Step 4: Remove the Brackets
Once the mounting brackets are unscrewed, gently pull them away from the wall. If they’re stuck due to caulk or adhesive, you may need to use a putty knife or scraper to carefully pry them off. Be sure to work slowly and carefully to avoid damaging the wall.
Step 5: Scrape off Excess Caulk or Adhesive
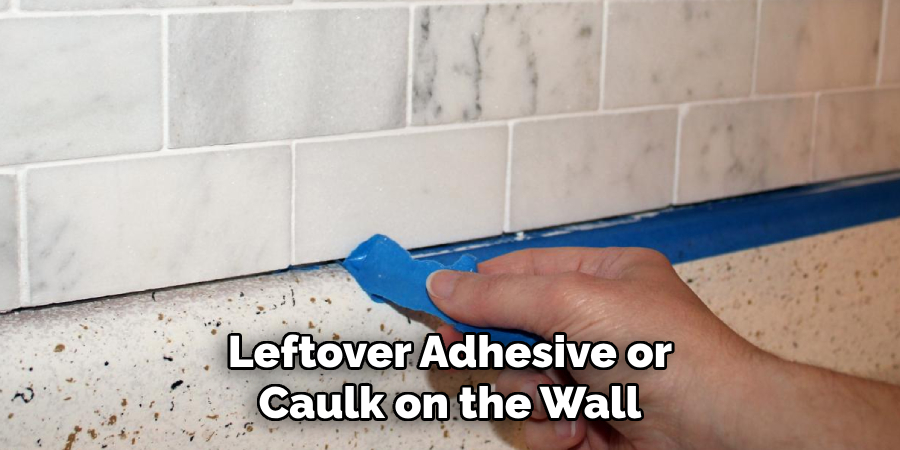
If there is any excess caulk or adhesive left on the wall after removing the brackets, use a putty knife or scraper to gently scrape it away. You can also use an adhesive remover or caulk softener to make this step easier.
Step 6: Loosen the Towel Bar
Next, use your putty knife or scraper to gently loosen the towel bar from the wall. If it’s caulked or glued on, you may need to apply a bit of force and work slowly to avoid damaging the wall. As you loosen the towel bar, be sure to prevent it from falling or breaking.
Step 7: Pull off the Towel Bar
Once the towel bar is loosened, carefully pull it away from the wall. Make sure to keep a firm grip on it to avoid any accidents. If it’s still stuck, use your putty knife or scraper to gently pry it off. Also, be aware of any sharp edges that may be present.
Step 8: Remove the Remaining Adhesive
If there is any leftover adhesive or caulk on the wall, use your scraper or putty knife to carefully scrape it off. Be gentle and take your time to avoid causing damage to the wall surface. As an alternative, you can use an adhesive remover or caulk softener to help loosen the remaining residue.
Step 9: Clean the Area
Once all the hardware has been removed, it’s time to clean the area. Use a mild detergent and water to scrub away any dirt or grime that may have accumulated under the towel bar. Also, be sure to wipe down the wall to remove any leftover adhesive or caulk residue.
Step 10: Let the Area Dry
After cleaning, allow the area to dry completely before proceeding. This will ensure that the new towel bar can be installed properly without any moisture getting trapped underneath. You can use a towel or fan to speed up the drying process.
Step 11: Patch Any Holes
If there are any holes or dents on the wall from removing the towel bar, you’ll need to patch them up before installing a new one. Use spackling compound to fill in the holes and smooth it out with a putty knife. Allow it to dry, and then sand it down for a smooth finish.
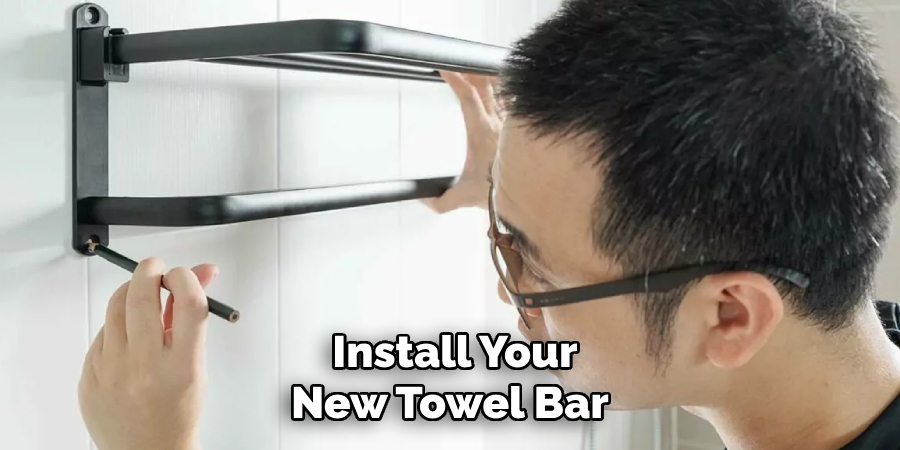
Step 12: Install a New Towel Bar
Finally, you can install your new towel bar following the manufacturer’s instructions. Make sure to use proper hardware and caulk or adhesive for a secure hold. And don’t forget to let it dry before hanging any towels or other items on it.
Congratulations, you have successfully removed a ceramic towel bar! With these steps and some patience, you can easily update your bathroom decor or make necessary repairs without any hassle. Remember to always take precautions and work carefully to avoid causing any damage to your walls or yourself.
9 Safety Measures to Follow
1) Wear Appropriate Safety Gear
Always wear safety glasses and gloves to protect yourself from any potential injuries. As mentioned earlier, if you’re using any chemical products, make sure to read and follow the instructions carefully. So, it’s essential to wear appropriate safety gear to prevent any accidents.
2) Work Slowly and Carefully
Removing a ceramic towel bar requires some force and can be challenging. It’s important to work slowly and carefully, especially when using tools like scrapers or putty knives. Rushing through the process can lead to damage to both the wall and yourself.
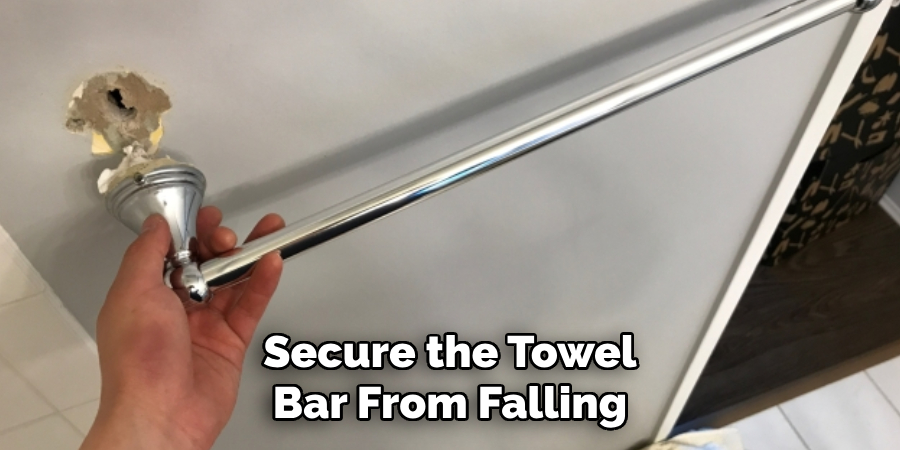
3) Secure the Towel Bar Before Removing
Before starting the removal process, make sure to secure the towel bar from falling or breaking. This will prevent any potential accidents and also protect your wall from damage. While loosening the towel bar, have a firm grip on it to avoid any mishaps.
4) Use Proper Tools
Using the right tools is crucial for removing a ceramic towel bar without causing damage. A screwdriver, putty knife, and scraper are the most commonly used tools in this process. Make sure to use them correctly and avoid using excessive force that can lead to accidents.
5) Beware of Sharp Edges
Ceramic towel bars can have sharp edges that can cause injuries if you’re not careful. While removing the hardware, be aware of any sharp edges and handle them carefully. You can also wear gloves for extra protection.
6) Be Mindful of Adhesives and Caulk
Removing adhesives and caulk can be tricky, so it’s essential to be careful. Avoid using excessive force or sharp tools that can damage the wall. If necessary, use an adhesive remover or caulk softener to make the process easier.
7) Support the Wall
When removing a towel bar that is glued or caulked on, always support the wall with one hand to prevent any damage. Working slowly and gently will also help in avoiding any accidents.
8) Take Breaks
Removing a towel bar can be physically taxing, especially if it’s stuck on tightly. Make sure to take breaks in between the process to avoid fatigue or strain injuries. Don’t push yourself too hard, and listen to your body.
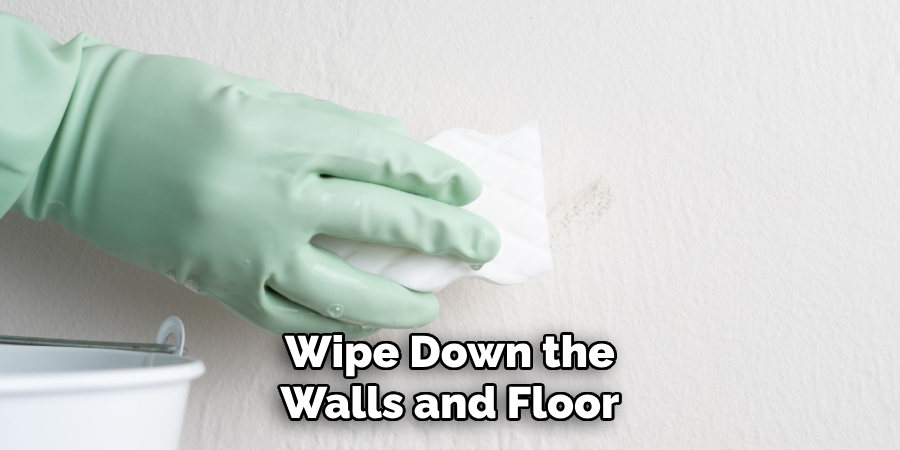
9) Clean Up Properly
After removing the hardware, be sure to clean up the area thoroughly. Wipe down the walls and floor to remove any dirt, grime, or adhesive residue. This will also help in preventing any accidents from slipping on a wet or oily surface.
With these safety measures on how to remove ceramic towel bar in mind, you can successfully remove a ceramic towel bar without any harm. Remember to always prioritize safety and take your time to avoid any mistakes that can lead to damage or injuries.
8 things to avoid while removing a ceramic towel bar
1) Using Excessive Force
Applying too much force can cause damage to the wall, towel bar, or yourself. Work slowly and carefully instead of using excessive force to loosen it. While using tools, make sure to use them appropriately without putting too much pressure.
2) Rushing Through the Process
Removing a ceramic towel bar can take some time and patience. Avoid rushing through the process, as it can lead to mistakes or accidents. Take your time and work carefully to ensure a successful removal.
3) Not Wearing Safety Gear
As mentioned earlier, it’s essential to wear safety glasses and gloves when removing a towel bar. Not wearing appropriate safety gear can lead to injuries or accidents. When it comes to using chemical products, always follow the instructions and wear protective gear.
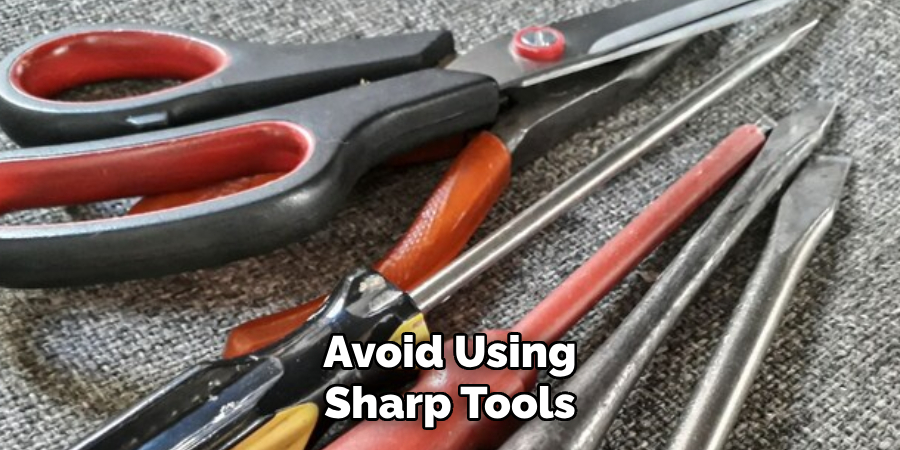
4) Using Sharp Tools
Avoid using sharp tools like knives or screwdrivers, as they can cause damage to the wall. Use appropriate tools, such as a putty knife or scraper, for removing adhesives and caulk. If necessary, use an adhesive remover or caulk softener to make the process easier.
5) Not Supporting the Wall
When removing a towel bar that is glued or caulked on, it’s important to support the wall with one hand. This will prevent any damage and also provide leverage for loosening the hardware. Neglecting this step can result in accidents or damage to the wall.
6) Neglecting the Clean Up
After removing the towel bar, it’s crucial to clean up the area thoroughly. Neglecting this step can leave behind residue or adhesive that can cause accidents later on. Wipe down the walls and floor to remove any dirt or grime as well.
7) Not Reading Instructions
Before starting the removal process, make sure to read and follow the manufacturer’s instructions. This will ensure that you’re using the correct tools and methods for a successful removal without any damage.
8) Removing Without Securing the Towel Bar
Before removing the towel bar, make sure to secure it from falling or breaking. This will prevent accidents and also protect your wall from any potential damage. Have a firm grip on the hardware while loosening it to avoid mishaps.
By avoiding these mistakes, you can successfully remove a ceramic towel bar without any harm or damage to your walls. Remember to always work carefully and prioritize safety to ensure a successful removal process. Overall, with proper precautions and following the correct methods, removing a ceramic towel bar can be a hassle-free task.
8 Additional Tips for Removing a Ceramic Towel Bar
1) Use Heat to Loosen Adhesives
If the towel bar is attached with strong adhesives, you can use heat to loosen them. A hairdryer or heat gun can be used to apply gentle heat on the adhesive before attempting to remove it. Then, use a putty knife or scraper to gently peel off the softened adhesive.
2) Try Soaking in Hot Water
Similar to using heat, soaking the towel bar in hot water can also help loosen stubborn adhesives. Fill a tub or sink with hot water and submerge the hardware for at least 30 minutes. This will soften the adhesive and make it easier to remove.
3) Use a Multi-Purpose Tool
A multi-purpose tool, such as an oscillating saw or rotary tool, can be helpful in removing a towel bar that is attached to screws. These tools allow for precise cutting and are handy for tight spaces. So, if the towel bar is attached with screws, consider using a multi-purpose tool for removal.
4) Have Someone Assist You
Removing a ceramic towel bar can be a two-person job. Having someone assist you can make the process easier and safer. They can help support the wall or hold onto the hardware while you work on removing it.
5) Consider Professional Help
If you’re unsure or uncomfortable with removing a ceramic towel bar yourself, consider hiring a professional. They have the necessary tools and expertise to safely remove the hardware without causing any damage.
6) Use a Plastic Putty Knife
When removing adhesives or caulk, it’s best to use a plastic putty knife instead of a metal one. This will prevent any scratches or damage to the wall surface. Then, if necessary, you can use a metal scraper or razor blade to carefully remove any remaining residue.
7) Protect the Towel Bar
If you intend to reuse the towel bar after removal, make sure to protect it from any damage. Wrap it in a soft cloth or bubble wrap and store it in a safe place until ready for use again. While removing, handle the hardware with care to avoid any dents or scratches.
8) Patch up Any Holes
If the towel bar was attached with screws and left behind holes in the wall, make sure to fill them in before painting or adding a new towel bar. Use a spackling compound or joint compound to fill in the holes and then sand them down to create a smooth surface. This will ensure a clean and professional finish.
By following these additional tips on how to remove ceramic towel bar, you can make the process of removing a ceramic towel bar even easier and safer. Remember to take your time, prioritize safety, and always have the necessary tools before starting the removal process. With these precautions in mind, you can successfully remove a towel bar without any hassle or damage.
Overall, with the right techniques and tools, removing a ceramic towel bar can be a simple and stress-free task. So go ahead and confidently tackle this home improvement project without any worries!
Frequently Asked Questions
Can I Reuse a Ceramic Towel Bar After Removal?
Yes, you can reuse a ceramic towel bar after removal as long as it is still in good condition and not damaged during the removal process. Make sure to protect it and handle it with care while removing it.
Do I Need Special Tools for Removing a Ceramic Towel Bar?
No, you don’t necessarily need special tools for removing a ceramic towel bar. However, having specific tools such as adhesive remover or caulk softener can make the process easier. Additionally, multi-purpose tools or heat guns can also be helpful in certain situations.
How Do I Fill in Holes Left Behind by Screws?
To fill in holes left behind by screws, use spackling compound or joint compound. Once the compound is dry, use sandpaper to smooth out the surface and then paint over it for a clean finish. Remember to wait until the compound is completely dry before painting over it.
Can I Reattach a Ceramic Towel Bar to the Same Spot After Removal?
Yes, you can reattach a ceramic towel bar to the same spot after removal as long as the area is clean and free of any residue or adhesive. Make sure to also check for any damage before attaching it again.
Is It Necessary to Remove a Ceramic Towel Bar Before Painting?
Removing a towel bar before painting can make the process easier and ensure a professional finish. However, if you are unable to remove it or do not want to, simply cover it with painter’s tape or protect it with plastic before painting. Just remember to be careful around the hardware while painting.
Overall, removing a ceramic towel bar may seem like a daunting task, but with the right techniques and precautions, it can be a simple and straightforward process. By following these tips and frequently asked questions, you can confidently remove a towel bar without any hassle or damage to your walls.
Conclusion
A ceramic towel bar can add functionality and style to your bathroom space. However, if you need to remove it for any reason, make sure to do so carefully and safely. Prioritize safety by wearing protective gear, preparing the necessary tools, and taking time during removal.
Remember to also protect the hardware if you intend to reuse it and fill in any holes before painting or adding a new towel bar. With these tips on how to remove ceramic towel bar and precautions, you can successfully remove a ceramic towel bar without any worries or complications. So go ahead and tackle this home improvement project with confidence!

