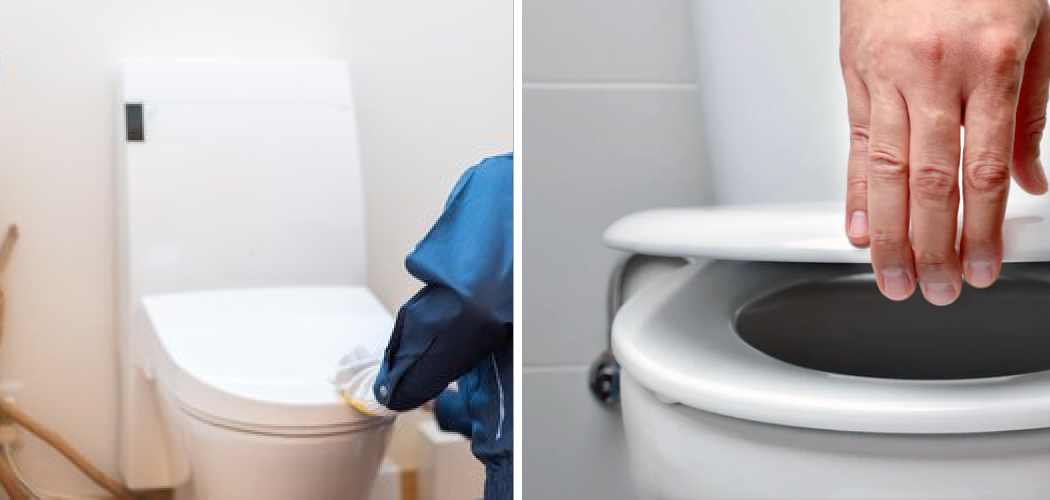
A squealing toilet is not just a minor inconvenience; it’s a disruptive issue that can affect the peace and comfort of any home. The frustration it causes can’t be understated, especially when the noise interrupts sleep or quiet moments. Understanding this frustration is the first step toward addressing the problem.
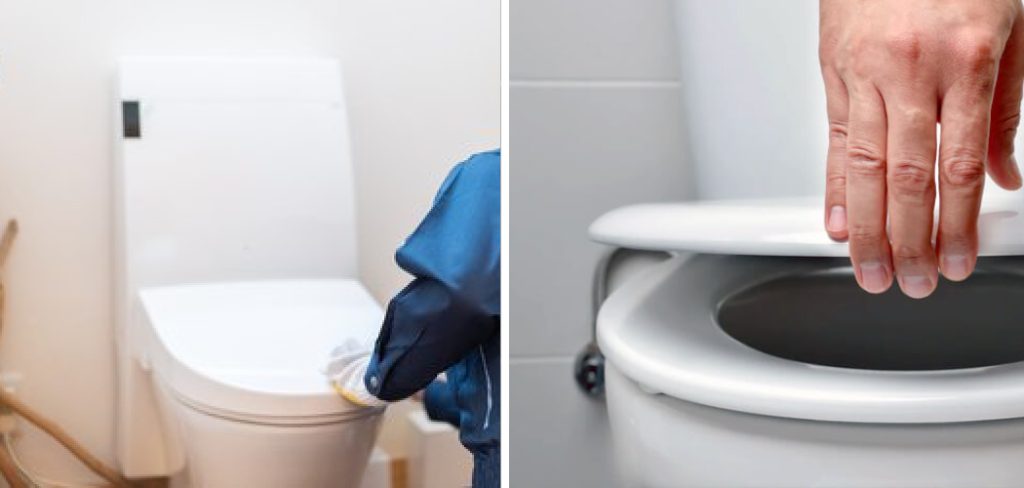
The persistent high-pitched sound emanating from a toilet can quickly escalate from a slight annoyance to a significant disturbance, affecting the daily lives of household members. This noise pollution within the sanctuary of one’s home is why learning how to fix squealing toilet is crucial for maintaining household harmony.
Identifying the root cause of the squealing is essential because it dictates the course of action needed for resolution. Without knowing the specifics, one might apply a temporary fix that doesn’t address the underlying issue, leading to recurring problems.
The guide that follows offers an array of solutions, starting with basic troubleshooting steps to more complex procedures like adjusting water pressure or replacing faulty components. These effective strategies aim to give homeowners the knowledge needed to silence a squealing toilet, restoring peace and quiet to their living environment.
Identify the Source of the Squealing Noise
Identifying the precise origin of a squealing noise in your toilet is a critical first step in resolving the issue. This process involves a bit of detective work and attention to detail but is essential for applying the correct remedy.
A. Determine When and Where the Squealing Occurs
Start by noting the timing of the squealing sound. Does it occur immediately after flushing, during the tank’s refill, or at random intervals? Also, pinpoint the location of the noise—is it emanating from within the tank, the base of the toilet, or perhaps the surrounding plumbing? Understanding these details will help narrow down the potential causes.
B. Check for Loose or Faulty Components Inside the Toilet Tank
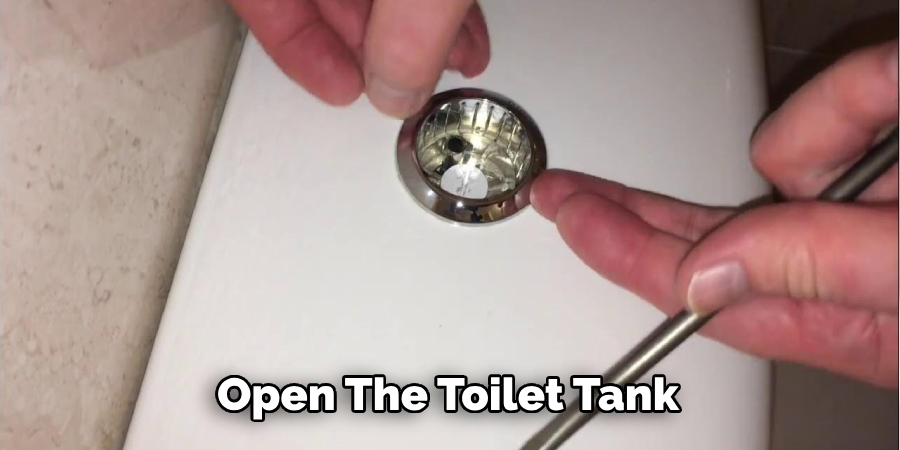
Open the toilet tank and perform a visual inspection. Look for any loose components, such as the fill valve, or signs of wear and tear on the flapper or flush valve. A loose-fill valve, for instance, can vibrate and create a squealing sound as water flows through it. Any faulty parts identified during this inspection might be the culprits and should either be tightened, adjusted, or replaced.
C. Listen for Any Unusual Sounds During the Flushing Process
Finally, listen closely to your toilet as it flushes. Pay attention to any unusual sounds apart from the typical noise of water flowing and the tank refilling. This might require you to flush the toilet multiple times, focusing on different elements each time—once on the flushing mechanism and again on the refilling process. This thorough listening can provide clues to the exact component causing the squeal.
By systematically identifying when and where the squeal occurs, inspecting for any loose or damaged parts inside the tank, and tuning in to any out-of-the-ordinary sounds during the flush, homeowners can diagnose the root cause of their squealing toilet. This foundation is crucial for implementing the most effective repair strategies, which are detailed in the subsequent sections.
How to Fix Squealing Toilet: Inspect the Fill Valve
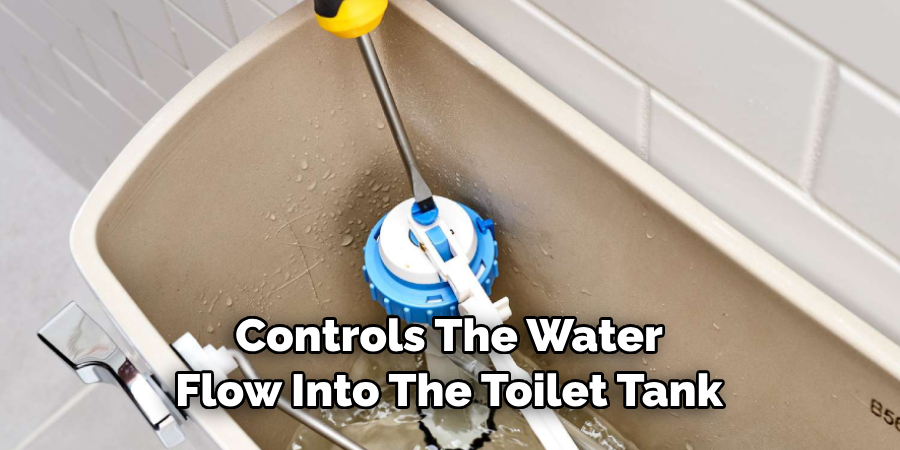
The fill valve is a crucial component in your quest to silence a squealing toilet. This mechanism controls the water flow into the toilet tank after each flush, and if it is not functioning properly, it could be the source of your woes.
A. Lift the Toilet Tank Lid and Locate the Fill Valve
Begin by carefully removing the toilet tank lid and setting it aside. Inside, you’ll find the fill valve, typically located on the left side of the tank. It’s recognizable by its tall, cylindrical shape and the tube that runs upward from its body.
B. Check for Any Loose or Misaligned Parts
Examine the fill valve closely for any signs of looseness or misalignment. Over time, the components that make up the fill valve can become loose due to the constant pressure and water flow. This can lead to improper functioning and, ultimately, to the emergence of a squealing noise during the refill phase.
C. Adjust or Replace the Fill Valve Components as Needed
If any parts appear to be loose, attempt to tighten them carefully, ensuring not to over-tighten, as this could damage the components.
Alternatively, if the fill valve shows signs of wear or damage or if tightening does not eliminate the squealing, it may be necessary to replace it. Most hardware stores carry replacement fill valves, and they come with instructions for installation. Remember, when replacing any components in your toilet, it’s crucial to turn off the water supply to avoid any unforeseen accidents.
By diligently inspecting and addressing any issues with the fill valve, you’re taking an important step towards rectifying a squealing toilet. This not only helps reduce noise but also ensures that the toilet operates efficiently, preventing future issues.
How to Fix Squealing Toilet: Check the Flush Valve and Flapper
The functionality of your toilet’s flush valve and flapper is crucial for maintaining efficient flush mechanics and preventing any anomalies, including squealing noises. These components are key during the flushing cycle, ensuring water flows properly from the tank to the toilet bowl.
A. Ensure Proper Alignment and Sealing of the Flush Valve
Begin by inspecting the flush valve, which is usually located at the center of the toilet tank. The flush valve must be correctly aligned with the opening at the bottom of the tank. Any misalignment can lead to improper sealing, causing the toilet to run continuously or generate noises. Check that the gasket at the base of the valve provides a tight seal, preventing water from leaking between the tank and the bowl.
B. Inspect the Flapper for Signs of Wear or Damage
Next, examine the flapper, which sits atop the flush valve opening. Over time, flappers can become brittle, warped, or coated in mineral deposits, compromising their ability to form a tight seal and leading to leaks and noise issues. Look for any visible signs of wear, such as cracks or discoloration, which indicate that the flapper might need replacing.
C. Clean or Replace the Flapper to Ensure Proper Functioning
If the flapper is dirty but not damaged, a simple cleaning may suffice to restore its functionality. Remove the flapper and clean it with a solution of vinegar and water to dissolve any mineral buildup.
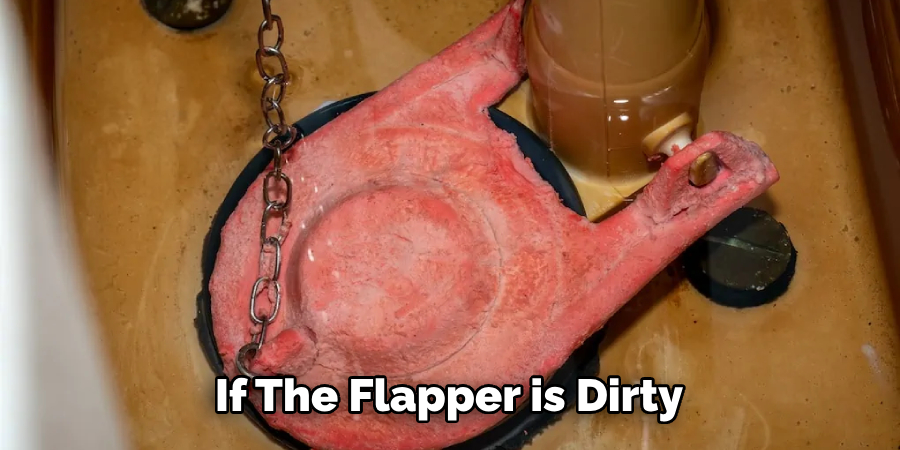
If the flapper is damaged or cleaning does not resolve the issue, it’s best to replace it. Flappers are inexpensive and readily available at hardware stores. When installing a new flapper, ensure it’s compatible with your toilet model and that it securely attaches to the flush valve and chain.
How to Fix Squealing Toilet: Examine the Water Supply Line
An often-overlooked aspect of diagnosing a squealing toilet is inspecting the water supply line. This line is essential for delivering water into the toilet tank, and any issues here can contribute to the problem.
A. Check for Kinks or Obstructions in the Water Supply Line
The first step is to visually inspect the water supply line from the wall to the toilet. Look for any kinks, twists, or sharp bends that could impede water flow. Also, check for any obstructions inside the supply line, such as debris or buildup. Such issues can restrict water flow, causing irregular tank refilling and potentially leading to squealing noises.
B. Inspect the Shut-Off Valve for Proper Functioning
Next, examine the shut-off valve, which controls water flow to the toilet. It’s crucial that this valve operates smoothly and is fully open. A partially closed or malfunctioning shut-off valve can result in insufficient water flow to the tank, contributing to problematic noises during refilling. If the valve is difficult to turn or appears to be malfunctioning, it may need to be lubricated or replaced.
C. Replace Any Damaged or Faulty Components in the Water Supply Line
If, during your inspection, you find any damaged or faulty components within the water supply line or related parts, it’s important to replace these components promptly. This includes the supply line itself if it’s kinked beyond repair, the shut-off valve if it’s not functioning correctly, or any connecting hardware that is corroded or damaged. Replacing these components can help eliminate squealing noises and prevent potential leaks or water damage.
Lubricate Moving Parts
An essential but often neglected step in maintaining a silent and efficient toilet is the lubrication of its moving parts. Proper lubrication can significantly reduce friction and noise, ensuring smooth operation.
A. Apply Silicone Lubricant to the Moving Parts Inside the Toilet Tank
Begin by applying a silicone-based lubricant to all moving components inside the toilet tank. This includes the fill valve mechanism and the connecting points of the float arm. Silicone lubricant is preferred due to its water-repelling properties and its ability to withstand humid conditions without breaking down.
B. Lubricate the Flush Valve and Flapper Hinge Points
Next, focus on the flush valve and the hinge points where the flapper attaches. These areas are crucial as they undergo constant movement during the flushing process. Apply a small amount of silicone lubricant to these points to ensure they move freely without sticking. Be cautious not to overapply, as excess lubricant can attract dirt and debris, leading to further issues.
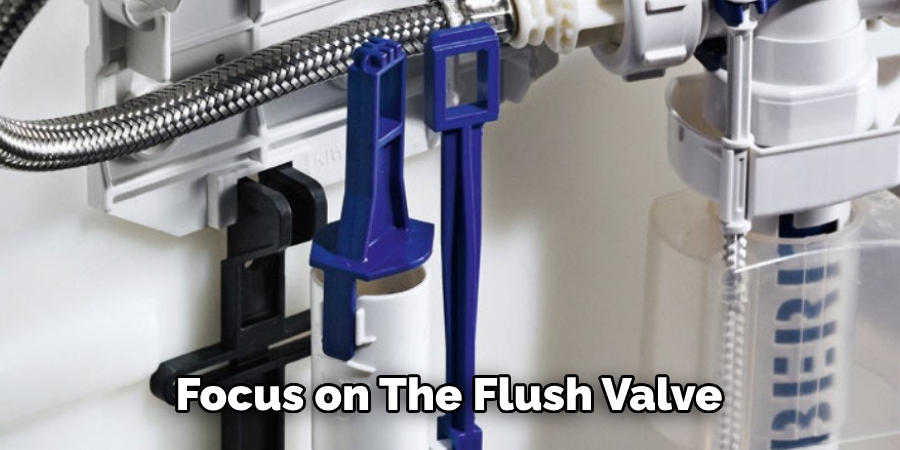
C. Ensure Smooth Movement of Components to Reduce Friction and Noise
After lubricating, manually move each component to ensure the lubricant is evenly distributed and that each part moves smoothly without resistance. This step is vital in reducing friction, which is a common cause of noise in toilet mechanisms. By ensuring that all parts are moving freely, you’ll extend the lifespan of these components and maintain a quieter, more efficient toilet.
Adjust Water Pressure
Adjusting the water pressure can be crucial in solving a squealing toilet, as excessive pressure may cause undue stress on the toilet’s components, leading to noise.
A. Check the Water Pressure Regulator for Proper Settings
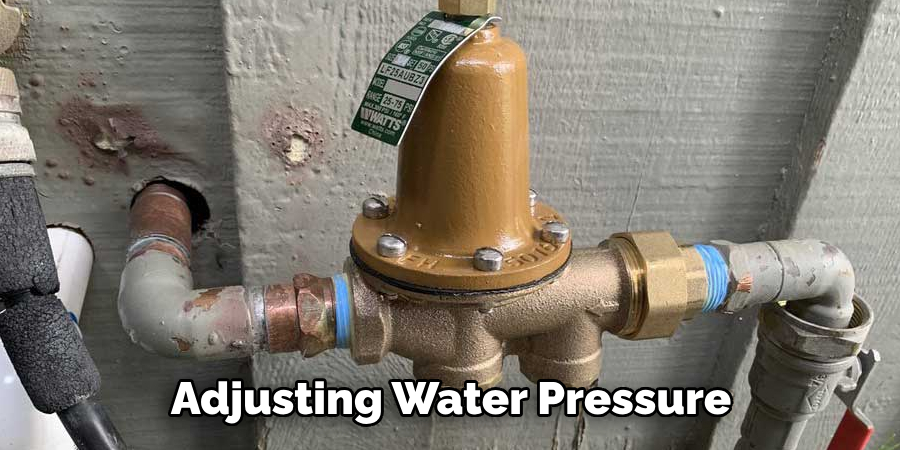
Initially, examine the water pressure regulator, typically located where the main water line enters the house. This device controls the pressure of the water flowing into your home’s plumbing system. Ensure that the regulator is set to a level that is both safe for your plumbing and conducive to quiet operation, generally between 40-60 psi (pounds per square inch).
B. Reduce Water Pressure if Excessive Pressure is Causing Noise
If you discover that the water pressure is too high, adjusting the regulator to a lower setting is necessary. Excessive pressure causes a squealing noise in toilets and can lead to leaks and damage to your home’s plumbing fixtures. By reducing the water pressure to a more moderate level, you can mitigate these issues and promote a quieter, more efficient plumbing system.
C. Consult with a Plumber to Adjust Water Pressure if Necessary
If you are unsure about adjusting the water pressure regulator, or if it does not resolve the squealing noise, consulting with a professional plumber is advisable.
A plumber can accurately measure your home’s water pressure and make the necessary adjustments to the regulator or suggest other solutions if the regulator is not the issue. Furthermore, they can inspect your plumbing system for any underlying problems that might be contributing to the noise.
Install a Toilet Silencer
One innovative solution to a noisy toilet is the installation of a toilet silencer. This device is geared towards dampening the sounds associated with the flushing mechanism and the refilling of the tank, providing a quieter bathroom experience.
A. Purchase and Install a Toilet Silencer Kit
Research and purchase a quality toilet silencer kit from a reputable plumbing supply store or online retailer. These kits are designed to fit most standard toilets and come complete with all necessary installation materials. Choosing a kit that is compatible with your specific toilet model is crucial for effective noise reduction.
B. Follow Manufacturer Instructions for Proper Installation
Once you have your toilet silencer kit, carefully read through the manufacturer’s installation instructions. Typically, installation involves attaching the silencer device to the fill valve inside the toilet tank.
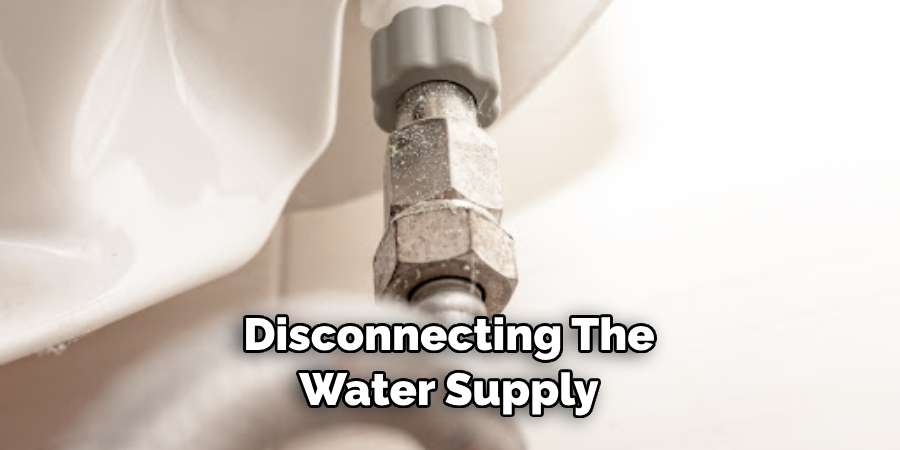
This may require draining the tank and temporarily disconnecting the water supply. Accuracy and adherence to the provided guidelines are pivotal to securing the silencer properly without impeding the toilet’s functionality.
C. Test the Toilet After Installation to Ensure Noise Reduction
After installation, reconnect the water supply and allow the toilet tank to refill. Perform several flush tests to ensure the toilet operates normally and to check the effectiveness of the silencer.
You should notice a significant reduction in noise during both the flushing process and when the tank is refilling. If the noise level is still unsatisfactory, check to ensure the silencer is installed correctly and consult the manufacturer’s troubleshooting guide if necessary.
Test and Monitor
After implementing the recommended measures to address a squealing toilet, such as adjusting water pressure or installing a toilet silencer, it’s essential to actively test and monitor the results to affirm the efficacy of these solutions.
A. Flush the Toilet Multiple Times to Verify Noise Reduction
Begin by flushing the toilet multiple times. This method tests the immediate impact of your adjustments or installations on noise reduction. Observe closely; if the remedies were successful, the noise should be noticeably diminished. This step is crucial in confirming that the applied solutions effectively address the cause of the noise without adversely affecting the toilet’s performance.
B. Monitor the Toilet for Any Recurrence of Squealing Noise
Over the following days and weeks, keep a vigilant ear out for any recurrence of the squealing noise.
Intermittent sounds or a gradual return of the noise may indicate that the issue was not fully resolved or that another underlying problem exists within the toilet’s mechanism or plumbing system. Regular monitoring helps detect inconsistencies early, allowing prompt action to prevent escalation.
C. Address Any Remaining Issues Promptly for Long-Term Solution
Should the squealing noise persist or recur, it’s imperative to address these remaining issues promptly.

This may involve revisiting previous steps to ensure that everything was executed correctly or consulting with a plumbing professional for a more in-depth analysis. Identifying and resolving any outstanding problems ensures a long-term solution to the noise issue and contributes to the overall health and efficiency of your plumbing system.
Regular Maintenance and Inspection
Ensuring that your toilet and plumbing system remain in optimal condition over time requires a commitment to regular maintenance and inspection. These measures prevent minor issues from turning into major headaches and extend the lifespan of your toilet and plumbing infrastructure.
A. Schedule Routine Inspections of Toilet Components
It is advisable to schedule routine inspections of all toilet components. This includes checking the fill valve, flush valve, flapper, and connecting hoses for signs of wear and tear or leaks. Ideally, these inspections should occur every six months.
Detecting and addressing any issues early can prevent escalating problems leading to a noisy toilet or more severe plumbing concerns.
B. Clean and Maintain Toilet Parts to Prevent Future Problems
Regular cleaning and maintenance of the toilet’s internal parts can significantly reduce the risk of problems. Lime, mineral build-up, and debris can affect the toilet’s functionality, causing unwanted noise or even clogs.
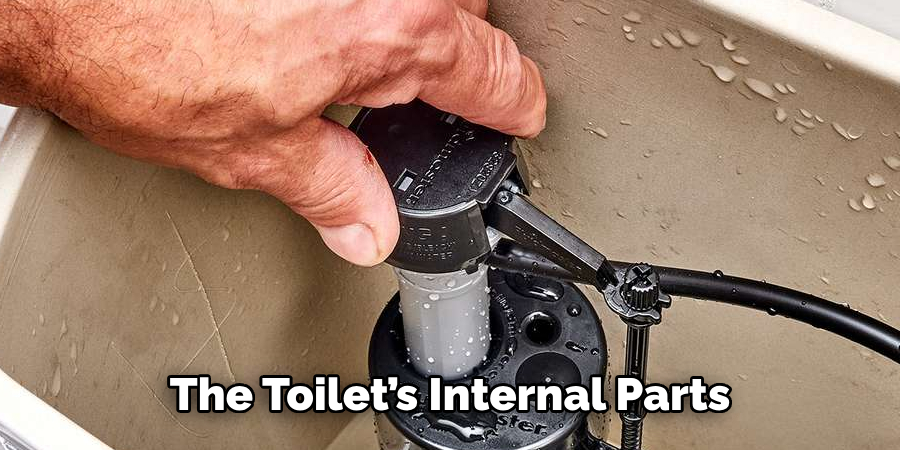
Using appropriate cleaning agents designed for toilets can help dissolve these build-ups without damaging the components. Ensure flush holes and the siphon jet are clear to maintain optimal flushing performance and noise reduction.
C. Implement Preventative Measures to Keep the Toilet Running Smoothly
To further ensure the toilet runs smoothly, implement preventative measures such as avoiding disposing of inappropriate materials that can cause clogs. Educating household members about what should not be flushed is crucial. Additionally, consider installing water softeners if hard water is a concern in your area to prevent mineral deposits from forming within your plumbing system.
Conclusion
Throughout this guide, we’ve outlined systematic and effective strategies on how to fix squealing toilet issues. These have included adjusting the water pressure in your toilet’s supply line, replacing old or malfunctioning toilet components such as the fill valve and flapper, and installing a toilet silencer to mitigate noise levels. These steps are designed to tackle the most common causes of a squealing toilet, ensuring a quieter and more peaceful bathroom environment.
It’s paramount that the underlying causes of a squealing toilet are accurately identified and addressed. While immediate fixes can reduce noise, understanding and rectifying the root cause is essential for a long-term solution. Regular maintenance and vigilance can help spot potential problems before they escalate, ensuring your toilet operates efficiently and quietly.
We hope this guide has equipped you with the knowledge and techniques required for a quiet, trouble-free toilet experience. By following the outlined steps and prioritizing regular maintenance, you can enjoy the benefits of a noise-free bathroom. Remember, a quiet toilet is a sign of a well-maintained home and contributes significantly to the overall comfort of your living environment.

