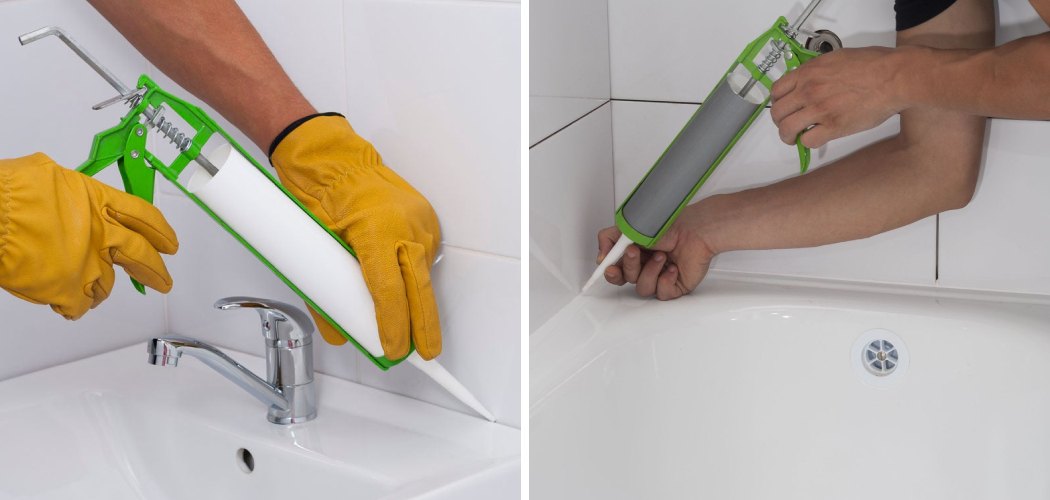
Removing old caulk is a critical step in maintaining the functionality and appearance of your bathroom. Over time, caulk can become discolored, moldy, or begin to peel away, leading to potential water damage and unsightly areas around your tub. Regularly updating caulk ensures a clean, waterproof seal, safeguarding your bathroom against moisture intrusion and maintaining its aesthetic appeal.
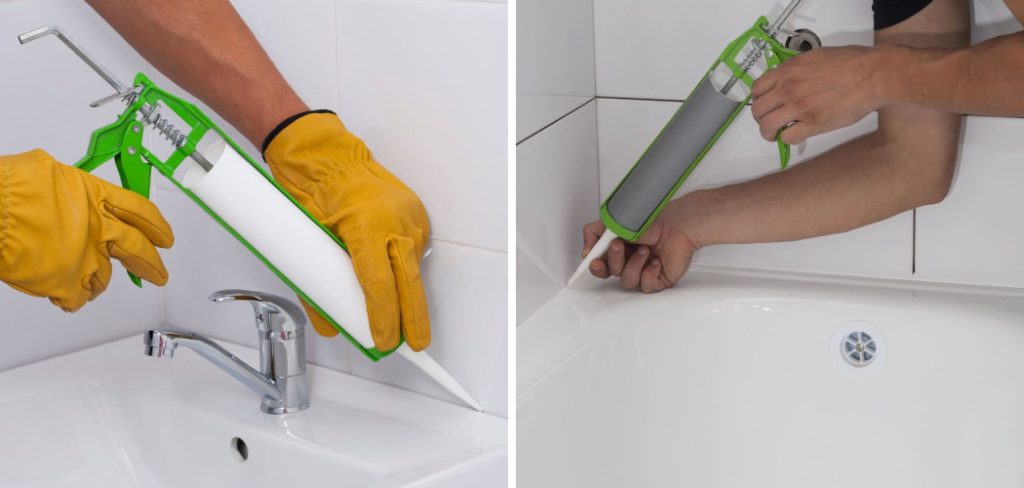
Several methods exist for removing caulk, each varying in complexity and effectiveness. Some homeowners prefer manual scraping methods, while others prefer chemical caulk removers or heat application. Understanding the differences among these techniques will help you choose the most appropriate method for your situation.
Knowing how to get caulk off tub effectively can save you time and ensure a clean, prepared surface for applying new caulk. This article explores detailed, step-by-step methods, including manual removal, heat application, and chemical solutions to remove caulk seamlessly. Whether you’re dealing with silicone, acrylic, or any other type of caulk, these strategies will assist in making your caulk removal process as efficient as possible.
Assess the Caulk Condition
A. Inspect the Caulk for Signs of Wear, Mold, or Damage
Before removing the caulk from your tub, it is essential to conduct a thorough inspection for any signs of wear, mold, or damage. These can range from discoloration and softening of the material to visible breaks or peeling edges.
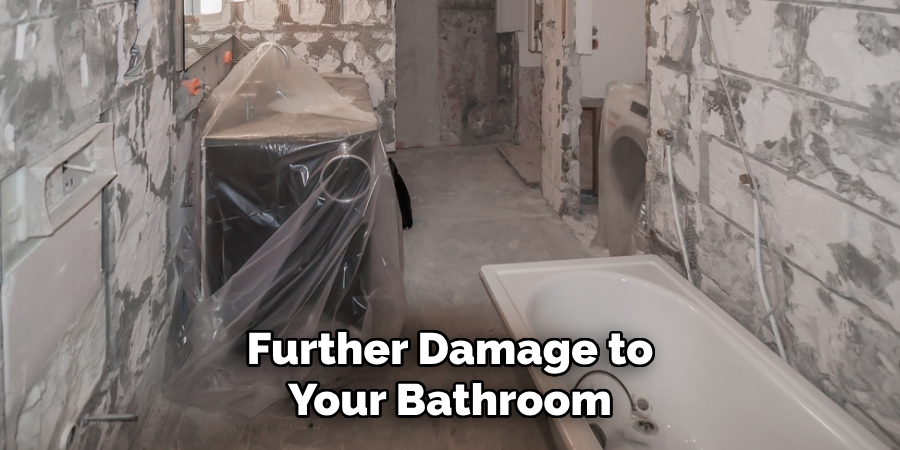
Mold growth, in particular, can pose health risks and indicates a pressing need for caulk removal. Identifying these signs early can prevent further damage to your bathroom surfaces and ensure a clean, hygienic environment.
B. Note the Type of Caulk Used (Silicone, Acrylic, etc.)
Understanding the type of caulk used in your tub is crucial for selecting the most effective removal method. Silicone caulk is durable and offers superior flexibility and water resistance, making it harder to remove.
On the other hand, acrylic caulk is easier to peel away but may not withstand moisture as effectively. Knowing whether you’re dealing with silicone, acrylic, or another type of caulk will aid in choosing the right tools and techniques for the job.
C. Determine the Severity of the Caulk Adhesion
The next step involves gauging the severity of the caulk adhesion to your tub. This involves assessing how firmly the caulk is attached to the surface. A stronger adhesion may require more rigorous removal techniques, such as applying heat or specialized solvents.
In contrast, caulk that’s already peeling or showing signs of weak adhesion might be easily removed with simpler tools such as a caulk removal tool or a razor scraper. Accurately assessing this aspect is paramount in efficiently planning your caulk removal strategy.
Gather the Necessary Tools and Materials
Before commencing the caulk removal process from your tub, it’s essential to gather all the necessary tools and materials. This preparation ensures that you can proceed smoothly without interruptions, making the task more efficient and effective.
A. Caulk Removal Tool or Razor Scraper
A caulk removal tool is specially designed to get underneath and lift the caulk without damaging your tub’s surface. Similarly, a razor scraper, with its sharp blade, can be an effective alternative for cutting through and peeling off old caulk.
When choosing between the two, consider the condition of your caulk and whether it requires the precision of a razor scraper or the leverage of a caulk removal tool.
B. Utility Knife or Caulk Removal Solvent
A utility knife can be useful for slicing through tough caulk or making precise cuts to facilitate easier scraping. On the other hand, a caulk removal solvent can soften even the most stubborn caulk, making it significantly easier to remove. Your choice between these options should be based on the caulk’s adhesion and your comfort with using chemical solutions.
C. Clean Cloth or Sponge
After successfully removing the old caulk, a clean cloth or sponge will be needed to wipe away any residue. This is an important step in preparing the surface for applying new caulk, ensuring it adheres properly and creates a watertight seal around your tub.
Equipped with these tools and materials, you’ll be well-prepared to tackle the caulk removal process and achieve a clean, refreshed surface ready for new caulk. Remember, the key to a successful caulk removal job lies in carefully selecting and using the appropriate tools and materials for your specific situation.
How to Get Caulk Off Tub: Use a Caulk Removal Tool
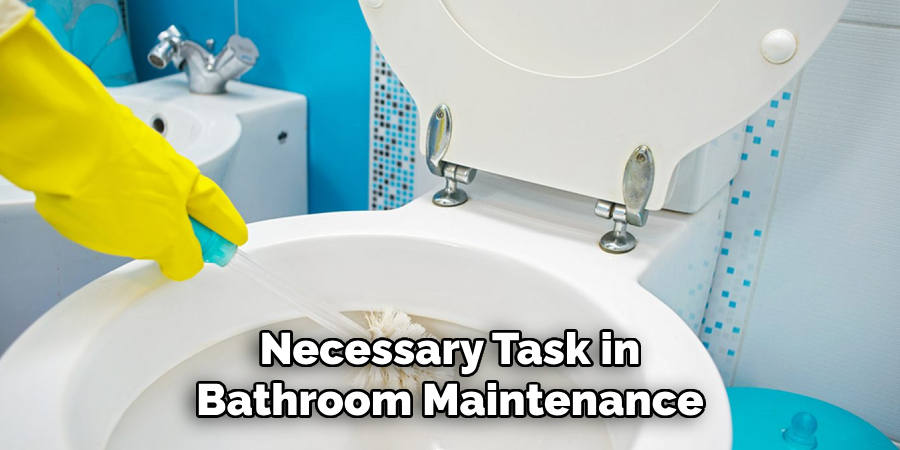
Removing old caulk can be a meticulous but necessary task in bathroom maintenance. A caulk removal tool is designed to offer a safe and effective way to lift caulk away from surfaces without causing damage. Here’s how to utilize this tool efficiently:
A. Insert the Caulk Removal Tool Underneath the Caulk Line
Carefully position the pointed edge of the caulk removal tool at one end of the caulk line. The goal is to insert the tool’s blade just underneath the edge of the caulk without scratching the tub’s surface. Applying gentle pressure, wiggle the tool to slide it beneath the caulk, ensuring it’s securely under the caulk line for effective removal.
B. Gently Pry and Lift the Caulk Away from the Tub Surface
Once the tool is correctly positioned under the caulk, slowly lift the handle, prying the caulk away from the tub’s surface. The motion should be steady and controlled to avoid breaking the caulk into small pieces, making the process more time-consuming. If the caulk does not lift easily, you may need to reposition the tool or apply more gentle pressure.
C. Continue Removing Caulk Along the Entire Length of the Joint
With the caulk starting to lift, continue the process along the entire joint length. Move the tool forward, repeating the prying and lifting action as you go. Maintaining a steady hand and control over the tool is important to avoid damaging the tub’s surface. You may need to use the tool to make multiple passes for tougher sections. Completing this step thoroughly removes all the old caulk, leaving a clean surface for the new caulk application.
How to Get Caulk Off Tub: Apply Heat to the Caulk
Another effective technique for removing old caulk from your tub involves applying heat, which softens the caulk and makes it easier to remove. This method can be particularly useful for silicone caulk, which is known for its tough, resilient nature.
A. Use a Hair Dryer or Heat Gun to Warm the Caulk
Start by selecting a standard hair dryer or a heat gun for more stubborn caulk. Position the device a few inches away from the caulk line, ensuring you do not concentrate the heat on a single spot for too long, as this could potentially damage the surface of your tub.
Slowly move the heat source along the length of the caulk line, evenly warming it up. This gradual heating helps loosen the caulk’s grip on the tub’s surface without causing any harm.
B. Soften the Caulk with Heat for Several Minutes
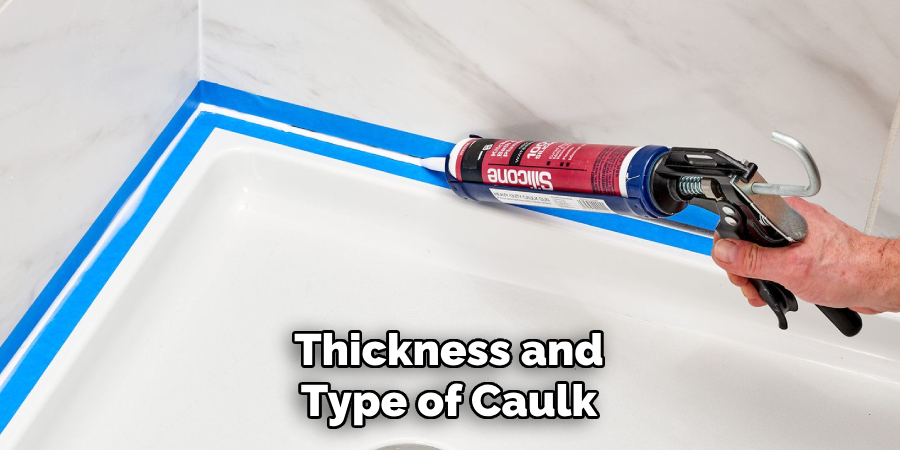
Continue applying heat for several minutes, depending on the thickness and type of caulk. Silicone caulk might require a bit more time to soften than acrylic caulk. The goal is to make the caulk malleable enough to be peeled or scraped away without much resistance. If you find that the caulk isn’t softening, you may increase the heat slightly or extend the heating time. However, always proceed with caution to avoid damage.
C. Carefully Peel and Remove the Softened Caulk with Fingers or a Scraper
After sufficiently softening the caulk, test a small section with your fingers or a scraper to see if it lifts easily from the surface. If it does, use your fingers (wearing protective gloves if necessary) or a scraper to gently but firmly peel the caulk away from the tub. Pull the caulk away in a steady, continuous motion for the best results. If resistance is met, apply more heat or use the scraper to aid in removal, always taking care not to scratch or damage the surface of your tub.
By following this heated removal method, you can efficiently tackle even the most stubborn old caulk, preparing your tub for a fresh, clean seal.
How to Get Caulk Off Tub: Use a Caulk Removal Solvent
Removing old caulk from your bathtub or shower area can be a challenging task, especially if the caulk has hardened significantly over time. However, using a caulk removal solvent can simplify this process by chemically softening it, making it easier to remove. Here’s how to apply this method effectively:
A. Apply Caulk Removal Solvent to the Caulk Line
Begin by generously applying a commercial caulk removal solvent along the entire length of the caulk line you wish to remove. Ensure that the solvent covers the caulk completely for maximum effect.
It’s advisable to use a solvent specifically designed for the type of caulk you’re dealing with – silicone, latex, or acrylic. Follow the manufacturer’s instructions carefully when applying the solvent, wear gloves, and ensure proper ventilation in your workspace to avoid inhaling fumes.
B. Allow the Solvent to Penetrate and Soften the Caulk
After applying the solvent, allow it to sit on the caulk line for the time specified by the manufacturer, usually between 2 to 24 hours. This waiting period is crucial as it gives the solvent enough time to penetrate and soften the caulk.
The effectiveness of the solvent can vary based on the type and age of the caulk, so patience is key. If necessary, apply additional solvent after the initial period to soften the caulk thoroughly.
C. Gently Scrub and Remove the Softened Caulk with a Clean Cloth or Sponge
Once the caulk has softened, gently scrub the caulk line with a clean cloth or sponge. The softened caulk should begin to break down and escape from the surface easily. If you encounter any resistance, it might be helpful to use a plastic scraper or putty knife to assist in the removal, being careful not to scratch or damage the surface beneath the caulk.
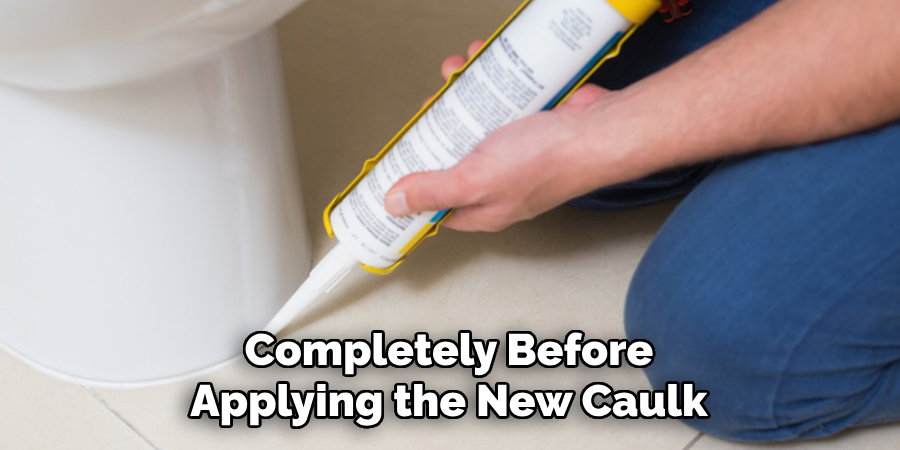
After the old caulk is fully removed, clean the area with soapy water to remove any residue of the solvent, and allow it to dry completely before applying the new caulk.
By utilizing a caulk removal solvent, you can efficiently remove old, stubborn caulk, preparing the surface for a fresh and secure reapplication, thereby ensuring a clean, water-resistant seal in your bathroom surfaces.
Clean and Prepare the Surface
After successfully removing the old caulk, it is vital to properly prepare the surface before applying the new caulk to ensure maximum adhesion and a clean, professional finish.
A. Wipe Away Any Remaining Caulk Residue with a Damp Cloth
Begin the preparation process by inspecting the surface for any leftover caulk residue. Even small bits of old caulk can prevent the new caulk from adhering properly. Use a damp cloth to gently wipe away these remnants. A plastic scraper can be used with caution for tougher bits to avoid scratching the surface.
B. Use a Mild Cleanser to Remove Grease or Soap Scum
After removing all caulk residue, clean the area with a mild cleanser to remove any grease, soap scum, or other contaminants that could impair the adhesion of the new caulk. Pay special attention to corners and edges where grime tends to accumulate.
C. Allow the Surface to Dry Completely Before Applying New Caulk
Finally, ensure the surface is completely dry before applying new caulk. Any moisture present can lead to poor adhesion and may even cause mold or mildew problems beneath the new caulk. Use a clean, dry cloth to absorb any remaining moisture. If time permits, allowing the area to air dry can also be an effective way to ensure thorough dryness.
Apply New Caulk to the Tub
After thoroughly cleaning and preparing the surface, you can apply new caulk to ensure a water-resistant seal. Below are the steps to follow for a smooth application process:
A. Choose a High-Quality Caulk Suitable for Bathroom Use
Selecting the right caulk is crucial for a lasting seal. Opt for a silicone-based caulk or a hybrid formula designed for bathroom applications, as these are specifically formulated to resist mildew and accommodate the high moisture levels typically found in bathrooms. Ensure the caulk you choose is compatible with your tub and tile materials.
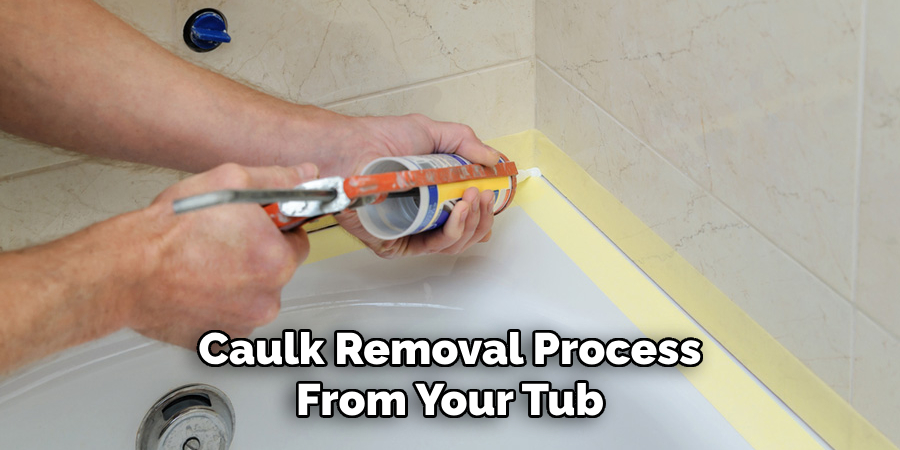
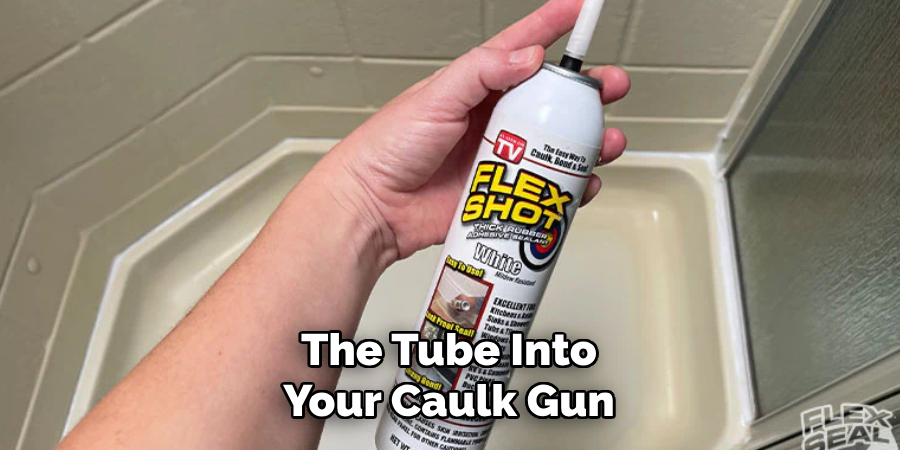
B. Load the Caulk into a Caulk Gun and Cut the Tip at an Angle
Before applying the caulk, load the tube into your caulk gun. Cut the caulk tube’s tip at a 45-degree angle, allowing easier application along the joints. The size of the cut should correspond to the width of the gap you are filling – a smaller gap requires a smaller cut. Pierce the seal inside the tip with a stiff wire or the tool built into many caulk guns.
C. Apply a Smooth and Even Bead of Caulk Along the Joint
Hold the caulk gun at a 45-degree angle to the joint and gently squeeze the trigger to start the flow of the caulk. Glide the gun along the joint in a smooth, steady motion, ensuring an even bead of caulk is applied.
Avoid stopping and starting, as this can result in an uneven application. If necessary, smooth the caulk bead with a caulk finishing tool or a damp finger, wearing a disposable glove. This step should be done promptly after application to ensure a smooth finish before the caulk begins to skin over.
Final Inspection and Touch-Up
After applying the new caulk around your tub, conducting a final inspection and making any necessary touch-ups is crucial for ensuring a flawless, water-resistant seal.
A. Check for Any Gaps or Imperfections in the Caulk Line
Carefully examine the newly applied caulk line for any gaps, bubbles, or imperfections. Good lighting is essential for spotting these issues, so consider using a handheld light source if the bathroom lighting isn’t sufficient. Detecting and addressing these flaws early can prevent water damage and ensure a professional-looking finish.
B. Use a Wet Finger or Caulk Tool to Smooth Out Caulk Joints
If you find any imperfections or areas where the caulk hasn’t adhered evenly, use a caulk finishing tool or a damp finger (wearing a disposable glove) to smooth out the caulk joints. This approach helps create a seamless bond between the caulk and the surface, enhancing the seal’s appearance and effectiveness. Remember to work quickly before the caulk dries to achieve the best results.
C. Allow the New Caulk to Cure According to Manufacturer’s Instructions
Finally, allowing the new caulk ample time to cure fully before exposing it to moisture is crucial. Refer to the manufacturer’s instructions for the recommended curing time, which can vary from 24 hours up to 72 hours, depending on the product. Using the tub or shower before the caulk has cured can compromise the seal, leading to water leakage and the potential for mold growth behind the caulk line.
Conclusion
We’ve outlined a comprehensive guide focusing on the essential steps to successfully remove old caulk from your tub. Starting with the precise slicing away of old caulk using a razor blade or caulk remover tool, followed by thorough cleansing of the surface to remove residue and contaminants, ensures a clean slate for applying new caulk.
The detailed surface preparation is crucial to the process, including removing any lingering caulk residue and ensuring the area is completely dry. The application techniques highlighted, such as choosing the right caulk, cutting the caulk tube tip at an appropriate angle, and applying a smooth, even bead of caulk, are pivotal for a watertight seal and a pristine finish.
We hope this guide has illuminated the pathway for how to get caulk off tub effectively and instilled confidence in your ability to refresh your bathroom’s appearance while preventing water damage. Remember, patience and attention to detail during both the removal and application phases are your allies in achieving a professional-grade outcome. Here’s to your success in this and all your bathroom maintenance efforts!

