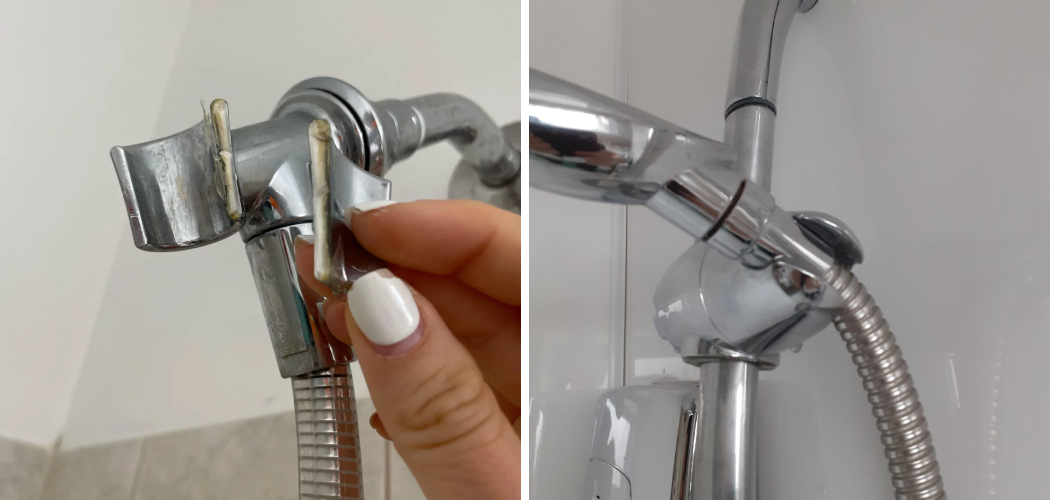
Tightening a shower head swivel is a simple yet essential task that can enhance your showering experience and prevent leaks or unnecessary movement of the shower head. The swivel joint, which connects the shower head to the shower arm, allows for adjustment of the spray angle to suit your preferences.
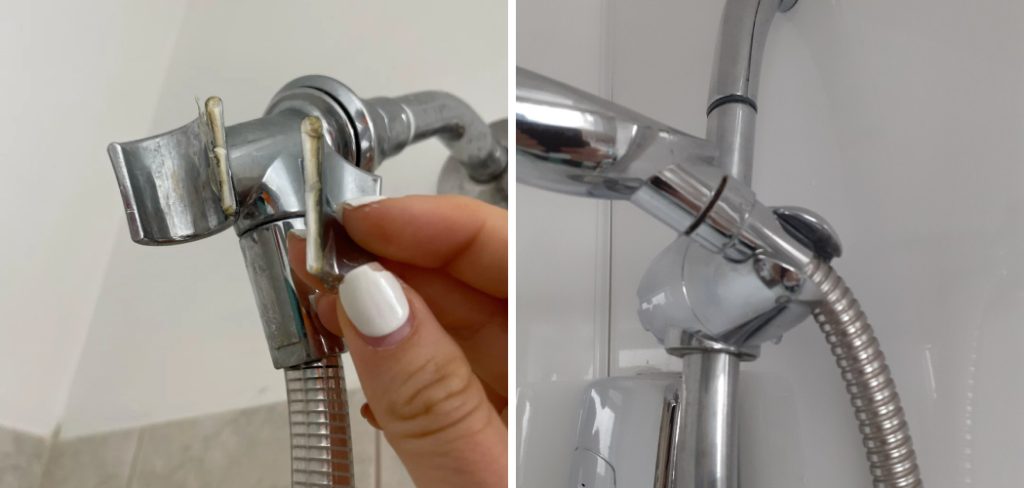
Over time, however, the swivel joint may become loose due to regular use or vibration, resulting in a wobbly or unstable shower head. In this guide, we’ll explore how to tighten shower head swivel effectively. From identifying the type of swivel joint to using basic tools and techniques, we’ll provide comprehensive instructions to ensure a secure and stable connection. By mastering this skill, you can enjoy a more comfortable and enjoyable showering experience while also prolonging the lifespan of your shower head.
Importance of a Stable Shower Head Swivel
Ensuring the stability of the shower head swivel is critical for multiple reasons. Firstly, it significantly impacts the overall showering experience; a stable swivel allows for precise control over the direction and angle of the water spray, catering to individual preferences and needs. This control is particularly beneficial for households with members of varying heights and showering requirements.
Furthermore, a securely fastened shower head minimizes the risk of leaks at the joint, which can lead to water wastage and potential damage to bathroom fixtures and surfaces over time. Additionally, a firmly attached shower head prevents sudden movements during use, which could cause injury or breakage. Maintaining a stable shower head swivel, therefore, not only enhances user satisfaction but also contributes to water conservation, safety, and the longevity of bathroom fittings.
Common Reasons for a Loose Swivel
A variety of factors can lead to a loose swivel joint on a shower head, affecting its stability and functionality. One of the most common reasons is regular wear and tear. Over time, the constant adjustments to the shower head’s angle and position can cause the swivel mechanism to loosen.
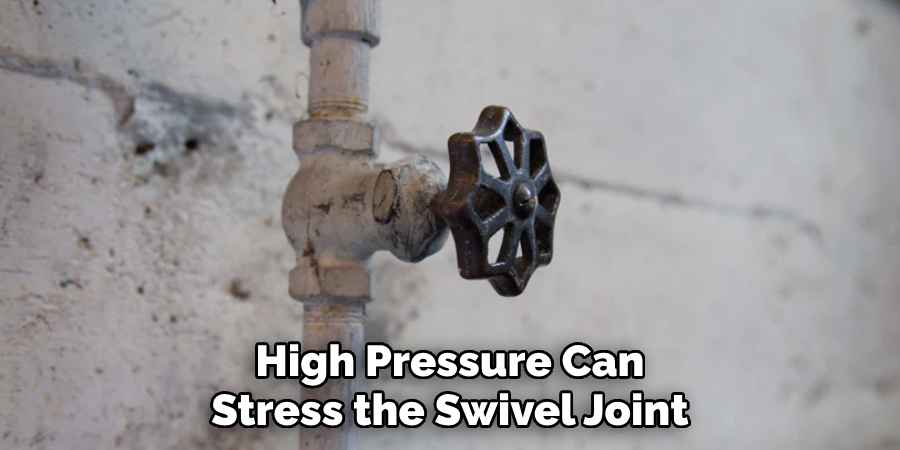
Additionally, improper installation might not secure the shower head adequately from the start, leading to a quicker loosening of the joint. Water pressure fluctuations can also play a role; high pressure can stress the swivel joint, gradually loosening it. Furthermore, mineral build-up from hard water can impact the tightness and movement of the swivel, as minerals deposit inside the joint, causing it to stiffen or loosen irregularly.
Understanding these common causes can help in diagnosing the issue and applying the appropriate solution to fix a loose shower head swivel effectively.
Tools and Materials Needed
Before attempting to tighten the stability of your shower head swivel, it is essential to gather the right tools and materials for the job. Proper preparation will make the process smoother and ensure that you do not damage the shower head or shower arm. Here’s what you’ll likely need:
- Adjustable Wrench: This will be your primary tool for tightening the shower head or the nut connecting the head to the shower arm.
- Teflon Tape (Plumber’s Tape): Wrapping Teflon tape around the threads of the shower arm can help create a tighter seal and prevent leaks.
- Clean Cloth or Rag: A cloth is useful for cleaning the shower head and swivel joint, as well as for holding the shower arm to prevent it from turning as you tighten the shower head.
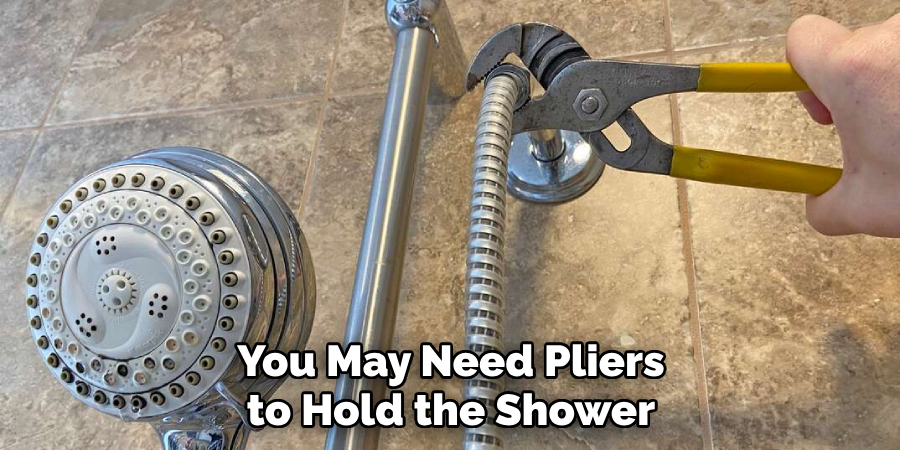
- Pair of Pliers: In some cases, you may need pliers to hold the shower arm securely while adjusting the shower head.
- Lubricant (Optional): If the swivel joint is stiff or difficult to turn, a silicone-based lubricant can help ease the movement after tightening.
Checking for Wobbling or Movement
Before proceeding with any attempt to tighten the shower head swivel, it’s crucial to first confirm the source of any wobbling or movement. Start by gently moving the shower head with your hand to identify any noticeable looseness in the swivel joint. This will help you determine if the instability is indeed due to a loose swivel or if there might be another issue at play, such as problems with the shower arm itself.
To conduct a thorough check, hold the shower arm (the pipe coming out of the wall) securely with one hand, while gently moving the shower head with the other. If there is significant movement in the shower head independent of the shower arm, then the swivel joint is likely the culprit. However, if the entire assembly moves, including the shower arm, then the issue may be at the connection between the shower arm and the wall, requiring a different approach.
Identifying the precise location and nature of the wobble or movement is essential for applying the correct solution. A careful assessment at this stage can save time and prevent potential damage to your shower components.
Observing Signs of Leaks or Dripping
After confirming the swivel joint as the source of instability, the next step is to observe any signs of water leakage or dripping from the joint area. Water leaks can be subtle and not always immediately noticeable, especially if they occur only when the shower is in use.
Inspect the area around the shower head and the connection point to the shower arm for any moisture, damp spots, or water trails. Running your fingers along these areas can help you feel for wetness that might not be visually apparent.
It’s also beneficial to conduct a test by turning on the shower and observing the shower head and swivel joint while it’s operating. Look for any water escaping from the sides of the joint or running down the shower arm. Drips or a continuous stream of water from the joint while the shower runs are clear indications of a leak. Addressing these leaks is crucial, not only for water conservation but also to prevent potential water damage to your bathroom surfaces or an increase in water bills.
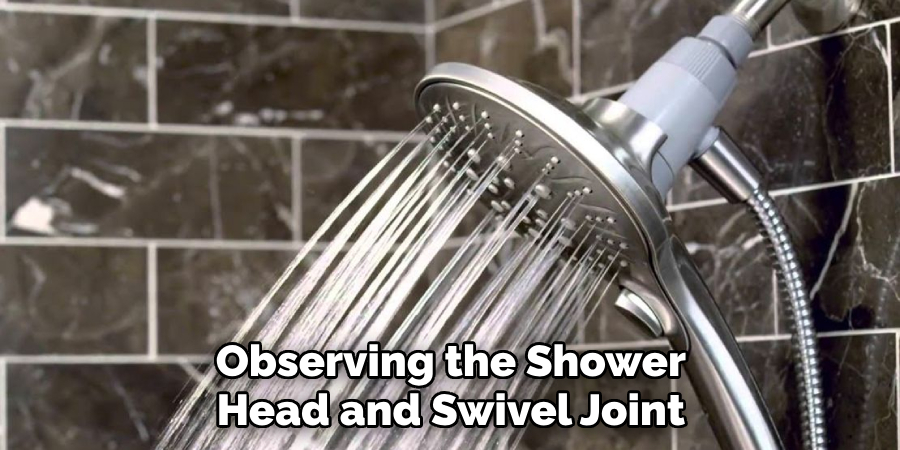
Taking note of these signs and investigating for leaks is an essential step before proceeding to tighten the shower head swivel. This ensures that the appropriate measures are taken to seal the joint properly and prevent further leakage, providing a long-term solution to the problem.
Regular Inspection and Maintenance
To ensure the longevity and proper functioning of your shower head, regular inspection and maintenance are key. Incorporating these practices into your cleaning routine can prevent the common issues that lead to a loose swivel joint or leaks.
At least once every few months, take the time to inspect your shower head for any signs of wear or damage. Check for mineral deposits on the shower head and inside the swivel joint, since these could hinder movement or cause the joint to loosen. If you find any buildup, gently clean it with a suitable descaling solution or vinegar to remove the deposits.
Additionally, while cleaning, assess the tightness of the shower head by gently moving it to detect any unusual looseness that may require attention. Remember to check the shower arm and its connection to the wall, as these areas can also become loose over time.
Performing regular maintenance, such as reapplying Teflon tape and tightening connections with the appropriate tools, can greatly enhance the stability and performance of your shower setup. By staying vigilant and addressing small issues before they escalate, you can enjoy a consistent shower experience without the inconvenience of unforeseen repairs.
Avoiding Overtightening to Prevent Damage
While ensuring that your shower head is securely fastened is crucial, it’s equally important to avoid overtightening. Applying excessive force can strip the threads on the shower arm or the swivel joint, leading to more significant issues than the initial looseness or leaks. Metal components, in particular, are susceptible to this kind of damage, which can result in costly repairs or the need for replacement parts.
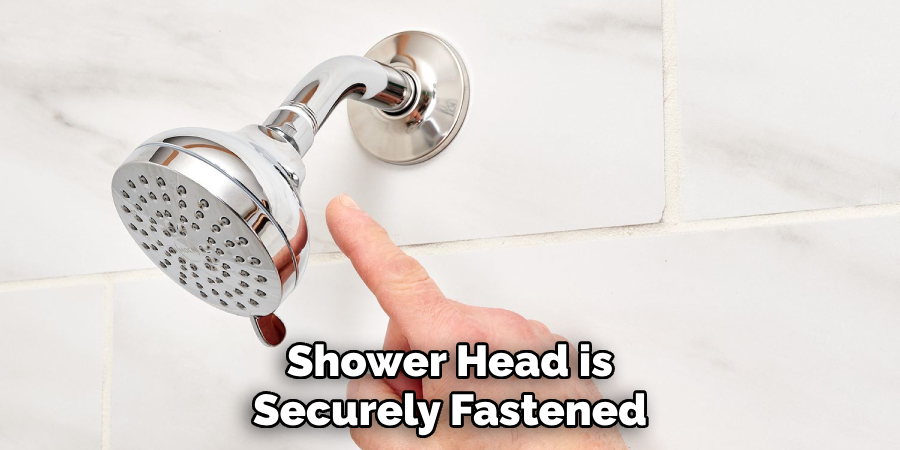
To avoid overtightening, use a wrench or pair of pliers with care, ensuring that you’re applying firm but gentle pressure. Once you feel resistance, make only a quarter turn more and then check the stability of the shower head. If it remains loose, tighten it by another small increment, checking after each adjustment.
Additionally, when applying Teflon tape to the threads, wrap it snugly but do not over-layer it, as too much tape can also cause issues with thread alignment and sealing. Achieving a balanced tightness is key to a secure and functional shower head that does not suffer from the risk of damage due to excessive force.
Recap of Tightening Methods and Benefits
In conclusion, addressing a loose shower head effectively involves several critical steps, each contributing to the stability and longevity of your shower system. To recap, start by carefully identifying the source of looseness or wobbling, confirming whether it’s the swivel joint or another component. Observing for leaks and conducting regular inspections are also essential practices that help pinpoint the exact issues needing attention.
The methods for tightening include:
- Securing the Swivel Joint: Simple hand tightening followed by gentle adjustments with pliers or a wrench can often resolve looseness. Remember, the key is to avoid overtightening to prevent damage.
- Regular Maintenance: Clean mineral deposits and inspect the shower head and arm regularly. Applying descaling solutions or vinegar can prevent buildup that may cause or exacerbate issues.
- Reapplying Teflon Tape: When dealing with leaks, carefully reapply Teflon tape to ensure a water-tight seal without over-layering.

The benefits of these tightened methods include a leak-free and stable shower head, which leads to a more enjoyable shower experience. Additionally, addressing these issues promptly can result in water conservation, prevent water damage, and save on potential repair costs. By maintaining the proper tightness, you not only ensure the functionality of your shower but also extend the lifespan of its components, highlighting the importance of regular maintenance and careful handling.
10 Methods How to Tighten Shower Head Swivel
1. Identify the Type of Swivel Joint:
Before attempting to tighten the shower head swivel, it’s essential to identify the type of swivel joint you’re dealing with. Swivel joints can vary in design, with some featuring a ball joint, a threaded connection, or a swivel collar. Understanding the type of joint will help determine the appropriate tightening method.
2. Hand-Tighten the Swivel Collar:
If your shower head swivel features a swivel collar, you can often tighten it by hand. Simply grasp the swivel collar firmly and twist it clockwise to tighten it onto the shower arm. Be careful not to overtighten, as this could damage the collar or the shower arm threads.
3. Use Adjustable Pliers:
For swivel joints with a threaded connection, you can use adjustable pliers to tighten the joint securely. Place the jaws of the pliers around the swivel collar or nut and turn it clockwise to tighten. Exercise caution to avoid damaging the finish of the shower head or collar.
4. Apply Thread Seal Tape:
Thread seal tape, also known as plumber’s tape, can be applied to the threads of the swivel joint to create a tighter seal. Wrap a few layers of thread seal tape around the threads of the shower arm before attaching the swivel collar or nut. This can help prevent leaks and improve the stability of the joint.
5. Inspect and Clean Threads:
Before tightening the swivel joint, inspect the threads of both the shower arm and the swivel collar or nut for any debris or corrosion. Use a soft brush or cloth to clean the threads thoroughly, removing any dirt or buildup that could interfere with the tightening process.
6. Replace Washer or O-Ring:
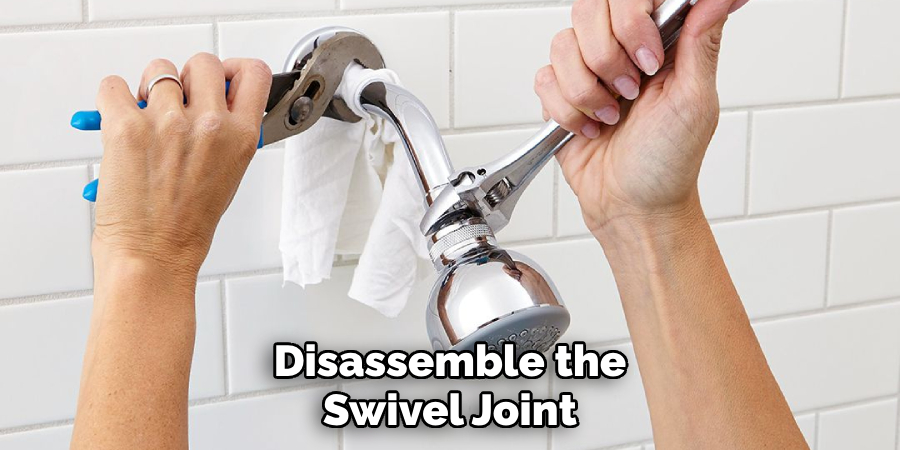
If the swivel joint is leaking despite tightening, it may be due to a worn-out washer or O-ring inside the joint. Disassemble the swivel joint and inspect the washer or O-ring for signs of damage or wear. Replace it with a new one if necessary before reassembling the joint.
7. Use a Strap Wrench:
In cases where the swivel joint is difficult to tighten by hand or with pliers, a strap wrench can provide additional leverage. Wrap the strap of the wrench around the swivel collar or nut and use the handle to apply pressure while turning it clockwise to tighten.
8. Apply Thread Locking Compound:
Thread locking compound can be applied to the threads of the swivel joint to secure them in place and prevent loosening over time. Use a small amount of thread locking compound on the threads of the shower arm before attaching the swivel collar or nut. Allow the compound to cure according to the manufacturer’s instructions before using the shower.
9. Check for Damaged Components:
Inspect the swivel joint and surrounding components for any signs of damage, such as cracks, dents, or stripped threads. Damaged components may need to be replaced to ensure a secure and stable connection. Consult the manufacturer’s instructions or a professional plumber for guidance on replacement parts.
10. Consult a Professional:
If you’re unsure how to tighten the shower head swivel or if tightening does not resolve the issue, it may be time to consult a professional plumber. A plumber can inspect the swivel joint and surrounding plumbing components to identify any underlying issues and recommend the appropriate course of action.
Things to Consider When Tightening a Shower Head Swivel
When addressing the task of tightening a shower head swivel, several critical considerations should be kept in mind to ensure both effectiveness and safety:

- Material Compatibility: Ensure that the materials of the shower head, swivel joint, and any tools used are compatible to prevent damage. For example, using tools with a protective jaw cover can help avoid scratching or denting the metal surfaces.
- Appropriate Pressure: Applying the correct amount of pressure is crucial. Too little pressure may leave the swivel joint loose, leading to potential leakage, while too much pressure can cause thread stripping or cracking. Finding the balance is key.
- Environmental Factors: Be aware of environmental factors that could affect the joint, such as humidity and temperature, which can cause materials to expand or contract slightly. This could affect how tightly the swivel joint needs to be tightened.
- Following Manufacturer Instructions: Always refer to the manufacturer’s instructions for specific recommendations on tightening procedures, torque settings, and maintenance schedules. This guidance is invaluable for preventing mistakes that could lead to damage or malfunction.
- Regular Inspections and Maintenance: After tightening, conduct regular inspections to ensure the swivel joint remains tight and functional. Routine maintenance can prevent future loosening and extend the lifespan of the shower head.
By considering these factors, you can achieve a stable and leak-free shower head swivel, enhancing your shower experience while maintaining the integrity of your plumbing fixtures.
Conclusion
In conclusion, ensuring a secure and stable shower head swivel is essential for a comfortable and efficient showering experience. By following the simple DIY methods outlined in this guide, such as using adjustable wrenches, applying plumber’s tape or thread sealant, and installing swivel lock nuts or washers, you can effectively tighten a loose swivel and prevent issues like leaks or wobbling.
Regular testing and adjustments help ensure that the tightened swivel operates smoothly without excessive looseness. Moreover, implementing preventative measures like regular maintenance and the use of thread sealant during installation can help maintain swivel tightness over time. Thanks for reading, and we hope this has given you some inspiration on how to tighten shower head swivel!

