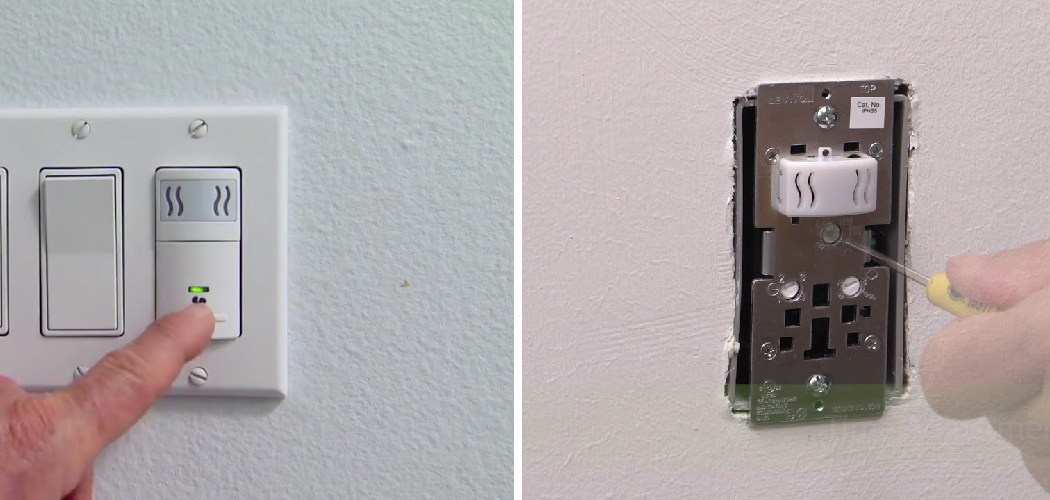
Humidity sensors in bathroom fans are designed to automatically control the ventilation in your bathroom, kicking in to clear the air when moisture levels climb too high. While this technology offers convenience and helps prevent problems like mold and mildew, there might be situations where you wish to disable the sensor—perhaps for constant ventilation or to integrate a different control system.
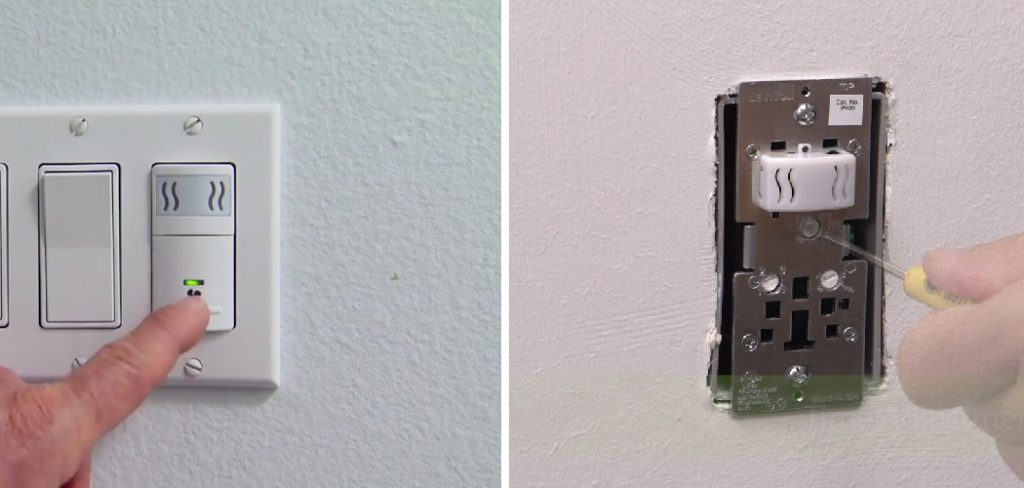
This guide on how to disable humidity sensor on bathroom fan will walk you through the process of disabling the humidity sensor on your bathroom fan, a straightforward task that can make your bathroom ventilation work exactly as you desire. Whether you’re a seasoned DIY enthusiast or new to home improvements, we’ll ensure you have all the information you need to tackle this project confidently.
What is a Humidity Sensor?
A humidity sensor is a type of sensor that measures the amount of moisture in the air. It is commonly used in bathroom fans to detect high levels of humidity and trigger the fan to turn on and remove excess moisture from the room. This helps prevent mold and mildew growth, as well as improve air quality.
You may also find humidity sensors in other household appliances, such as dehumidifiers and air conditioners. They are an essential component for maintaining a comfortable and healthy indoor environment.
Reasons to Disable the Humidity Sensor on Your Bathroom Fan
As mentioned earlier, there might be situations where you would want to disable the humidity sensor on your bathroom fan. Some possible scenarios include:
- You prefer constant ventilation in your bathroom rather than waiting for the sensor to kick in when humidity levels rise.
- You have a separate control system or timer that you want to use instead of the humidity sensor.
- The humidity sensor is malfunctioning and causing the fan to turn on and off erratically. In this case, disabling it might provide a temporary fix until you can replace or repair the sensor.
- You want to conserve energy and reduce electricity costs by manually controlling when the fan operates.
- You simply do not find the automatic function of the humidity sensor useful.
Necessary Materials
To disable the humidity sensor on your bathroom fan, you’ll need a few tools and materials. These may vary depending on the specific make and model of your fan, so be sure to consult the manufacturer’s instructions before starting. Generally, you will need:
Screwdriver:
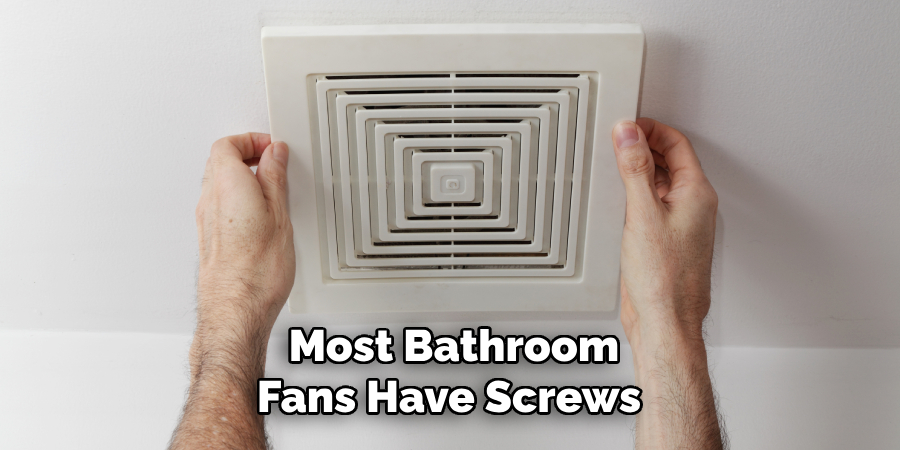
Most bathroom fans have screws that secure the cover or grille in place. You will need a screwdriver to remove these and access the internal components of the fan.
Wire Cutters:
You may need wire cutters to disconnect any wires connecting the humidity sensor to the fan’s circuit board.
Electrical Tape:
If you are cutting wires, it is essential to tape the ends properly to avoid any electrical hazards.
Multimeter:
A multimeter is a handy tool for diagnosing and testing electrical circuits. You may need it to check if the humidity sensor is still functional after disabling it.
11 Step-by-step Guidelines on How to Disable Humidity Sensor on Bathroom Fan
Step 1: Turn Off the Power
Before you begin working on your bathroom fan, make sure to turn off the power to avoid any accidents. You can do this by switching off the circuit breaker or unplugging the fan. But if the fan is hardwired, you might want to turn off the main power supply to your bathroom. It is crucial to follow safety precautions when working with electrical appliances. You can also use a voltage tester to confirm that the power is off before proceeding.
Step 2: Remove the Cover or Grille of Your Fan
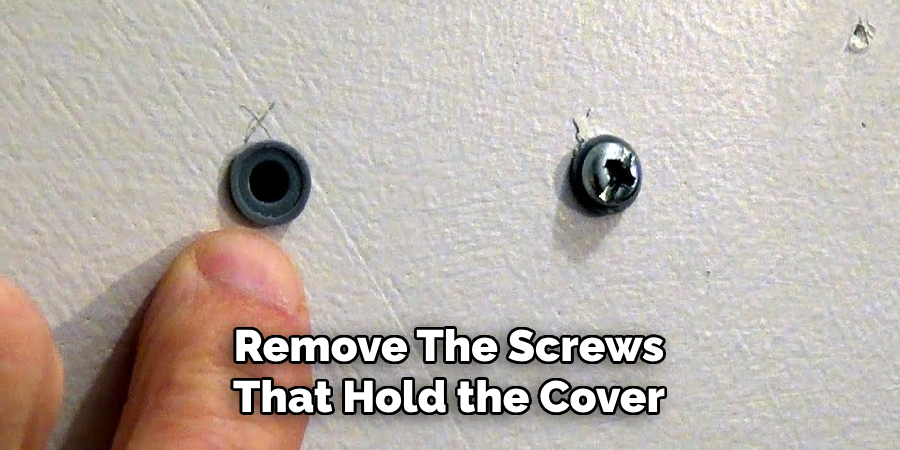
Using a screwdriver, remove the screws that hold the cover or grille of your bathroom fan in place. Keep these screws in a safe place, as you will need them later to secure the cover back on. The cover or grille may also have clips that you can easily unclip to remove. You should now have access to the internal components of your fan. But be careful not to damage any wires or other parts.
Step 3: Locate the Humidity Sensor
The humidity sensor is typically located near the center of the fan and attached to the circuit board. It may look like a small black or white box with two or three wires connected to it. Refer to your manufacturer’s instructions if you are having trouble identifying the humidity sensor.
You can also consult the wiring diagram on the fan’s cover or in its manual. The sensor may also have a label or marking that says “humidity sensor.”
Step 4: Disconnect the Sensor
Using your wire cutters, carefully disconnect the wires connecting the humidity sensor to the circuit board.
It is important to note down which wires you disconnected and where they were connected for reinstallation purposes. You may also want to take a picture for reference. It is crucial to handle wires with caution to avoid any damage or accidents.
Step 5: Insulate the Wires
After disconnecting the sensor, you can use electrical tape to insulate the exposed ends of the wires properly. This will prevent any accidental contact and potential hazards. But if you are not comfortable working with wires, you can also wrap the sensor in electrical tape and leave it connected to the circuit board.

It will effectively disable the sensor without having to cut any wires. The downside is that you won’t be able to reuse the sensor in the future.
Step 6: Test Your Fan
Now that the humidity sensor is disconnected, you can test your fan by turning on the power and flipping the switch. If the fan turns on, it means you have successfully disabled the humidity sensor. You can also use a multimeter to check the sensor’s functionality before and after disabling it.
If the fan still does not work, double-check your wiring connections and make sure the power is on. But if you encounter any issues, it is best to call a professional for assistance.
Step 7: Remove the Sensor (Optional)
If you want to remove the humidity sensor completely, you can unscrew it from the circuit board and detach it. However, make sure to keep all the components together in a safe place, as you may want to reinstall them in the future.
It is also essential to cover any exposed wires or holes in the circuit board to avoid any debris or dust from getting inside. The cover or grille should also be properly secured to prevent any foreign objects from entering the fan.
Step 8: Reconnect Any Disconnected Wires
If you only insulated the wires instead of cutting them, you will need to reconnect the wires to their original positions on the circuit board. Refer to your notes or pictures from earlier for guidance.
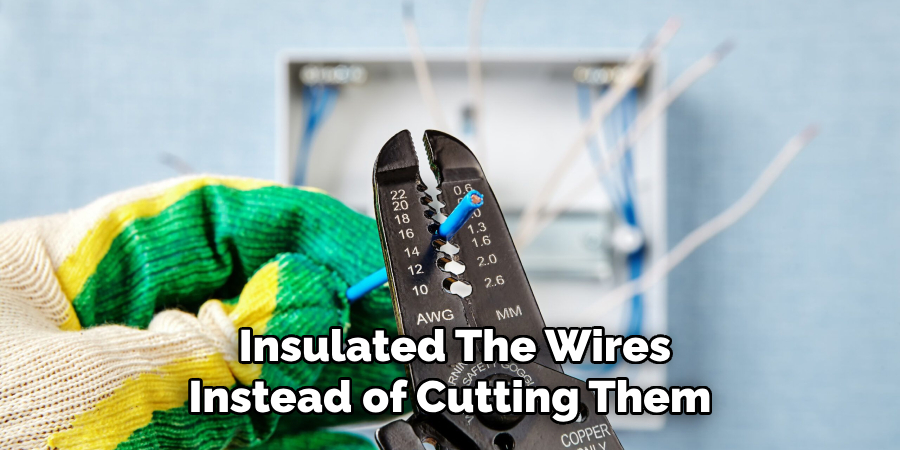
Make sure all connections are secure and insulated properly. Otherwise, you may encounter issues with your fan’s functionality or cause potential hazards. It is crucial to handle wires with caution and follow proper safety procedures.
Step 9: Reattach the Cover or Grille
Using your screwdriver, reattach the cover or grille of your bathroom fan by securing it with screws or clipping it back into place. Make sure it is properly aligned and secure before moving on to the next step. Otherwise, it may create vibrations or noises when the fan is in use.
You can also clean the cover or grille before reattaching it to improve the appearance and performance of your fan. It is essential to keep your fan clean and well-maintained for it to function efficiently.
Step 10: Turn On the Power
Now that everything is back in place, you can turn on the power supply to your bathroom and test your fan again. If all goes well, your fan should be functioning without the humidity sensor. However, if you encounter any issues or noises, it is best to check all connections and make sure everything is properly installed.
There could also be other underlying problems with your fan that require professional attention.
Step 11: Regular Maintenance
Even though the humidity sensor is disabled, it is crucial to regularly clean and maintain your bathroom fan for optimal performance. You can remove any dust or debris build-up from the fan’s blades and motor using a vacuum cleaner or compressed air.
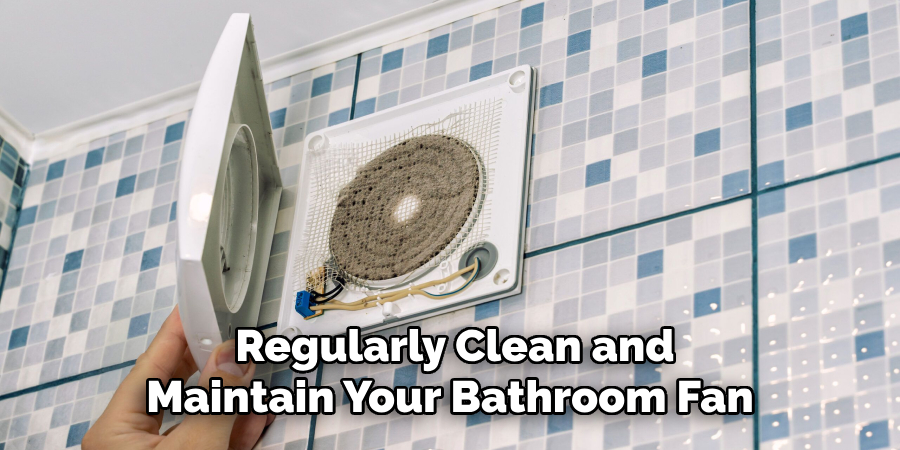
It is also recommended that the fan’s motor be lubricated periodically to prevent it from wearing out. Regular maintenance can prolong the lifespan of your bathroom fan and ensure that it operates efficiently.
Following these steps and safety precautions on how to disable the humidity sensor on bathroom fan, you can easily disable the humidity sensor on your bathroom fan. However, it is always best to consult a professional electrician if you are unsure or uncomfortable working with electrical appliances.
Proper maintenance and care can keep your fan running smoothly for years to come. So, make sure to add it to your home’s regular maintenance checklist!
Alternatives to Disabling the Humidity Sensor
If you do not want to completely disable the humidity sensor on your bathroom fan, there are other alternatives you can try. Some modern fans come with adjustable humidity settings, allowing you to set the desired level of moisture for the sensor to activate. You can also install a separate timer switch that will turn off the fan after a specified amount of time.
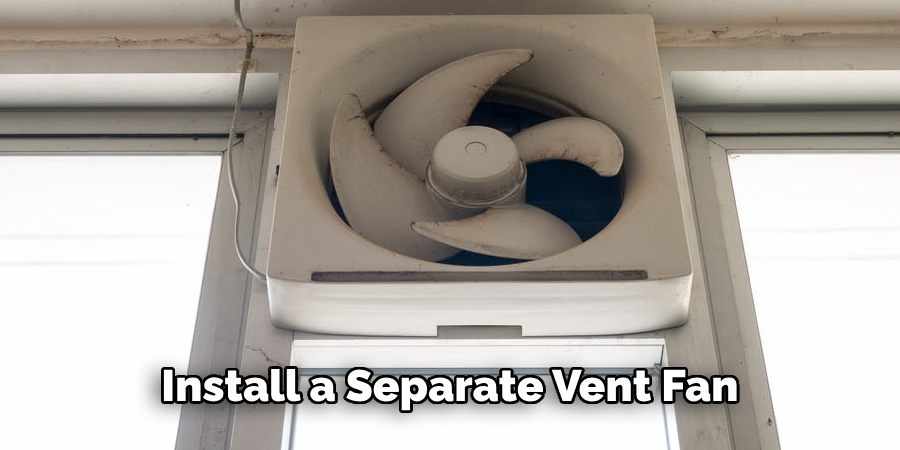
Another option is to install a separate vent fan or dehumidifier in your bathroom to control the moisture levels instead of relying on the fan’s humidity sensor. Ultimately, it is up to your personal preference and needs when it comes to managing humidity in your bathroom. It is essential to choose an option that suits you best and ensures the safety and functionality of your bathroom fan.
It is also worth mentioning that some fans come with humidity sensors as a safety feature to prevent excess moisture and mold growth. If you live in an area with high humidity levels, disabling the sensor may not be the best option for your bathroom’s overall health and well-being.
Consider all factors before making a decision on whether to disable the humidity sensor on your bathroom fan. So, be sure to do your research and consult a professional if needed.
Maintenance and Aftercare
Once you have successfully disabled the humidity sensor on your bathroom fan, it is crucial to include it in your regular home maintenance routine. This includes cleaning and lubricating the fan regularly to keep it functioning efficiently.
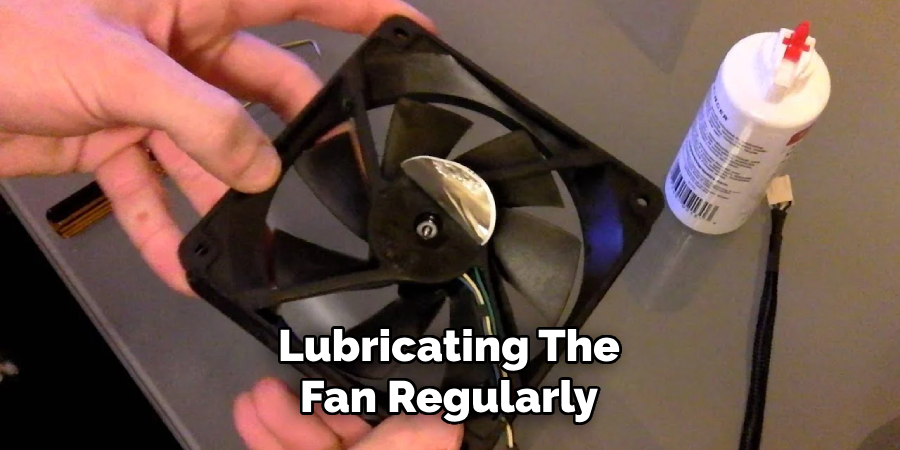
You should also inspect the wires and connections periodically to ensure they are secure and insulated properly. If you encounter any issues or noises with your fan, make sure to address them promptly to avoid any potential hazards.
Additionally, it is essential to follow proper safety precautions when working with electrical appliances and consult a professional if needed. By taking these steps, you can ensure the longevity and performance of your bathroom fan for years to come.
You have now successfully learned how to disable humidity sensor on bathroom fan and alternative solutions. Remember to test your fan after disabling the sensor and to include regular maintenance in your home routine.
Additional Tips
- If you are uncomfortable working with electrical components, it is best to hire a professional electrician to disable the humidity sensor on your bathroom fan.
- It is crucial to handle wires with caution and follow proper safety procedures to avoid any accidents or hazards while working on your fan.
- Regular cleaning and maintenance of your bathroom fan can greatly improve its performance and lifespan.
- If you want to reinstall the humidity sensor in the future, make sure to keep all components safe and properly labeled for easy reinstallation.
- Disabling the humidity sensor may affect the efficiency of your fan in removing excess moisture from your bathroom. Make sure to monitor the humidity levels in your bathroom and make adjustments if necessary.
- If you encounter any issues or noises after disabling the sensor, it is best to consult a professional for assistance.
- It is essential to read and follow the instructions provided by your bathroom fan before attempting to disable the humidity sensor. This will ensure that you do not damage any components or void the warranty. Overall, proper care and maintenance of your bathroom fan can greatly improve the air quality and comfort of your home. So don’t forget to add it to your regular household chores!
Frequently Asked Questions
Q: Will Disabling the Humidity Sensor Affect the Functionality of My Bathroom Fan?
A: Disabling the humidity sensor may affect the efficiency of your fan in removing excess moisture from your bathroom. But it should not impact its overall functionality. You can always reattach the sensor if you encounter any issues. It is also essential to regularly clean and maintain your fan for optimal performance.
Q: Can I Remove the Humidity Sensor Completely?
A: Yes, you can remove the humidity sensor if you do not plan on reinstalling it in the future. However, make sure to keep all components safe and properly labeled for easy reinstallation if needed. If you are unsure, it is best to consult a professional electrician for assistance.
Q: Is It Safe to Work with Electrical Components?
A: Working with electrical components can be hazardous if proper safety precautions are not followed. It is always best to turn off the power supply and handle wires with caution while working on your bathroom fan. If you are uncomfortable or unsure, it is best to hire a professional electrician for this task. So make sure to stay safe and follow all safety procedures!
Q: How Often Should I Clean My Bathroom Fan?
A: It is recommended to clean your bathroom fan at least once every six months to ensure optimal performance. However, if you notice any dust or debris build-up sooner, you can clean it more frequently. Regular maintenance can prolong the lifespan of your fan and prevent any potential issues. So, make sure to add it to your household cleaning routine!
Q: Can I Reinstall the Humidity Sensor at a Later Time?
A: Yes, you can reinstall the humidity sensor in your bathroom fan if needed. Make sure to keep all components safe and properly labeled for easy reinstallation. If you are unsure or encounter any issues, it is best to consult a professional electrician for assistance. So be sure to store everything safely in case you need it in the future!
Conclusion
In this guide on how to disable humidity sensor on bathroom fan, we discussed how to disable the humidity sensor on your bathroom fan. The steps involved disconnecting the sensor from the circuit board, testing the fan’s functionality, removing the sensor (optional), reconnecting any disconnected wires, reattaching the cover or grille, and finally turning on the power.
We also provided some additional tips and precautions to keep in mind while working with electrical components and maintaining your bathroom fan. By following these steps, you can easily disable the humidity sensor on your bathroom fan and ensure it operates efficiently for years to come.
Remember to always prioritize safety and consult a professional if you are unsure or uncomfortable with the process.

