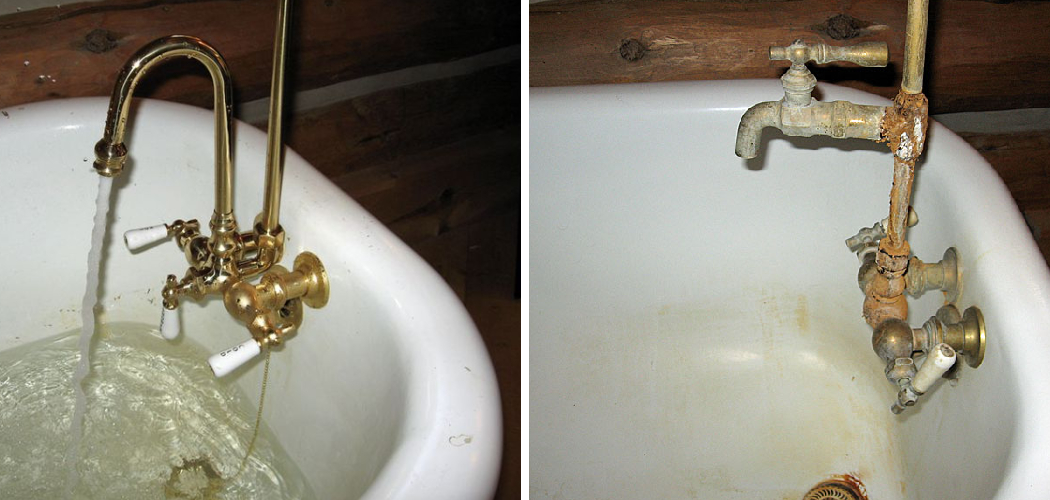
Replacing a clawfoot bathtub faucet may seem like a daunting task, but with the right tools and a bit of guidance, it can be a smooth and rewarding experience.
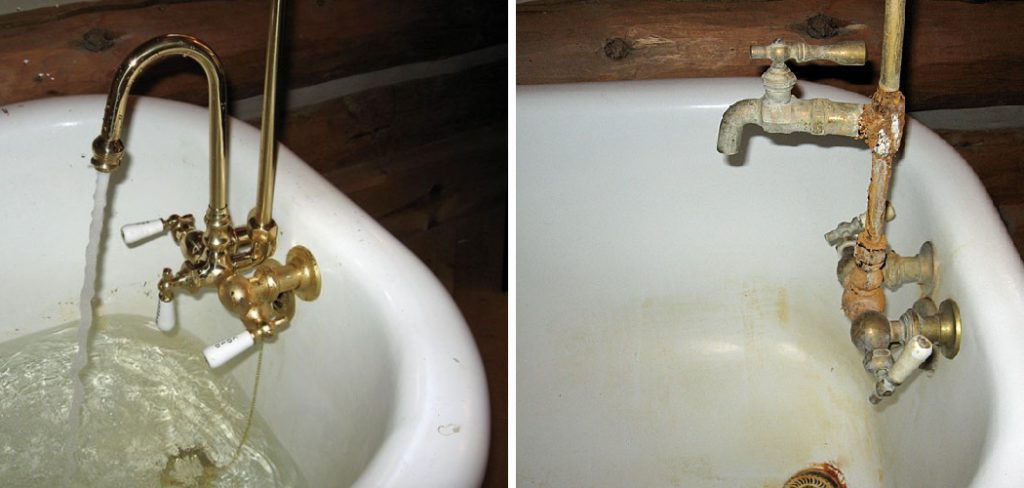
This guide on how to replace a clawfoot bathtub faucet will walk you through the essential steps needed to upgrade your bathtub’s faucet, ensuring a perfect fit and proper functionality.
Whether you’re a seasoned DIY enthusiast or a beginner looking to tackle your first plumbing project, the following instructions will help you transform your bathroom with confidence.
What is a Clawfoot Bathtub Faucet?
A clawfoot bathtub faucet is a type of faucet specifically designed for use with clawfoot bathtubs. These tubs are freestanding and usually have four legs, giving them a unique appearance that adds character to any bathroom. The faucet typically sits on the rim of the tub, allowing water to flow directly into the tub.
The design of a clawfoot bathtub faucet is different from traditional wall-mounted faucets, making it necessary to have specific knowledge and tools when replacing one.
Why Replace a Clawfoot Bathtub Faucet?
There are several reasons why you may want to replace your old clawfoot bathtub faucet:
Upgrade to a More Modern Look:
If your current faucet is outdated or doesn’t match the rest of your bathroom’s decor, replacing it with a new clawfoot faucet can instantly give your bathtub and bathroom a fresh, modern look.
Improve Functionality:
Older faucets may have worn out or damaged parts that can cause leaks, low water pressure, or other issues. Replacing the faucet with a new one ensures proper functionality and avoids potential problems in the future.
Increase Water Efficiency:
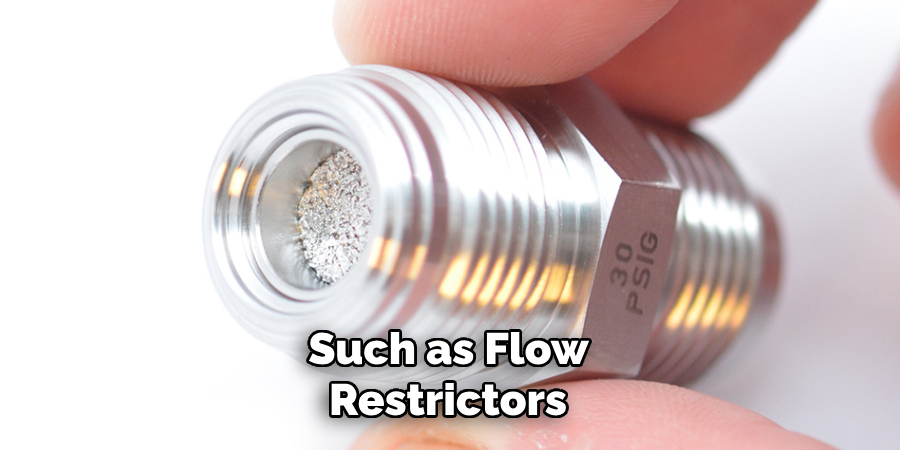
New clawfoot bathtub faucets often come equipped with water-saving features such as flow restrictors and aerators, helping to conserve water and reduce your utility bill.
Personal Preference:
Sometimes, homeowners simply want to change their bathtub faucets to match their personal style preferences. With many different styles, finishes, and designs available on the market today, it’s easy to find a clawfoot bathtub faucet that suits your taste and complements your bathroom’s overall look.
Tools and Materials Needed
Before starting the replacement process, gather all the necessary tools and materials for the project. These include:
Adjustable Wrench:
An adjustable wrench will come in handy for removing the old faucet and tightening the new one.
Screwdriver:
Depending on the type of faucet, you may need either a regular or Phillips head screwdriver to remove screws and other fasteners.
Pliers:
Pliers can be useful for gripping and turning small parts during the installation process.
Silicone Caulk:
Silicone caulk is needed to create a watertight seal between the faucet and the bathtub.
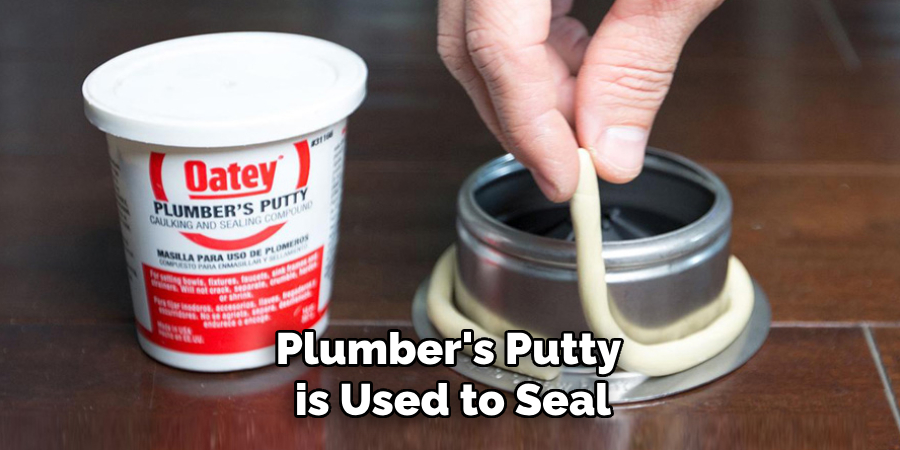
Plumber’s Putty:
Plumber’s putty is used to seal any gaps between the faucet and mounting surface, preventing water from leaking underneath.
New Clawfoot Bathtub Faucet:
Choose a faucet that fits the style and size of your bathtub. Make sure to read the manufacturer’s instructions for specific installation requirements.
8 Step-by-step Guidelines on How to Replace a Clawfoot Bathtub Faucet
Step 1: Turn off the Water Supply
Before beginning the replacement process, it is essential to turn off the water supply to avoid any potential flooding or water damage. Locate the main water shut-off valve in your home, which is usually found near the water meter or where the main water line enters the house. Turn the valve clockwise until it is fully closed.
Additionally, you may have individual shut-off valves for the bathtub located nearby; close these valves if available. Once the water supply is turned off, open the faucet to drain any remaining water in the pipes, ensuring the work area is dry and ready for the next steps.
Step 2: Remove the Old Faucet
With the water supply turned off and the remaining water drained, you can now proceed to remove the old faucet. Begin by unscrewing any mounting screws or bolts holding the faucet in place using a screwdriver or adjustable wrench, depending on the type of fasteners used. Carefully lift the faucet away from the tub, being mindful not to damage the mounting surface or surrounding area.
If the faucet adheres with the plumber’s putty or silicone caulk, you may need to gently score around the edges with a utility knife to break the seal and ease removal. Once the faucet is detached, clean the mounting surface thoroughly to remove any old putty, caulk, or debris, ensuring a smooth and clean area for the new faucet installation.
Step 3: Prepare the New Faucet
Before installing the new clawfoot bathtub faucet, it’s important to prepare it according to the manufacturer’s instructions. Start by unpacking the new faucet and laying out all the included parts to ensure everything is accounted for.
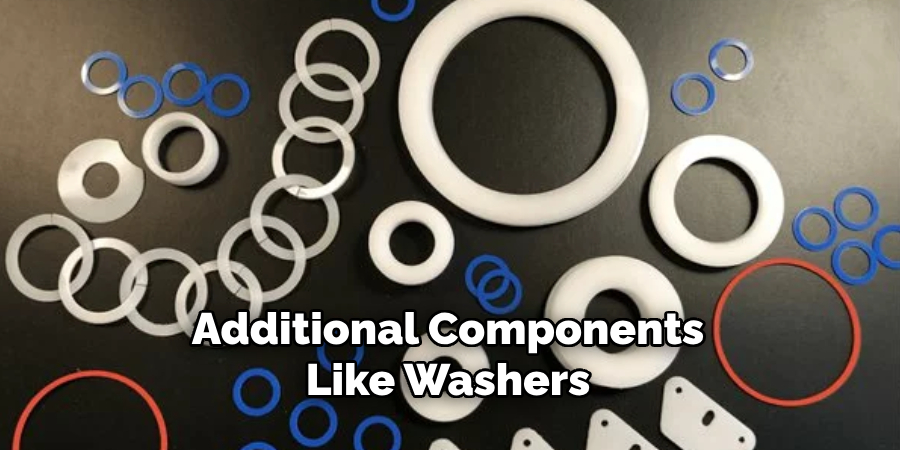
Check for any specific assembly requirements or pre-installation steps recommended by the manufacturer. If your new faucet includes additional components like washers or gaskets, be sure to install them as directed.
Next, apply a thin layer of plumber’s putty around the base of the faucet if required, or use silicone caulk to ensure a secure and watertight seal once installed. Make sure all fittings and connectors are tightly secured to prevent any leaks.
Preparing the new faucet correctly will make the installation process smoother and ensure a tight, leak-free fit when it is mounted on the bathtub. Once the faucet is assembled and sealed, you are ready to move on to the next step: installing the faucet onto the tub.
Step 4: Install the Drain Assembly
If your new faucet includes a drain assembly, this is the time to install it. Follow the manufacturer’s instructions for proper installation, as each faucet may have different requirements. Typically, you will need to insert the drain flange into the hole on the bottom of the tub, securing it with a rubber gasket and locknut provided.
Once installed, test that the drain mechanism is functioning correctly by filling the bathtub with water and checking for any leaks or obstructions.
Step 5: Position and Secure the New Faucet
With the drain assembly in place, the next step is to position the new clawfoot bathtub faucet. Carefully align the faucet with the mounting holes on the tub. If the faucet has threaded connections, ensure they match up with the corresponding fittings. Once properly aligned, insert the mounting screws or bolts through the faucet base and into the mounting surface.
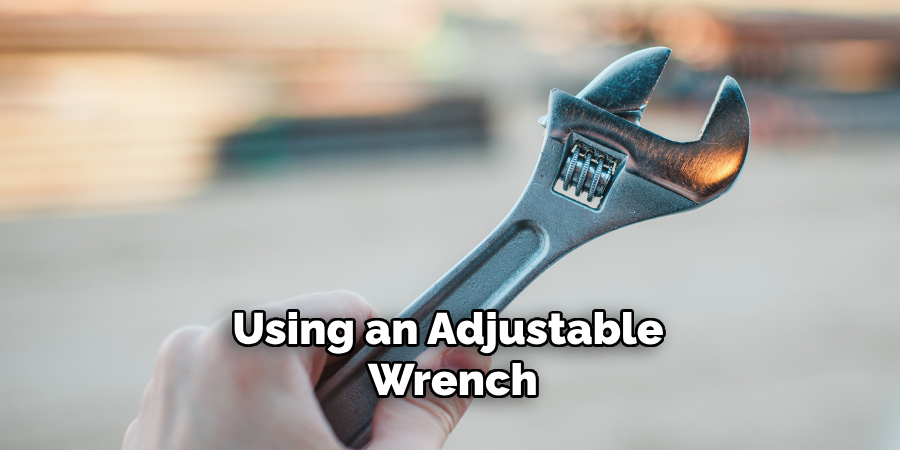
Using an adjustable wrench or screwdriver, tighten the screws or bolts securely, taking care not to overtighten and avoid damaging the mounting surface or faucet itself. If the plumber’s putty or silicone caulk was used, wipe away any excess material that may be squeezed out during tightening to maintain a clean and professional appearance.
Step 6: Connect the Water Supply
With the new faucet securely in place, it’s time to reconnect the water supply. Start by attaching the hot and cold water supply lines to their respective fittings on the faucet base, making sure they are tightly secured with a wrench or pliers. If needed, you can use Teflon tape to ensure a tight seal.
Next, carefully turn on the main water supply valve and individual shut-off valves if available. Slowly open the newly installed faucet and check for any leaks or issues. If everything looks good, let the water run for a few minutes to flush out any debris or air in the pipes. Once the water runs clear and without any leaks, you can proceed to test the faucet’s functionality.
Step 7: Test the New Faucet
Before finishing up the installation process, it’s essential to test the new clawfoot bathtub faucet thoroughly.
Turn on both hot and cold water and check that they are functioning correctly. Additionally, try operating any extra features like a hand shower or diverter if included in your faucet model. Test the drain mechanism, ensuring it opens and closes smoothly without any issues.
If everything works as expected, you can proceed to clean up the surrounding area and remove any excess plumber’s putty or caulk.
Step 8: Enjoy Your New Faucet!
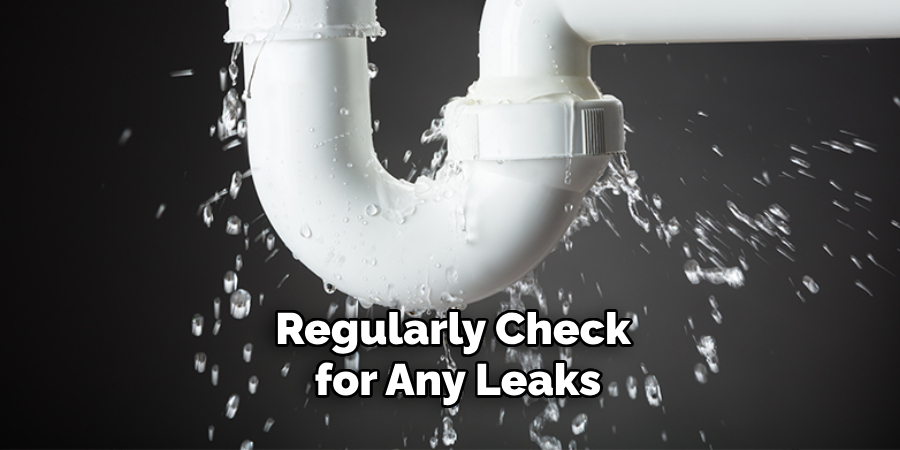
Congratulations! You have successfully replaced your clawfoot bathtub faucet. Now it’s time to sit back, relax and enjoy your newly installed fixture. Remember to regularly check for any leaks or issues with the faucet and address them promptly if needed. With proper maintenance, your new faucet should provide years of functionality and style in your bathroom.
Following these simple steps on how to replace a clawfoot bathtub faucet and taking your time during the installation process will ensure a smooth and successful faucet replacement. As always, if you encounter any difficulties or feel uncomfortable with any step, it’s best to seek professional help to avoid any potential damage or safety hazards. Happy bathing!
Conclusion
Replacing a clawfoot bathtub faucet is a manageable project that can greatly enhance the aesthetic and functionality of your bathroom. By following the steps outlined in this guide on how to replace a clawfoot bathtub faucet, you can confidently tackle this task with the proper tools and knowledge.
Not only will you gain a sense of accomplishment from completing the project yourself, but you’ll also enjoy the benefits of an updated, stylish, and efficient bathtub faucet.
Remember to take your time, double-check your work, and don’t hesitate to seek professional help if needed. With patience and precision, your newly upgraded faucet will provide lasting satisfaction and enhance your bathing experience for years to come.

