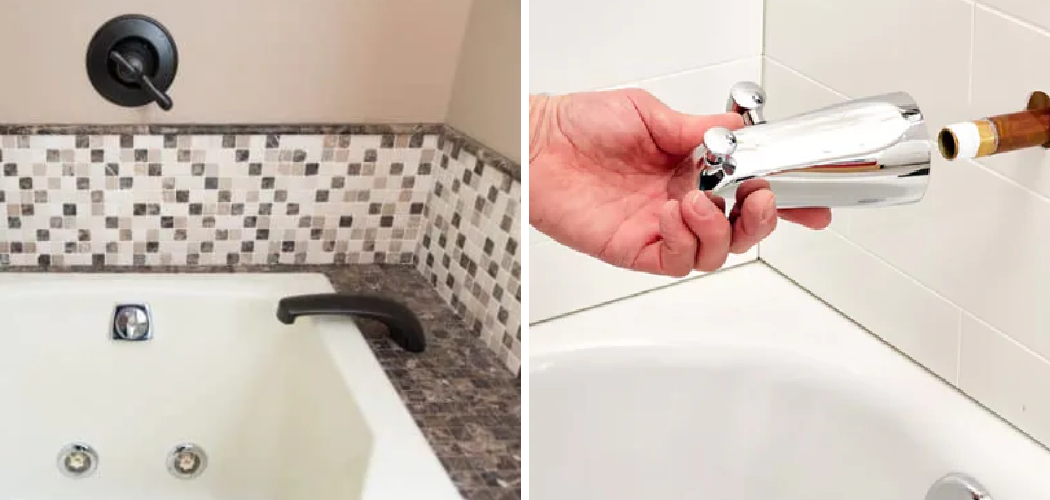
Adding a shower head to your tub can transform your bathing experience, offering the flexibility of a quick shower or a relaxing soak.
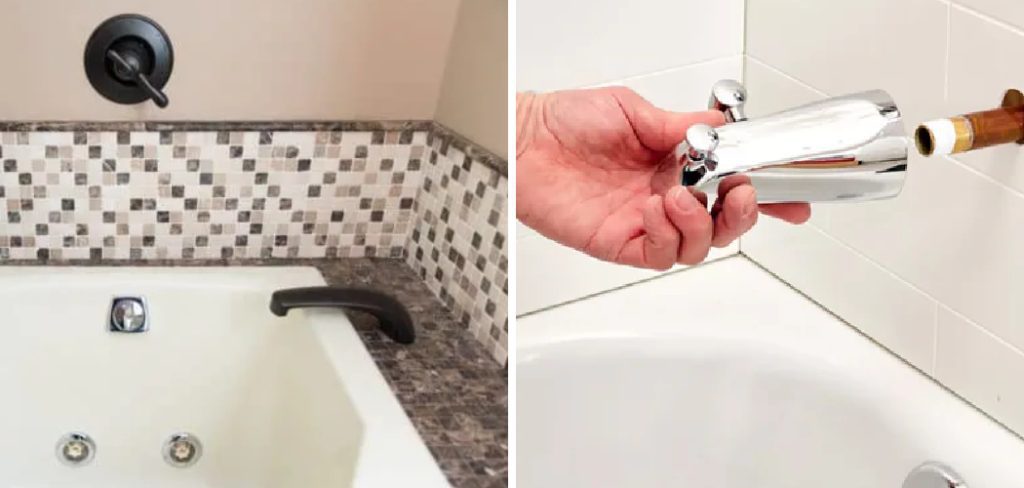
This guide on how to add shower head to tub will walk you through the process of installing a shower head to your existing tub setup, whether you’re updating an old bathroom or renovating completely. With the right tools and a bit of patience, you can achieve a professional-looking result without the need to hire a plumber. Let’s get started!
What You’ll Need
- Shower head kit (includes shower head, hose, and mounting hardware)
- Adjustable wrench
- Teflon tape
- Drill (if necessary)
- Screwdriver (if necessary)
8 Simple Step-by-step Guidelines on How to Add Shower Head to Tub
Step 1: Choose the Right Shower Head Kit
Before you begin, make sure you have all the necessary parts for your new showerhead. Most kits come with a shower head, hose, and mounting hardware, but it’s always best to double-check and ensure that everything is included. Additionally, consider the style and finish of your new shower head to complement your bathroom design.
You may also want to look for added features such as adjustable spray settings, a handheld option, or water-saving options. It’s important to choose a showerhead that meets your needs and preferences.
Step 2: Shut Off Water Supply
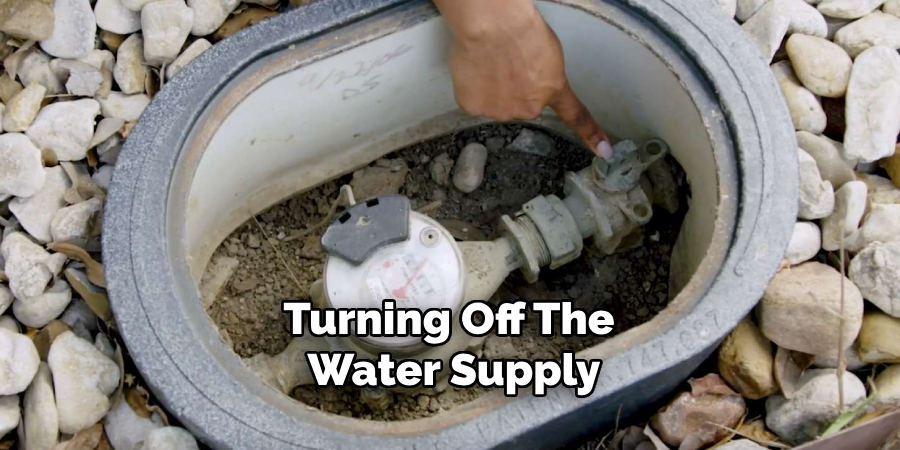
Before proceeding with any installation work, it is crucial to shut off the water supply to your tub. Locate the water shut-off valves, which are usually found under the sink or in a nearby utility area. Turn the valves clockwise to close them.

If you cannot locate the individual shut-off valves for the tub, you may need to turn off the main water supply for your home. This step helps prevent any water leakage or accidents during the installation process. Once the water supply is turned off, turn on the faucet to drain any remaining water in the pipes.
Step 3: Remove the Old Shower Head (If Necessary)
If there is an existing shower head that you wish to replace, you will need to remove it before installing the new one. Start by using an adjustable wrench to loosen the old shower head by turning it counterclockwise. If the shower head is difficult to loosen, you may want to use a damp rag or cloth to protect the finish of the fixture while you use more force.
Once removed, clean the threads of the shower arm to remove any old Teflon tape or debris. This will ensure a proper seal for the new shower head and prevent any leaks. If you encounter any rust or corrosion on the threads, you can use a wire brush to gently clean it off.
Step 4: Prepare the Shower Arm
Before attaching the new shower head, you will need to wrap Teflon tape on the threads of the shower arm. This helps create a water-tight seal and prevents any leakage. To do so, take a few inches of Teflon tape and wrap it clockwise around the threads, overlapping as you go. Make sure to only cover the threads and not block any holes or grooves.
You can also use a thread sealant paste instead of Teflon tape, but it may be messier to work with.
Step 5: Install the New Shower Head
With the shower arm prepared, you can now attach the new shower head. Most shower heads will simply screw onto the threads of the shower arm by turning it clockwise. If your new shower head has a handheld option, you may need to attach the hose first before attaching it to the shower arm.
Use an adjustable wrench to tighten the connection securely, but be careful not to over-tighten as this can cause damage.
Step 6: Connect the Shower Hose (If Necessary)
If your new shower head has a handheld option, you will need to connect the hose to both the shower head and the water supply.
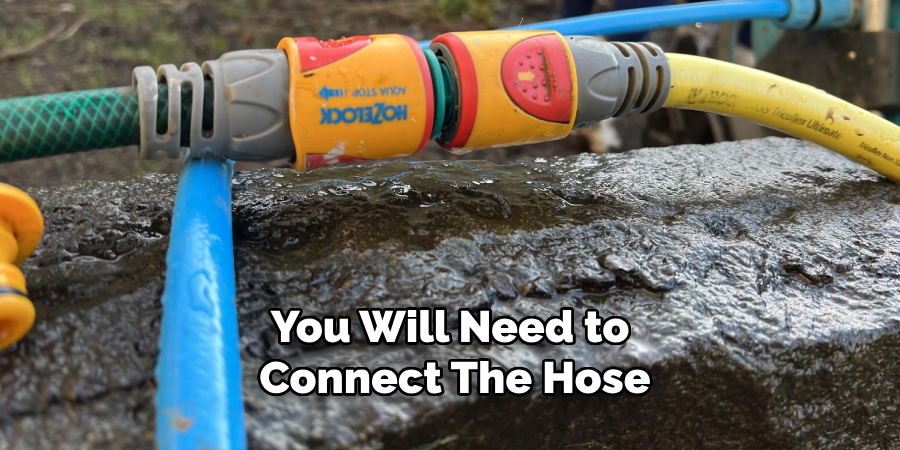
The hose typically has two ends, one end connecting to the shower head and the other end attaching to a diverter valve or adapter on the water supply. Simply screw in both ends securely using an adjustable wrench.
It’s important to check for any leaks at this stage by turning on the water supply for a brief moment. If there are no leaks, you can proceed to the next step.
Step 7: Turn On Water Supply
Once everything is securely connected, you can turn on the water supply for your tub by reopening the shut-off valves or turning on the main water supply for your home. Check for any leaks or drips, and if everything is in order, you’re ready to use your new showerhead!
The first time you turn on the water, it’s normal for some air to come out of the shower head. Simply let it run for a few seconds until the water flows smoothly.
Step 8: Adjust and Enjoy Your New Shower Head
Finally, take a moment to adjust the spray settings on your new showerhead according to your preference. Many modern shower heads have multiple spray options such as rain, massage, or mist, and you can easily switch between them to find your ideal shower experience.
Congratulations! You have successfully added a new showerhead to your tub. Now it’s time to sit back, relax, and enjoy the refreshing feeling of a hot shower or a soothing bath whenever you please. This simple upgrade can make a big difference in your daily routine and add value to your home. So go ahead and indulge in some self-care with your new shower head in place.
Following these guidelines on how to add shower head to tub, you can easily add a new shower head to your tub without the need for professional help. Remember to always follow safety precautions and carefully read the instructions included with your shower head kit. Happy showering!
Additional Tips for Maintaining Your Shower Head
Now that you have successfully installed your new shower head, it’s important to know how to maintain it for long-lasting use. Here are some additional tips:
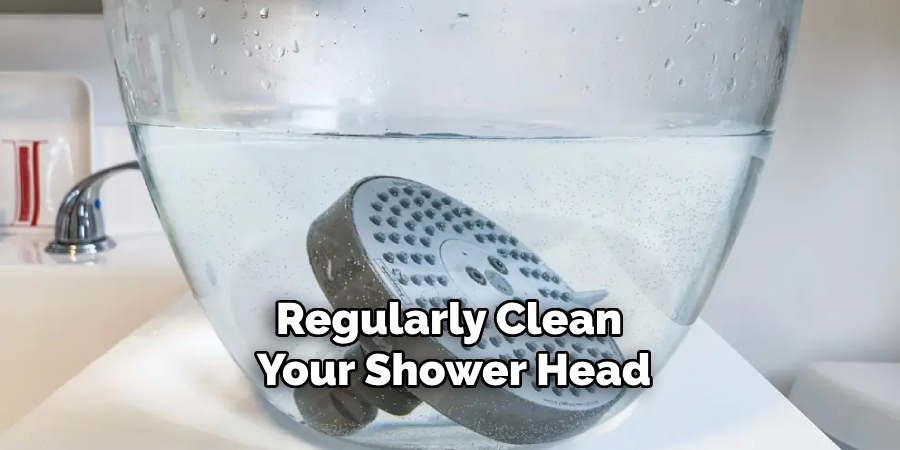
- Regularly clean your shower head by removing any mineral deposits or grime buildup. You can soak the shower head in a mixture of vinegar and water, or use a cleaning solution specifically designed for shower heads.
- Check for any leaks or cracks periodically, and replace any worn-out parts as needed to prevent water waste and potential damage.
- Consider installing a filter on your shower head to improve water quality and protect against harsh chemicals.
- Don’t forget to turn off the water supply when not in use, especially if you have young children who may accidentally turn on the shower. This will not only prevent accidents but also save water.
- Lastly, enjoy your new shower head and all the benefits it brings to your daily routine! So go ahead and treat yourself to a luxurious and relaxing shower experience whenever you want. Your tub will feel like a spa retreat in no time! Keep these tips in mind and your shower head will continue to provide you with refreshing showers for years to come. Happy showering!
Frequently Asked Questions
Q: How Long Does It Take to Install a New Shower Head?
A: The installation process can vary depending on the type of shower head and any previous installations. On average, it may take around 30 minutes to an hour. The key is to take your time, follow the instructions carefully, and make sure all connections are secure to prevent any leaks.
Q: Can I Install a Shower Head Without a Drill?
A: Yes, you can. Most shower heads only require basic tools such as an adjustable wrench and Teflon tape for installation. However, if your shower head requires drilling into the wall or tile, it may be best to hire a professional for safety and precision.
Q: Is It Possible to Replace a Shower Head Without Turning Off the Water Supply?
A: While it is possible, it is not recommended. Turning off the water supply ensures that there is no water pressure when making any changes or connections, reducing the risk of accidents and damage. It’s always best to play it safe and turn off the water supply before proceeding with any installation or repair work.
Q: How Often Should I Replace My Shower Head?
A: The frequency of replacing a shower head can vary depending on usage, water quality, and maintenance. Generally, it is recommended to replace your shower head every 1-2 years to ensure optimal performance and hygiene.
Conclusion
Installing a new showerhead is a straightforward process that can refresh your daily shower experience and add a touch of luxury to your bathroom.
By following the steps outlined in this guide on how to add shower head to tub, you can confidently tackle this home improvement project without the need for professional assistance. Remember to prioritize safety, carefully read any included instructions, and check for leaks before enjoying your new shower head.
Regular maintenance will ensure that your shower head remains in top condition, providing you with invigorating showers for years to come. Embrace the satisfaction and convenience of a well-installed shower head and enjoy the relaxing benefits it brings to your daily routine. Happy showering!

