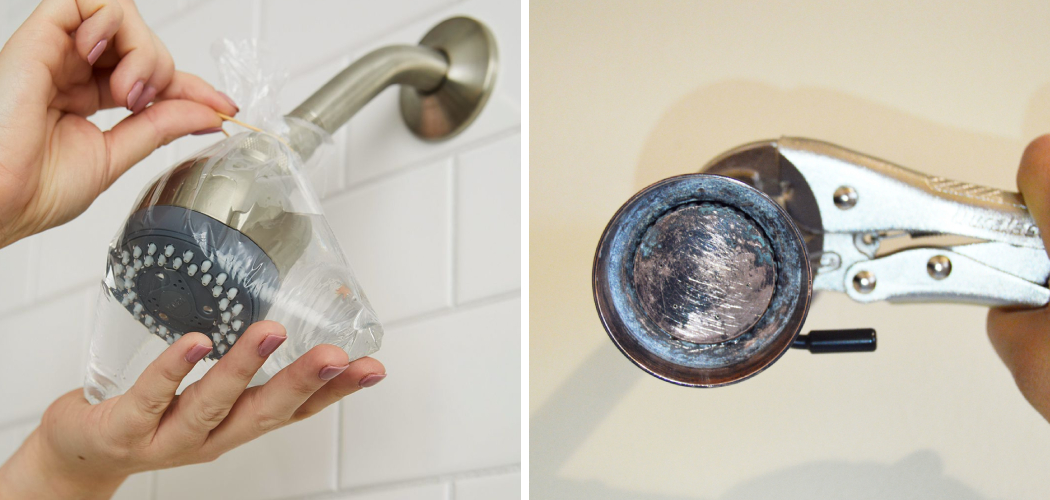
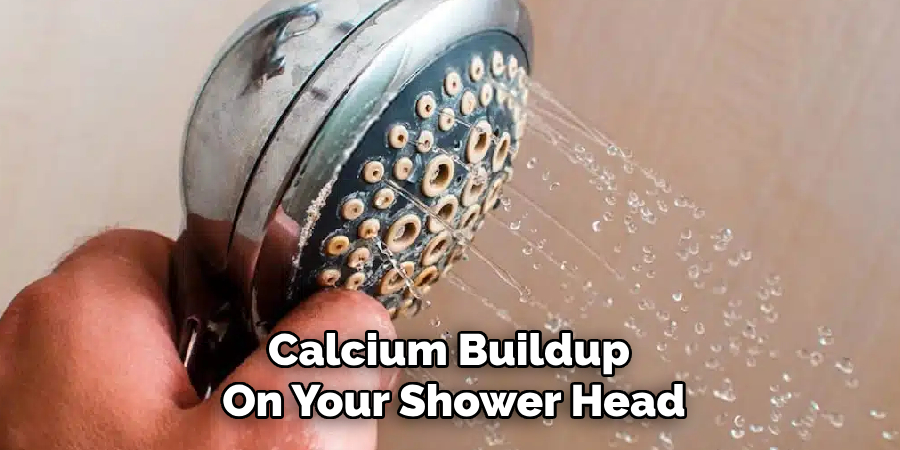
Are you tired of dealing with a clogged showerhead? Hard water can leave behind mineral deposits, also known as calcium buildup, which can cause low water pressure and even change the appearance of your shower head.
Removing calcium buildup from a shower head is essential for maintaining optimal water flow and ensuring a clean, refreshing shower experience. Over time, hard water can cause mineral deposits to accumulate, leading to reduced water pressure and unsightly stains. Fortunately, with a few simple steps and everyday household items, you can effectively clean your shower head and restore it to its original functionality.
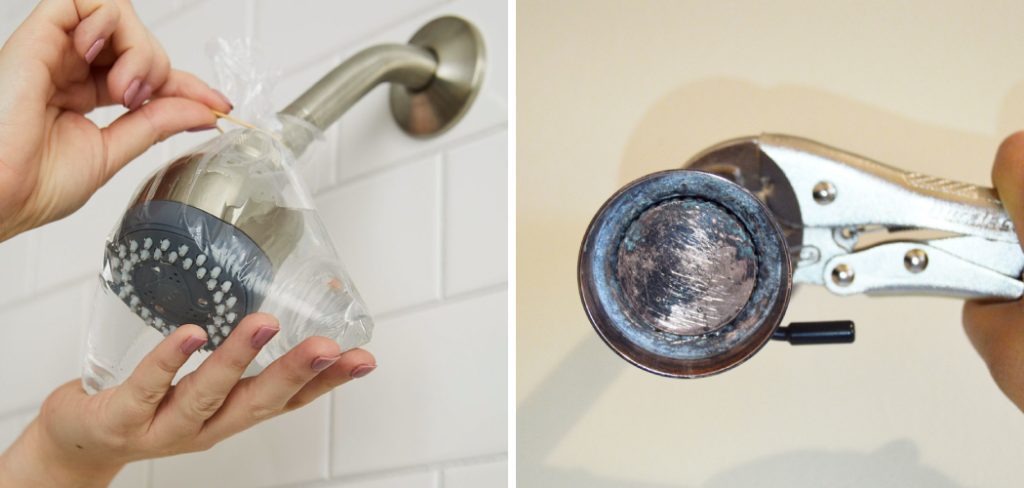
In this guide, we will walk you through the process of how to remove calcium buildup from shower head, including tips on preventing it from coming back.
What Will You Need?
Before we dive into the steps, gather the following materials:
- White vinegar
- Baking soda
- Dish soap
- An old toothbrush or scrub brush
- Plastic bag or ziplock bag
- Rubber band
Once you have these items, you are ready to get started.
10 Easy Steps on How to Remove Calcium Buildup From Shower Head
Step 1: Prepare a Vinegar Solution
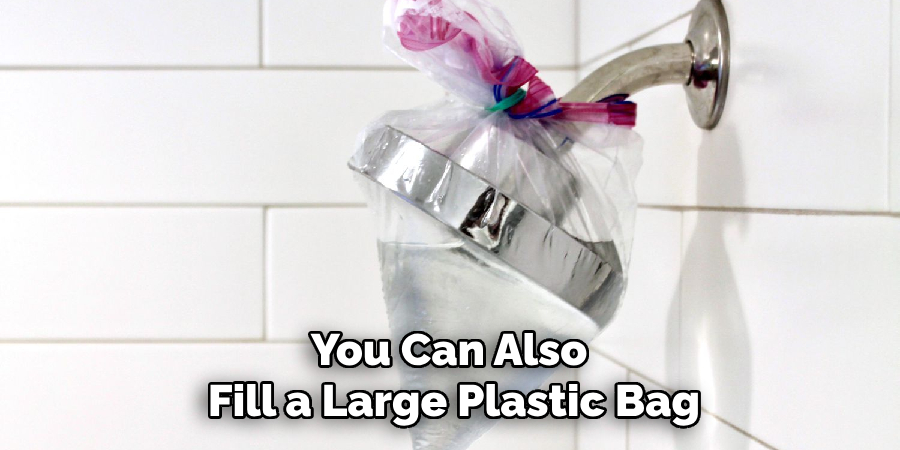
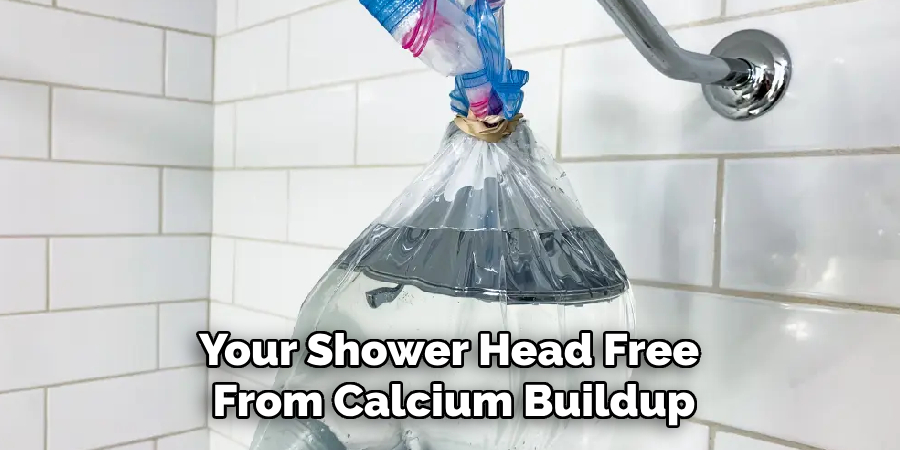
The acidic properties of white vinegar make it an excellent natural cleaner for removing mineral deposits. Mix equal parts of white vinegar and water in a bowl or container. The amount you need will depend on the size of your shower head and the level of buildup. If your shower head is detachable, you can also fill a large plastic bag with the solution and submerge the shower head in it. This method works well for larger shower heads that may need help to remove.
Step 2: Remove the Shower Head
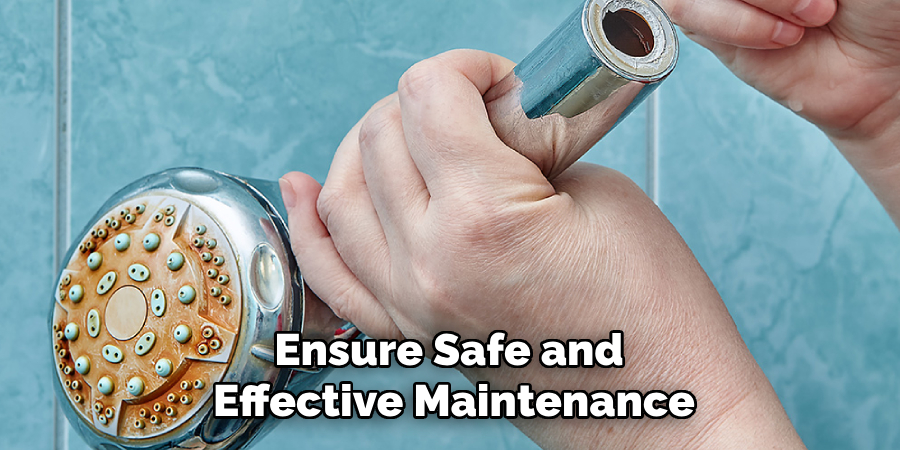
If your shower head is detachable, carefully unscrew it from the shower arm with a wrench. Be sure to protect the fixture’s finish by wrapping a cloth around the shower head and using gentle pressure. If the shower head is fixed and cannot be easily removed, don’t worry—you can still clean it effectively using the bag method mentioned earlier. Before proceeding, inspect the shower head for rubber washers or O-rings and set them aside to prevent damage during cleaning.
Step 3: Soak the Shower Head
Once the shower head is removed, place it in a container filled with the vinegar solution prepared in Step 1. Ensure that the entire shower head is fully submerged in the solution. Allow it to soak for at least 30 minutes to an hour, depending on the severity of the calcium buildup. For shower heads with extensive mineral deposits, consider soaking them overnight to ensure that the vinegar can break down the deposits effectively. The soaking process helps to loosen and dissolve the calcium deposits, making them easier to remove in the subsequent steps.
Step 4: Scrub the Shower Head
After soaking, take the shower head out of the vinegar solution. Use an old toothbrush or a scrub brush to scrub the surfaces of the shower head thoroughly. Pay special attention to the nozzles and any areas with visible calcium deposits. The vinegar soak should have softened the buildup, making it easier to scrub away. If you encounter stubborn deposits, dip the brush in the vinegar solution and continue scrubbing. For extra cleaning power, sprinkle a small amount of baking soda on the brush before scrubbing. The mild abrasiveness of the baking soda can help to remove tough deposits without damaging the shower head.
Step 5: Clean the Nozzles
Mineral deposits can clog the tiny nozzles of the shower head, affecting water flow. To gently clean these nozzles, use a toothpick or a pin to dislodge any debris lodged in the holes. Be careful not to force the pins too profoundly, as you may damage the nozzles. Another effective method is to massage each nozzle with your fingers while running water through the shower head. This helps to push out any remaining buildup and clear the nozzles.
Step 6: Rinse Thoroughly
Once you have scrubbed and cleaned the shower head, rinse it thoroughly with clean water. Ensure all traces of vinegar, baking soda, and loosened mineral deposits are washed away. This step is essential to prevent residual vinegar from corroding the shower head over time. You can rinse detachable shower heads under a running tap. If the shower head is still attached to the shower arm, use a jug or a spray bottle to rinse the solution thoroughly.
Step 7: Dry and Reassemble
After rinsing, use a soft cloth or a towel to dry the shower head completely. This will prevent any new water spots or mineral deposits from forming on the freshly cleaned surface. If you removed the shower head earlier, reattach it to the arm by twisting it counterclockwise. Make sure it is secured tightly to prevent any leaks.
Step 8: Perform a Test Run
Turn on the shower to check the water flow. The water pressure should be restored, and you should notice a significant improvement in the spray pattern. If you still notice any issues, repeat the cleaning process or check for any other potential blockages or problems with the shower head.
Step 9: Prevent Future Buildup
Consider installing a water softener in your home to prevent calcium buildup. A water softener can reduce the minerals in your water supply, thereby minimizing the formation of mineral deposits. Additionally, regular cleaning of your shower head every few months can help to keep it in optimal condition.
Step 10: Enjoy Your Clean Shower Head
With your shower head free from calcium buildup, you can enjoy a rejuvenated and refreshing shower experience. The shower head’s improved water flow and cleaner appearance contribute to a more satisfying daily routine. Regular maintenance will ensure your shower head remains in excellent working condition for years.
Following these 10 easy steps, you can effectively remove calcium buildup from your shower head and improve its performance.
5 Additional Tips and Tricks
- Use a Lemon: Cut a lemon in half and rub it directly onto the shower head. The lemon’s natural acidity helps to break down calcium deposits. After thoroughly rubbing the lemon over the entire surface, let it sit for 10-15 minutes before rinsing it off with water.
- Apply Baking Soda Paste: Create a paste using baking soda and water. Apply this paste to the areas with calcium buildup and let it sit for 15 minutes. Then, use an old toothbrush to scrub the paste into the deposits. Baking soda is slightly abrasive and can help to remove stubborn spots without scratching the shower head.
- Soak in CLR Solution: Calcium, Lime, and Rust remover (CLR) is a commercial cleaner that is effective against hard water deposits. Follow the instructions on the bottle to soak the shower head in a CLR solution, ensuring it is safe for your type of shower head material. Rinse thoroughly afterward to remove any chemical residues.
- Use a Plastic Bag and Rubber Band: For non-detachable shower heads, fill a plastic bag with vinegar solution and secure it around the shower head with a rubber band. Let it soak for an hour before removing it and scrubbing it as usual.
- Install a Filtered Shower Head: Consider investing in a filtered shower head that helps to remove minerals from the water as you shower. This can reduce the formation of calcium buildup on your shower head and other bathroom surfaces.
5 Things You Should Avoid
- Using Abrasive Tools: Avoid using steel wool, metal brushes, or other highly abrasive tools. These can scratch the surface of your shower head, leading to damage and potential rust spots. Stick to soft brushes or sponges to protect the finish.
- Using Harsh Chemicals: Steer clear of using bleach, ammonia, or other harsh chemicals not specifically designed for bathroom cleaning. These substances can corrode the metal parts of the shower head and harm the finish, making it more susceptible to damage over time.
- Neglecting Proper Rinsing: Ensure you rinse the shower head thoroughly after using any cleaning solution. Residual cleaning agents, especially acidic ones like vinegar or commercial cleaners, can cause corrosion if left on the surface for too long.
- Applying Excessive Force: Avoid excessive force when disassembling or scrubbing the shower head. Forcing parts apart can lead to breakage or cracking, compromising its functionality. Be gentle and patient during the cleaning process.
- Ignoring Manufacturer Instructions: Each shower head may have specific care instructions provided by the manufacturer. Ignoring these guidelines can void warranties and lead to accidental damage. Always consult the manual or manufacturer’s website for recommended cleaning practices to ensure safe and effective maintenance.
Conclusion
In conclusion, how to remove calcium buildup from shower head is a straightforward process that can significantly enhance your shower experience and prolong the life of your fixture.
You can effectively eliminate hard water deposits by following a systematic approach—soaking the shower head in a vinegar solution and progressing through thorough scrubbing, rinsing, and preventive measures. Additionally, adopting the suggested tips and being mindful of the practices to avoid can further ensure the longevity and performance of your shower head.
Regular maintenance, coupled with preventative measures like using water softeners or filtered shower heads, will keep your shower head in optimal condition, providing you with a refreshing and satisfying daily shower.

