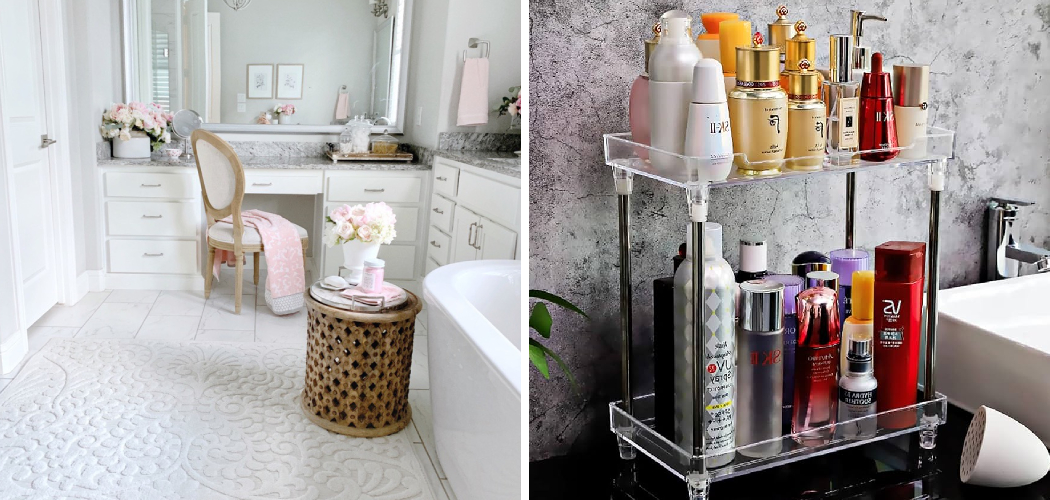
Are you tired of the cluttered mess in your bathroom due to all your cosmetics? Do you need help finding what you need when getting ready? It’s time for a change. In this guide, we will discuss practical ways how to organize cosmetics in bathroom.
Organizing cosmetics in the bathroom can be a daunting task, especially with the array of products most people use daily. An organized space contributes to a more efficient morning routine, reduces clutter, and ensures that your cosmetics are correctly stored to maintain quality. Whether you have a small collection of essentials or an extensive assortment of beauty products, there are various strategies to optimize your bathroom storage.
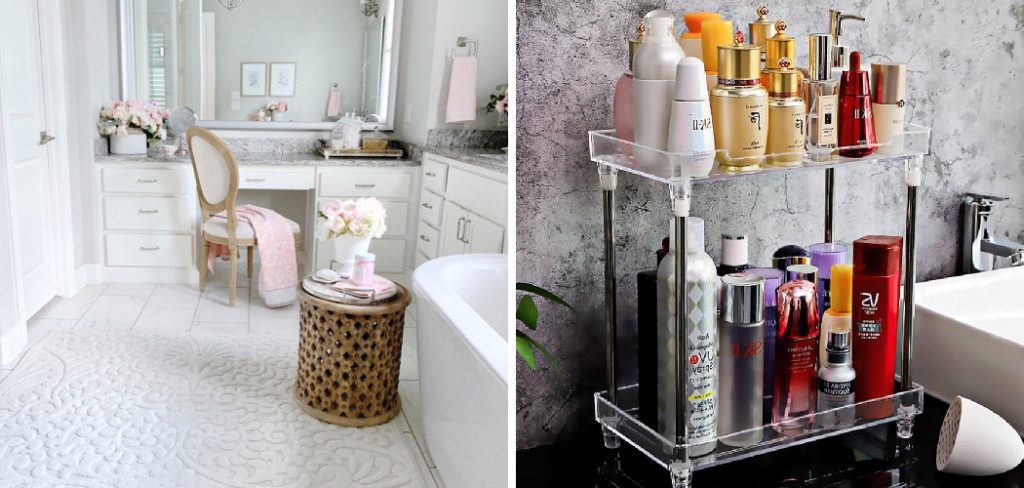
In this guide, we’ll explore practical tips and creative solutions for achieving a neat, functional, and aesthetically pleasing cosmetic arrangement.
What Will You Need?
Before you begin organizing your cosmetics, gathering the necessary materials is essential. These include:
- Storage containers such as bins, baskets, trays, or drawers
- Labels for easy identification
- A towel or cloth for wiping down surfaces
- Cleaning supplies (optional)
Having these items ready will make the process smoother and more efficient.
10 Easy Steps on How to Organize Cosmetics in Bathroom
Step 1: Declutter Your Cosmetics
The first step in organizing any space is decluttering. Begin by gathering all your cosmetics and laying them out on a clean surface like your bed or bathroom counter. This allows you to see everything you have and assess if you need each item.
Sort through your collection and separate products into three piles: keep, donate/sell, and throw away. Be honest and only keep what you use regularly and love.
Step 2: Clean Your Bathroom
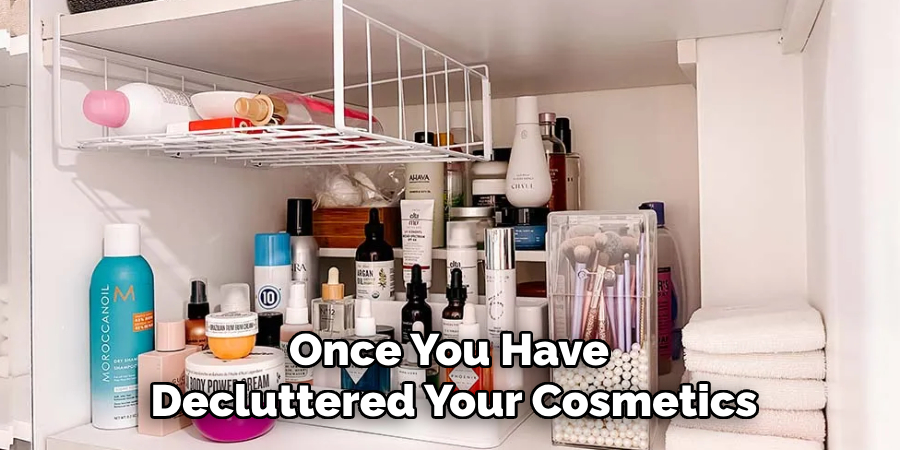
Once you have decluttered your cosmetics, it is crucial to clean your bathroom surfaces thoroughly. Start by removing any remaining items from the countertops, shelves, and drawers to ensure you have a clear space to work with. Use your towel or cloth and cleaning supplies to wipe down all surfaces, including counters, sinks, and any storage areas. This step will remove any dust, spilled products, and grime accumulated over time, providing a fresh, clean environment for your cosmetics.
Pay special attention to frequently used areas that may need extra scrubbing. For deep cleaning, consider using a mild detergent or a bathroom-specific cleaner that can effectively tackle soap scum and stains. Creating a pristine backdrop sets the stage for a more organized and hygienic space, making it easier to arrange your cosmetics efficiently.
After cleaning, take a moment to assess the layout of your bathroom. Think about how you can best utilize the available space and consider the most convenient locations for your everyday items. This will help you plan where to place storage containers and decide on the best arrangement for easy access and optimal organization.
Step 3: Categorize Your Cosmetics
With a clean space ready, the next step is categorizing your cosmetics. Group similar items together to make it easier to store and find them later. Common categories include:
- Face Products: Foundations, primers, concealers, blushes, bronzers, and highlighters.
- Eye Products: Eyeshadows, eyeliners, mascaras, and brow products.
- Lip Products: Lipsticks, lip glosses, and lip liners.
- Hair Products: Serums, sprays, and styling tools.
- Skincare: Cleansers, toners, moisturizers, serums, and masks.
- Nails: Nail polishes, files, clippers, and removers.
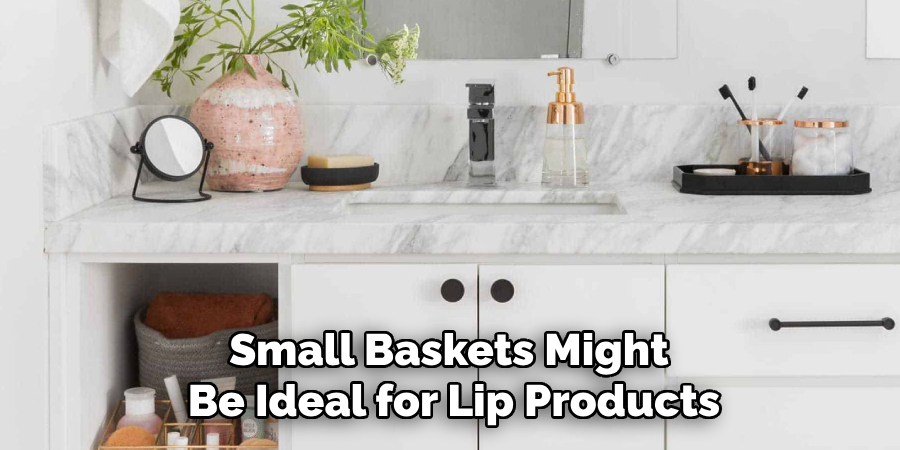
Creating these categories helps streamline the storage process by providing a clear sense of what you have and allowing you to easily identify which storage solutions will work best for each group. For instance, small baskets might be ideal for lip products, while larger bins could store bulkier hair tools and sprays. Taking the time to categorize your cosmetics will save you time and frustration in the long run, ensuring each item has a designated place.
Step 4: Use Appropriate Storage Solutions
Now that you have categorized your cosmetics, the next step is to choose the right storage solutions for each category. Start by measuring the available spaces in your bathroom, including drawers, shelves, and countertops. This will help you determine which storage containers will fit best.
For smaller items like lipsticks and eyeliners, consider using acrylic organizers or tray inserts that fit neatly into drawers. These allow you to see all your products at a glance and keep them easily accessible. More oversized items such as hair products and skincare bottles can be stored in bins or baskets under your sink or on open shelves.
Label each container according to its category for quick identification. If you prefer a more aesthetically pleasing look, choose matching containers in colors or materials that complement your bathroom decor. Utilizing vertical space with multi-tiered shelves or stackable bins can also maximize your storage capability, helping you make the most of limited space.
Step 5: Maximize Vertical Space
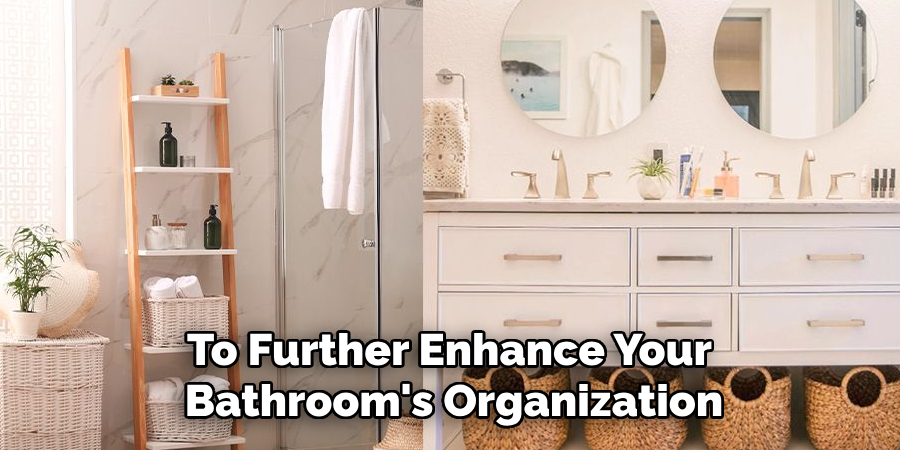
One effective way to enhance your bathroom organization is by making the most of your vertical space. Often overlooked, vertical storage can significantly increase your storage capacity without taking up additional floor space. Consider installing shelving units on empty wall areas or above the toilet. These shelves can hold baskets or bins filled with less frequently used items, freeing up more accessible storage for daily essentials.
Another great option is to use wall-mounted racks or adhesive hooks to hang items such as hair tools, brushes, and skincare products. These not only keep your countertops clutter-free but also ensure that your frequently used items are within easy reach. Additionally, over-the-door organizers or tiered shelves can be hung on the back of the bathroom door or inside cabinet doors, providing additional storage for small products and tools.
Step 6: Arrange Daily Essentials
With your vertical space maximized, it’s time to arrange your daily essentials. Identify the cosmetics and products you use most frequently and designate a convenient spot for them. These should be easily accessible to streamline your daily routine. Consider placing these items on a tray or in a small bin on your countertop or the most accessible shelf of your cabinet.
For instance, keep your morning skincare products together in one spot, so you can quickly complete your routine without rummaging through drawers. Similarly, your go-to makeup products, like foundations or mascaras, should be grouped together for efficient access. By having a designated, easy-to-reach area for your daily essentials, you’ll save time and avoid unnecessary clutter, making your bathroom experience more pleasant and organized.
Step 7: Rotate Seasonal Items
To keep your organization system efficient throughout the year, periodically rotate your seasonal items. For example, during the summer months, you may use lighter skincare products and more vibrant makeup colors. In contrast, winter might call for richer moisturizers and deeper shades. Store off-season items in labeled bins or boxes on higher shelves or in less accessible areas, and keep current-season products within easy reach. This rotation allows you to maintain a streamlined, uncluttered space while ensuring you have quick access to the products you need most for that time of year.
Step 8: Regularly Declutter
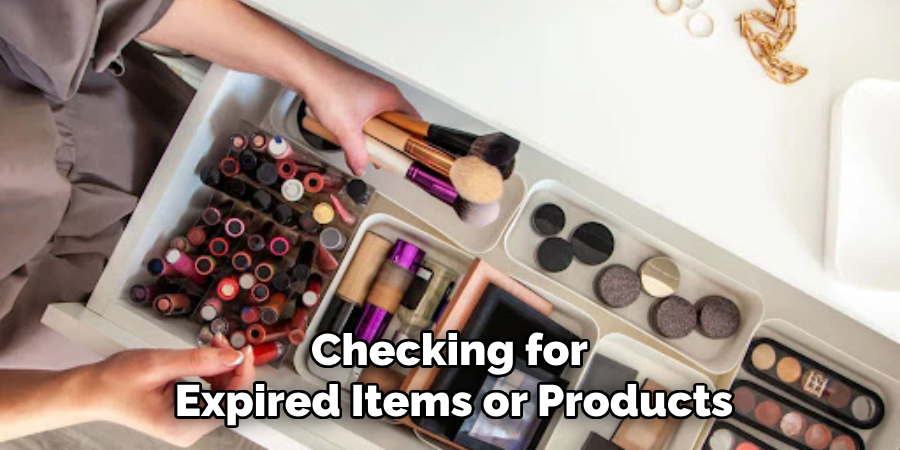
Maintaining an orderly bathroom requires regular decluttering. Set aside time every few months to go through your cosmetics and personal care products, checking for expired items or products you no longer use. Discard any old or unused items and make a note of what needs replenishing. Keeping your collection pared down to only those items you truly need and use will help maintain the organizational systems you’ve put in place, preventing clutter from building up again.
Step 9: Invest in Multi-functional Storage
To further enhance your bathroom’s organization, consider investing in multi-functional storage solutions. These can include items like mirrored cabinets that double as storage or shower caddies with adjustable shelves. Some storage units come with built-in dividers, perfect for separating different types of products. Multi-functional storage solutions optimize space while adding both practicality and aesthetic value to your bathroom.
Step 10: Personalize Your Space
Finally, personalize your bathroom space to reflect your taste and style. Add decorative touches such as a small plant, a stylish soap dispenser, or a decorative tray for your daily essentials. Personalization makes your bathroom feel more comfortable and inviting, encouraging you to maintain the organized systems you’ve established. By tying your organizational efforts to your personal aesthetic, you’re more likely to keep the space tidy and functional in the long run.
By following these steps and implementing an organizational system that works for you, your bathroom will become a clutter-free haven that makes getting ready each day a breeze.
Conclusion
How to organize cosmetics in bathroom doesn’t have to be a daunting task.
By following these steps, you can create a functional and visually appealing space that meets your needs. Begin by categorizing your items and decluttering your collection. Use transparent or labeled containers for easy identification and maximize vertical storage to save space. Arrange daily essentials in convenient locations and regularly rotate seasonal items for efficiency. Invest in multi-functional storage solutions and personalize your space to make it feel cozy and inviting.
With these strategies in place, you’ll maintain an organized and clutter-free bathroom, making your daily routine more enjoyable and stress-free.

