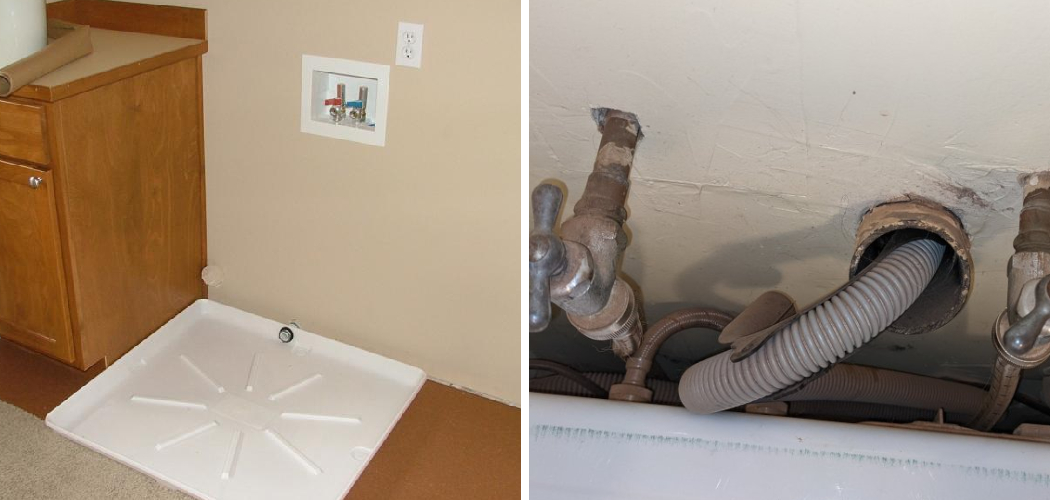
Installing a washer drain pan is crucial in safeguarding your home against potential water damage. A washer drain pan is designed to catch any leaks or water spills from your washing machine, preventing moisture from seeping into your floors and causing costly damage. The installation process is straightforward and can be completed with just a few basic tools and materials. This guide will take you through each step on how to install washer drain pan, ensuring a secure and effective setup. You will need an adjustable wrench, screwdriver, level, measuring tape, and a utility knife for the installation.
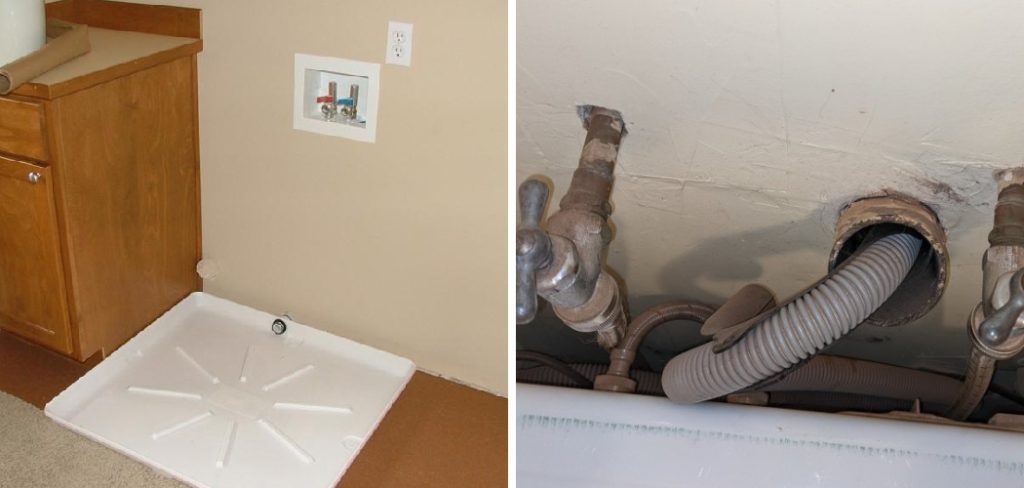
The required materials include a washer drain pan, a drain fitting kit, Teflon tape, PVC pipe, and silicone sealant. By following this detailed guide, you can protect your home from water damage and prolong the life of your washing machine setup.
Gathering Tools and Materials
Tools Required
To successfully install a washer drain pan, you will need the following essential tools:
- Adjustable wrench
- Screwdriver
- Level
- Measuring tape
- Utility knife
These tools will assist in measuring the space, positioning the drain pan accurately, and ensuring all connections are secure and leak-free. Properly using these tools will help make the installation process smooth and efficient.
Materials Needed
In addition to the tools, you will also need specific materials for the installation:
- Washer drain pan
- Drain fitting kit
- Teflon tape
- PVC pipe
- Silicone sealant
These materials are crucial for creating a watertight drainage system and securing the drain pan in place. Carefully sourcing and preparing these components will ensure a successful and effective installation, protecting your home from potential water damage.
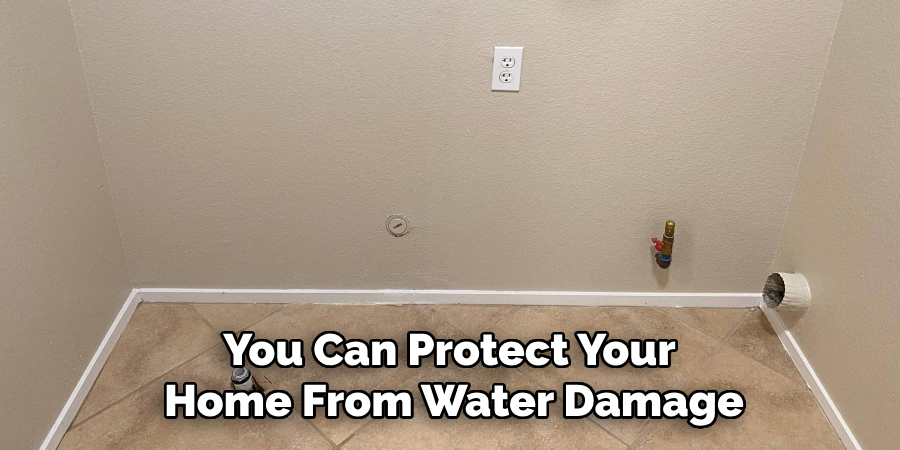
Preparing the Area
Clearing the Space
Before you can install the washer drain pan, it is essential to clear the space where your washing machine is currently positioned. Start by disconnecting your washing machine from the power supply and water lines to ensure safety. Carefully slide the washing machine away from its usual spot, being mindful not to damage the flooring. It’s a good idea to have a helping hand to maneuver the washing machine if it is particularly heavy or unwieldy. Once the washing machine is out of the way, take the opportunity to clean the area thoroughly.
Remove any dust, debris, or moisture from the floor to create a clean and dry surface. This will help ensure the drain pan sits evenly on the floor and functions properly. Ensuring the floor is clean and dry is crucial as it helps create a stable base for the washer drain pan and prevents subsequent moisture or uneven flooring issues.
Measuring the Area
With the washing machine moved and the area clean, the next step is to measure the dimensions of both the washer and the available space where you intend to place the drain pan. Start by measuring the length, width, and height of your washing machine to ensure you have accurate dimensions. Then, measure the dimensions of the space where the drain pan will be installed. Ensure that the chosen drain pan’s dimensions are compatible with both the washing machine and the designated area.
It is important that the drain pan fits snugly in the available space without obstructing any plumbing connections or causing the washing machine to be uneven. Proper measurement is key to a successful installation, as a well-fitted drain pan will effectively catch any leaks and provide the necessary protection against water damage.
How to Install Washer Drain Pan: Installing the Drain Pan
Positioning the Drain Pan
With the area thoroughly prepared and measurements confirmed, it’s time to position the drain pan in the desired location. Place the drain pan on the floor where the washing machine will be situated. Carefully align the pan so that the drain hole is easily accessible and aligns with the existing plumbing. This ensures efficient drainage and helps avoid any potential installation hassles down the line. Ensure that the pan sits flat on the ground and does not wobble, as an uneven setup could lead to ineffective drainage and potential water damage.
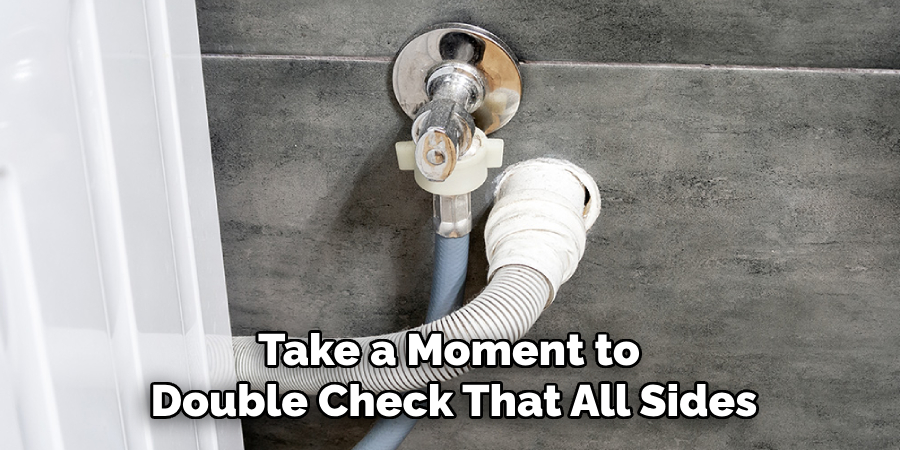
Take a moment to double-check that all sides of the drain pan are level, using a level tool for accuracy. Correct positioning is crucial for both functionality and the longevity of your drainage system, so take your time to position the pan properly and make any necessary adjustments before proceeding to the next steps.
Installing the Drain Fitting
Once the drain pan is correctly positioned, the next step involves installing the drain fitting. Start by carefully reading the manufacturer’s instructions to ensure proper installation. Most drain fittings will come with a rubber gasket and a locknut to secure it in place. Begin by inserting the fitting into the drain hole from the top of the pan. Position the rubber gasket around the fitting from underneath the pan, then screw the locknut onto the fitting threads to secure it in place.
Make sure it is tightened but not overly so as to avoid damaging the components. For added protection against leaks, apply Teflon tape to the threads of the drain fitting before screwing it in. Wrap the Teflon tape around the threads clockwise, ensuring a tight seal that prevents water from escaping. Proper installation of the drain fitting is key to a leak-free and efficient drainage system.
Connecting to Existing Plumbing
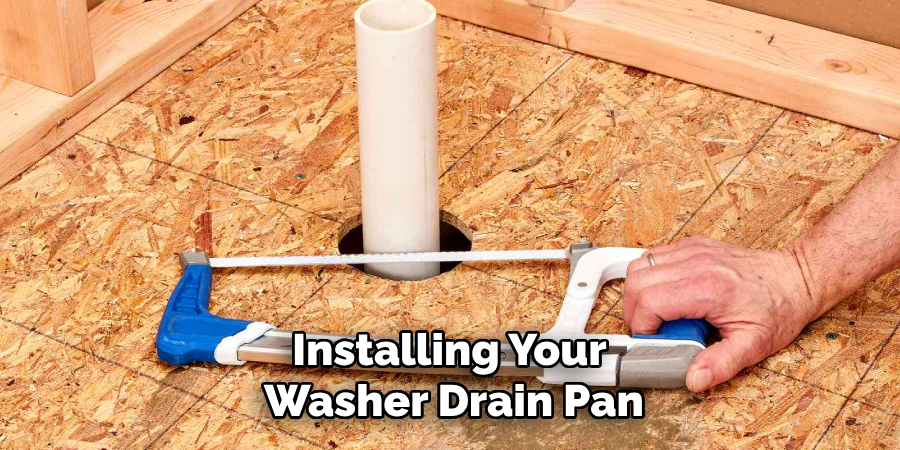
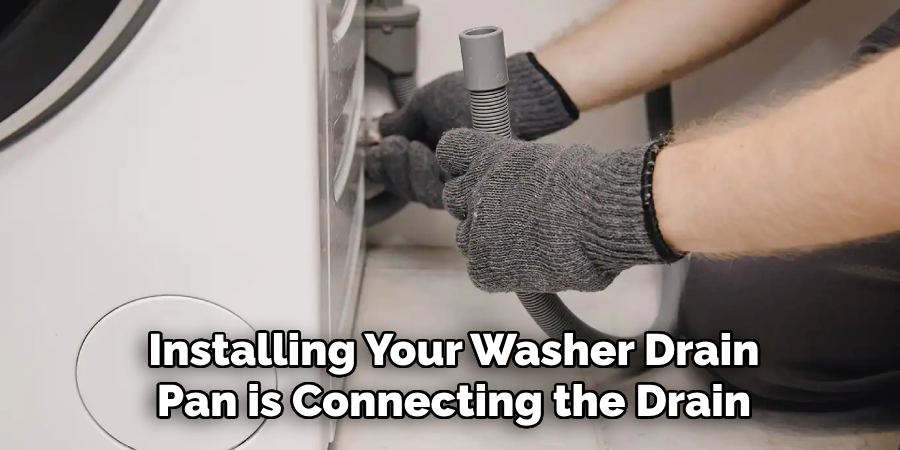
The final step in installing your washer drain pan is connecting the drain fitting to the existing plumbing system. This usually involves attaching a PVC pipe to the drain fitting, which will then connect to your home’s plumbing. Measure and cut the PVC pipe to the required length using a utility knife or pipe cutter, ensuring it fits snugly between the drain fitting and the plumbing connection. Attach one end of the PVC pipe to the drain fitting, ensuring a secure connection.
Add a small amount of silicone sealant around the joint to create a watertight seal for added security. Connect the other end of the PVC pipe to the existing drainage system, once again using silicone sealant if necessary. Double-check all connections to make sure they are tight and leak-free. A secure and watertight connection to your home’s plumbing will ensure your washer drain pan functions effectively, protecting your home from potential water damage.
Securing and Leveling the Washing Machine
Placing the Washing Machine in the Pan
Carefully lifting and positioning the washing machine onto the drain pan is a critical step in the installation process. To begin, it is advisable to have one or two people assist you in lifting and moving the washing machine to avoid injury or damage to the machine. With your helpers, lift the washing machine and position it over the drain pan, gently lowering it into place. Take care to ensure that the washing machine is centered within the pan, both for aesthetics and functionality.
Once the machine is placed in the pan, check that it sits firmly and does not wobble. This initial placement is crucial because any tilting or instability can lead to operational issues and water leaks. Double-check that the drain hole in the pan remains aligned with the washing machine’s drainage outlet for efficient water management.
Leveling the Washing Machine
After ensuring that the washing machine is securely positioned in the pan, the next step is to level the machine to prevent unnecessary vibration and movement during operation. Using a level, check the washing machine’s alignment from front to back and side to side. Any imbalance should be corrected by adjusting the machine’s feet. Most washing machines come with adjustable feet that can be easily maneuvered by turning them clockwise or counterclockwise. Make the necessary adjustments until the bubble on the level is perfectly centered, indicating that the machine is level.
Proper leveling is essential not only for the efficient performance of the washing machine but also for the longevity of both the machine and the surrounding flooring. A well-leveled machine reduces wear and tear on internal components and minimizes the risk of damage due to constant vibration or movement.
Testing and Final Adjustments
Testing the Drainage
Once the washing machine is positioned and leveled, it’s essential to conduct a thorough test to ensure proper drainage and the absence of leaks. Begin by running a short wash cycle without any laundry inside. Closely monitor the area around the drain pan during the cycle, paying special attention to the initial drain phase. Look for any signs of water escape around the drain fitting, PVC pipe connections, and the perimeter of the drain pan.
If you notice any water leaks, immediately pause the cycle and address the issue by tightening connections or adding additional sealant. This test cycle will confirm whether the drainage system is functioning correctly and provide peace of mind before regularly using the washing machine.
Making Final Adjustments
After verifying that the drainage system is working correctly, take a moment to ensure all joints and connections are secure and leak-free. Double-check the tightness of the drain fitting, the PVC pipe connections, and any sealant applied during installation. Additionally, recheck the washing machine’s stability and level to ensure it remains properly aligned. If any adjustments are required, make them at this stage to prevent future issues.
Confirm that the machine is still centered within the drain pan and that the feet are firmly in place. A final once-over will help solidify that all installation elements are correctly executed, ensuring the washing machine operates smoothly and effectively while safeguarding against potential water damage.
Preventive Maintenance Tips
Regular Inspections
Periodically inspecting the drain pan and plumbing connections for leaks or damage is crucial for maintaining an effective drainage system. Set a reminder to check these components every few months. Look for signs of rust, cracks, or any water accumulation around the connections. Addressing minor issues promptly can prevent major problems and protect your home from water damage. Replace any worn-out parts and ensure that all connections remain tight and secure.
Cleaning the Drain Pan
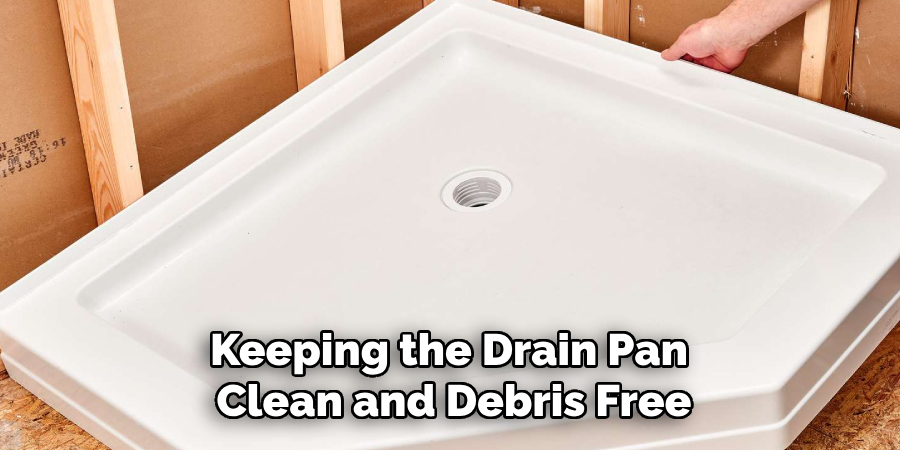
Keeping the drain pan clean and debris-free is essential for proper drainage and preventing blockages. Regularly remove any accumulated dirt, lint, or foreign objects from the pan. Use a mild detergent and a soft brush to remove any stains or buildup. Ensure the drain hole is clear of obstructions to allow water to flow freely. Performing these simple cleaning tasks will help maintain the efficiency and longevity of your washer drain pan system.
Conclusion
In conclusion, learning how to install washer drain pan is an essential process to safeguard your home from potential water damage. The steps involved include assembling the necessary tools, preparing the installation area, securely connecting the drain pan to the drainage system, and carefully positioning and leveling the washing machine within the pan. Proper testing and final adjustments ensure the installation is leak-free and stable.
The importance of a watertight and stable setup cannot be overstated; a well-installed drain pan effectively manages any accidental leaks, preventing costly water damage to your property. By following the detailed instructions and preventive maintenance tips outlined in this guide, you can achieve a successful installation that offers peace of mind and prolongs the lifespan of your washing machine and surrounding infrastructure.

