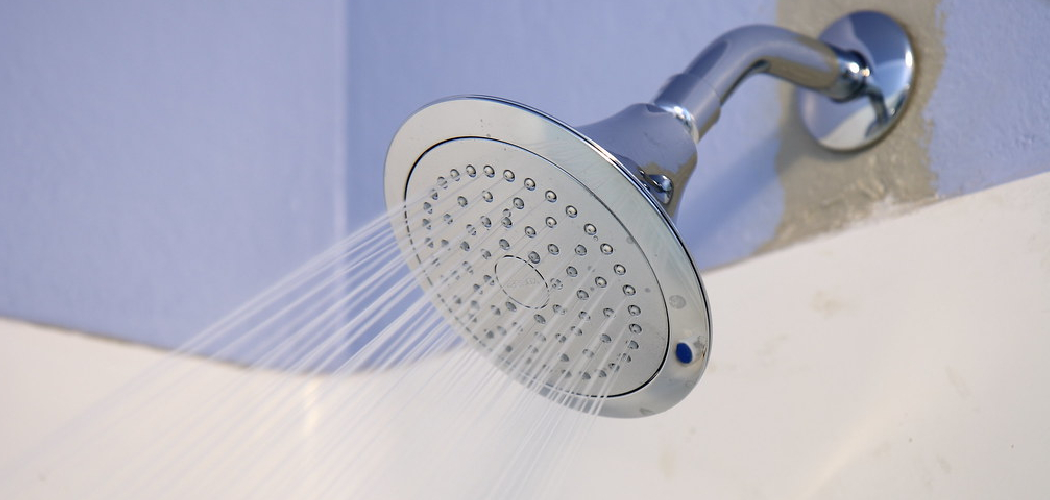
Adding a second shower head can enhance your showering experience, providing greater comfort and convenience for you and your family. Whether you’re looking to create a spa-like atmosphere, accommodate multiple users, or simply enjoy a more practical shower setup, installing an additional shower head can be a rewarding home improvement project.
This guide will walk you through how to add a second shower head, ensuring you can enjoy a revitalizing shower experience tailored to your needs.
Planning and Preparation
Before diving into the installation process, it’s essential to plan and prepare adequately to ensure a smooth experience. First, assess your existing shower system to determine whether it’s compatible with a second shower head. Check the water pressure and flow rate to ensure that both shower heads can function effectively without compromising performance. Next, decide on the type of shower head you want to install—consider options such as handheld, wall-mounted, or dual-function heads, depending on your preferences and the space available.
Additionally, gather the necessary tools and materials, which typically include a wrench, pliers, Teflon tape, pipe fittings, and the new shower head itself. It’s also crucial to turn off the water supply before starting your project to avoid any mishaps. With thorough planning, you’ll set the stage for a successful installation that elevates your shower experience.
Choosing the Right Shower Head
Selecting the right shower head is a crucial step in enhancing your showering experience. When choosing a second shower head, consider the various styles and features available. Handheld shower heads provide versatility as they can be easily directed for a targeted wash, making them ideal for rinsing off or for use by children or pets. Wall-mounted options tend to offer a sleek, fixed installation that might appeal to those looking for a minimalist design.
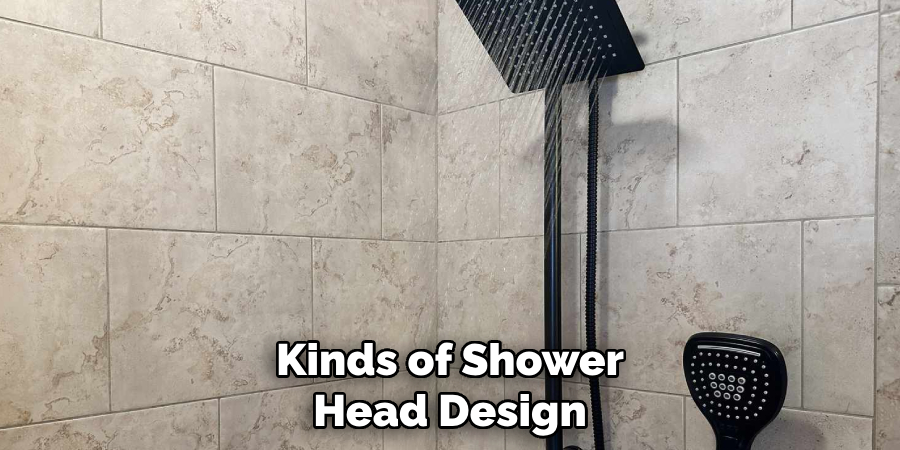
Additionally, think about the water-saving technology, which can reduce water consumption while still maintaining good pressure. Look for shower heads labelled as “low flow” to help conserve water without sacrificing performance. Lastly, consider the spray patterns and adjustability features. Some shower heads offer multiple spray settings, allowing for a customisable experience depending on your mood or needs. By weighing these factors, you can choose a shower head that perfectly complements your existing setup and satisfies your personal preferences.
10 Methods How to Add a Second Shower Head
1. Plan Your Shower Head Configuration
Before starting the installation process, it’s essential to plan the configuration of your second shower head. Consider the type of shower head you want to add, such as a handheld, rain, or multi-function model, and determine its placement in relation to the existing head. The new shower head can be installed in a variety of configurations: side-by-side, one above the other, or at different angles to accommodate multiple users.
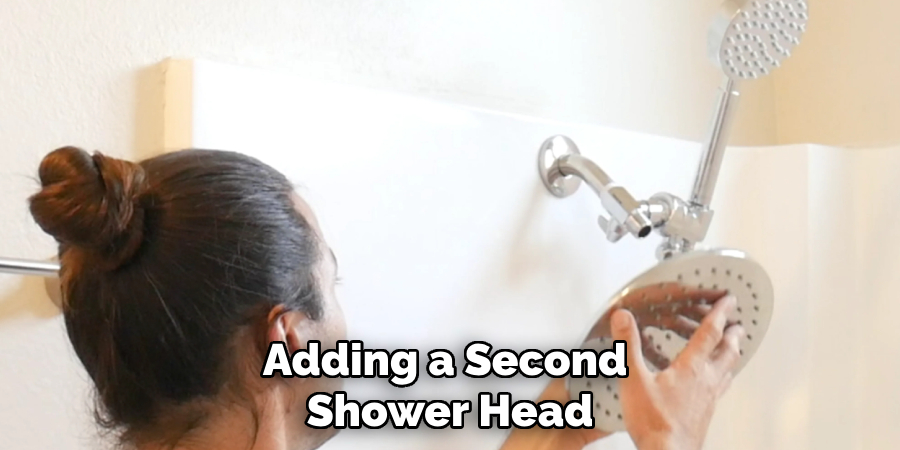
Measure the dimensions of your shower area and the space available for the new head. Proper planning ensures that both shower heads will be functional and that the installation will not interfere with existing fixtures or bathroom design.
2. Turn Off the Water Supply
Safety is paramount when performing plumbing work, so the first step in adding a second shower head is to turn off the water supply. Locate the main water shutoff valve in your home and turn it off to prevent any accidental leaks or flooding during the installation. If your shower has its own shutoff valves, you can use those, but turning off the main supply is a more thorough precaution. Open the existing shower head or faucet to relieve any residual pressure in the pipes and ensure that no water will flow while you work.
3. Remove the Existing Shower Head
Once the water supply is turned off, you need to remove the existing shower head to make way for the new installation. Use a pipe wrench or adjustable pliers to loosen and unscrew the old shower head from the shower arm. If the shower head is particularly tight, you might need to apply some penetrating oil to loosen it. Be careful not to damage the shower arm or surrounding fixtures. After removing the old shower head, clean any debris or old plumber’s tape from the threads of the shower arm to ensure a proper seal for the new installation.
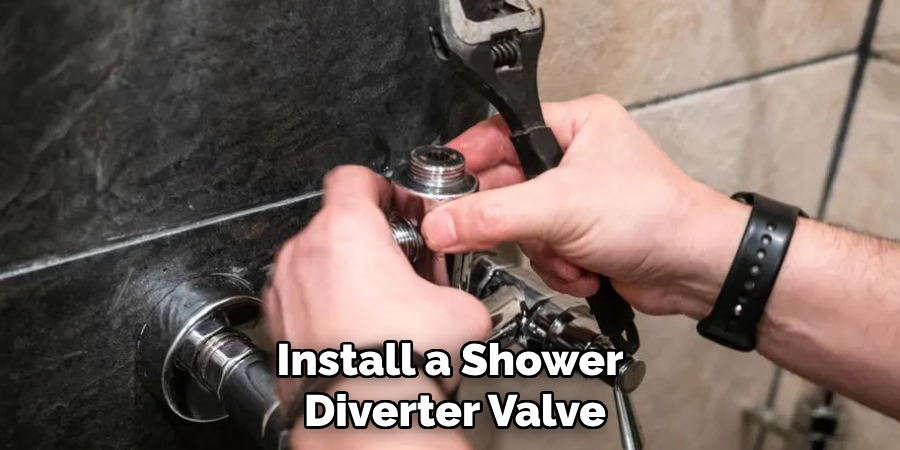
4. Install a Shower Diverter Valve
To accommodate two shower heads, you will need to install a diverter valve, which allows you to switch between or use both shower heads simultaneously. The diverter valve can be installed in various ways, depending on your shower’s plumbing configuration. If you have access to the plumbing behind the wall, you may need to replace the existing valve with a three-way diverter valve.
Alternatively, you can install a diverter at the end of the existing shower arm or in-line with the new shower head. Follow the manufacturer’s instructions for installation, ensuring that the valve is securely connected and properly aligned with the existing plumbing.
5. Install the New Shower Head
With the diverter valve in place, you can now install the new shower head. Begin by attaching a shower arm or extension pipe to the existing plumbing, if needed, to reach the desired location for the new shower head. Apply plumber’s tape to the threads of the arm or extension to ensure a watertight seal. Screw the new shower head onto the arm or extension pipe, tightening it by hand. If the new shower head comes with its own mounting bracket or hardware, follow the manufacturer’s instructions for installation. Adjust the angle and position of the shower head to suit your preferences and ensure optimal water coverage.
6. Connect the Water Supply and Test the System
After installing the new shower head, it’s time to reconnect the water supply and test the system. Turn the main water supply back on and gradually open the shower valve to allow water to flow through the system. Check both shower heads for proper operation, ensuring that the diverter valve switches smoothly between them. Inspect all connections for any signs of leaks, and tighten any fittings if necessary. Run the water for a few minutes to flush out any debris or air from the pipes and to confirm that both shower heads are functioning correctly.
7. Adjust the Water Pressure and Flow
To ensure a comfortable and effective shower experience, adjust the water pressure and flow from both shower heads. Most modern shower heads come with adjustable settings that allow you to control the spray pattern and intensity. Use the diverter valve to switch between the two shower heads and make sure each one provides the desired flow and coverage. If you find that one of the heads is not providing adequate pressure, you may need to check the water pressure in your home or adjust the flow restrictor on the shower head.
8. Seal and Finish the Installation
Once you have confirmed that both shower heads are working properly, it’s important to seal and finish the installation. Apply silicone caulk around the edges of the new shower head and any exposed plumbing connections to prevent water damage and leaks. Smooth the caulk with a damp finger or a caulk tool for a clean finish. Allow the caulk to cure fully according to the manufacturer’s instructions before using the shower. Additionally, clean any residue or debris from the installation area to ensure a polished and professional appearance.
9. Inspect for Leaks and Perform Final Checks
After the installation is complete, perform a thorough inspection to ensure there are no leaks or issues with the new setup. Check all connections, including the diverter valve, shower arms, and shower heads, for any signs of dripping or water leakage. Tighten any loose fittings and address any leaks promptly. Test the diverter valve’s functionality by switching between the shower heads and verifying that the water flow is consistent and reliable. Ensure that both shower heads are securely mounted and positioned as desired.
10. Enjoy Your Enhanced Shower Experience
With the installation complete and everything checked, you can now enjoy your enhanced shower experience with the addition of a second shower head. The dual-head configuration allows for a more versatile and enjoyable shower, catering to different needs and preferences.

Whether you use both heads simultaneously for a full-body experience or switch between them for targeted cleaning, the added functionality will enhance your daily routine. Regular maintenance, such as cleaning the shower heads and checking for any potential issues, will help ensure that your new setup remains in optimal condition for years to come.
Conclusion
Adding a second shower head is a fantastic way to improve the functionality and comfort of your bathroom. By following these 10 comprehensive methods—from planning the configuration and installing a diverter valve to testing the system and sealing the installation—you can achieve a successful and professional result. Proper installation and regular maintenance will ensure that your new shower head setup provides a luxurious and versatile bathing experience, enhancing both the aesthetics and practicality of your bathroom. Thanks for reading, and we hope this has given you some inspiration on how to add a second shower head!

