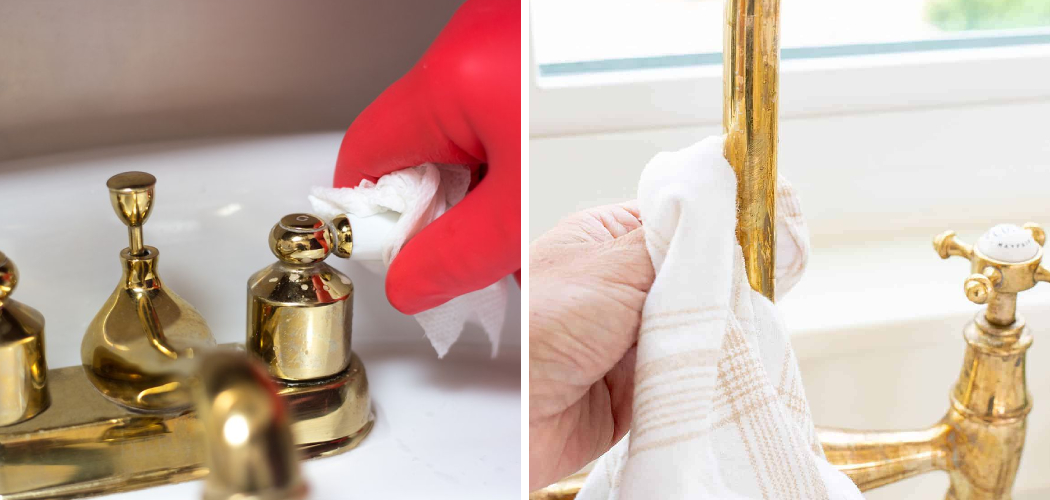
Cleaning a brass faucet can restore its shine and maintain its elegance in your kitchen or bathroom. Over time, brass fixtures can accumulate tarnish and grime, detracting from their visual appeal.
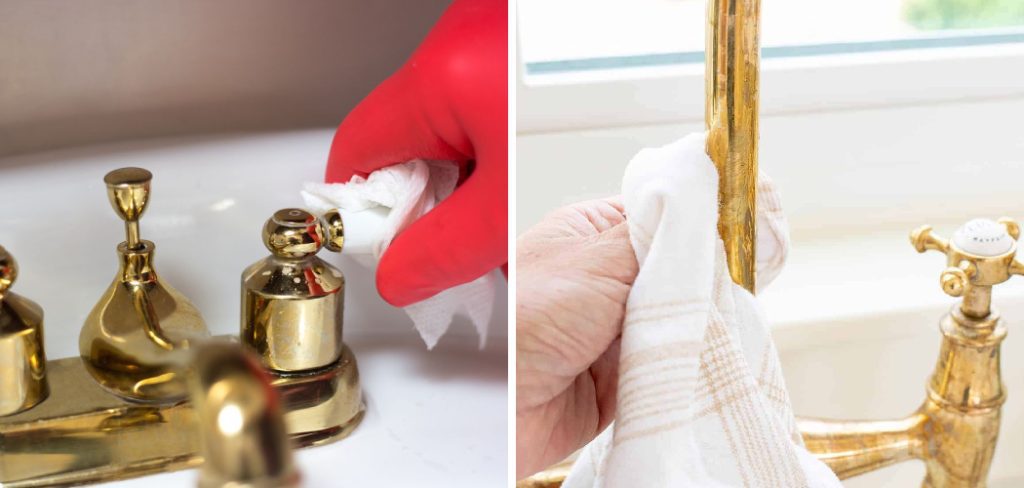
This guide on how to clean brass faucet will walk you through the effective steps needed to clean and care for your brass faucet, ensuring it remains a beautiful focal point in your space. With the right techniques and products, you can easily remove buildup and prevent further tarnishing, keeping your brass faucet looking brand new.
What is Brass?
Brass is an alloy primarily made up of copper and zinc, known for its distinctive yellow-gold appearance and malleability. This versatile material has been used for centuries in various applications, from musical instruments to decorative objects and plumbing fixtures. The unique combination of copper’s strength and zinc’s corrosion resistance makes brass an ideal choice for items exposed to moisture, such as faucets and fittings.
Additionally, brass possesses antimicrobial properties, which can help reduce the growth of bacteria, making it a popular selection for sanitary and hygienic environments. Its attractive finish and durability contribute to its continued popularity in both modern and traditional designs.
Why Does Brass Tarnish?
Brass can tarnish when it comes into contact with air or moisture, which causes a chemical reaction that forms a thin layer of corrosion on the surface. This layer is known as patina and can appear as a brown or green film. Although a patina can enhance the appearance of some items, such as statues or decorative objects, it can make brass fixtures look dull and dirty.
Factors that contribute to tarnishing include exposure to acidic substances like vinegar and lemon juice, handling with oily fingers, and environmental pollutants. Fortunately, with proper cleaning techniques, you can remove this buildup and restore your brass faucet’s shine.
Needed Materials
Mild Dish Soap:
A mild dish soap is a gentle and effective cleaner for brass fixtures. Avoid using harsh or abrasive cleaners, as they can damage the surface of brass.
White Vinegar:
White vinegar is an excellent natural cleaner for removing tarnish and grime from brass. Its acidic properties help break down buildups and deposits without damaging the material.

Lemon Juice:
Lemon juice contains citric acid, which makes it an effective alternative to white vinegar for cleaning brass fixtures. It can also leave a pleasant scent behind.
Baking Soda:
Baking soda is an all-purpose cleaner that can effectively remove stubborn stains and buildup on brass faucets. Its slight abrasiveness helps scrub away grime without scratching the surface.
Non-abrasive Cloth:
A soft, non-abrasive cloth is essential for cleaning brass as it won’t leave scratches or marks on the surface. Avoid using rough materials like steel wool, which can damage the finish.
8 Step-by-step Guides on How to Clean Brass Faucet
Step 1: Prepare the Cleaning Solution
Begin by preparing your cleaning solution. In a small bowl, mix equal parts of white vinegar and mild dish soap. The vinegar will help break down the tarnish, while the dish soap will lift away dirt and grease. If you prefer a citrus scent, you can substitute half of the vinegar with lemon juice.
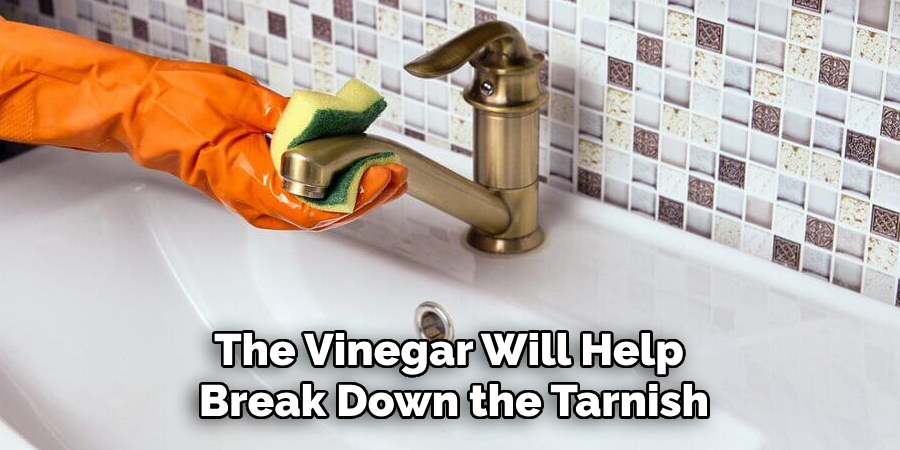
Stir the mixture well to ensure it’s combined thoroughly. This gentle yet effective solution will help restore your brass faucet’s shine without damaging its finish. It’s also an eco-friendly option compared to harsh chemical cleaners.
Step 2: Turn off the Water
Before you begin cleaning your brass faucet, it is crucial to turn off the water supply to prevent any accidental leaks or spills during the process. Locate the shut-off valves under the sink and rotate them clockwise until fully closed.
If you can’t easily access these valves, you can also turn off the main water supply to your home. Once the water is turned off, it’s safe to proceed with the cleaning, allowing you to focus on restoring your brass fixture without concern for water flow.
Step 3: Dampen a Cloth and Apply the Cleaning Solution
Take your non-abrasive cloth and dampen it with the cleaning solution you prepared in Step 1. Wring out the cloth to ensure it is not soaking wet, as excess liquid can seep into the faucet’s mechanisms and cause damage. Once it’s adequately dampened, gently wipe the surface of the brass faucet, applying the cleaning solution evenly.
Focus on any areas with visible tarnish or grime, ensuring the solution works on the surface without applying too much pressure that could scratch the brass. Allow the solution to sit for a few minutes to penetrate the tarnish and begin breaking it down.
Step 4: Rinse and Wipe Away the Cleaning Solution
After a few minutes, take a clean cloth and dampen it with water. Use this to rinse off the cleaning solution from the surface of the brass faucet, wiping away any loosened dirt or tarnish.
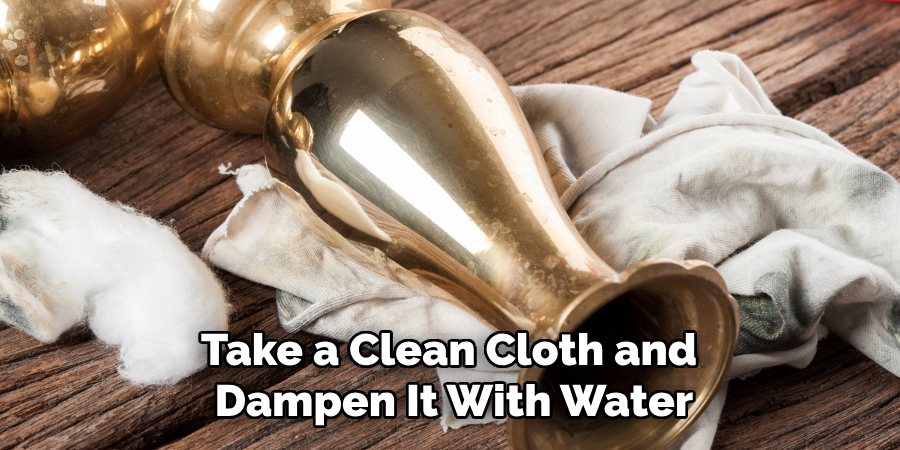
Be sure to thoroughly rinse all areas of the fixture to prevent any residue from remaining on the surface. Then, use a dry cloth to wipe away any excess moisture and buff the brass, revealing its shine.
Step 5: Apply Baking Soda for Stubborn Stains
For tougher stains or buildup on your brass faucet, you can create a paste using baking soda and water. Mix equal parts of baking soda and water in a small bowl until it forms a thick paste.
Using a soft cloth, apply the paste to the affected areas of your brass faucet, gently scrubbing in circular motions. The slight abrasiveness of the baking soda will help lift away stubborn stains without damaging the surface. Once finished, rinse off the paste with water and dry thoroughly.
Step 6: Remove Hard Water Stains
If your brass faucet has hard water stains, you can use white vinegar as an effective solution. Soak a cloth or paper towel in undiluted white vinegar and wrap it around the affected area for 10-15 minutes.
The acidic properties of vinegar will help break down mineral deposits and hard water stains. After 15 minutes, remove the cloth and wipe away any residue with a damp cloth. Dry thoroughly.
Step 7: Polish Your Brass Faucet
After cleaning your brass faucet, you can enhance its shine by using a commercial brass polish or creating one at home. To create a homemade brass polish, mix equal parts of flour, salt, and white vinegar until it forms a paste.
Using a soft cloth, apply the paste to the surface of your brass faucet and let it sit for 10-15 minutes. Then, rinse off the paste with water and dry thoroughly. This polishing method can help remove any remaining tarnish or dullness, leaving your brass faucet shiny and new.
Step 8: Turn the Water Supply Back On
Once you have completed all the necessary cleaning steps, it’s time to turn the water supply back on. Remember to do this slowly to prevent any potential leaks or bursts in the pipes. Once the water is running smoothly, check for any signs of damage or leaks on your brass faucet.
If everything looks good, you have successfully cleaned and restored your brass faucet! With regular maintenance and proper cleaning techniques, your brass fixtures will continue to shine and add elegance to your home. So, make sure to follow these steps regularly to keep your brass faucet looking its best.
Additional Tips for Maintaining Brass Fixtures
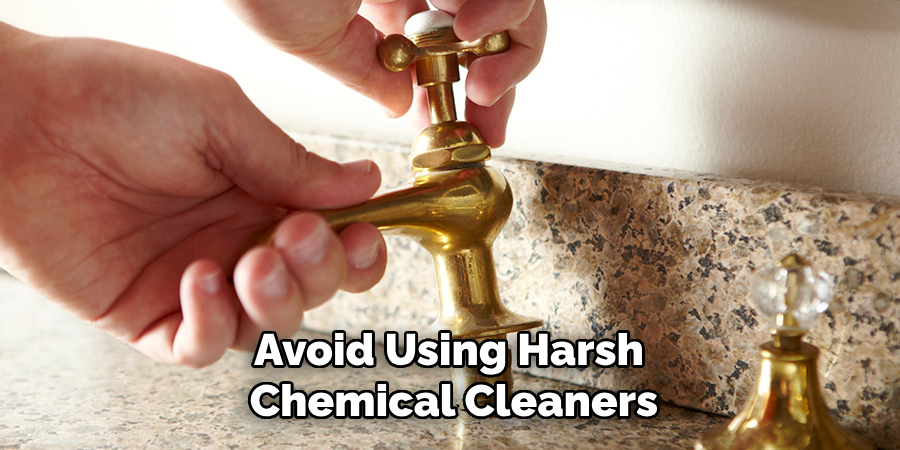
- Avoid using harsh chemical cleaners as they can damage the finish of your brass fixtures.
- For regular maintenance, wipe down your brass faucets with a damp cloth and dry thoroughly.
- To prevent water spots, dry your brass fixtures after each use.
- Avoid using abrasive materials or heavy scrubbing when cleaning brass fixtures to avoid scratches.
- Regularly inspect your brass faucets for any signs of damage, such as leaks or tarnish, and address them promptly. – For long-term protection, consider applying a thin layer of wax or lacquer specifically designed for brass to seal and protect the finish.
- Consult the manufacturer’s instructions for specific care instructions on your specific brand of brass faucet. With proper maintenance and cleaning techniques, you can keep your brass fixtures shining and look their best for years to come.
Frequently Asked Questions
Q1: Can I Use Lemon Juice Instead of White Vinegar for Cleaning My Brass Faucet?
A1: Yes, lemon juice can also be effective in removing hard water stains and tarnishes from brass fixtures. Simply apply undiluted lemon juice to the affected areas, let it sit for 10-15 minutes, and then wipe away with a damp cloth.
Q2: Can I Use Steel Wool or Other Abrasive Materials for Cleaning Brass Fixtures?
A2: No, abrasive materials can scratch and damage the finish of your brass fixtures. It’s best to stick to non-abrasive cloths and gentle cleaning solutions.
Q3: How Often Should I Clean My Brass Faucet?
A3: For regular maintenance, wiping down your brass faucet with a damp cloth after each use and drying thoroughly should suffice. However, for deeper cleaning, aim to clean your brass fixtures at least once a month to keep them in top condition. So, make sure you add this task to your monthly cleaning routine.
With these tips and steps on how to clean brass faucet, you can keep your brass fixtures looking shiny and elegant for years to come. Remember to always handle your brass with care to avoid damage, and consult the manufacturer’s instructions for any specific care recommendations. Happy cleaning!
Conclusion
In conclusion, maintaining the beauty and functionality of your brass faucet requires regular care and the right cleaning techniques. By following the steps outlined in this guide on how to clean brass faucet, you can effectively remove tarnish, stains, and buildup, allowing your brass fixtures to shine brilliantly. Remember to use gentle cleaning solutions and avoid harsh chemicals or abrasive materials to preserve the finish of your brass.
With consistent maintenance and attention to detail, your brass fixtures can continue to enhance the elegance of your home for years to come. Always refer to the manufacturer’s guidelines for any specific care recommendations to ensure your faucets remain in optimal condition.

