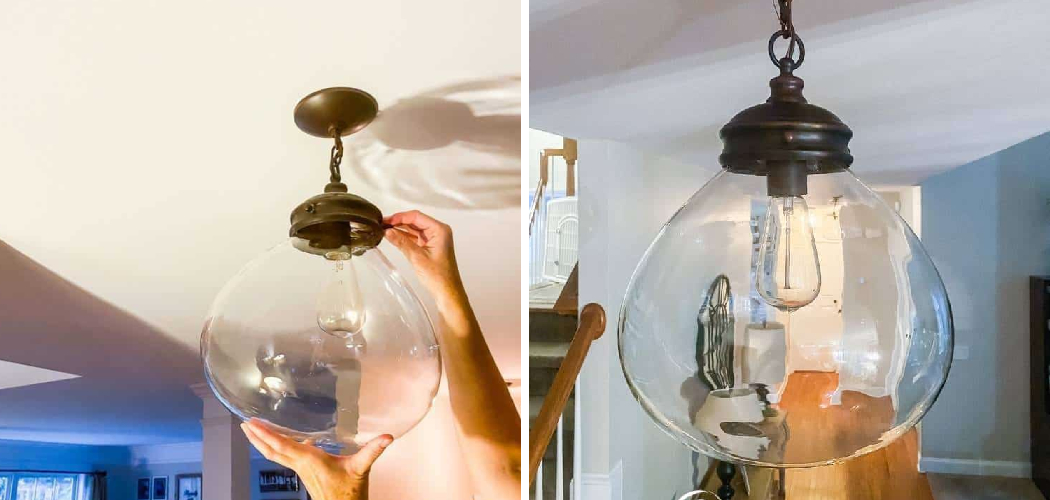
Maintaining the clarity and shine of glass light fixtures is essential for both aesthetic appeal and effective lighting. Over time, these fixtures can become foggy due to dust, moisture, or the buildup of grease and grime. This not only detracts from their beauty but also diminishes their functionality. In this guide on How to keep glass light fixtures from getting fogg, we will explore practical tips and techniques to prevent glass light fixtures from becoming foggy, ensuring they remain bright and inviting in your home or office environment. With a few simple steps, you can enjoy the full brilliance of your lighting without the nuisance of hazy glass.
Why Do Glass Light Fixtures Get Foggy?
Glass light fixtures can become foggy for several reasons. One of the primary culprits is dust accumulation, which settles on the surface over time, creating a cloudy appearance that can obscure light. Additionally, moisture can enter the fixtures, especially in areas with high humidity or in rooms like kitchens and bathrooms, leading to condensation that contributes to fogging.
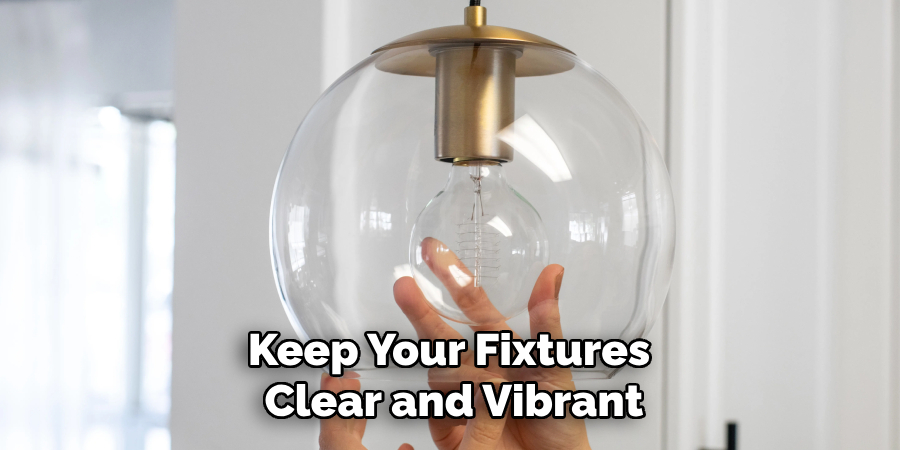
Grease and grime from cooking or general household activities can also adhere to the glass, further dulling its shine. Understanding these factors is crucial in implementing effective maintenance strategies to keep your fixtures clear and vibrant.
Needed Materials
Microfiber Cloth:
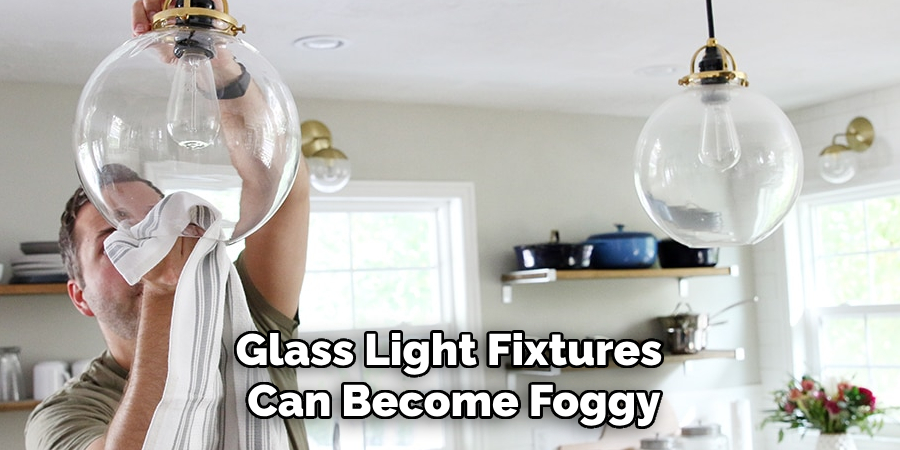
Using a microfiber cloth is one of the best ways to keep glass light fixtures clean and clear. These soft, lint-free cloths are gentle on delicate surfaces, making them ideal for wiping down glass without causing any scratches or streaks. They are also highly absorbent, making them perfect for removing moisture and grime from the surface.
Glass Cleaner:
A good quality glass cleaner is essential for keeping your light fixtures free from fogging. Choose a cleaner specifically designed for glass, as they are often more effective at removing tough stains and residue. Avoid using harsh chemicals that can damage or discolor the glass.
Distilled Water:
Distilled water is recommended for cleaning glass light fixtures as it does not contain impurities that can leave behind residue and contribute to fogging. If you don’t have distilled water on hand, you can also use a mixture of white vinegar and water.
Soft-bristled Brush:
For fixtures with intricate designs or hard-to-reach areas, a soft-bristled brush can be used to gently scrub away dirt and grime. Make sure the bristles are gentle enough not to scratch the glass surface.
8 Simple Step-by-step Guidelines on How to Keep Glass Light Fixtures From Getting Fogg
Step 1: Turn Off the Power
Before you begin cleaning or maintaining your glass light fixtures, it is crucial to ensure safety first. Turn off the power to the fixture at the circuit breaker or remove the bulb to prevent any risk of electric shock.
This precaution protects both you and the fixture during the cleaning process. Once you have ensured that the power is off, you can proceed with confidence to remove any dust or grime from your glass fixtures.
Step 2: Remove Dust and Debris
Once the power is turned off and you are prepared to clean, start by utilizing a dry microfiber cloth to gently wipe away any dust and debris from the surface of the glass light fixtures. Begin at the top and work your way down to prevent dust from settling on already cleaned areas. For fixtures with intricate designs, use a soft-bristled brush to gently dislodge any trapped dust and grime.
Ensure you pay attention to corners and crevices, as these areas often gather more dust. This initial step is vital in revealing the true clarity of the glass before applying any cleaning solutions.
Step 3: Prepare Your Cleaning Solution
Once you have removed the dust and debris from your glass light fixtures, the next step is to prepare your cleaning solution. If you’re using a commercial glass cleaner, simply follow the manufacturer’s instructions on how to apply it effectively. For a natural alternative, mix equal parts of distilled water and white vinegar in a spray bottle.
This solution is an excellent choice for breaking down grease and grime without leaving a residue. Shake the bottle gently to combine the ingredients, ensuring the solution is well-mixed. Once your cleaning solution is ready, you’re set to tackle any persistent spots or fogging on the glass fixtures.
Step 4: Spray the Cleaning Solution
With your cleaning solution prepared, it’s time to apply it to the glass light fixtures. Begin by holding the spray bottle about 6 to 12 inches away from the surface. Gently mist the solution onto the glass, ensuring even coverage without saturating it.
Avoid over-applying the solution to prevent it from dripping down the fixtures. If you’re using a commercial glass cleaner, remember to follow any specific instructions provided by the manufacturer regarding the recommended distance and application method. Once the solution is sprayed, allow it to sit for a minute to break down any stubborn dirt or fog, making it easier to wipe away.
Step 5: Wipe Away the Solution
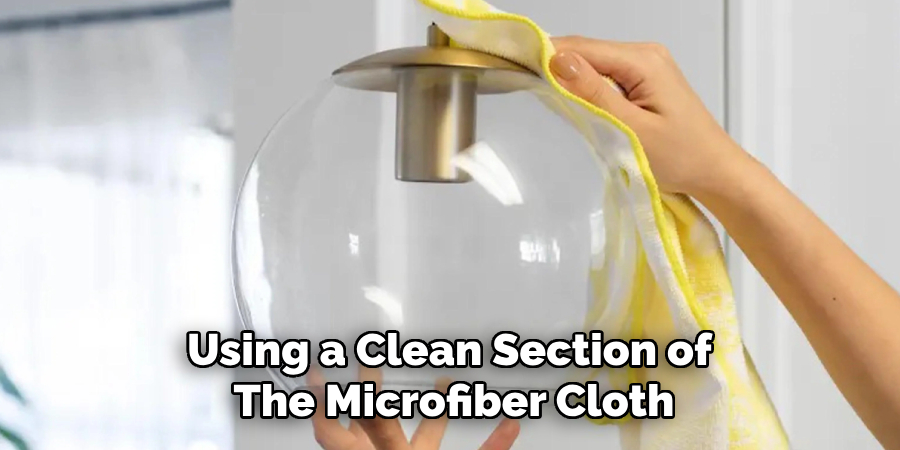
After allowing the cleaning solution to sit for a minute, it’s time to wipe it away. Take your dry microfiber cloth and gently wipe the glass surface in a circular motion, starting from one corner and working your way across the fixture. This technique helps to lift and remove the dirt, grime, and cleaning solution effectively. If you encounter any stubborn spots, apply a little more cleaning solution and continue wiping until the glass is clear.
For optimal results, consider using a clean section of the microfiber cloth as you progress, which prevents smearing and ensures a streak-free shine. Once the glass is completely cleaned and clear, step back to admire your work before moving on to any further maintenance steps.
Step 6: Focus on the Glass Globes
For fixtures with glass globes, it’s important to clean both the exterior and interior surfaces. Follow the same steps as above for the exterior surface, but for the inside, use a clean microfiber cloth attached to a long-handled duster or brush.
Gently wipe away any dust or grime from inside the globe, ensuring you reach all areas. You can also use a mild cleaning solution if necessary, but be sure to rinse and dry thoroughly afterward to prevent any residue buildup.
Step 7: Dry Thoroughly
Once you have finished cleaning your glass light fixtures, it’s important to ensure they are completely dry before turning the power back on or replacing the bulbs. Use a clean, dry microfiber cloth to remove any excess moisture from the glass surface and globes.
Pay special attention to corners and crevices where water might be trapped. Any remaining moisture can contribute to future fogging, so take your time to ensure everything is thoroughly dried before completing this step.
Step 8: Maintain Regularly
To prevent fogging and maintain the clarity of your glass light fixtures, it’s important to incorporate regular cleaning into your maintenance routine. A quick dusting with a microfiber cloth every week or two can help keep dirt and grime at bay, reducing the need for more thorough cleaning in the future.
Also, be mindful of any potential sources of moisture or humidity near your fixtures, as these can contribute to fogging over time. By following these simple steps on How to keep glass light fixtures from getting fogg and incorporating regular maintenance, you can ensure your glass light fixtures remain clear and beautiful for years to come. So don’t forget to regularly clean your glass light fixtures for a sparkling home aesthetic! Remember that safety should always come first when dealing with electricity – always make sure to turn off the power before beginning any cleaning or maintenance tasks.

Tips for Preventing Foggy Glass Light Fixtures
Regular Dusting:
Wiping down your light fixtures with a microfiber cloth once a week will help prevent dust from accumulating and contributing to fogging.
Keep Moisture at Bay:
Avoid placing your light fixtures in areas with high humidity, such as near a shower or stove. If possible, try to keep moisture and humidity levels low in the surrounding area.
Use LED Bulbs:
LED bulbs produce less heat than traditional incandescent bulbs, reducing the risk of fogging due to temperature differences between the bulb and fixture. Plus, they are energy-efficient and last longer!
Avoid Harsh Cleaning Solutions:
Avoid using harsh chemicals or abrasive cleaners on glass light fixtures as they can damage the surface over time. Stick to gentle cleaning solutions like distilled water and white vinegar for a natural option.
Regular Maintenance:
In addition to regular dusting, be sure to incorporate a deep clean of your glass light fixtures into your maintenance routine every few months. This will help prevent any buildup of dirt and grime, keeping your fixtures clear and shining.
Conclusion
Maintaining the clarity of your glass light fixtures is essential for both aesthetic appeal and optimal lighting. By following the detailed steps on How to keep glass light fixtures from getting fogg outlined above, you can effectively remove fog and grime, ensuring that your fixtures remain sparkling and inviting.
Regular maintenance, such as dusting and mindful placement away from moisture, will further extend the life and clarity of your lighting. Remember, taking a proactive approach will not only enhance the beauty of your home but also contribute to a safer and more pleasant environment. With a little effort, your glass light fixtures can continue to radiate brilliance for years to come.

