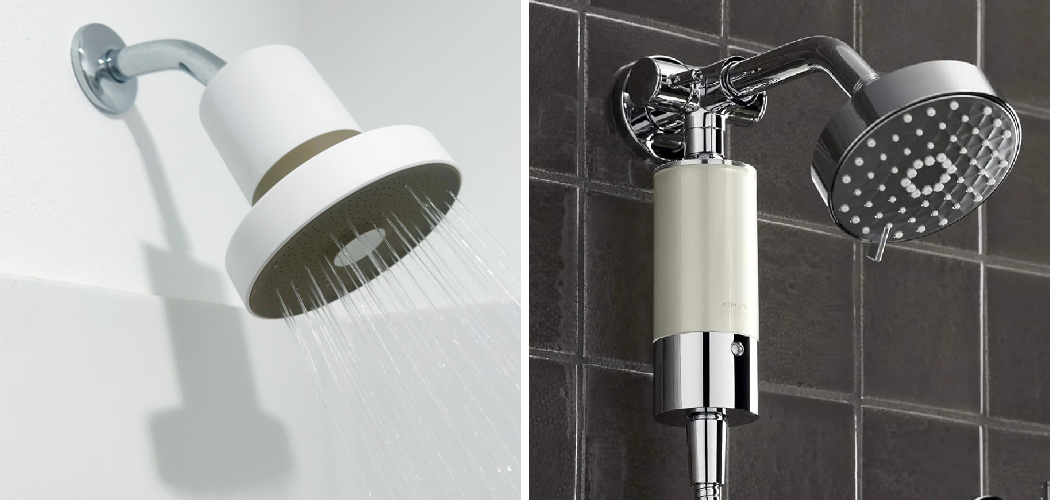
Cleaning a shower head is an essential household task that ensures optimal water flow and helps maintain hygiene in your bathroom. Over time, mineral buildup and contaminants can impede performance, leading to unsatisfactory water pressure and potential health issues.
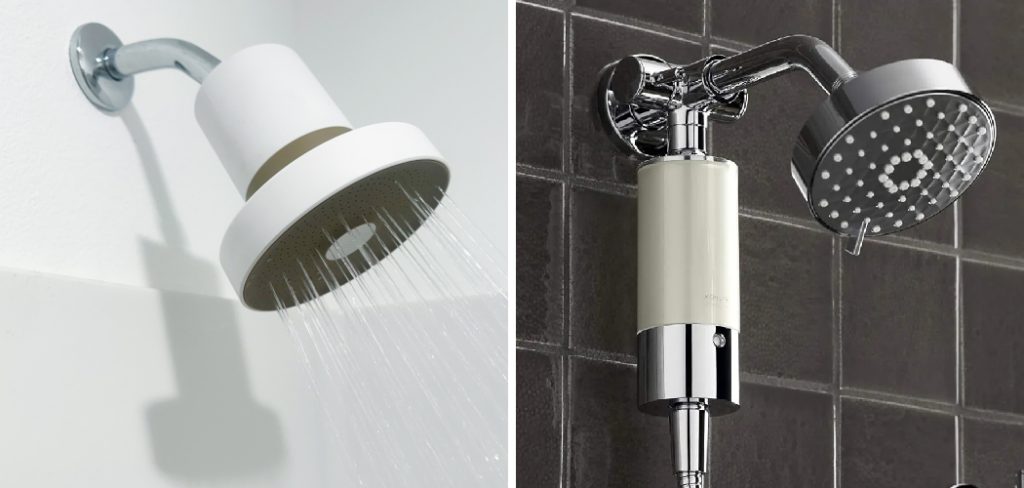
In this guide on how to clean jolie shower head, we will provide step-by-step instructions on how to effectively clean your Jolie shower head, ensuring it looks great and functions properly for an enhanced showering experience. With the right tools and techniques, you can easily restore your shower head to its former glory without the need for harsh chemicals.
Why Clean Your Jolie Shower Head?
Cleaning your shower head not only keeps it looking shiny and new, but it also helps improve its functionality. When mineral buildup clogs the nozzles of your shower head, water flow decreases and can result in uneven spray patterns or even a complete blockage. This can be frustrating during a shower and may require you to replace the entire shower head if left untreated.
Moreover, without regular cleaning, mold and bacteria can build up on the surface of your shower head, potentially leading to respiratory issues or skin infections. Therefore, it is crucial to regularly clean your Jolie shower head to maintain good hygiene in your bathroom.
Materials Needed
White Vinegar:
Vinegar is a natural and cost-effective cleaning agent that can effectively remove mineral buildup from your shower head. It is safe to use and will not damage the surface of your Jolie showerhead.
Baking Soda:
Baking soda is another household staple that can be used as a gentle abrasive to scrub away any stubborn residue on your shower head.
Old Toothbrush:
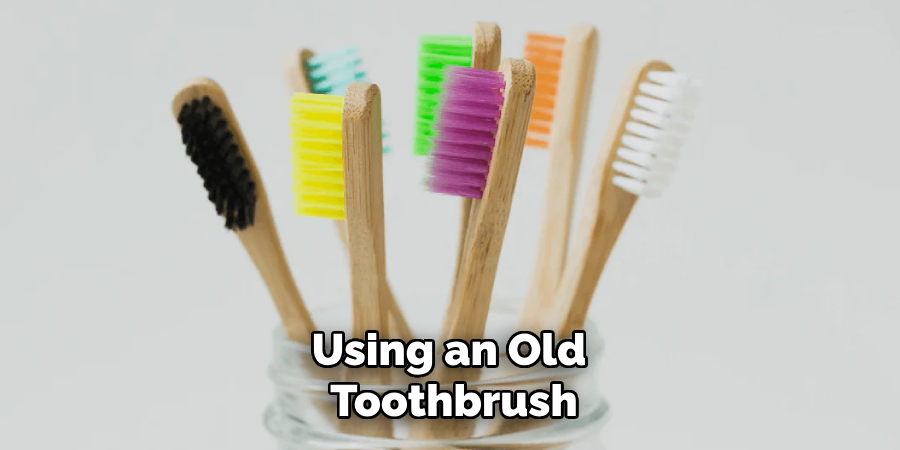
An old toothbrush with soft bristles is an excellent tool for cleaning small crevices and hard-to-reach areas on your shower head.
Plastic Bag or Container:
You will need a plastic bag or container large enough to fit over your shower head for soaking.
8 Step-by-step Guides on How to Clean Jolie Shower Head
Step 1: Remove the Shower Head
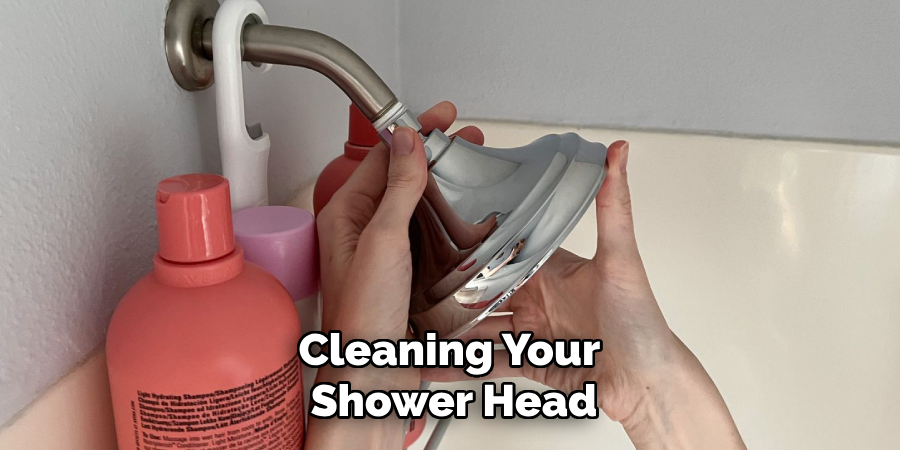
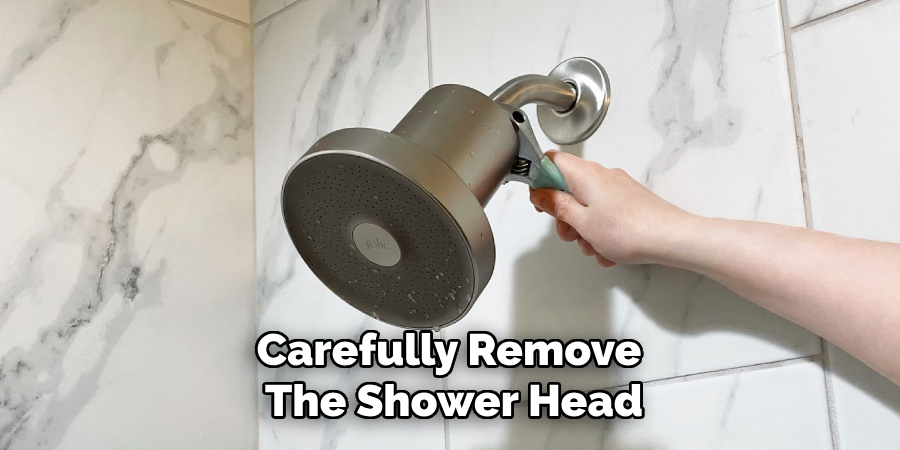
To begin the cleaning process, carefully detach the Jolie shower head from the shower arm. You may need a pair of adjustable pliers to loosen it, but be sure to wrap a cloth around the shower head to prevent scratching or damaging the finish.
Turn the shower head counterclockwise until it is free from the arm. Once removed, place it in a plastic bag or container to prepare for the soaking step. Make sure to check for any washers or seals that may also need cleaning or replacement during this process.
Step 2: Prepare the Vinegar Solution
Next, fill the plastic bag or container with enough white vinegar to fully submerge the shower head. If you prefer a stronger solution, you can mix equal parts of white vinegar and water. This concentration will help break down mineral deposits and grime effectively.
Once the vinegar is ready, carefully place the detached shower head into the solution, ensuring it is completely immersed. If using a bag, secure it around the shower head to prevent any leaks. Allow it to soak for at least 15-30 minutes, or longer if you’re dealing with heavy buildup, to give the vinegar ample time to work its magic.
Step 3: Scrub with Baking Soda
While the shower head is soaking, mix equal parts of baking soda and water to create a paste. This paste will act as a gentle abrasive to remove any remaining residue on your shower head.
Using an old toothbrush, apply the baking soda paste onto the surface of the shower head and gently scrub in a circular motion. Pay special attention to the nozzles and any tight spots where buildup may be present. Rinse thoroughly with warm water.
Step 4: Clean Seals and Washers
While the shower head continues to soak, turn your attention to the seals and washers that were removed during the disassembly process. These components are vital for ensuring a proper seal and preventing leaks. Begin by rinsing them under warm water to remove any loose debris. Next, use the toothbrush dipped in the vinegar solution or the baking soda paste to gently scrub the seals and washers, making sure to get into any grooves or crevices.
Rinse them again with warm water to remove any remaining cleaning solution and allow them to dry completely. This step ensures that your shower head not only looks clean but functions effectively upon reassembly.
Step 5: Rinse and Wipe Down the Shower Head
After soaking, carefully remove the shower head from the vinegar solution. Rinse it thoroughly under warm running water to wash away any remaining vinegar and loosened mineral deposits. This step is crucial to ensure that no residue remains, which could affect the water flow.
Once rinsed, take a soft cloth or paper towel and gently wipe down the exterior of the shower head, making sure to dry all surfaces. This will help restore its shine and remove any streaks left from the cleaning process, leaving your Jolie shower head looking as good as new.
Step 6: Reassemble the Shower Head
Once the shower head is thoroughly rinsed and dried, it’s time to reassemble it. Begin by inspecting all the seals and washers to ensure they are clean and in good condition. If any are damaged, consider replacing them before proceeding. Carefully align the shower head with the shower arm and hand-tighten it clockwise until it’s securely in place.
Avoid over-tightening, as this can damage the threads or the finish of the shower head. Once reattached, turn on the water to test the flow and check for any leaks, ensuring your Jolie shower head is now fully functional and ready to provide a refreshing shower experience.
Step 7: Ongoing Maintenance
To prevent future buildup and maintain the cleanliness of your Jolie shower head, it is recommended to clean it every one to two months. You can use the same vinegar solution or baking soda paste method described above for regular maintenance.
Additionally, after each shower, be sure to give your shower head a quick wipe down with a soft cloth or paper towel to remove any excess water and prevent mineral deposits from forming. This simple step will save you time and effort in the long run.
Step 8: Troubleshooting Common Issues
If you notice low water pressure or uneven spray patterns after cleaning your shower head, it could be due to mineral buildup in the shower arm. To fix this, you can use a small brush (such as a toothbrush) and vinegar to clean out any debris or buildup in the arm before reattaching the shower head.
If your Jolie shower head continues to have low water pressure or other issues after cleaning, it may be time to consider replacing it with a new one. With proper maintenance and care on how to clean jolie shower head, your Jolie shower head should provide you with years of enjoyable showers.
Frequently Asked Questions
Q: How Often Should I Clean My Jolie Shower Head?
A: It is recommended to clean your Jolie shower head every one to two months for regular maintenance. However, if you notice a decrease in water pressure or an uneven spray pattern, it may be time to give it a deep clean.
Q: Can I Use Other Cleaning Products Instead of Vinegar and Baking Soda?
A: Yes, there are other commercial cleaning solutions available specifically for shower heads. However, vinegar and baking soda are natural and effective options that won’t harm your shower head or the environment.
Q: Will Cleaning My Shower Head Affect Its Finish?
A: If you follow the steps outlined above, cleaning your Jolie shower head should not affect its finish. Be sure to use a soft cloth or paper towel when wiping down the surface to prevent any scratches or damage.
Q: How Can I Prevent Future Buildup on My Shower Head?
A: Regular maintenance and wiping down your shower head after each use can help prevent future buildup. You can also consider installing a water softener or filter to reduce mineral deposits in your water.
Conclusion
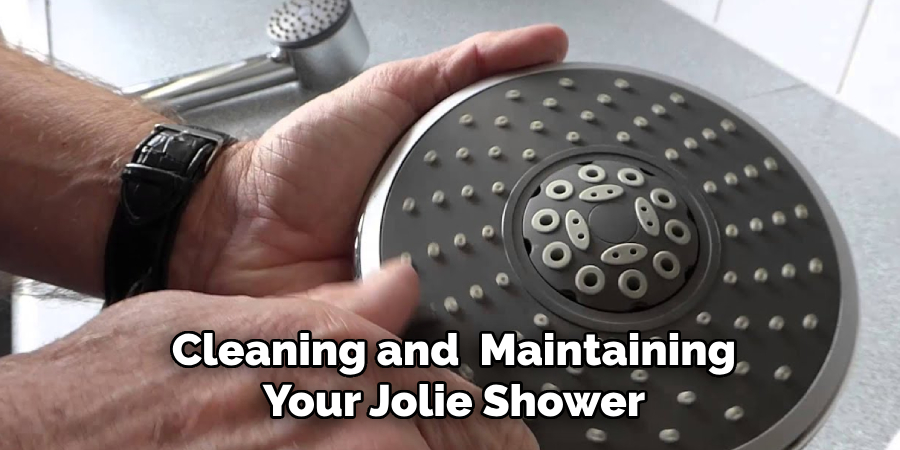
Regularly cleaning and maintaining your Jolie shower head is essential for ensuring a refreshing and hygienic shower experience. With simple household items like white vinegar, baking soda, and an old toothbrush, you can effectively remove any mineral deposits and grime that may build up over time. Additionally, incorporating a quick wipe down after each use and regularly checking and replacing seals and washers will help keep your shower head in top condition for years to come. Remember to always handle the disassembly and reassembly process with care to avoid damaging the finish of your shower head.
With these steps on how to clean jolie shower head, you can confidently maintain and enjoy your Jolie shower head for a long time. So go ahead, take that refreshing shower knowing it’s on a clean and well-maintained shower head. So don’t forget to regularly clean and maintain your Jolie shower head for a refreshing and hygienic shower experience every time. Happy cleaning!

