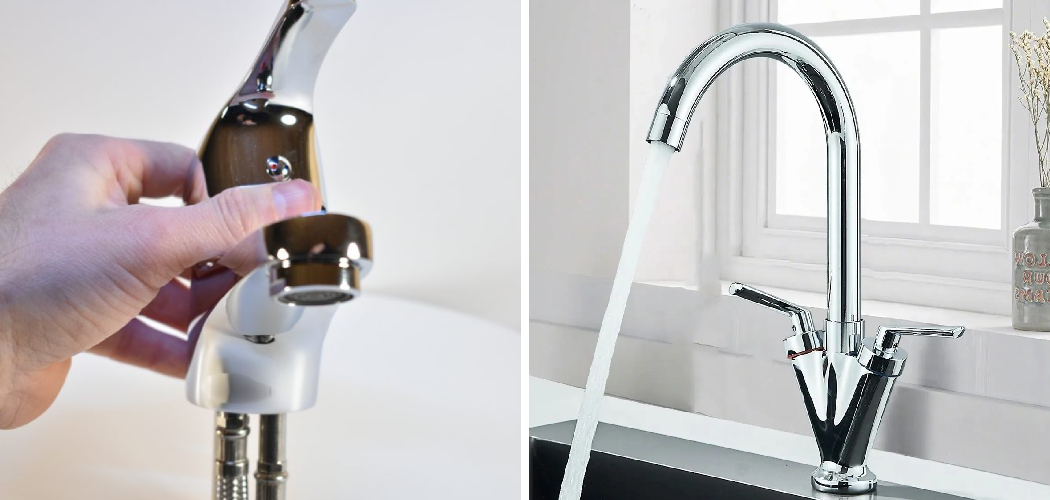
Isolating a bath tap is a crucial skill for homeowners and DIY enthusiasts, allowing for efficient repairs, replacements, or maintenance without disrupting the entire plumbing system. Understanding how to isolate a bath tap can save time and prevent water damage, especially in common scenarios like fixing a leaking tap, replacing outdated fixtures, or undertaking bathroom renovations.
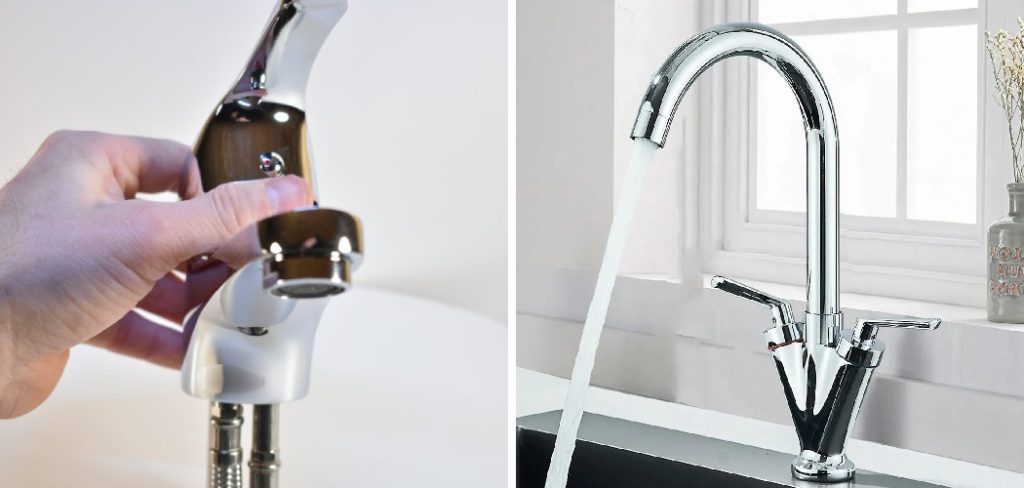
This article provides a comprehensive guide on the process, detailing everything from the required tools—such as screwdrivers and wrenches—to proper preparation and step-by-step instructions. By following this guide, you’ll gain valuable insight into how do you isolate a bath tap effectively, ensuring a smoother and safer experience for all your plumbing needs.
Understanding Bath Tap Isolation
What Does It Mean to Isolate a Tap?
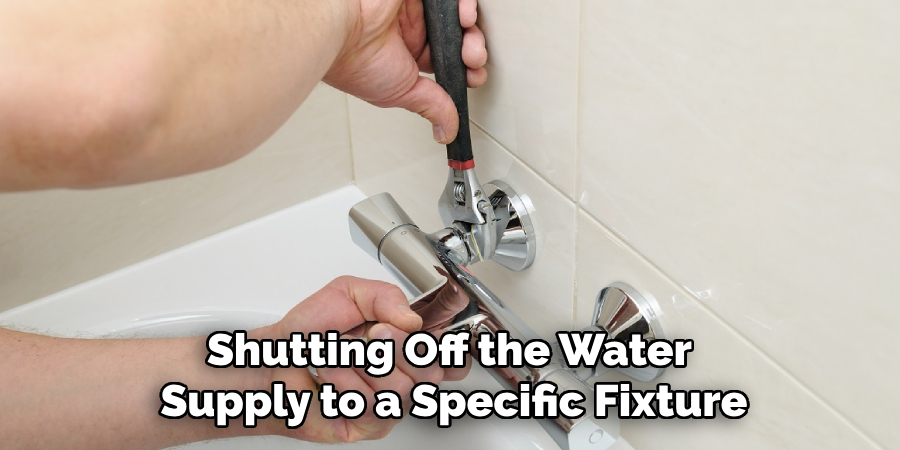
Isolating a tap refers to shutting off the water supply to a specific fixture, such as a bath tap, enabling repairs or replacements without impacting the entire plumbing system. This is particularly beneficial when addressing leaks, replacing components, or upgrading fixtures. By using isolation valves, homeowners can conveniently perform maintenance without the hassle of disrupting water access throughout the house, leading to a more efficient and less stressful repair process.
Types of Isolation Valves
- Inline Isolation Valves: These valves are commonly installed in the pipework directly leading to the tap. Often operated with a flathead screwdriver, they provide a straightforward means to turn the water supply on or off, offering flexibility when completing plumbing tasks. Their location allows for easy access, making them an essential feature in any plumbing system.
- Stopcocks: Typically located on the main water supply line, stopcocks can isolate the entire water system of a home. While useful for major repairs or emergencies, they can be less convenient when you only need to work on a single fixture, as shutting off the stopcock will disrupt water to all taps and fixtures connected to the system. For this reason, having dedicated isolation valves for each fixture is recommended for greater control and convenience.
Preparation Before Isolating the Tap
Gather the Required Tools and Materials
To begin the isolation process, gather the necessary tools and materials. You’ll need a flathead screwdriver to operate inline isolation valves, an adjustable wrench for handling the stopcock, a bucket to catch residual water, and plenty of towels to clean up spills. It’s also advisable to have replacement isolation valves on hand if your current setup lacks them or if you’re considering installing new ones for added convenience in the future.
Locate the Isolation Valve
Identifying the isolation valve connected to your bath tap is a crucial step. Typically, the valve can be found within the accessible pipework beneath the sink or bath. Look closely for a valve that can be turned to stop the water flow. If no isolation valve is present, you will need to shut off the main water supply via the stopcock, which is usually located near where the water line enters your home, often found in a cupboard or basement area.
Turn Off the Water Supply
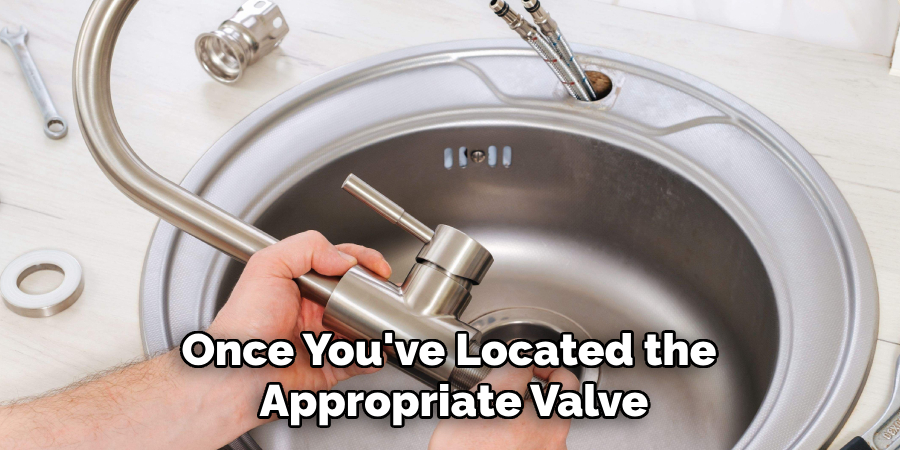
Once you’ve located the appropriate valve, it’s time to turn off the water supply. If you are using the inline isolation valve, simply turn it 90 degrees with your flathead screwdriver until it’s securely closed. In the case of the stopcock, use your adjustable wrench to turn it clockwise until it is also fully closed. After shutting off the water supply, drain any remaining water from the bath tap by turning it on and allowing it to run until no water flows out. This ensures that the pipes are emptied and reduces the risk of water spillage during any repair or maintenance work.
How Do You Isolate a Bath Tap: Step-by-Step Guide
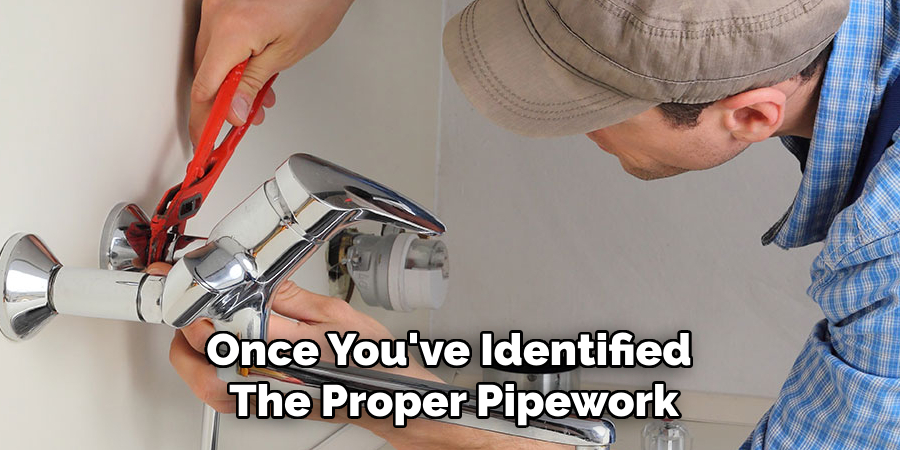
Step 1: Identify the Correct Pipework
Before proceeding with the isolation, it’s essential to identify the correct pipes leading to your bath tap. Typically, there are two primary lines: one for hot water and another for cold. Start by visually tracing the pipes that run from the bath tap to where they connect to the isolation valves. If the pipes are concealed, gently touch them to feel which is warmer; the hot water pipe will be noticeably warmer to the touch. If needed, consult the home’s plumbing layout, if available, to confirm which pipes correspond to the hot and cold supply. Taking time to ensure you’re isolating the correct line can prevent unnecessary complications during repairs.
Step 2: Close the Isolation Valve
Once you’ve identified the proper pipework, it’s time to close the isolation valve. If you’re using an inline isolation valve, insert your flathead screwdriver into the slot on the valve. Turn the valve 90 degrees until it is securely closed; this position will effectively block the water flow to the tap. If you opt to use the stopcock instead, grasp your adjustable wrench and turn the stopcock clockwise until it is fully closed. Ensure that the valve is firmly in place to avoid leaks when you proceed with the next steps.
Step 3: Test the Isolation
After shutting off the water supply, testing the isolation is crucial to confirm that you’ve successfully halted the flow. Go ahead and turn on the bathtub to see if any water comes through. If the tap remains dry, you’ve effectively isolated the water supply. However, if water continues to flow, it may indicate an issue; recheck the position of the isolation valve to ensure it’s fully closed. If everything appears correct, yet water is still seeping out, the valve may be faulty and require replacement. Taking this step ensures that you can proceed with your repairs without worrying about unexpected water flow disrupting your work.
What to Do If There Is No Isolation Valve
When an isolation valve is absent, the alternative is to shut off the main water supply. This typically involves locating the stopcock, usually near where the water line enters your home, often in a cupboard or basement. Turn the stopcock clockwise until fully closed, ensuring that all water access is halted. Remember that this will shut off the water supply to all taps and fixtures, so plan accordingly while working on your repairs.
Installing an Isolation Valve
For added convenience in the future, consider installing isolation valves directly on the bath pipes. This process may involve cutting the pipe and securely fitting a valve, which could be a straightforward DIY task or one that may require professional assistance, depending on your plumbing skills. Installing isolation valves will allow for quick access in case of future repairs, minimizing disruptions to your household.
Common Mistakes to Avoid
Forgetting to Drain the Tap
One of the most common oversights when isolating a bath tap is neglecting to drain any remaining water in the pipes. Failing to do so can result in a messy situation, as residual water can spill unexpectedly during isolation. Always ensure you run the tap until no water flows to prevent this issue.
Incorrect Valve Operation
When isolating the water supply, it’s vital to ensure that the isolation valve is fully closed. A partial closure can lead to leaks or water trickling through, making your repair efforts more complicated. Always verify that the valve is securely shut to avoid unwanted surprises during maintenance work.
Relying Solely on the Stopcock
Relying solely on the main stopcock can be inconvenient, especially if multiple fixtures require attention. Dedicated isolation valves for fixtures like bath taps allow for quicker and more efficient repairs, limiting disruption to your household while providing greater control over the water supply.
When to Seek Professional Help
There are certain circumstances when it may be best to enlist the assistance of a professional plumber. If you find that the pipes are difficult to access, such as those hidden behind walls or in cramped crawl spaces, it may be safer to allow an expert to handle the isolation process. Additionally, if no isolation valve is present, a professional will have the tools and expertise to shut off the main supply efficiently and safely, minimizing any potential damage.
Difficult Access or No Valve Present
If you encounter tricky pipe placements or the absence of isolation valves, seeking help is advisable. Professionals are equipped with the necessary skills and tools to navigate these challenges effectively, ensuring proper isolation while preventing damage to your plumbing system.
Complex Plumbing Systems
In complex plumbing systems, isolating one fixture might unintentionally impact others. Professionals can assess the entire system’s layout and understand the implications of making adjustments, providing peace of mind and preventing costly mistakes that could arise from a DIY approach.
Conclusion
In summary, knowing how do you isolate a bath tap is an invaluable skill for any homeowner. The essential steps include first locating the appropriate isolation valve, closing it properly, and then testing to ensure that water flow has been halted. If no isolation valve is available, shutting off the main water supply serves as an effective alternative. Using isolation valves when possible is crucial, as they simplify future repairs and prevent inconvenience.
Always ensure that the valve is fully closed to avoid leaks during maintenance. Take your time while going through these procedures, and don’t hesitate to seek professional help if you encounter any challenges or uncertainties. Proper isolation not only safeguards your plumbing but also instills confidence in your ability to manage household repairs effectively.

