Capping off water lines in a bathroom is essential for homeowners and DIY enthusiasts, playing a critical role during renovations, repairs, or fixture removals. Whether you’re replacing an old sink or toilet or completing a major remodel, understanding how to properly seal off water lines helps prevent leaks and water damage. There are various scenarios where this technique becomes necessary, such as when a contractor is preparing for a comprehensive bathroom overhaul or when a homeowner is undertaking simple repairs. In this article, we will guide you through effectively capping off water lines.
You will learn about the tools required and the importance of proper preparation, and you will follow a detailed step-by-step guide to ensure a successful and leak-free capping process. Additionally, the article will address the question, “how do I cap off water in my bathroom?” to empower you with the knowledge to tackle these tasks confidently.
Understanding the Basics of Capping Off Water Lines
What Does It Mean to Cap Off Water?
Capping off water involves sealing the end of a water pipe to prevent any further leaks or water flow, typically done after a fixture has been removed or during plumbing modifications. This fundamental technique is crucial for maintaining the integrity of plumbing systems and avoiding unnecessary water damage. Whether you’re transitioning to a new fitting, conducting repairs, or preparing for a remodel, the ability to cap off water lines safely ensures that you can proceed without the risk of flooding or leaks from open pipes.
Types of Caps and Fittings
- Threaded Caps: These fittings feature a screw-on design, allowing them to fit onto the threaded end of a pipe. Threaded caps are favored for their removal and reusing ability, making them an excellent choice for temporary applications or future plumbing adjustments. The installation process typically involves applying a plumber’s tape to create a watertight seal.
- Push-Fit Caps: Known for their simplicity and ease of use, push-fit caps snap onto the end of the pipe without the need for additional tools. This makes them a popular choice for quick installations or temporary sealing, as they provide a secure connection that can be easily removed if needed.
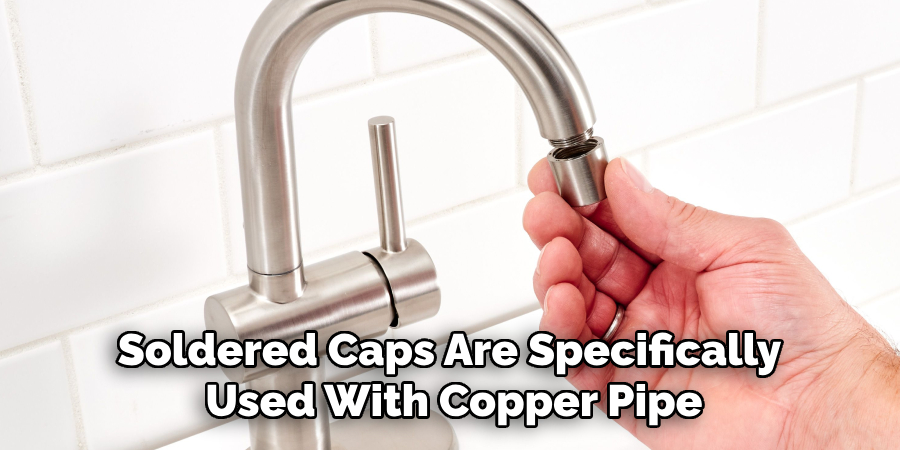
- Soldered Caps: Designed for more permanent installations, soldered caps are specifically used with copper pipes. This method involves heating the fitting and applying solder to create a strong, leak-proof bond. While soldered caps require a bit more skill and equipment, they provide a reliable, long-lasting solution for sealing off water lines.
Preparation Before Capping Off Water
Before beginning the process of capping off water lines, it’s essential to prepare adequately to ensure a smooth and successful operation.
Gather the Required Tools and Materials
You’ll need a few essential tools and materials to cap off water lines effectively. An adjustable wrench is crucial for tightening threaded caps and ensuring a secure fit. A pipe cutter will help you neatly cut the pipe if necessary, while a plumber’s tape is essential for creating a watertight seal on threaded connections. Depending on your needs, either push-fit or threaded caps will be required. Additionally, having some rags on hand for spills and a bucket to catch any residual water can make the process much cleaner and easier.
Turn Off the Water Supply
The first step in capping off any water line is to ensure that the water supply is completely turned off. Locate the main water supply valve, typically near the water meter or at the home’s entry point. A local shut-off valve may be available for specific fixtures, usually found underneath sinks or behind toilets. Once you have turned off the valve, it’s advisable to drain the pipes to remove any remaining water. You can do this by turning on the faucets connected to the line you are capping until no water flows out—this helps prevent spills during the capping process.
Inspect and Clean the Pipes
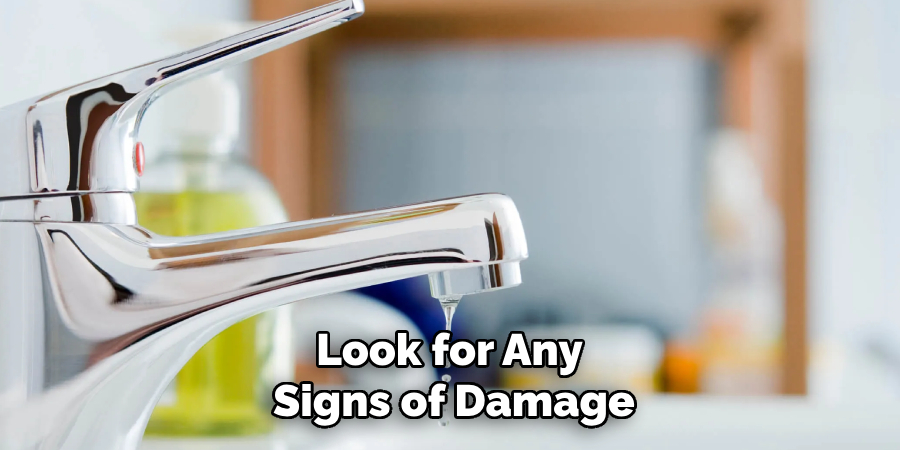
Inspect the ends of the pipes where you plan to cap them off. Look for any signs of damage, such as cracks or corrosion, as these can affect the seal later on. Ensure that the surfaces are clean and free of debris; a clean pipe surface is vital for achieving a proper seal when applying the cap. Use a cloth to wipe down the ends, ensuring they are dry and smooth for the best possible connection.
How Do I Cap Off Water in My Bathroom: Step-by-Step Guide
Step 1: Cut the Pipe (If Necessary)
If the pipe you are working with is damaged or if you need to remove a section, using a pipe cutter is essential for achieving a clean and even cut. Begin by marking the section of the pipe you wish to cut. Position the pipe cutter around the marked area and tighten the handle until it snugly grips the pipe. Rotate the cutter around the pipe while applying steady pressure, gradually slicing through the material.
Ensure that you make a straight cut; this is crucial to avoid any future leaks when installing the cap. Once you have completed the cut, use a deburring tool or a cloth to smooth out any rough edges around the cut pipe. This preparation will help create a better seal with the cap and enhance the overall integrity of the plumbing system.
Step 2: Choose and Apply the Cap
For Threaded Pipes: Start by wrapping the plumber’s tape around the threaded end of the pipe. This tape creates a watertight seal when the cap is attached. Ensure to apply the tape in the clockwise direction, covering the threads completely but avoiding excessive buildup. Next, take the threaded cap and screw it onto the pipe end. Use an adjustable wrench to tighten it carefully; be cautious not to overtighten it, as this can damage the cap or the pipe threads.
For Push-Fit Caps: Choose an appropriate push-fit cap according to the pipe size. Simply align the cap with the end of the pipe and push it on until you hear a clicking sound—this indicates a secure connection. The simplicity of this method makes it ideal for quick and efficient sealing.
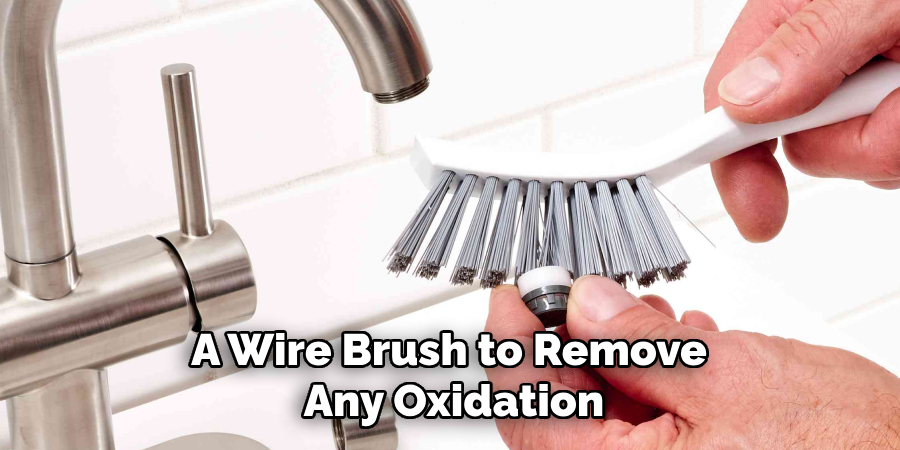
For Soldered Caps: Begin by cleaning the pipe’s ends and the cap’s inside with a wire brush to remove any oxidation. Apply flux to both the pipe and the cap to facilitate soldering. Position the cap over the pipe and use a torch to heat the joint evenly. Once it is hot enough, the solder will flow into the joint, creating a strong, permanent seal. Allow it to cool before testing for leaks.
Step 3: Check for Leaks
After capping off the water lines, it’s time to restore the water supply. Begin by slowly turning the main water valve back on and monitoring the capped area carefully for any signs of leaks. If you notice water seeping from the cap, it may not be tight enough. In this case, turn the water supply off again and recheck the cap’s tightness. For threaded caps, you may need to apply additional plumber’s tape if leaks persist.
Push-fit caps should be checked to ensure they are securely in place. For soldered caps, look for pooling water or dampness around the cap; if detected, you may need to reheat the joint and apply more solder for a stronger seal. Taking the time to check for leaks will help prevent future water damage and ensure your plumbing system is secure.
Common Mistakes to Avoid When Capping Off Water Lines
When capping off water lines, several common mistakes can jeopardize the integrity of the plumbing job and lead to issues down the line.
Improperly Securing the Cap
One of the most frequent errors is failing to secure the cap properly. Inadequate tightening can lead to slow leaks that may not be immediately visible, resulting in water damage and costly repairs over time. Always ensure that caps are tightened sufficiently without overtightening.
Skipping the Leak Test
Another critical mistake is neglecting to perform a leak test after capping off the water. Taking a moment to check for leaks can save significant headaches in the future. A leak might not be evident right away but can lead to water damage that may go unnoticed until extensive repairs are needed.
Using the Wrong Type of Cap
Using an incompatible cap is a risk that should not be overlooked. For example, attempting to fit a threaded cap onto a smooth pipe without threads will not create a secure seal, potentially leading to leaks. Always ensure you use the correct type of cap that corresponds with your piping system.
Long-Term Maintenance and Monitoring
Regular Inspections
To ensure your plumbing system’s longevity, regularly inspect capped pipes for any signs of leaks or corrosion. This is particularly important in older plumbing systems, where wear and tear can lead to unexpected issues. A quick visual check can help catch problems early, avoiding costly repairs.
Temporary vs. Permanent Solutions
It’s important to distinguish between temporary and permanent solutions when it comes to capping pipes. Temporary caps might be suitable for short-term needs, such as during renovations, whereas permanent caps should be used for long-term plumbing isolation. Assessing the need to revisit capped pipes will be essential if future plumbing changes are anticipated, making it crucial to determine the best capping strategy upfront.
Replacing Worn Caps
Over time, caps can show signs of wear, damage, or leakage. If you notice any deterioration, it’s advisable to replace the cap promptly to maintain the integrity of your plumbing system. Ensure you match the replacement cap with the original specifications and follow the same installation procedures to guarantee a secure and reliable seal. Regular attention to these components helps ensure the ongoing health of your plumbing infrastructure.
When to Seek Professional Help
Complex Plumbing Systems
If your plumbing system is particularly complex, involves hidden pipes, or you feel unsure about the correct method for capping off water lines, it’s wise to seek professional help. Experienced plumbers can navigate the intricacies of your system, ensuring that all connections are secure and compliant with local codes. In situations where the layout of the pipes is not easily accessible or visible, a professional’s expertise can prevent costly mistakes and ensure that the work is done efficiently.
Persistent Leaks or Issues
Consulting a plumber is crucial if you experience persistent leaks or encounter difficulties in properly sealing the water lines. Small leaks can escalate into major issues if left unaddressed, leading to significant water damage and expensive repairs. A licensed plumber can quickly diagnose the problem and provide effective solutions to ensure your plumbing remains reliable and functional. Don’t hesitate to reach out for assistance when issues arise—early intervention can save you both time and money in the long run.
Conclusion
Capping off water lines is a straightforward process that involves several essential steps to ensure success. Start by preparing the area, selecting the appropriate cap type—be it threaded, push-fit, or soldered—and securely install it. After capping, it is crucial to perform a leak test by restoring the water supply and monitoring the capped area closely for any signs of water leakage.
Safety is paramount; always turn off the water supply before starting any plumbing work to prevent unwanted water damage. If you ask, “how do I cap off water in my bathroom?” take your time with each step and don’t hesitate to seek professional assistance if needed. By following these guidelines, you can ensure a reliable and leak-free installation, safeguarding your plumbing for years to come.

