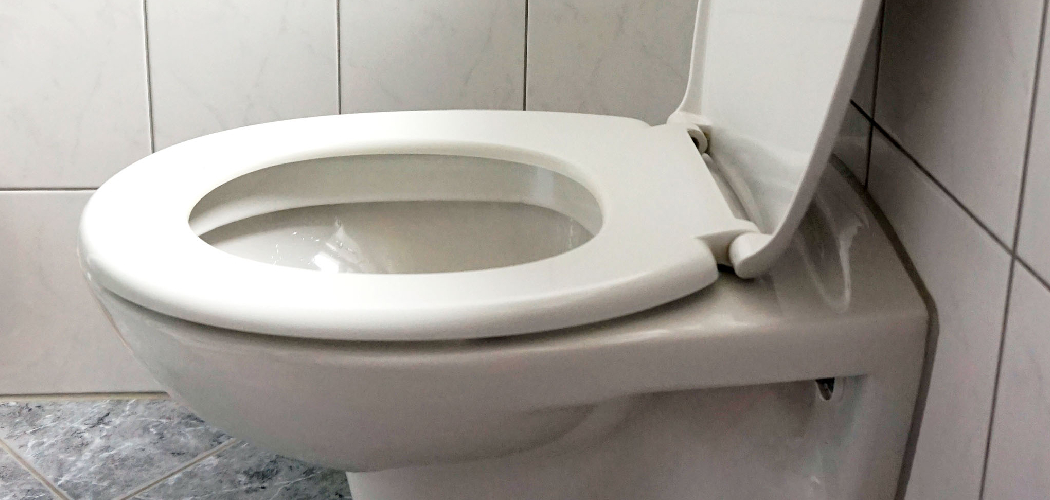
Are you tired of the unsightly gap between your toilet and bathroom wall? You don’t have to put up with it any longer! With a few simple steps, you can eliminate this eyesore. In this blog post, we’ll walk you through all the necessary steps on how to fix gap between toilet and wall to close that gap once and for all.
From assessing the problem area to purchasing materials to installing them in place, everything you need is here. Keep reading for an easy-to-follow guide on how to fix the gap between your toilet and wall!
Step-by-step Guidelines on How to Fix Gap Between Toilet and Wall
Step 1: Assess the Gap
First, check the area around your toilet to determine the size of your gap. Measure from one side of the wall to the other and make note of any obstructions that may be in the way or if there is any damage to either surface (wall or toilet). If the gap is larger than 1/4 inch or if there is any damaged material, you’ll need to repair those areas before moving on. You may need to purchase additional supplies to do so.
Step 2: Purchase Materials
Visit your local hardware store and purchase the necessary materials. You’ll need a caulking gun, bathroom caulk, and any specialized tools you may need (depending on your wall material). That could include a hammer, chisel, drill, or other necessary items. You may also need to purchase a caulk removal tool if you intend to reuse the existing caulk. This will help you remove old caulk and smooth out any imperfections.
Step 3: Prepare the Area
Before you begin to caulk, make sure to prepare the area by wiping it down with a damp cloth and then drying it off with a dry one. This will help ensure that the caulking adheres properly and won’t suffer from any water damage or mildew build-up. You should also take this time to remove any old caulk if necessary.
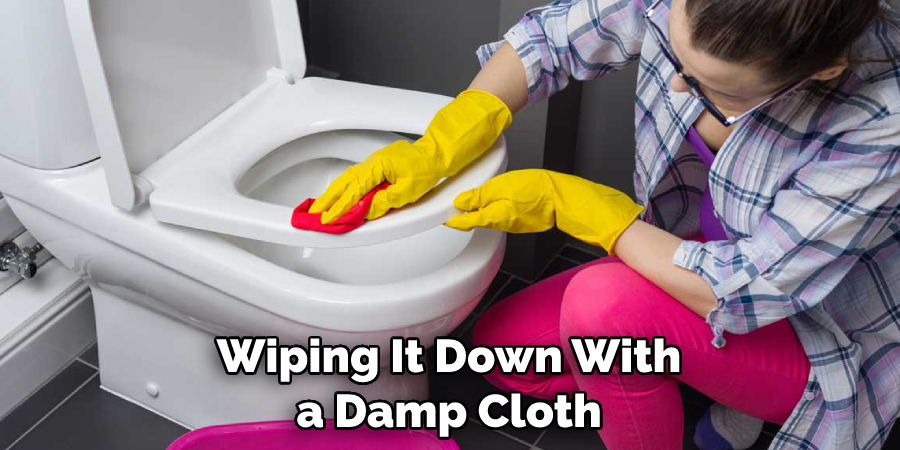
It might be helpful to use the caulk removal tool if you have one. This will help make the area smooth and ready for new caulking.
Step 4: Apply Caulk
Using a caulking gun, apply the caulk to the gap between your wall and the toilet. Make sure you’re using a silicone-based sealant for bathrooms. You should apply the caulk in a neat line, filling the gap completely. This will help ensure a tight seal and prevent the gap from reappearing.
It’s important to note that if you’re using a silicone-based caulk, it will take up to 24 hours for the sealant to cure and become waterproof.
Step 5: Smooth Out the Sealant
Use a putty knife or other tool to smooth out the sealant and make sure all air bubbles are removed. Make sure it is even all the way around by running your finger along it lightly. You may need to make a few passes with the putty knife or other tool to ensure it is perfectly smooth. The remaining steps will provide detailed instructions for specific wall types, such as drywall or tile.
Step 6: Allow Time to Dry
Allow at least 24 hours for the sealant to dry before doing anything else; this will ensure that it sets properly and creates an effective bond between the surfaces. It’s important to wait for the full-time before doing any additional work. If you don’t, the sealant may not adhere properly and you could end up with a messy gap again.
Step 7: Reattach Toilet to Floor
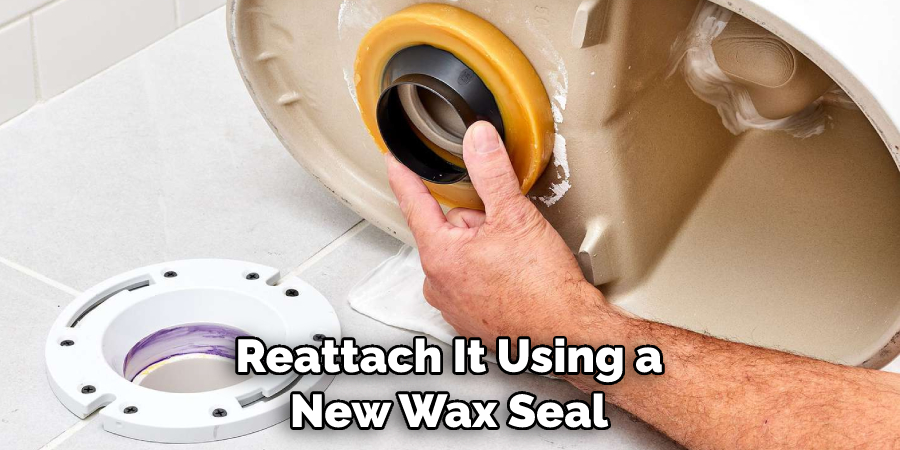
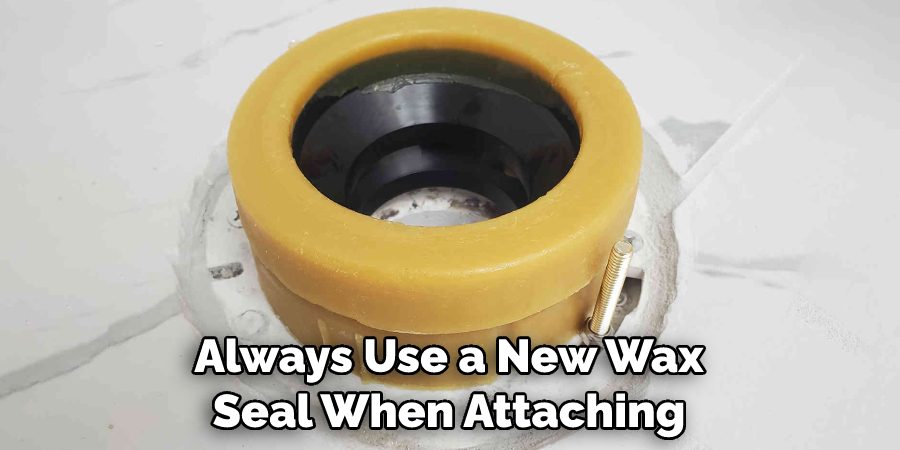
If your toilet was disconnected from the floor to fix the gap, reattach it using a new wax seal. It’s important to always use a new wax seal when attaching the toilet to the floor, as an old one may not create a proper seal. To do this, remove the existing wax seal and clean up any remaining residue. Then apply a new one in place.
Step 8: Clean Up
Clean up any excess caulk that may have gotten onto the wall or toilet with a damp cloth. You may need to use a damp cloth with some mild soap and water to remove any stubborn bits of caulk. That’s it! You have successfully fixed the gap between your toilet and the wall. Enjoy your newly sealed space! This simple process will help you fix the gap between your toilet and wall in no time.
Step 9: Test Out the Sealant
Gently press on the area where you applied the sealant. If it holds, then your job is done! Remember to test the sealant periodically to make sure it has not come loose or been compromised in any way. If you notice any issues, simply repeat the process to ensure the gap is completely sealed.
We hope this blog post has been helpful as you tackle this DIY project of how to fix gap between toilet and wall. Closing the gap between your toilet and the wall is an easy task when you follow our simple steps. After completing your job, you can rest assured knowing that no pesky gaps will be discovered in the future! Have any questions? Leave us a comment and we’ll be happy to help. Good luck!
Why Do You Need to Fix the Gap Between Toilet and Wall?
Fixing the gap between a toilet and a wall is important as it can cause water damage, mold growth, or even structural issues. Additionally, it can also lead to unpleasant smells and odors that are hard to get rid of. A properly sealed gap will help prevent all these problems from occurring in the first place.
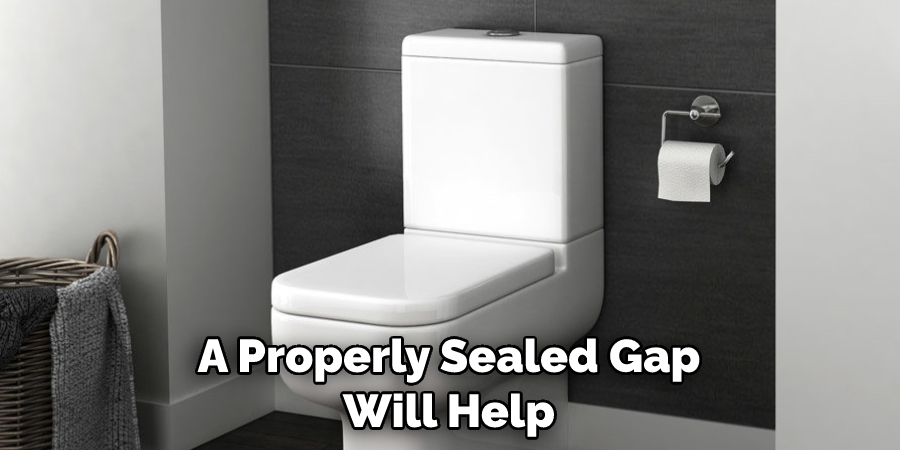
So, if you’ve noticed a gap between your toilet and the wall, fixing it is essential. With the right tools and materials, you can easily close the gap without much effort. Follow the steps outlined in this blog post for the best results!
Do You Need Professional Help?
If you’re still having trouble fixing the gap between your toilet and the wall, it may be best to call in a professional. A qualified plumber can assess the area and help you determine the best course of action for your particular situation. With their experience and expertise, they will be able to fix any issues quickly and efficiently. So don’t hesitate to give them a call if you need help!
You can now enjoy your newly fixed and sealed bathroom. No more worries about pesky gaps ruining the look of your space! Thank you for taking the time to read our blog post and we hope it helped tackle this DIY project.
Frequently Asked Questions
Q: What Type of Caulk Should I Use?
A: You should use a silicone-based sealant for bathrooms. This will help ensure that the gap is properly sealed and won’t be affected by water damage or mildew build-up. Make sure you read the label before buying to make sure it’s suitable for your specific project.
Q: How Long Should I Wait Before Testing the Sealant?
A: You should wait at least 24 hours before testing the sealant. This will allow time for it to fully cure and become waterproof. Make sure you don’t do anything else during this time, as this could disrupt your newly created seal. It’s also important to keep the area dry and away from any moisture during this time.
Q: Can I Use an Old Wax Seal?
A: No, you should always use a new wax seal when attaching the toilet to the floor. An old one may not create a proper seal and could result in future problems. Make sure you take your time and clean all of the existing residues before applying for a new one. That way, you can be sure that your toilet is properly attached and won’t experience any further gaps.
Q: Can I Use Other Types of Sealants?
A: No, you should only use a silicone-based sealant. This will ensure that the gap is properly sealed and won’t become damaged over time. Make sure you read the label before buying to make sure it’s suitable for your specific project. Using any other type of sealant could result in an ineffective seal and may even cause further damage.
Conclusion
Overall, if you have a gap between your toilet and the wall, there are several ways that you can make repairs. From purchasing special spacer kits to using DIY fixes like caulk or foam, choose a method that works for you. No matter what fix you use, be sure to take extra care when making repairs so that the area is correctly sealed and no water spills onto the floor of your bathroom.
When it’s all said and done, make sure to give yourself a pat on the back – having a neatly fitted toilet will not only improve your bathroom’s look but also keep it functioning properly.
Through this process keep in mind how important it is to stay safe while working to prevent any potential risks of injury or harm due to improper handling of tools or materials. With this information in mind, now you’re ready and equipped with the knowledge of how to fix gap between toilet and wall, needed to effectively fill any gaps between your toilet and wall!

