The frustration of dealing with a toilet that won’t flush all the way is a common household issue that many encounter. It’s essential to address this problem promptly, as it can lead to more significant plumbing complications if left unattended. A toilet’s inability to flush fully may stem from various causes, including low water levels, clogs, or malfunctioning components such as the flapper or fill valve.
Understanding these potential issues can save both time and money. In this article, we’ll explore the question, “how come my toilet won’t flush all the way?” and provide a detailed overview of practical troubleshooting methods. From checking and adjusting water levels in the tank to clearing blockages with a plunger or auger, we will equip you with the knowledge necessary to tackle this inconvenience effectively and restore your toilet’s functionality.
Low Water Levels in the Toilet Tank
How Water Levels Affect Flushing
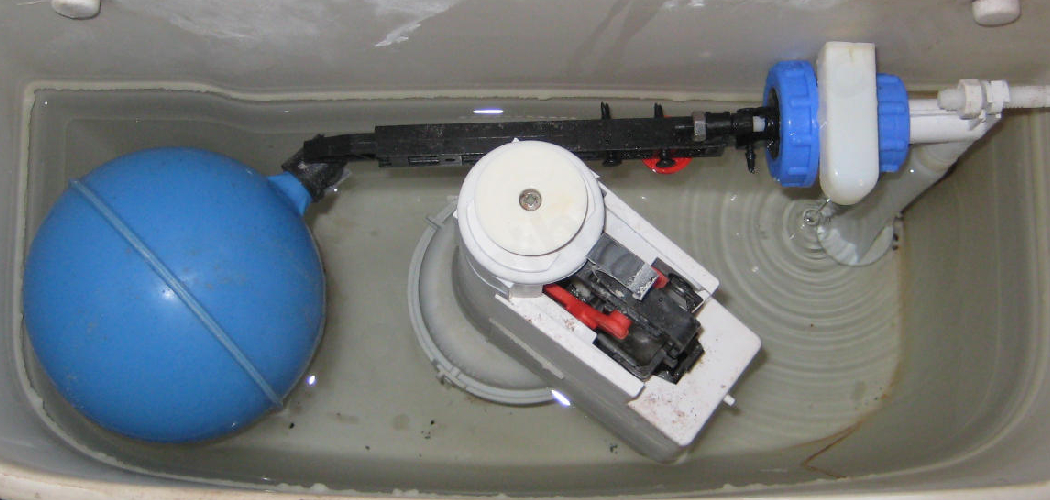
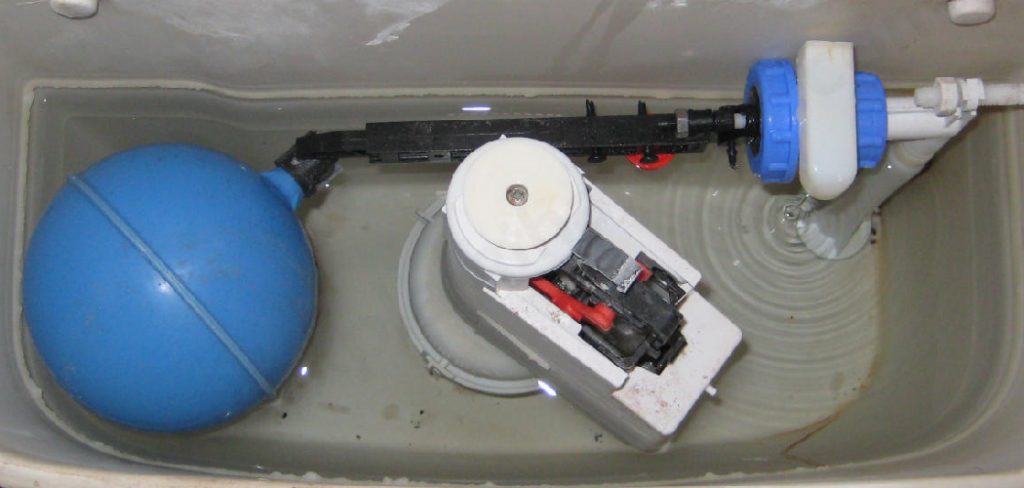
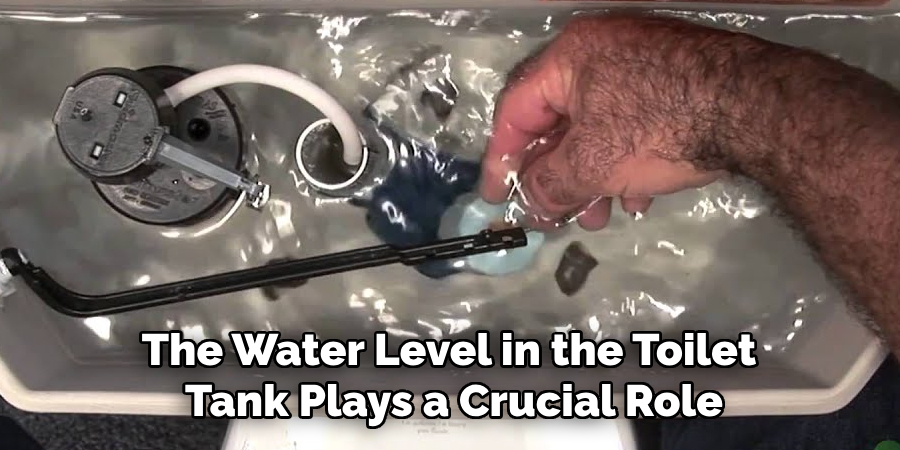
The water level in the toilet tank plays a crucial role in determining the strength of the flush. When the water level is too low, insufficient water is available to rush into the bowl during a flush, resulting in incomplete waste removal. This can lead to frustrating experiences where the toilet won’t clear effectively, leading many to wonder, “how come my toilet won’t flush all the way?” Ensuring the proper water level enhances the flushing power and helps prevent issues like clogs and build-up. Consequently, it’s important to routinely check the water level within the tank to guarantee it meets the manufacturer’s recommended height for optimal performance.
Adjusting the Float Mechanism
To adjust the float mechanism inside the toilet tank, follow these steps:
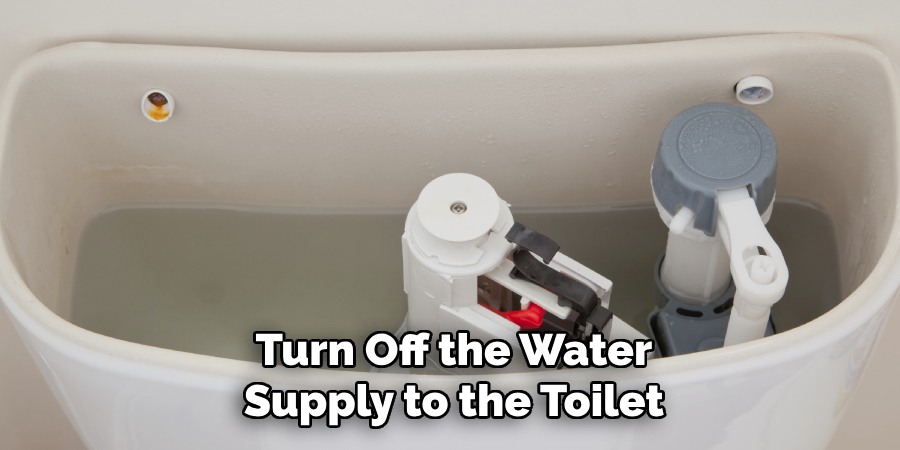
- Turn Off the Water Supply: Locate the shut-off valve behind the toilet and turn it clockwise to stop the water flow.
- Remove the Tank Lid: Carefully remove the tank lid and set it aside to prevent it from breaking.
- Identify the Float Mechanism: The float is usually a ball or a cup connected to the fill valve.
- Adjust the Float: If it’s a ball float, gently bend the arm downward to lower the float. For a cup float, look for an adjustment clip or screw and slide it up or down to change the height.
- Check Water Level: Turn the water supply back on and allow the tank to fill. Check the water level against the marked line inside the tank.
- Fine-Tune as Needed: Repeat the adjustment process until the water level is set correctly to ensure a powerful flush while preventing overflow.
How Come My Toilet Won’t Flush All the Way: Clogged or Partially Blocked Toilet
1. Identifying a Clog
A clogged or partially blocked toilet can manifest through various telltale signs. One of the most common indicators is slow drainage, where water lingers in the bowl longer than usual before gradually emptying. You might also hear gurgling sounds coming from the toilet or other drains when flushing, which can signify trapped air or water in the plumbing system.
Additionally, if you notice the water rising too high in the bowl prior to draining slowly, this is a clear sign that a clog is present. Such blockages can hinder the toilet’s ability to flush completely, leading to repeated issues and prompting the question, “How come my toilet won’t flush all the way?” Early identification of these symptoms is crucial, as resolving a clog promptly can prevent further complications.
2. Using a Plunger
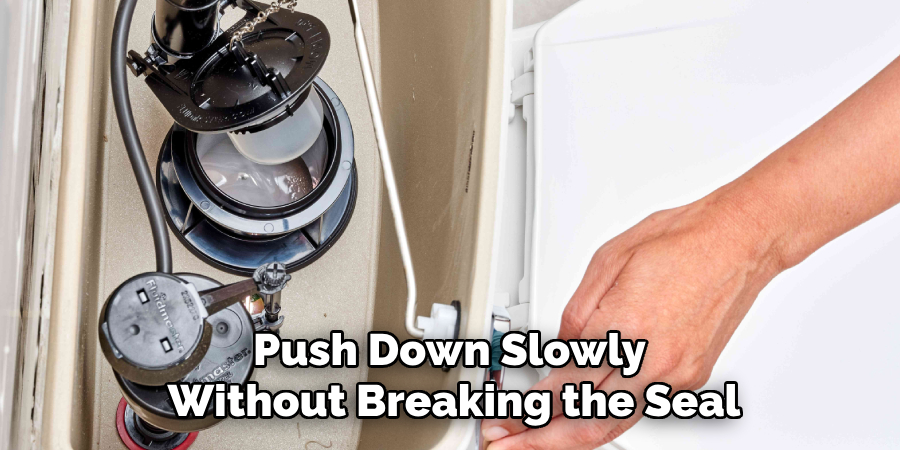
Using a plunger effectively can often resolve a simple clog in your toilet. Start by ensuring you have a flanged plunger specifically designed for toilets. Position the plunger over the drain hole and create a tight seal by pressing down firmly. To begin, push down slowly without breaking the seal, and then pull up quickly to create a vacuum effect. Pump the plunger up and down vigorously 15 to 20 times, maintaining that seal throughout.
At intervals, lift the plunger to see if water starts to drain; if it does, keep plunging until the toilet flushes normally. If you find it difficult to create a seal due to the high water level, you can remove some water from the bowl with a bucket before you start plunging. Once cleared, flush the toilet afterward to confirm the blockage is resolved.
3. Using a Toilet Auger (Plumber’s Snake)
If a plunger isn’t effective, a toilet auger or plumber’s snake can help reach deeply lodged clogs. Begin by inserting the auger into the toilet bowl and guiding the head down the drain. Be mindful to use a gentle touch to avoid scratching the porcelain. Once the auger is in position, turn the handle clockwise to drive the coil further into the drain. As you turn, feel for resistance—this will likely indicate the presence of a clog.
Continue twisting the handle while pushing down gently, as this breaks up the blockage. After a few moments, you should either break the clog or pull back, at which point you can retrieve any debris that has been dislodged. Once you feel resistance has eased, carefully withdraw the auger from the toilet and flush to ensure a clear passage. This method can be particularly effective for stubborn clogs hidden deep within the plumbing system.
Issues with the Toilet Flapper
Role of the Flapper in Flushing
The toilet flapper is a crucial component in the flushing mechanism, responsible for allowing water to flow from the tank into the bowl when the toilet is flushed. When the flush handle is activated, the flapper lifts, creating an open passage for the water to rush down, which helps remove waste from the bowl. However, if the flapper is worn out or not seated properly, it can restrict the amount of water being released. This can lead to an incomplete flush, leaving behind waste and causing frustration for the user. Regularly checking the flapper’s condition is essential, as even minor wear can greatly affect flushing performance.
Inspecting and Replacing the Flapper
To inspect the flapper for wear or improper seating, first, turn off the water supply to the toilet by locating the shut-off valve and turning it clockwise. Next, remove the tank lid and observe the flapper at the bottom of the tank. Check for any cracks, deformation, or an improper seal against the flush valve, as these issues can hinder performance. If the flapper appears damaged, follow these steps to replace it:
- Detach the Old Flapper: Disconnect the chain from the flush lever and unhook the flapper from the overflow tube.
- Install the New Flapper: Take the new flapper and attach it to the overflow tube, ensuring it fits securely.
- Reconnect the Chain: Adjust the length of the chain and connect it to the flush lever, allowing enough slack for free movement.
- Turn On the Water Supply: Finally, turn the water supply back on and check the flapper’s functionality by flushing the toilet and observing if the flush is complete.
Blocked Rim Jets or Siphon Jet
How Rim Jets and Siphon Jets Work
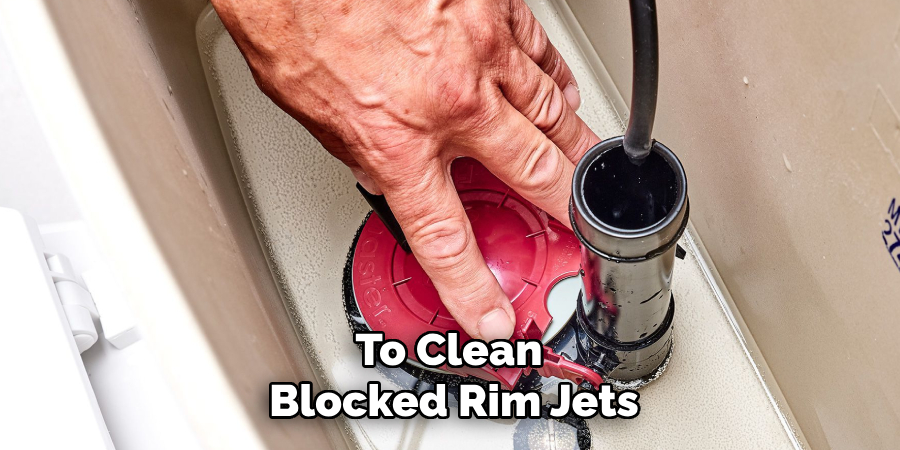
Rim jets and siphon jets play vital roles in producing a powerful flush. Rim jets are small openings located around the inside of the toilet bowl that allow water to flow evenly into the bowl during flushing, helping to wash waste away efficiently. The siphon jet, located at the bottom of the bowl, provides an additional surge of water, creating a siphoning action that enhances the flushing power. However, mineral buildup or debris can obstruct these jets, leading to a weak flush and incomplete waste removal.
Cleaning the Jets
To clean blocked rim jets and the siphon jet, begin by gently poking any visible debris from the jets with a wire hanger. For stubborn buildups, pour vinegar into the bowl and let it sit for at least 30 minutes to dissolve mineral deposits. If necessary, use specialized toilet bowl cleaners that target these areas. It’s crucial to regularly check and maintain the cleanliness of these jets to ensure a full flush and optimal toilet performance.
Problems with the Toilet’s Fill Valve
Impact of a Faulty Fill Valve
A malfunctioning fill valve can significantly impact the performance of a toilet by preventing the tank from filling to the appropriate water level. This can lead to weak flushes, leaving waste behind and contributing to repeated clogs. Common signs of a faulty fill valve include a slow tank refill or persistent hissing sounds, indicating that water is either leaking or not being adequately controlled. If you notice these symptoms, it’s essential to address the fill valve promptly to restore proper flushing functionality.
Adjusting or Replacing the Fill Valve
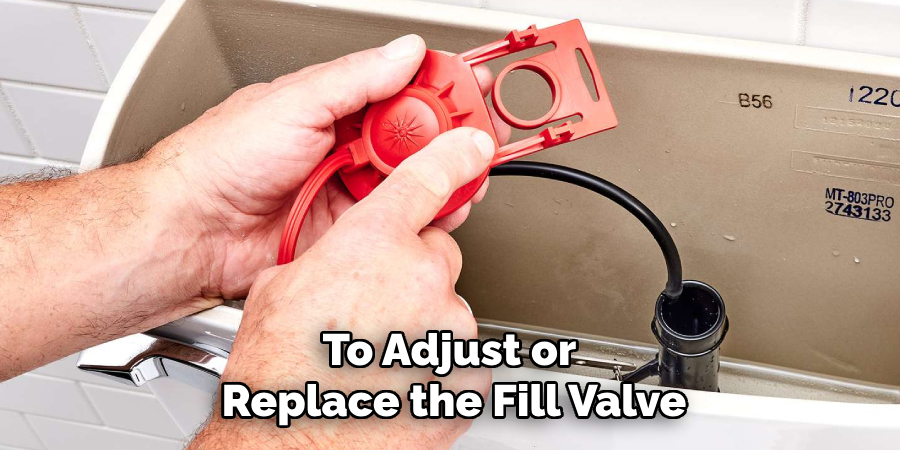
To adjust or replace the fill valve, begin by turning off the water supply to the toilet and flushing to empty the tank. If adjusting, locate the height adjustment screw on the valve, which typically allows you to raise or lower the float. If replacement is necessary, disconnect the old fill valve by unscrewing the lock nut and removing it from the tank. When selecting a replacement valve, ensure it is compatible with your toilet model and check for quality features, such as adjustable height and a reliable shut-off mechanism. Install the new valve, reconnect the water supply, and test the functionality by observing the tank refill.
Sewer Line Issues
Signs of a Blocked Sewer Line
A blocked or partially clogged sewer line can lead to significant toilet issues, making it challenging for the toilet to flush effectively. Common signs include multiple plumbing fixtures displaying problems simultaneously, such as slow drainage or gurgling sounds emanating from drains in other parts of the house. Additionally, if you experience sewage backups, it’s a strong indication that the sewer line may be obstructed.
When to Call a Professional
If you suspect a blockage in your sewer line, acting promptly and seeking professional assistance is crucial. Catching a sewer line blockage without proper tools can lead to further complications. A licensed plumber can utilize specialized equipment, such as drain snakes or video inspection cameras, to accurately diagnose the issue and carry out the necessary repairs, ensuring your plumbing system functions efficiently.
Conclusion
When faced with the question of “how come my toilet won’t flush all the way,” it’s essential to methodically assess various components. Start by checking the water levels in the tank and ensuring they’re sufficient for a complete flush. If clogs are suspected, use appropriate tools to clear them, paying close attention to rim jets and the siphon jet. Inspect the flapper for wear or improper sealing and evaluate the fill valve to ensure it’s functioning correctly.
Addressing these minor issues promptly can prevent more significant problems down the line and help maintain your toilet’s overall functionality. Remember that most flushing issues can be resolved with a little troubleshooting, reducing the need for professional help. Keeping your toilet in good working order ensures effective waste removal and a more pleasant bathroom experience.

