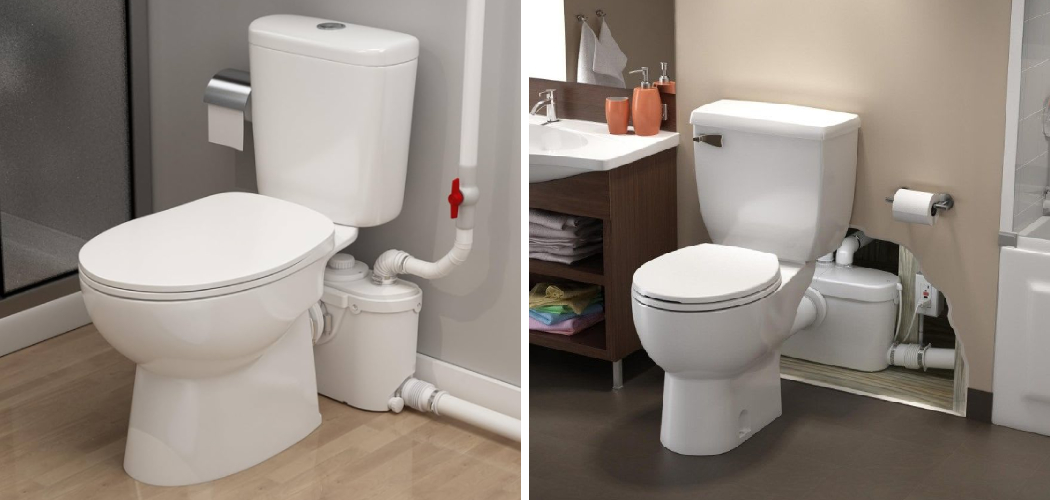
Installing a macerator toilet can be a game-changing solution for homes with limited plumbing options or where conventional toilets are impractical. These innovative systems use a cutting mechanism to shred waste, allowing for the efficient movement of both solids and liquids through smaller diameter pipes. This makes them ideal for basements, cabins, and other locations where traditional plumbing cannot easily reach. In this guide, we will walk you through the steps necessary for how to install macerator toilet, ensuring a functional and reliable setup for your bathroom needs.
What is a Macerator Toilet?
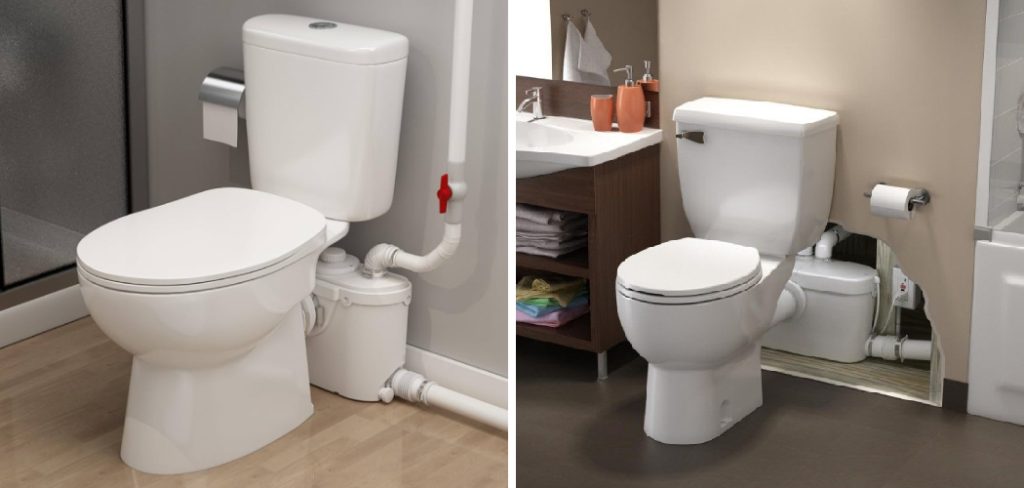
A macerator toilet, also known as a pump toilet, is a plumbing solution that uses a macerating pump to break down waste and toilet paper into a fine slurry before it is ejected through pipes to the main sewer line. This system enables the installation of a toilet in areas where traditional plumbing would be difficult or impossible, such as below the level of the sewer line or far from existing plumbing fixtures. The maceration process improves the flow of waste through smaller pipes, reducing the risk of blockages. Macerator toilets are often quieter than conventional systems and are highly efficient, making them a popular choice for home renovations and additions.
Tools and Materials Needed
To successfully install a macerator toilet, you will need the following tools and materials:
Tools:
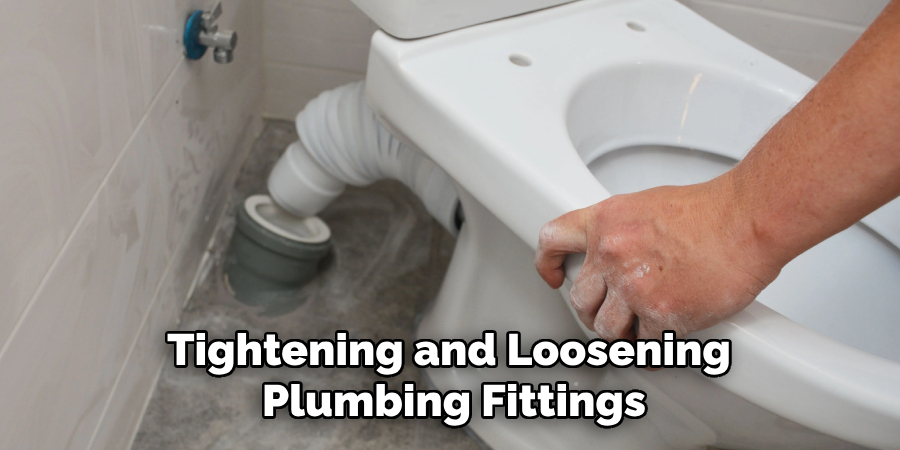
- Adjustable Wrench: For tightening and loosening plumbing fittings.
- Screwdriver Set: Both flathead and Phillips screwdrivers will be necessary.
- Drill: To create holes for mounting the macerator unit.
- Pipe Cutter: For cutting pipes to the required length.
- Level: To ensure that the toilet and macerator are installed evenly.
Materials:
- Macerator Toilet Kit: This usually includes the toilet, macerator pump, and necessary fittings.
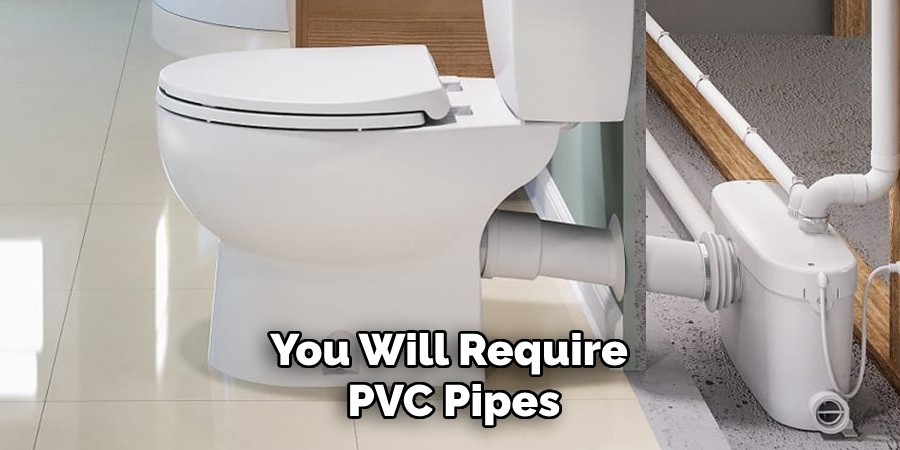
- PVC or ABS Pipes: Used for connecting the macerator to the sewer line.
- Pipe Fittings: Such as elbows and connectors, to create the proper plumbing layout.
- Silicone Sealant: To prevent leaks around the toilet base and fittings.
- Teflon Tape: For sealing threaded connections against leaks.
Having these tools and materials on hand will facilitate a smooth installation process for your macerator toilet.
10 Methods How to Install Macerator Toilet
1. Understand the Purpose of a Macerator Toilet
Before diving into the installation process, it is crucial to understand what a macerator toilet is and how it works. Unlike traditional toilets, macerator systems grind waste into a slurry using rotating blades. This allows the waste to be pumped through smaller-diameter pipes, which is ideal for locations where traditional plumbing may not be possible. Knowing how the system operates will help you grasp the importance of each step in the installation process. The compact nature and the ability to install them in unconventional places are what make macerator toilets popular in modern homes and renovations.
2. Gather the Necessary Tools and Materials
As with any installation project, the success of the task depends heavily on having the right tools and materials on hand. For installing a macerator toilet, you will need essential plumbing tools such as a wrench, pipe cutter, screwdriver, plumber’s tape, and a level. Additionally, you will require PVC pipes, connectors, elbows, and adhesive for sealing the joints. Having all these tools ready will make the process smoother and reduce the need for repeated trips to the hardware store. Always check the specific requirements provided by the manufacturer for any unique parts or tools needed.
3. Select the Optimal Location
Choosing the right spot for your macerator toilet is critical for a successful installation. This type of toilet allows flexibility since it can be installed below or away from the main sewage line. However, proximity to the macerator pump and the ability to run a discharge pipe to the main drain or soil stack is essential. Ensure there is a nearby electrical source for the pump. Consider whether the space allows for sufficient water supply and ventilation as well. The location should also provide enough room for future maintenance or repairs.
4. Install the Macerator Pump Unit
The macerator pump is the heart of the system. Begin by installing the pump unit at a place recommended by the manufacturer. It’s typically located directly behind the toilet or within a close range. Secure it on a flat surface to prevent any movement during operation. The unit must be positioned correctly to ensure that it connects seamlessly with the toilet outlet and the discharge pipe. Follow the manufacturer’s guidelines on how to connect the toilet to the pump, and ensure the electrical supply is off during the installation to avoid accidents.
5. Connect the Water Supply
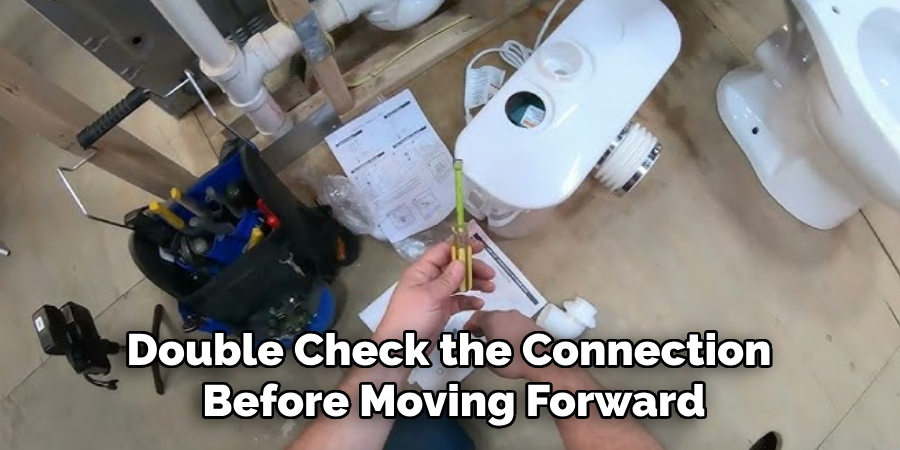
Once the pump is in place, the next step is to connect the water supply to the toilet. The water supply line should come from a nearby source, like a cold-water pipe. Attach the flexible hose to the toilet’s water inlet valve, ensuring that you use a proper connection that doesn’t leak. Use plumber’s tape on the threads to ensure a watertight seal. This connection is crucial as it allows the toilet to fill with water after each flush, ensuring that the macerator has enough liquid to operate effectively. Double-check the connection before moving forward.
6. Set Up the Discharge Pipe
The discharge pipe is what carries the waste from the macerator to the main drain or soil stack. Use a small-diameter PVC pipe, usually around 22mm to 32mm in size, which is appropriate for a macerator system. Begin by connecting the pipe to the outlet of the macerator unit, ensuring that it’s securely fastened using appropriate pipe fittings. Make sure the pipe has a gradual slope to help the slurry flow efficiently. The discharge pipe should lead to the nearest soil stack or drain, keeping the run as straight as possible with minimal bends to reduce resistance.
7. Install the Ventilation System
Macerator toilets require proper ventilation to avoid the buildup of sewer gases and to ensure smooth operation. In some cases, the macerator unit will have a vent connection to release air pressure. Check the manufacturer’s instructions to see if venting is necessary and how it should be done. Typically, you will need to connect a vent pipe to the unit and run it to the nearest vent stack or install a separate vent pipe. In homes where traditional venting isn’t possible, you might consider installing an air admittance valve (AAV), which allows air to enter the system without a direct vent.
8. Test for Leaks and Adjustments
Before sealing everything in place, it is crucial to test the system for leaks. Turn on the water supply and allow the toilet tank to fill. Then, flush the toilet and observe how the macerator unit operates. Watch for any water leakage at the water supply connection, the toilet base, or the discharge pipe connection. Listen for any unusual noises coming from the pump or any blockage that might prevent proper operation. If you notice any leaks or operational issues, tighten the fittings and adjust the connections as necessary. It’s better to catch these problems early before you complete the installation.
9. Secure the Toilet in Place
With everything functioning properly, the next step is to secure the toilet to the floor. Macerator toilets typically come with brackets or anchor points to ensure stability. Use a level to make sure the toilet is perfectly aligned before screwing it into place. This will prevent any rocking or movement when in use. Once secure, apply a bead of silicone caulking around the base of the toilet to create a watertight seal. This also helps keep the area clean by preventing moisture from accumulating around the base. Allow the caulking to dry fully before using the toilet.
10. Perform a Final Check and Maintenance Tips
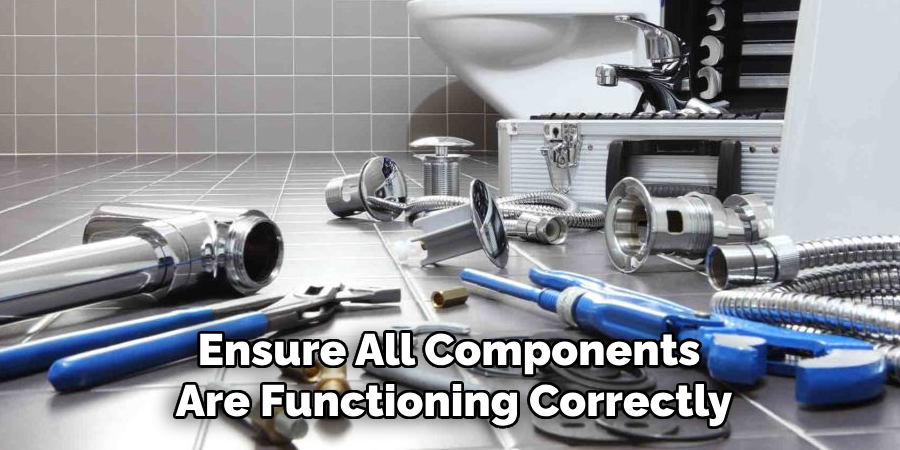
After the toilet is securely installed and everything is connected, do a final check to ensure all components are functioning correctly. Flush the toilet a few times, checking the macerator’s operation and verifying that waste is being efficiently pumped to the main drain without any issues. Additionally, familiarize yourself with the maintenance needs of the macerator toilet. Regularly check the system for blockages, ensure the vent is clear, and avoid flushing non-degradable items to prevent pump damage. Periodically inspecting the macerator pump will extend its lifespan and keep your system running smoothly.
Things to Consider When Installing a Macerator Toilet
When installing a macerator toilet, there are several vital factors to consider to ensure an efficient and hassle-free operation. First, be mindful of the local plumbing codes and regulations, as these can dictate specific requirements for installations. Make sure to check compatibility with existing plumbing systems, including the sewer line and drainage capacity.
Additionally, assess the power supply requirements; a dedicated electrical outlet near the installation site is crucial for the macerator pump. Consider the noise level of the macerator during operation, especially if it is installed near living spaces. Lastly, take into account future accessibility for maintenance and repairs; ensuring that the unit is easily reachable will save time and effort should any issues arise.
Conclusion
Installing a macerator toilet can significantly enhance the functionality of your bathroom, especially in spaces where traditional plumbing is not feasible. By following these detailed steps for installation, from securing the unit to ensuring proper ventilation, you can achieve a seamless setup that operates efficiently. Thanks for reading, and we hope this has given you some inspiration on how to install macerator toilet!

