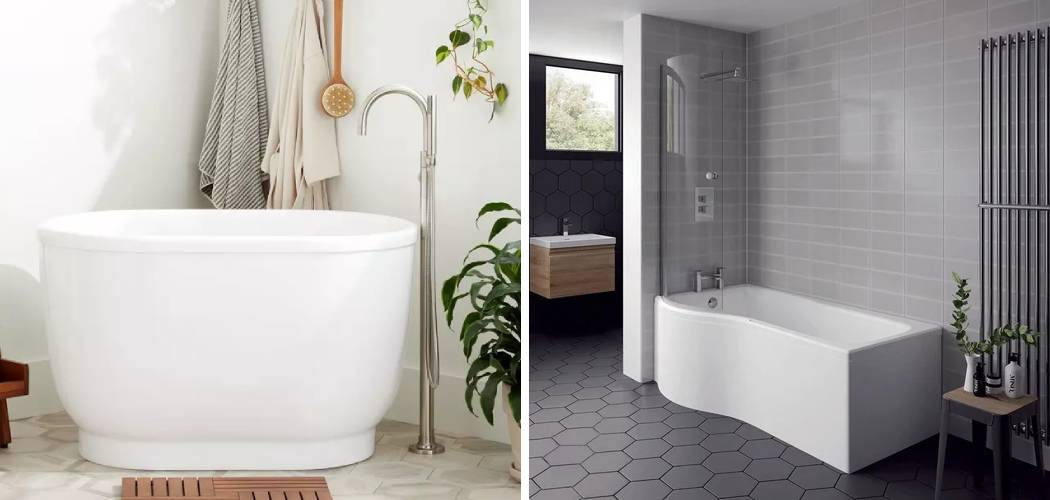
A scratched Aqualuxe bathtub can detract from its sleek appearance and overall enjoyment of your bathing experience. Fortunately, many scratches can be effectively repaired with the right techniques and tools, allowing you to restore your bathtub to its original glory. In this guide, we will explore how to fix scratched aquaLuxe bathtub, ensuring you can maintain the beauty and functionality of this luxurious fixture in your bathroom. Whether the damage is minor or more significant, we’ve got you covered with practical steps to achieve a seamless finish.
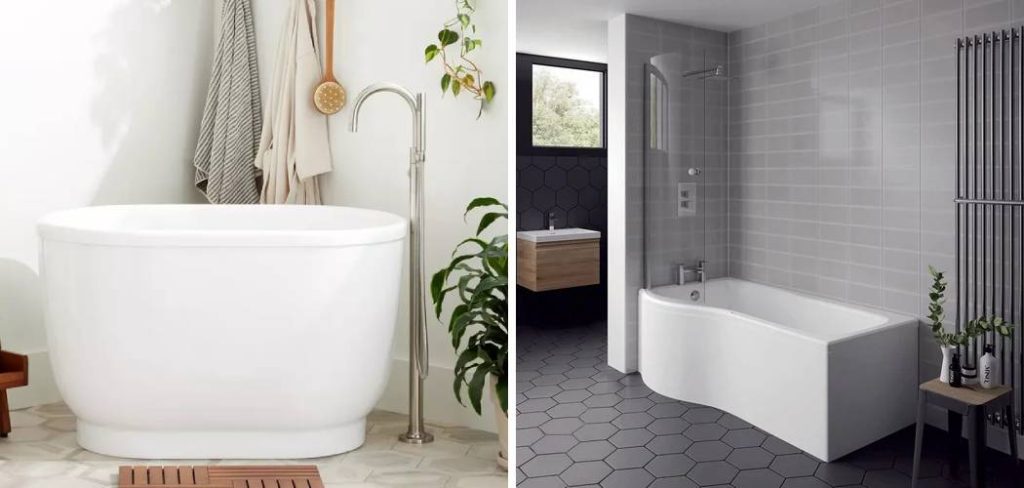
Understanding the Problem
Scratches on an Aqualuxe bathtub can arise from various sources, including everyday use, accidental impacts, or the friction of abrasive cleaning tools. These scratches not only affect the aesthetic appeal of the bathtub but can also lead to deeper damage if left unaddressed. Understanding the severity of the scratches is crucial for determining the best course of action for repair. Minor surface scratches might only require a simple polishing technique, while deeper gouges may demand a more intensive repair process involving specialized materials or professional assistance. Thus, accurately assessing the extent of the damage is the first step towards effective restoration.
Types of Scratches
Understanding the different types of scratches on an Aqualuxe bathtub is essential for effective repair. Generally, scratches can be categorized into three distinct types:
- Surface Scratches: These are shallow marks that affect only the outer layer of the bathtub’s finish. Often caused by everyday use, such as minor scuffs from bath products or light cleaning tools, surface scratches can usually be addressed with simple polishing techniques or a mild abrasive cleaner.
- Gouges: Gouges are deeper scratches that penetrate beyond the surface, typically resulting from more significant impacts or abrasive scrubbing. These blemishes require more involved repair methods, such as filling in the gouge with an appropriate repair compound and subsequently sanding and polishing the area to achieve a smooth finish.
- Chips: Chips are small pieces of material that have broken away from the bathtub surface, often leaving a noticeable gap. Repairing chips may necessitate a combination of filling, sanding, and refinishing to blend the repair seamlessly with the surrounding area. Recognising these types of scratches will help guide you to the correct repair technique, ensuring a successful restoration process.
10 Methods How to Fix Scratched Aqualuxe Bathtub
1. Assess the Extent of the Scratches
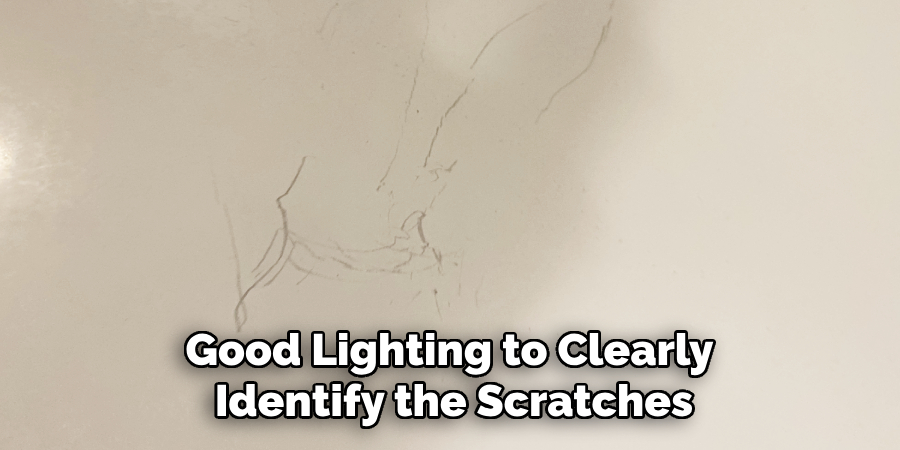
Before beginning the repair process, thoroughly assess the extent and depth of the scratches on your Aqualuxe bathtub. Light surface scratches can often be addressed with simple polishing, while deeper scratches may require more extensive repair methods. Examine the bathtub under good lighting to clearly identify the scratches. Determine if they are confined to the surface layer or if they penetrate deeper into the material. This assessment will guide you in choosing the most appropriate repair method and materials needed for the job.
2. Clean the Bathtub Thoroughly
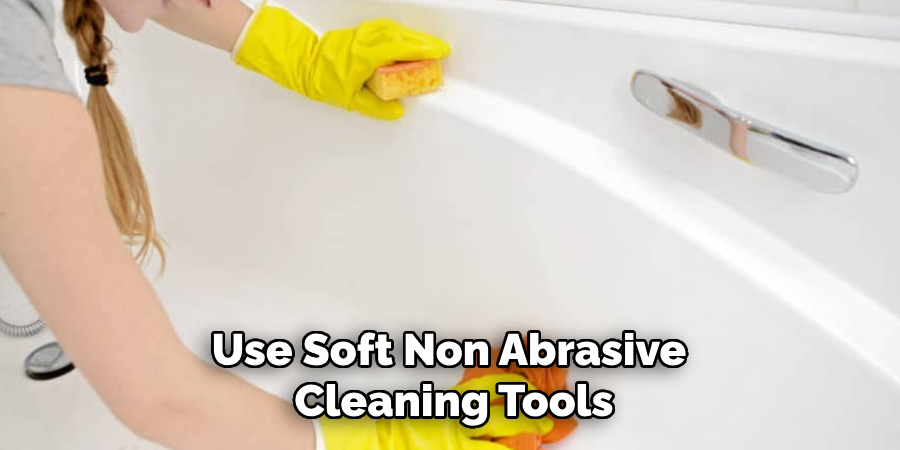
Proper cleaning is essential before attempting any repair work on your bathtub. Start by removing all soap scum, dirt, and grime from the surface of the Aqualuxe bathtub. Use a non-abrasive cleaner or a mild soap solution and a soft cloth or sponge to clean the bathtub. Avoid using harsh chemicals or abrasive scrubbers that could further damage the surface. Once the bathtub is clean, rinse it thoroughly with water to remove any residue from the cleaning agents. Dry the surface with a clean towel to ensure that it is completely dry before proceeding with the repair.
3. Use a Fine-Grit Sandpaper for Surface Scratches
For light surface scratches, using fine-grit sandpaper can help smooth out the affected area. Choose a sandpaper with a grit rating of 800 to 1200, as this is suitable for polishing and smoothing delicate surfaces. Wet the sandpaper with water to minimize dust and reduce the risk of further scratching. Gently sand the scratched area in a circular motion, applying light pressure. Be cautious not to sand too aggressively, as this could damage the surrounding area or affect the overall finish. After sanding, rinse the area with water and dry it thoroughly.
4. Apply a Repair Kit for Deeper Scratches
For deeper scratches that cannot be addressed with sanding alone, a specialized bathtub repair kit may be necessary. These kits typically include a resin or filler that can be applied to the scratch to fill and level the damaged area. Follow the manufacturer’s instructions for mixing and applying the repair compound. Use a small applicator or putty knife to carefully fill the scratch with the resin, ensuring that it is level with the surrounding surface. Allow the repair compound to cure according to the recommended drying time before proceeding with any additional finishing steps.
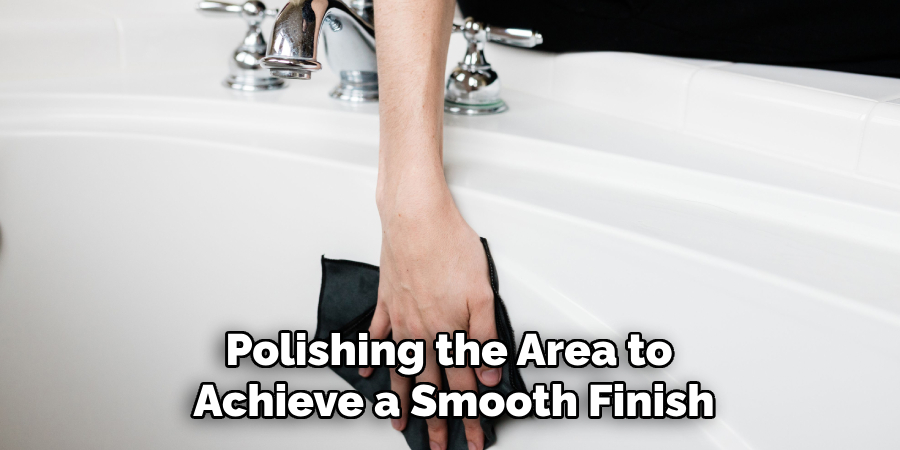
5. Polish the Bathtub Surface
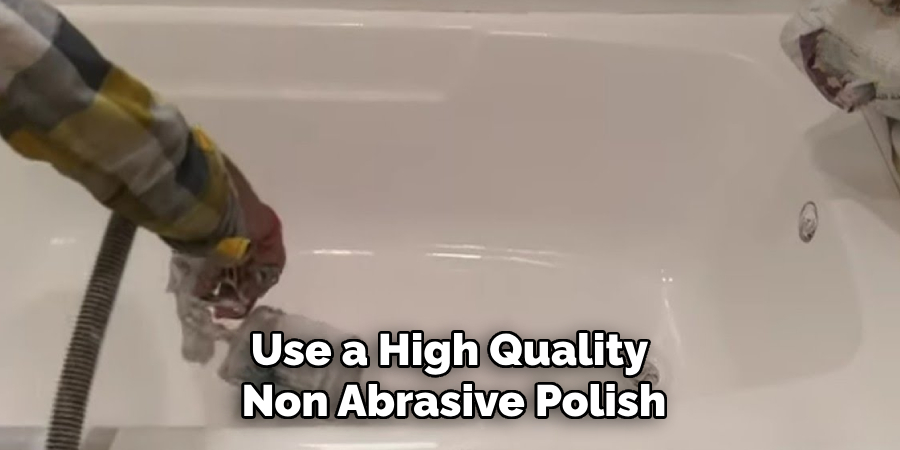
After addressing the scratches, polishing the bathtub surface can help restore its original shine and smoothness. Use a high-quality, non-abrasive polish specifically designed for acrylic or fiberglass surfaces. Apply a small amount of polish to a soft cloth or polishing pad, and gently rub it onto the surface of the bathtub in a circular motion. This step helps to blend the repaired area with the surrounding surface and enhances the overall appearance of the bathtub. Follow the polish manufacturer’s instructions for application and removal, and buff the surface until it achieves a glossy finish.
6. Apply a Gelcoat or Surface Repair Compound
For more extensive repairs, applying a gelcoat or surface repair compound can provide a durable and seamless fix. Gelcoat repair kits are designed for use on fiberglass and acrylic surfaces and can effectively address deeper scratches and damage. Prepare the gelcoat according to the manufacturer’s instructions, and apply it to the scratched area using a brush or applicator. Smooth the compound with a clean, flat tool to ensure an even surface. Allow the gelcoat to cure fully before sanding and polishing the repaired area to blend it with the rest of the bathtub.
7. Use a Bath Tub Refinishing Spray
For a comprehensive repair and refinishing approach, consider using a bathtub refinishing spray. These products are formulated to restore the appearance of the bathtub and provide a fresh, glossy finish. First, prepare the bathtub surface by cleaning and sanding as necessary. Follow the refinishing spray manufacturer’s instructions for application, including proper ventilation and safety precautions. Apply the spray evenly over the entire bathtub surface, focusing on the scratched areas. Allow the finish to cure completely before using the bathtub.
8. Prevent Future Scratches
Once the repairs are complete, taking preventative measures can help avoid future scratches and maintain the bathtub’s pristine appearance. Use soft, non-abrasive cleaning tools and avoid harsh chemicals that could damage the surface. Consider placing a non-slip mat or rug in the bathtub to protect it from scratches caused by contact with objects or abrasive materials. Regularly inspect the bathtub for any signs of damage and address any issues promptly to prevent further deterioration.
9. Seek Professional Help if Necessary
If the scratches are extensive or if you are not comfortable performing the repair yourself, seeking professional help may be the best option. Professional bathtub repair services have the expertise and specialized equipment to handle complex repairs and achieve a high-quality finish. They can assess the damage, recommend the appropriate repair methods, and ensure that the repair is completed to a professional standard. Contact a reputable repair service for an evaluation and quote if you decide to opt for professional assistance.
10. Maintain Regular Cleaning and Care
To keep your Aqualuxe bathtub in excellent condition and prolong the results of your repair, maintain regular cleaning and care. Use gentle, non-abrasive cleaning products and avoid scrubbing with rough materials that could damage the surface. Rinse the bathtub thoroughly after each use to remove any residual soap or debris. Regular maintenance not only preserves the appearance of your bathtub but also helps prevent the development of new scratches or damage.
Common Mistakes to Avoid
When repairing your bathtub, it’s important to be aware of common mistakes that could compromise the quality of your work. One major mistake is using the wrong cleaning products; harsh chemicals can damage the surface and make repairs more difficult. Additionally, rushing through the drying times of adhesives or resurfacing compounds can lead to subpar results; always adhere to the manufacturer’s guidelines. Another pitfall is over-sanding the damaged area, which can exacerbate the issue rather than resolve it. Lastly, neglecting to thoroughly inspect the bathtub before beginning repairs can result in missed damage that may worsen over time. Taking the time to avoid these errors will ensure a more effective and long-lasting repair.
Conclusion
Fixing scratches on an Aqualuxe bathtub involves a series of methodical steps to restore its smooth and glossy finish. By assessing the damage, cleaning the surface, and employing appropriate repair techniques such as sanding, using repair kits, or applying refinishing products, you can effectively address scratches and maintain the bathtub’s aesthetic appeal. Thanks for reading, and we hope this has given you some inspiration on how to fix scratched aquaLuxe bathtub!

