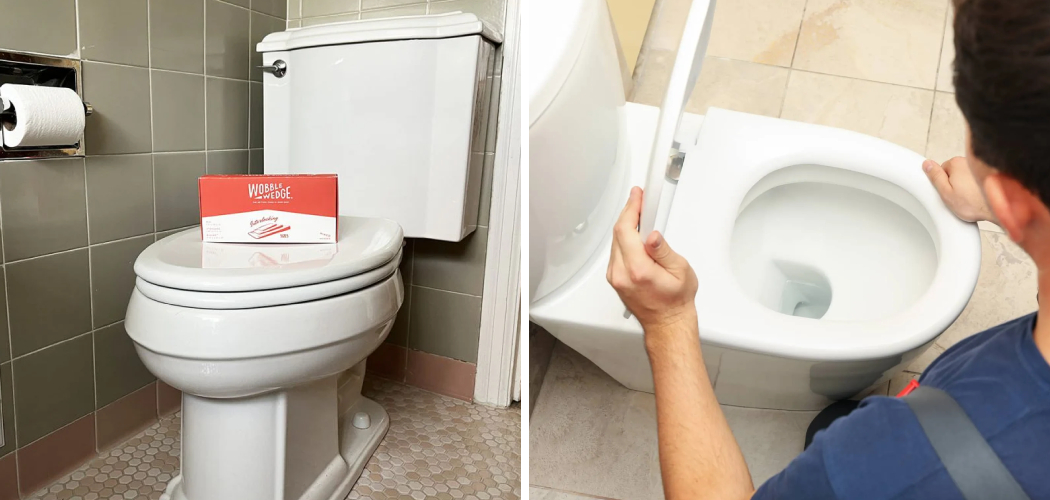
A wobbling toilet is not just an inconvenience; it can lead to a range of problems, including potential leaks, damage to the floor, and discomfort during use. An unstable toilet can create gaps that allow water to seep through, leading to costly floor repairs and mold growth. Moreover, a wobbly toilet can make using the bathroom an uneasy experience for you and your guests. This guide will help readers learn how to stop a toilet from wobbling effectively.
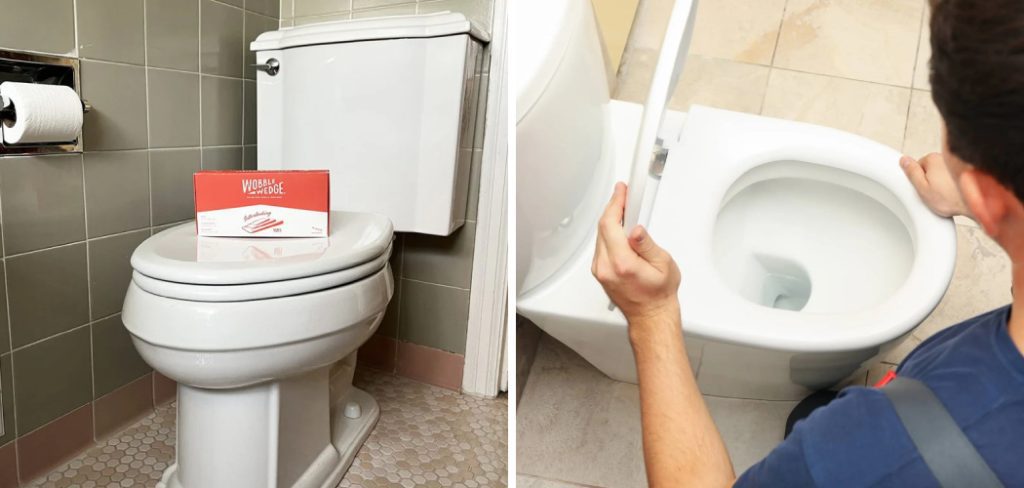
To address the issue, we’ll start by diagnosing the root cause of the wobble, which may involve checking for loose bolts or an uneven floor. From there, we’ll guide you through securing the toilet and performing necessary repairs, such as replacing wax rings and applying caulk. By following these steps, you can restore stability to your toilet and enjoy a comfortable bathroom environment once again.
Identifying the Cause of the Wobble
Loose Bolts
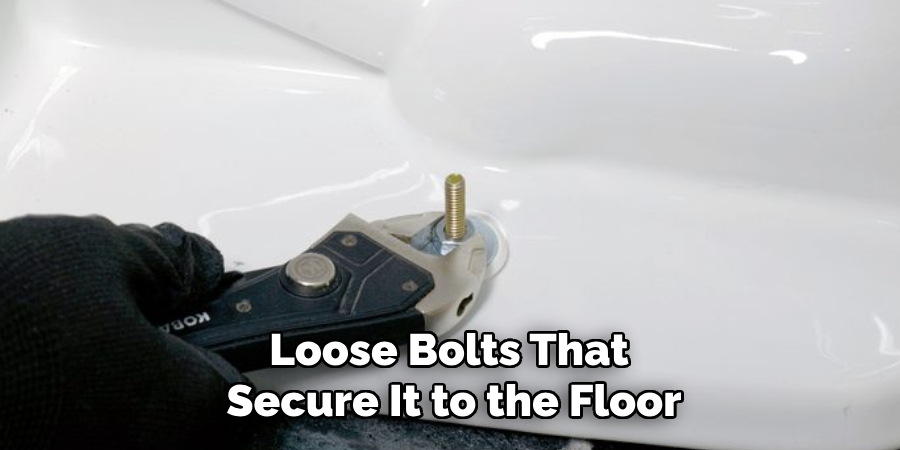
One of the most frequent causes of a wobbly toilet is loose bolts that secure it to the floor. Over time, these bolts can become slack due to regular use and the stresses placed on the toilet. To check for loose bolts, begin by inspecting the area around the base of the toilet. Look for the bolts that are usually hidden beneath decorative caps. Gently try to tighten them with a wrench or socket set, being cautious not to overtighten, as this could lead to cracking the porcelain. If you notice any shift in the toilet’s position after tightening, then the bolts may have been the root cause of the instability.
Uneven Floor
An uneven or damaged floor can also contribute significantly to a toilet’s wobbling. When the base of the toilet cannot sit flush against the floor, even slight movements can cause instability. To identify floor issues, look for gaps between the toilet base and the floor; a level or straight object can help determine if the floor is uneven.
Additionally, inspect the floor surface for any visible signs of damage, such as cracks or dips. If you notice unevenness, using shims or considering more extensive repairs may be necessary to create a stable and level foundation for your toilet. Addressing both loose bolts and floor issues will help ensure a secure installation and prevent any future wobbling.
Tools and Materials Needed
Essential Tools
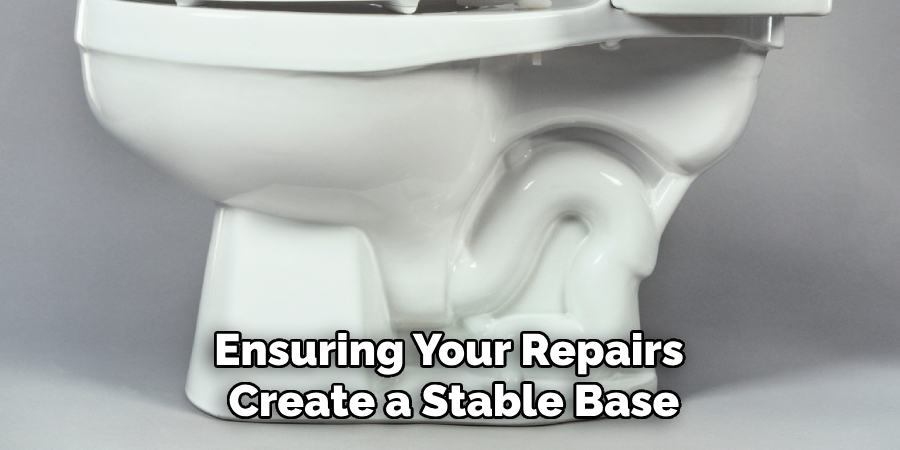
You will need a few essential tools to fix a wobbly toilet. Start with a wrench or socket set to tighten any loose bolts. A screwdriver will be necessary to remove any decorative caps covering the bolts. Additionally, having a level is crucial for checking the floor’s evenness and ensuring your repairs create a stable base. Finally, a caulking gun is required to apply caulk around the base after repairs are completed.
Materials
In terms of materials, gather new toilet bolts and washers to replace any damaged or corroded hardware. You’ll also need a toilet seal or wax ring to ensure a proper seal during reinstallation. If the floor is uneven, consider using shims to help level the toilet appropriately. Having these tools and materials ready will streamline the repair process and enhance your chances of success.
How to Stop a Toilet from Wobbling: Securing Loose Bolts
Tightening the Bolts
To start securing your toilet, locate the bolts at the base. These bolts are typically located on either side of the toilet and are usually hidden beneath decorative caps. Use a flathead screwdriver to gently pry off these caps and reveal the bolts. Once exposed, take your wrench or socket set and carefully begin to tighten each bolt. It’s important to tighten them in a diagonal pattern, alternating between bolts on opposite sides to ensure even pressure.
Be cautious not to overtighten, as this can lead to cracking the porcelain base of the toilet. A firm but gentle hand is all that is needed; you should feel resistance but not force that might damage the fixture. After tightening each bolt, ensure that the toilet is stable by giving it a gentle rock; it should remain secure and balanced.
Checking for Leaks
Once you’ve tightened the bolts, the next step is to check for any leaks around the toilet base. To do this, flush the toilet and observe the area closely. Look for any water pooling around the base, as this can indicate a leak that needs immediate attention. Additionally, use a paper towel to wipe around the base; if it becomes damp, you may have a seal issue. Inspect the wax ring and ensure it is properly seated if a leak is detected. Resolving or replacing the wax ring may be necessary to create a watertight seal. Performing this leak test after securing the bolts is crucial in ensuring that your toilet is stable and functioning correctly without the risk of water damage.
How to Stop a Toilet from Wobbling: Addressing an Uneven Floor
A wobbly toilet can often be attributed to an uneven floor, which poses challenges for a secure installation. Addressing this issue effectively is crucial to prevent future instability. Even slight movements can exacerbate the wobble when the toilet’s base doesn’t sit flush against the floor. Depending on the severity of the unevenness, there are two main approaches: using shims or repairing the floor itself.
Using Shims
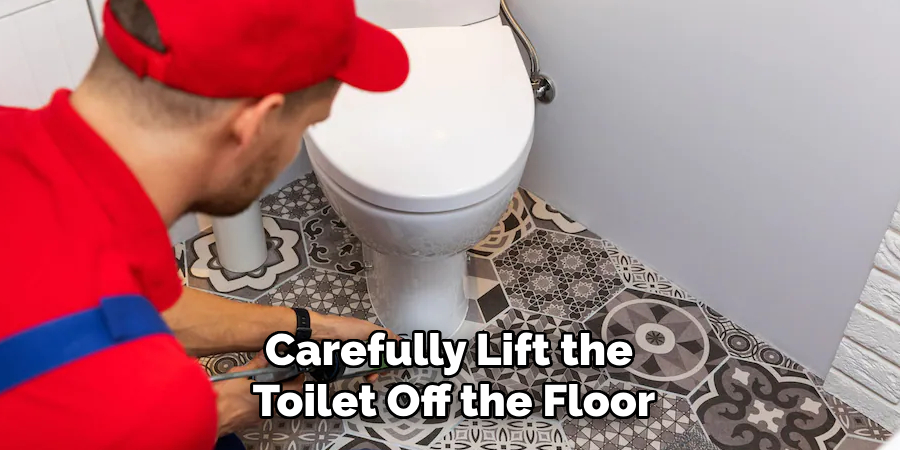
Shimming can often resolve the issue if you find gaps between the base of the toilet and the floor. Start by carefully lifting the toilet off the floor to avoid damage. Once it’s removed, identify the areas where the gaps are most pronounced. Insert shims—small wedges typically made of plastic or wood—underneath the toilet’s base in these gaps. It’s important to place the shims so that they evenly support the entire base. After securing the shims, reinstall the toilet and tighten the bolts as outlined earlier. Before finishing, check for stability by gently rocking the toilet; it should feel firmly anchored without any movement.
Repairing the Floor
Additional repairs may be necessary for more significant floor issues, such as severe dips or cracks. One effective solution is using a self-leveling compound, which can be poured over uneven areas to create a smooth surface. This compound typically involves mixing a powder with water and spreading it across the problematic sections, allowing it to settle and cure adequately.
If the floor is extensively damaged, such as broken tiles or large holes, you may need to remove and replace those sections before applying a leveling compound. In cases where the floor damage is beyond your skill set or requires extensive renovation, consulting with a professional contractor is advisable to ensure proper structural integrity and avoid further complications down the line.
Replacing the Wax Ring or Seal
Over time, the wax ring or seal underneath the toilet can wear out, leading to leaks and instability. Replacing this component is essential for maintaining a watertight seal and ensuring the toilet’s overall functionality.
Removing the Old Wax Ring
- Turn Off the Water: Begin by shutting off the water supply to the toilet. This is typically done by turning the valve located behind the toilet clockwise. Next, flush the toilet to drain the tank effectively, holding the handle down to flush all the water out.
- Remove the Toilet: Carefully lift the toilet off the floor. It may be heavy, so having an assistant can be beneficial. Place the toilet on a clean, soft surface like a blanket to avoid damaging it.
- Remove the Wax Ring: Once the toilet is lifted, you will see the wax ring attached to the floor flange and the toilet base. Use a putty knife to gently scrape away the old wax ring. Make sure to clean any residue from both the flange and the base, as a clean surface is necessary for the new seal to adhere properly.
Installing a New Wax Ring
- Place the New Ring: Take the new wax ring and position it either on the floor flange or the toilet base. Some prefer placing it on the flange while others opt for the toilet base—ensure it is seated evenly without any twists.
- Reinstall the Toilet: Carefully lower the toilet back onto the new wax ring, aligning it with the flange bolts. Ensure that the toilet is centered over the flange for a proper seal.
- Tighten the Bolts: Once the toilet is in position, secure it by tightening the new bolts and washers in a diagonal pattern to ensure an even fit and avoid cracking the porcelain. After tightening, check for stability and any signs of movement, confirming that the wax ring has been sealed correctly.
Caulking Around the Base
Applying caulk around the base of the toilet is an essential step to create a watertight seal that prevents moisture from seeping underneath.
Applying Caulk
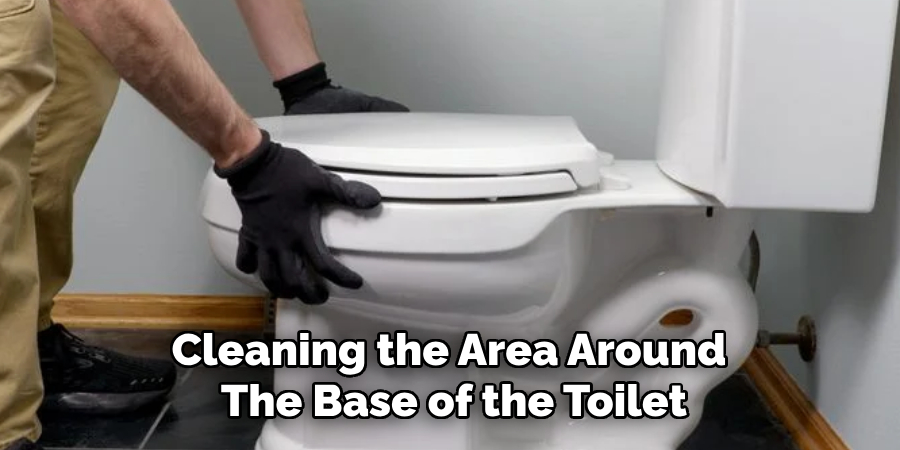
- Prepare the Area: Begin by cleaning the area around the base of the toilet. Remove any dust, debris, or old caulk to ensure a clean surface for the new application.
- Apply Caulk: Load the caulking gun with a high-quality waterproof caulk. Starting at the back of the toilet, apply a continuous bead of caulk around the base, ensuring it adheres evenly without gaps.
Smoothing and Finishing
After applying the caulk, use a damp cloth to smooth the bead, creating a neat and professional finish. This also helps to eliminate any excess caulk that might create an unsightly appearance. Be sure to allow the caulk to dry according to the manufacturer’s instructions before using the toilet to ensure a proper seal and prevent any potential leaks.
Final Checks and Maintenance
Testing Stability
After completing any repairs or installations, it’s crucial to test the toilet’s stability. Begin by flushing the toilet several times and observing for any movement or rocking of the base. Gently press on the toilet to assess if it feels securely anchored without any signs of swaying. Additionally, inspect the area around the base for any leaks, ensuring that the wax ring and caulk effectively seal any potential gaps.
Regular Maintenance
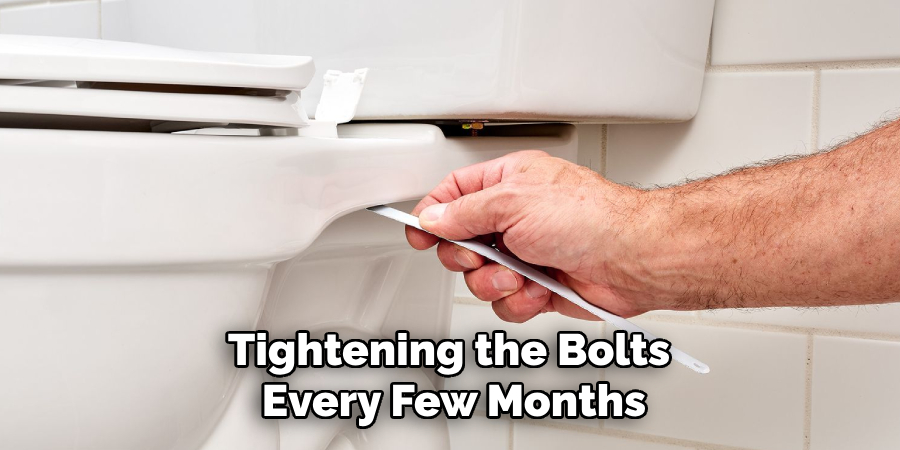
To maintain the toilet’s stability and functionality, check the bolts periodically. Tightening the bolts every few months can prevent them from loosening over time due to regular use. It’s also advisable to keep an eye on the condition of the floor; ensure that it remains level and free of damage. Address any floor issues promptly to prevent instability and maintain a safe restroom environment.
When to Call a Professional
Recognizing Complex Issues
In some cases, tackling toilet stability issues yourself may not yield the desired results. If you experience persistent problems, such as recurring leaks or ongoing wobbling, despite following repair steps, it may be time to call in a professional plumber. Additionally, if the floor damage is extensive—like deep cracks or significant unevenness—involving a specialist ensures that underlying issues are accurately assessed and resolved without further complicating the situation.
Benefits of Professional Help
Seeking professional assistance offers numerous advantages. Expert plumbers bring a wealth of knowledge and experience, ensuring repairs are conducted correctly and efficiently, preventing potential problems. They can also guarantee no damage to the toilet or surrounding floor during repairs. Moreover, their expertise allows for the resolution of complex plumbing issues that may not be immediately apparent, providing peace of mind and restoring the functionality of your restroom effectively.
Conclusion
In summary, stopping a toilet from wobbling involves several key steps that ensure stability and functionality. Begin by securely checking and tightening the bolts to anchor the toilet. If there are underlying floor issues, these should be addressed to provide a level foundation. Replacing the wax ring is crucial for preventing leaks while caulking around the base adds a layer of protection against moisture.
Take your time with each step to ensure a stable and secure toilet. Remember, you can effectively fix a wobbly toilet and maintain a safe, functional bathroom with proper attention and care. By following these guidelines on how to stop a toilet from wobbling, you’ll be well-equipped to handle this common household issue with confidence.

