Installing drywall around a bathtub is a crucial step in any bathroom renovation project. Proper installation not only contributes to the aesthetics of the space but also helps protect against moisture, which can lead to mold and decay if not handled correctly. This guide will provide you with how to install drywall around bathtub securely and efficiently, creating a solid foundation for tiles or paint while safeguarding your bathroom’s integrity. Whether you are a seasoned DIYer or a novice looking to tackle your first project, these instructions will guide you through the process step-by-step.
Importance of Properly Installing Drywall
Properly installing drywall around a bathtub is essential for several reasons. Firstly, it serves as a protective barrier against moisture, which is prevalent in bathroom environments. If the drywall is not installed correctly, it can absorb water, leading to potential mold growth and structural damage over time. Secondly, the aesthetic appeal of the bathroom hinges on how well the drywall is installed; uneven or improperly finished drywall can detract from the overall look of the space, making it appear unprofessional. Lastly, adhering to best practices during installation ensures durability, allowing the finished product to withstand the challenges posed by humidity and daily use, ultimately safeguarding your investment in the renovation.
Planning and Preparation
Before diving into the installation process, thorough planning and preparation are vital for a successful drywall project around your bathtub. Begin by measuring the dimensions of the area where the drywall will be installed, ensuring accuracy to minimize waste and avoid unexpected issues later on. It’s crucial to select the right type of drywall; moisture-resistant board, often referred to as green board, is ideal for wet areas such as bathrooms.
Be sure to gather all necessary tools and materials, including a utility knife, drywall screws, a drill, a T-square, and joint tape. Additionally, assess the surrounding area for any plumbing or electrical fixtures that may need adjustment prior to installation. Properly preparing your workspace will not only streamline the process but will also lead to a more polished final outcome.
10 Methods How to Install Drywall around Bathtub
1. Plan and Prepare the Area
Before starting the drywall installation, it’s crucial to plan and prepare the area around the bathtub. Measure the dimensions of the space where the drywall will be installed, including the height and width of the wall sections. Assess the condition of the existing walls and remove any old or damaged materials that may interfere with the new installation. Ensure that the plumbing and electrical systems are properly installed and up to code. Clear the area of any obstructions and ensure that the bathtub is properly sealed and protected from potential damage during the drywall installation process.
2. Select the Right Type of Drywall
Choosing the appropriate type of drywall for installation around a bathtub is essential for long-term performance and moisture resistance. In wet areas such as bathrooms, it’s recommended to use moisture-resistant drywall, often referred to as green board or cement board. Moisture-resistant drywall is designed to withstand high humidity and resist mold and mildew growth. For areas directly exposed to water, such as around a shower or bathtub, consider using cement board, which provides superior water resistance and durability. Ensure that the drywall you select meets the requirements for your specific installation needs.
3. Cut Drywall to Fit
Once you’ve selected the right type of drywall, measure and cut the sheets to fit the dimensions of the walls around the bathtub. Use a tape measure and a straight edge to mark the cutting lines on the drywall. Score the drywall along the cutting line with a utility knife, then snap the sheet along the score. If necessary, use a drywall saw or jigsaw to cut out any openings for fixtures, such as faucets or water controls. Precision in cutting ensures a proper fit and minimizes the need for additional adjustments during installation.
4. Install Drywall Panels
Begin installing the drywall panels by positioning them against the wall framing around the bathtub. Start at one corner and work your way across the wall, ensuring that each panel is level and aligned with the adjacent panels. Secure the drywall to the wall studs using drywall screws or nails, placing them about 12 to 16 inches apart. For a clean and secure installation, drive the screws slightly below the surface of the drywall without breaking the paper.
5. Seal and Tape Joints
After installing the drywall panels, the next step is to seal and tape the joints to create a smooth, seamless surface. Apply a coat of joint compound (also known as drywall mud) over the seams between the panels using a drywall knife. Place drywall tape over the wet joint compound, pressing it firmly into place to reinforce the seams and prevent cracking. Apply additional layers of joint compound over the tape, feathering the edges to blend with the surrounding drywall.
6. Waterproof the Drywall
To enhance the water resistance of the drywall around the bathtub, apply a waterproofing membrane or primer. For moisture-resistant drywall, a waterproofing primer will help seal the surface and prevent moisture infiltration. For cement board or other water-resistant materials, apply a waterproofing membrane or paint specifically designed for wet areas. Follow the manufacturer’s instructions for application and drying times.
7. Install a Bathtub Surround or Tile Backer Board
For added protection and durability, consider installing a bathtub surround or tile backer board over the drywall. A bathtub surround provides a water-resistant barrier that covers the drywall and protects it from direct contact with water. Tile backer board, such as cement board, is another option that provides a sturdy and waterproof substrate for tiling. Measure and cut the surround or backer board to fit the wall sections around the bathtub, and secure it according to the manufacturer’s instructions.
8. Finish and Texture the Drywall
Once the drywall is installed, sealed, and waterproofed, you can proceed with finishing and texturing the surface. Apply a final coat of joint compound over the seams and any imperfections, sanding the surface smooth once it has dried. Depending on your design preference, you can choose to apply a texture to the drywall, such as knockdown, stipple, or smooth finish. Use a texture sprayer, sponge, or trowel to apply the texture, and allow it to dry completely before proceeding with painting. Texturing adds visual interest and can help hide minor imperfections in the drywall.
9. Prime and Paint the Drywall
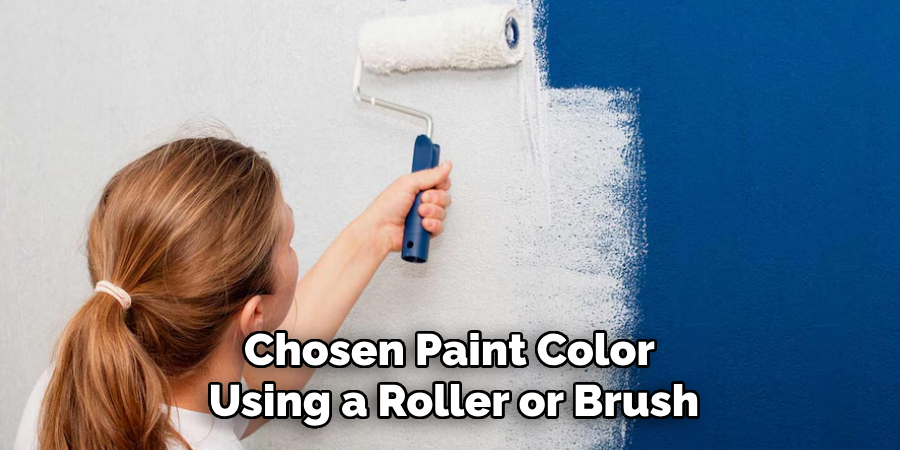
After finishing and texturing the drywall, it’s time to prime and paint the surface. Apply a high-quality primer designed for drywall, which helps to seal the surface and improve paint adhesion. Use a roller or brush to apply an even coat of primer, covering the entire area around the bathtub. Once the primer is dry, apply your chosen paint color using a roller or brush. Choose a paint with a semi-gloss or satin finish, which is more resistant to moisture and easier to clean. Apply multiple coats of paint as needed to achieve a smooth and consistent finish.
10. Install Trim and Finishing Touches
The final step in redoing drywall around a bathtub is to install trim and add finishing touches. Install any trim or molding around the bathtub area to complete the look and cover any gaps between the drywall and adjacent surfaces. Use caulk or sealant to fill any gaps or seams where the trim meets the drywall or bathtub. Clean the installation area thoroughly to remove any dust or debris from the renovation process. Once everything is in place and dry, the bathroom is ready to be used and enjoyed.
Common Mistakes to Avoid
When undertaking a drywall installation around a bathtub, avoiding common pitfalls can significantly enhance the quality and longevity of your work. Here are some mistakes to watch out for:
- Neglecting to Use Moisture-Resistant Materials: Failing to select appropriate moisture-resistant drywall or backer board can lead to water damage and mold growth over time. Always choose materials designed for wet areas.
- Inadequate Sealing of Joints: Not properly sealing the joints and seams can create vulnerabilities prone to moisture infiltration. Be meticulous in applying joint compound and tape, ensuring they are adequately feathered and smoothed out.
- Poor Measurements: Rushing measurements can lead to improperly cut drywall pieces that may not fit correctly, requiring additional supplements or adjustments. Take your time and measure twice before cutting.
- Skipping the Waterproofing Step: Overlooking the application of a waterproofing primer or membrane can expose the drywall to moisture damage. Always follow through with proper waterproofing to ensure durability.
Conclusion
Redoing drywall around a bathtub is a comprehensive project that requires careful planning and execution to achieve a successful outcome. By following these 10 methods—from planning and selecting the right materials to installing, waterproofing, and finishing the drywall—you can ensure a durable and aesthetically pleasing result. Thanks for reading, and we hope this has given you some inspiration on how to install drywall around bathtub!

