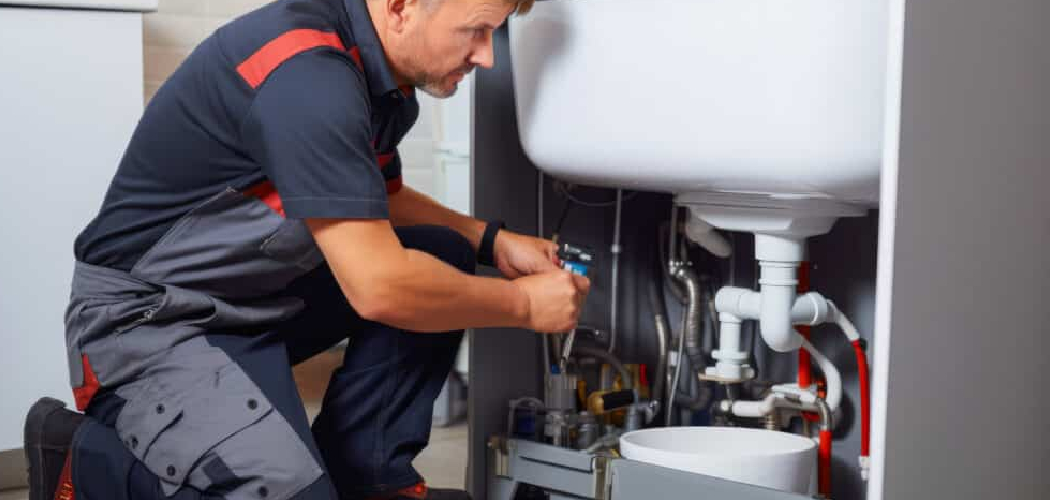
Are your sinks, tubs, or showers clogged or slow-draining? The problem could be buildup and corrosion in your old galvanized drain pipes. How to clean out old galvanized drain pipes is essential to maintain an efficient plumbing system and prevent potential blockages.
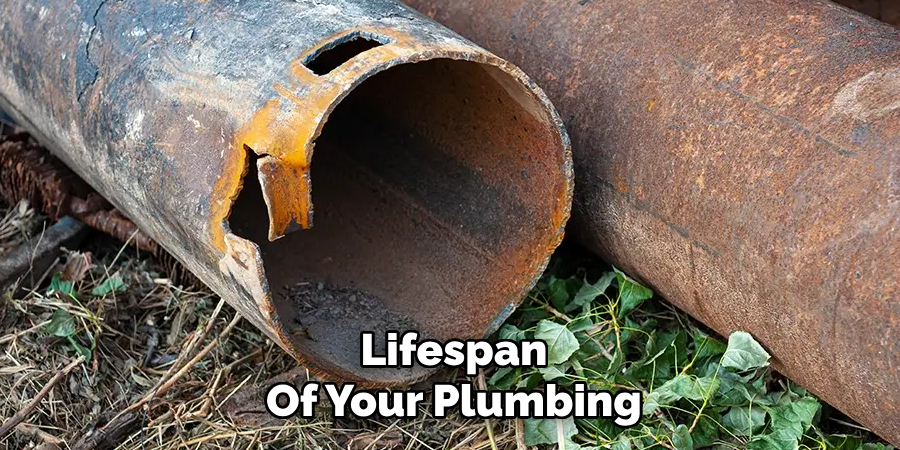
Over time, these pipes can accumulate rust, mineral deposits, and debris, leading to reduced water flow and possible leaks.
Cleaning galvanized pipes requires attention to detail and proper tools to ensure thorough removal of buildup without causing damage to the piping. By regularly maintaining these pipes, homeowners can extend their lifespan and avoid costly repairs.
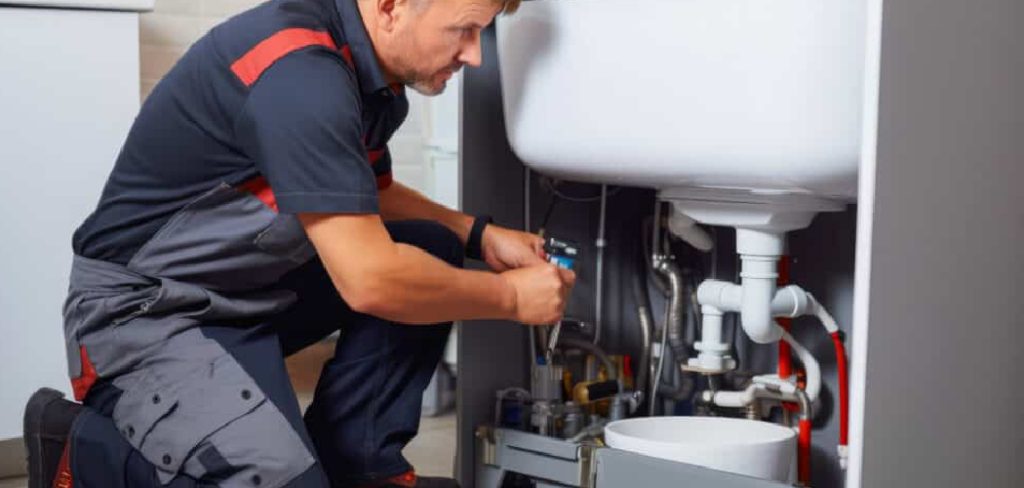
This guide will walk you through the steps necessary to clean old galvanized drain pipes effectively, ensuring your plumbing system remains in top condition.
What Will You Need?
Before cleaning, gather the necessary materials and tools to ensure a smooth and efficient job. Here’s what you’ll need:
- Rubber gloves
- Protective eyewear
- Cleaning brushes (nylon or plastic)
- White vinegar
- Baking soda
- Hot water
- Bucket
- Rags or towels
Once you have all of the necessary items, you can begin cleaning out your old galvanized drain pipes.
10 Easy Steps on How to Clean Out Old Galvanized Drain Pipes
Step 1: Prepare the Area
Ensure the area around the drain pipe is clear of any obstructions or items that could be damaged during the cleaning process. It is recommended to lay down towels or rags to catch any spills or debris that may fall out during the cleaning.
Put on your rubber gloves and protective eyewear to protect yourself from any splashes of water or cleaning agents. Once the area is prepared, you can safely proceed with cleaning. Prepare a bucket of hot water to help soften any deposits, and ensure all your cleaning tools are easily accessible. With the area set, you’re ready to begin the next step in the cleaning process.
Step 2: Inspect the Pipes
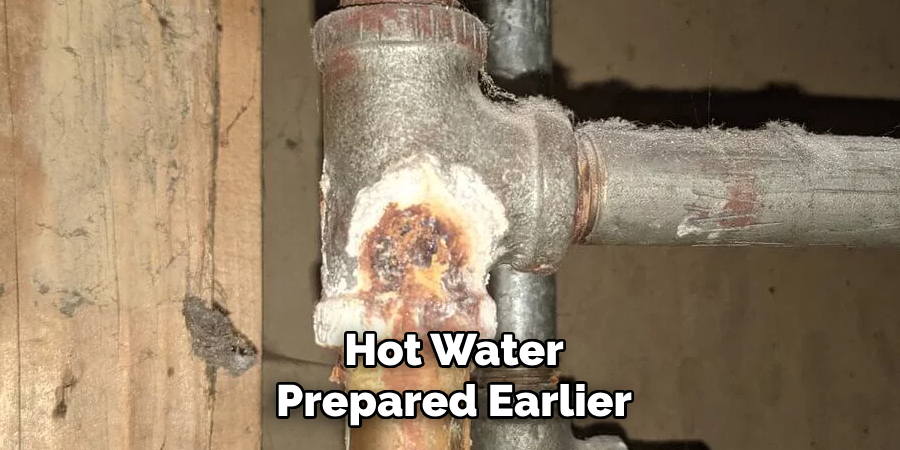
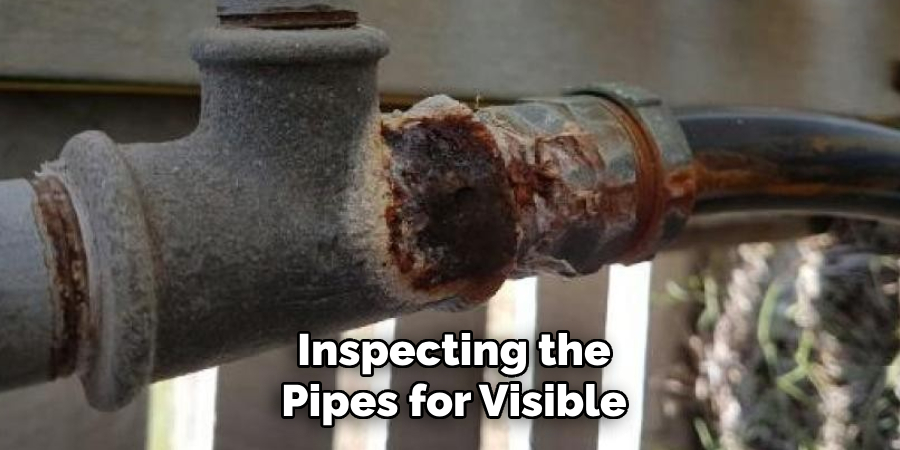
Begin by visually inspecting the galvanized drain pipes for any visible signs of damage, such as cracks, leaks, or severe rust. Use a flashlight if necessary to get a closer look at hard-to-see areas. Identifying these issues early on is crucial to preventing further damage to your plumbing system during cleaning.
If you encounter significant damage, consider consulting a professional plumber before proceeding. Otherwise, if the pipes appear sound, you can move forward to the next step, confident that your cleaning efforts will be practical without causing further harm to the infrastructure.
Step 3: Create the Cleaning Solution
Mix equal parts of white vinegar and hot water in a bucket to create an effective cleaning solution. Vinegar is a natural cleaning agent that helps dissolve mineral deposits and remove rust particles without damaging the pipes.
Add a few tablespoons of baking soda to the mixture. The reaction between baking soda and vinegar will produce a fizzing action that aids in breaking down the buildup inside the pipes. Mix the ingredients thoroughly to ensure the solution is ready for use, and have your cleaning brushes on hand for the next step.
Step 4: Apply the Cleaning Solution
Once your cleaning solution is ready, carefully pour it into the drain. Use a funnel to ensure the mixture enters directly into the pipe without spilling. Allow the solution to sit for 15 to 20 minutes to let the vinegar and baking soda dissolve any buildup within the pipes.
During this time, the fizzing action will help push the loosened debris away from the pipe’s walls. This step is crucial as it penetrates and softens the deposits, making it easier to clean them out in the following steps. Be patient and wait for the solution to do its job effectively before scrubbing the pipes’ interior.
Step 5: Scrub the Pipes
After allowing the cleaning solution to work, use a nylon or plastic cleaning brush to scrub the interior of the pipes. These brushes are gentle enough to prevent damaging the pipe surfaces yet effectively remove buildup. Insert the brush into the drain and carefully scrub in a circular motion, focusing on areas with stubborn deposits.
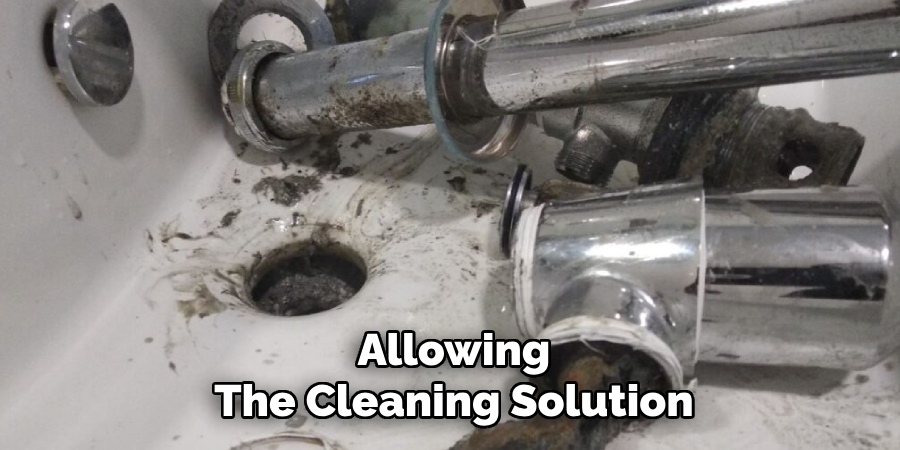
If your pipes are particularly lengthy, consider using a brush with an extendable handle to reach deeper sections. As you scrub, some debris may loosen and flow out; have towels or a bucket handy to catch this runoff. Thorough scrubbing will help ensure that the pipes are as clean as possible and ready for the final rinsing step.
Step 6: Rinse the Pipes
Once the scrubbing is complete, it’s time to rinse the pipes thoroughly. Use the bucket of hot water prepared earlier and carefully pour it down the drain to flush out any remaining debris and cleaning solution. Repeat this process until the water runs clear, indicating that most of the buildup has been removed.
This step is essential to ensure that any loosened particles are washed away, preventing them from causing further blockages. A thorough rinse will also help neutralize any residual vinegar odor and leave your pipes clean and fresh. Test the flow by running regular tap water through the drain to confirm everything works smoothly.
Step 7: Dry the Area
Once the pipes have been thoroughly rinsed, it’s essential to dry the surrounding area to prevent moisture buildup, which can lead to further corrosion or mildew. Use clean rags or towels to wipe down the exterior of the pipes and the surrounding surfaces. Pay particular attention to any connections or joints, as these areas are prone to dampness.
By ensuring everything is dry, you maintain the integrity of the pipes and create a safer work environment by reducing the risk of slips or falls. Additionally, take this opportunity to inspect the area once more for any signs of remaining buildup or damage before concluding the cleaning process.
Step 8: Inspect for Remaining Debris
After the drying process, take a moment to inspect the pipes once more for any remaining debris or problematic areas that might have been missed during the initial cleaning.
Using a flashlight, examine the interior and exterior of the pipes to ensure all buildup has been effectively removed. If you find any stubborn deposits, consider repeating the scrubbing and rinsing steps until you are satisfied with the cleanliness of the pipes.
This final inspection is crucial to ensure the longevity and efficiency of your drainage system, preventing future blockages and promoting a healthy plumbing infrastructure. Once confirmed clean, you can confidently move on to routine maintenance to keep your pipes in optimal condition.
Step 9: Reassemble the Plumbing
Once you have confirmed that the pipes are clean and devoid of debris, it’s time to reassemble any plumbing system parts that were disassembled during the cleaning process. Carefully reconnect any joints, ensuring they are adequately sealed to prevent leaks. Use pipe tape or sealant as necessary to secure the connections.
Tighten all fittings with an appropriate tool, and be careful not to overtighten and risk damaging the threads. Once everything is securely in place, do a final check to ensure no visible signs of leaks or misalignment in the setup. Running a small amount of water through the system can help confirm that the plumbing is functioning correctly and ready for regular use.
Step 10: Perform Regular Maintenance
Establish a routine maintenance schedule to keep your plumbing system in optimal condition and prevent future buildup. Regularly inspect your pipes, checking for early signs of deposits or corrosion.
Once every few months, consider using a mild vinegar and water solution to flush the pipes, which can help inhibit the accumulation of minerals and rust.
Additionally, be mindful of what you pour down the drains; avoid disposing of grease, oil, and other substances that can contribute to clogging. By practicing preventative care, you can extend the lifespan of your plumbing and improve its efficiency, ensuring a trouble-free experience with your drainage system.
By following these simple steps, you can effectively clean your pipes using natural ingredients and without the use of harsh chemicals.
5 Things You Should Avoid
- Using Harsh Chemicals: It’s tempting to use strong chemical drain cleaners, but these can corrode the metal over time, leading to leaks and extensive damage.
- Neglecting Safety Gear: Always wear gloves and eyewear when handling cleaning agents and tools. The buildup in old pipes can contain harmful substances that should not come into contact with your skin or eyes.
- Forcing Tools into the Pipes: Inserting tools like drills or snakes too forcefully can scratch or damage the pipe’s interior, potentially leading to cracks or blockages.
- Ignoring Signs of Rust: If you notice rust on or around the pipes, address it promptly. Ignoring rust can lead to further corrosion and eventual pipe failure.
- Using High-Pressure Water Jets: While pressure washing seems effective, too high pressure can damage old galvanized pipes, weakening their structure and leading to burst pipes.
Conclusion
How to clean out old galvanized drain pipes requires a careful and methodical approach to maintain their integrity and prolong their service life.
Begin by inspecting the pipes for visible signs of corrosion or damage and thoroughly identifying any areas of concern. Opt for a gentle cleaning solution, such as a mixture of baking soda and vinegar or a mild enzymatic cleaner, to break down buildups without causing harm to the pipes.
To manually clear blockages, use specially designed plumbing tools with a delicate touch, avoiding excessive force. Regular maintenance checks and prompt repairs at the first indication of leaks or rust can prevent costly future repairs and ensure the continued functionality of your plumbing system.
Following these guidelines can effectively clean and maintain your galvanized pipes and avoid common pitfalls.

