Properly venting a basement toilet is crucial for maintaining an efficient plumbing system and preventing a range of issues such as slow drainage, sewer gas buildup, and poor flushing performance. Venting is vital in ensuring adequate air circulation within the plumbing system, which is essential for the toilet’s functionality and overall wastewater management. Without proper venting, the system can suffer from pressure imbalances that may lead to unpleasant odors and unreliable operation.
This article outlines how to vent basement toilet effectively, covering key steps such as identifying specific venting needs based on the current plumbing layout, selecting the appropriate type of vent, and following through with installation. By understanding these processes, homeowners can ensure a well-functioning basement toilet that meets all necessary codes and standards.
Understanding Venting Requirements
Why Venting is Important
Venting is a crucial component of any plumbing system, as it facilitates the entry of air to maintain equal pressure within the pipes while preventing sewer gases from permeating the home. Vents allow wastewater to flow smoothly by countering the vacuum that can form during drainage, thus ensuring reliable flushing and optimal performance. For a basement toilet, the challenges of venting are amplified due to its location below the main plumbing stack.
This positioning can complicate the venting process, often requiring creative solutions to overcome gravity’s impact on drainage and airflow. Without proper venting, homeowners may encounter issues such as slow drainage, gurgling sounds, and unpleasant sewer odors infiltrating the living space.
Types of Vents
When considering how to vent a basement toilet, exploring various vent types that may be suitable for your specific plumbing needs is essential.
- Main Stack Vent: This type connects directly to the main vent stack that runs through the house, providing the most direct route for air to enter the plumbing system.
- Individual Vent: A dedicated vent pipe for the toilet helps manage air pressure for that specific fixture, ensuring optimal performance without relying solely on the main stack.
- Air Admittance Valve (AAV): A mechanical vent that permits air into the system without necessitating an external connection. AAVs are particularly useful in tight spaces or situations where traditional venting may be impractical.
- Combination Waste and Vent System: This innovative system merges waste pipes and vents into a single pipeline, simplifying installation and offering potential space-saving benefits within the plumbing framework.
By understanding these types of vents, homeowners can make informed decisions to ensure their basement toilet functions efficiently.
Planning the Venting System
Assessing the Existing Plumbing Layout
Before venting a basement toilet, it is vital to thoroughly review the current plumbing layout. This assessment helps determine the most effective placement for the new vent connection. Start by locating the main stack, typically situated in a central area of the house, which allows for easier air flow into the plumbing system. Assessing existing vents is equally important, as these can facilitate the venting process by providing proximity to established pathways.
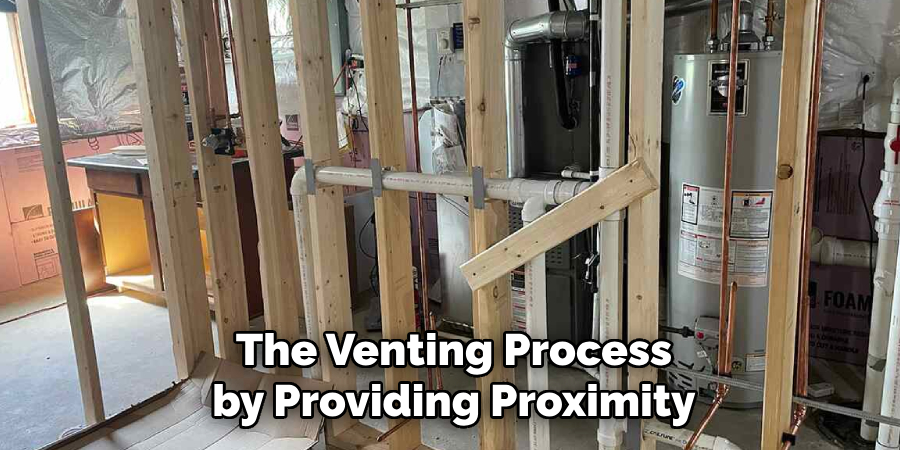
Look for any potentially obstructive features, such as beams, ductwork, or walls, that may impede the new vent’s route. When identifying the best pathway for the new vent, aim for a direct line to the main stack to minimize bends and ensure smooth airflow. A properly planned layout not only simplifies installation but also maximizes the effectiveness of the venting system, ultimately enhancing the performance of the basement toilet.
Choosing the Right Vent Type
Selecting the appropriate vent type is crucial and can significantly impact the efficiency of your basement toilet’s plumbing system. Different vent options may be more suitable depending on the basement’s configuration, local building codes, and your personal preferences. An Air Admittance Valve (AAV) can be a viable choice for tighter spaces where traditional venting is impractical.
AAVs allow air to enter the plumbing without requiring a connection to the outside, making them convenient for small areas. Conversely, a traditional vent stack connection to the main stack is generally preferred for optimal performance and compliance if space allows and code requirements permit. This setup effectively manages air pressure and prevents sewer gases from entering the living space.
Ensure that you review your local building codes before finalizing your decision to ensure the chosen vent type meets all necessary regulations for proper installation and operation.
How to Vent Basement Toilet: Installing the Vent
Connecting to the Existing Vent Stack
Connecting the basement toilet’s drain line to the existing vent stack is essential to ensure proper functionality. Begin by locating the main vent stack, typically a vertical pipe extending through the roof. Carefully cut a section of the stack using a pipe cutter or hacksaw, leaving enough pipe length for proper sealing. Next, install a sanitary tee at the cut location. This tee will allow the new vent pipe to connect
horizontally while maintaining a vertical section for the stack. Ensuring proper alignment of the sanitary tee with the existing vent stack and the toilet drain line is crucial, as incorrect alignment may hinder airflow. When connecting the new vent pipe to the sanitary tee, ensure that it maintains a slope of 1/4 inch per foot toward the stack; this helps facilitate smooth airflow and prevents water from accumulating within the vent.
Installing a Dedicated Vent Pipe
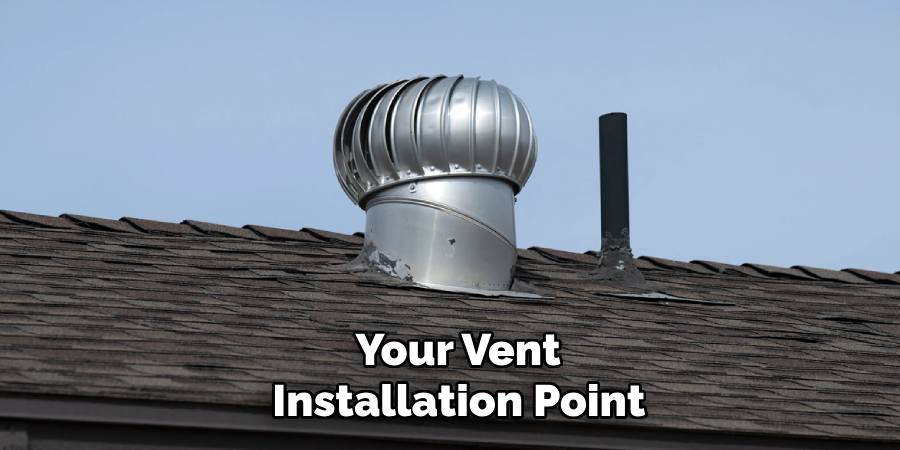
The installation process requires careful planning for those considering a dedicated vent pipe. Begin by determining the route from the toilet drain to either the roof or an exterior wall, ensuring that the path is as straight as possible to minimize bends. As you navigate through walls, floors, or ceilings, use a levels tool to maintain a consistent slope along the vent pipe, as this will aid in proper airflow.
Secure the vent pipe using brackets to prevent sagging and ensure compliance with local building codes. Additionally, remember to maintain a minimum distance of 6 inches from the toilet’s flood level to your vent installation point, which is critical for proper functionality. Once installed, visually inspect every joint and connection for leaks, applying PVC cement where necessary to secure the fittings.
Completing the installation of a dedicated vent pipe will enhance the performance of your basement toilet and comply with necessary plumbing regulations.
Using an Air Admittance Valve (AAV)
Installing an Air Admittance Valve (AAV) can be a practical solution when traditional venting is not feasible. Start by identifying the ideal location for the AAV, which should be installed above the flood level of the toilet. Once positioned, cut the existing drain pipe to add the valve in line, using a pipe cutter for a clean cut. Ensure that the AAV’s opening is oriented upward, allowing air to flow into the system while preventing the backflow of sewer gas. Connect the AAV to the drain pipe using appropriate fittings, ensuring a snug fit to avoid any leaks.
After installation, test the AAV by flushing the toilet to confirm that it allows air into the system efficiently without reversing airflow. The key benefit of using an AAV is that it simplifies venting in cramped conditions while still preventing unpleasant sewer gases from infiltrating your living space. Always ensure that this installation adheres to local plumbing codes for compliance.
Sealing and Finishing the Installation
Securing the Vent Pipes
Once the vent pipes are installed, securing them with brackets or hangers is crucial to prevent movement or sagging. Use adjustable pipe straps or brackets mounted to the framing of your home, spaced no more than four feet apart, to ensure stability. Additionally, check that all connections are tight and properly sealed to avoid leaks, which can compromise the system’s efficiency and lead to costly repairs later.
Testing the System
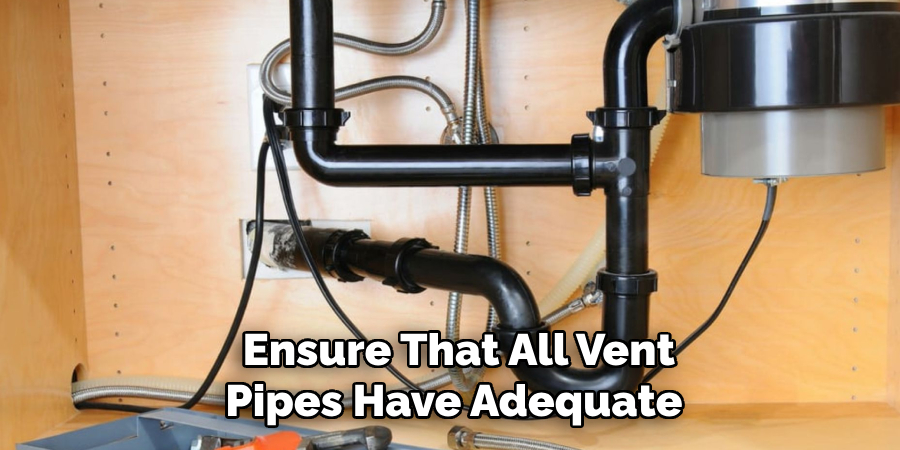
After securing the vent pipes, testing the venting system for proper operation is essential. Begin by flushing the toilet and observing the drainage performance. Look for any gurgling sounds or signs of slow drainage, as these may indicate potential venting issues. If any problems arise, you may need to reassess the connections and ensure that all vent pipes have adequate airflow and are free of obstructions, ensuring a fully functional plumbing system.
Troubleshooting Common Issues
Dealing with Blocked or Improperly Installed Vents
Blocked vents or improper installation can severely disrupt your plumbing system’s efficiency. To clear blockages, inspect the vent pipe for any visible obstructions, such as debris or nesting animals. Using a plumber’s snake can help dislodge any blockages. If you suspect improper installation, ensure the vent pipe maintains a consistent slope and is securely connected. Adjusting the vent pipe by repositioning it to allow for better airflow may also resolve issues associated with blocked vents.
Fixing Slow Drainage or Sewer Odors
Slow drainage or persistent sewer odors often point to venting issues that need immediate attention. First, check for leaks at all connections and inspect the vent pipe for any blockages that could be impairing airflow. Additionally, ensure that the vent height complies with local building codes, which can influence the system’s effectiveness. Cleaning any debris from screens or caps and confirming the system is adequately vented can significantly alleviate drainage problems and unpleasant smells.
Ensuring Code Compliance
Understanding Local Building Codes
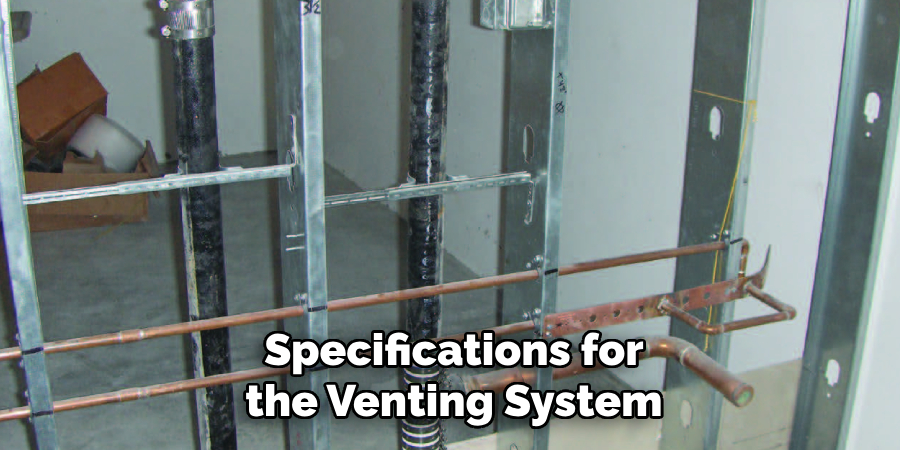
Adhering to local building codes is crucial when installing a vent for a basement toilet. These regulations help ensure the plumbing system’s safety, efficiency, and proper functionality. Consult your local building authority or the plumbing code handbook to check code requirements. Key considerations include vent size, placement, and connections, as each aspect significantly impacts airflow and drainage performance. Familiarizing yourself with these codes can prevent costly mistakes and ensure compliance.
Permits and Inspections
Before commencing installation, obtaining the required permits from your local authorities is essential. This process typically involves submitting plans and specifications for the venting system. Once installed, scheduling inspections with a licensed professional helps confirm that the system meets all code requirements. Engaging with a qualified inspector not only verifies proper installation but also provides peace of mind that your plumbing system is safe, efficient, and compliant with local regulations.
When to Hire a Professional
Complex Venting Situations
In some cases, homeowners may encounter complex venting configurations that exceed their expertise. Situations involving multiple bends, tight spaces, or intricate plumbing layouts can pose significant challenges. Repairing such environments often requires specialised knowledge to ensure proper ventilation and functionality. If you face these complexities, it’s advisable to consult a professional plumber who can provide the necessary skills and experience.
Benefits of Professional Installation
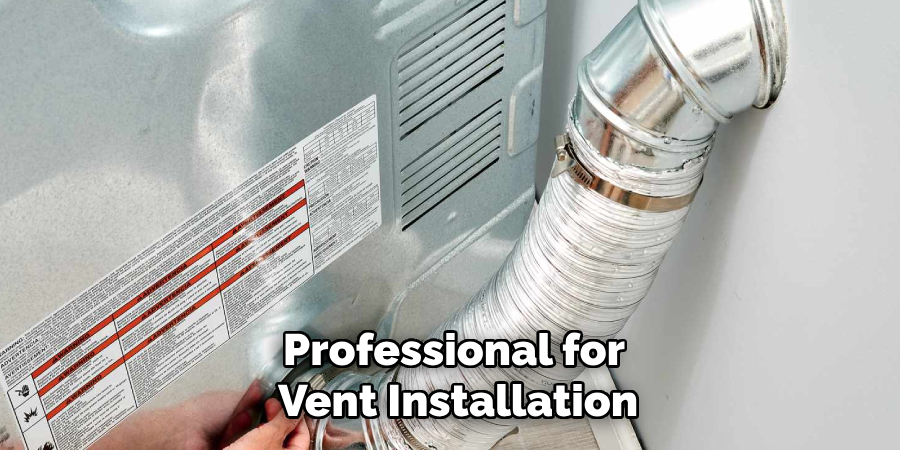
Hiring a professional for vent installation offers numerous advantages. Skilled plumbers ensure that the venting system is correctly installed to adhere to local codes and maximize efficiency. By leveraging their expertise, homeowners can avoid costly mistakes that might arise from DIY attempts, ultimately saving time and reducing stress. Professionals can perform the work with precision, ensuring a reliable plumbing system that operates effectively from day one.
Conclusion
Successfully venting a basement toilet involves several critical steps, from planning and selecting the appropriate type of vent to installing and troubleshooting any issues. Evaluate your space and understand local building codes to determine the best venting solution. Following installation, secure the vent pipes, assess their operation, and address any blockages or drainage concerns.
As you learn how to vent basement toilet, remember the importance of carefully planning your system while adhering to safety guidelines. Should you encounter complex scenarios or feel uncertain, do not hesitate to reach out to a professional plumber for assistance. With proper venting in place, your basement toilet will operate efficiently, helping to prevent plumbing problems and maintaining a safe, odor-free environment for your home.

