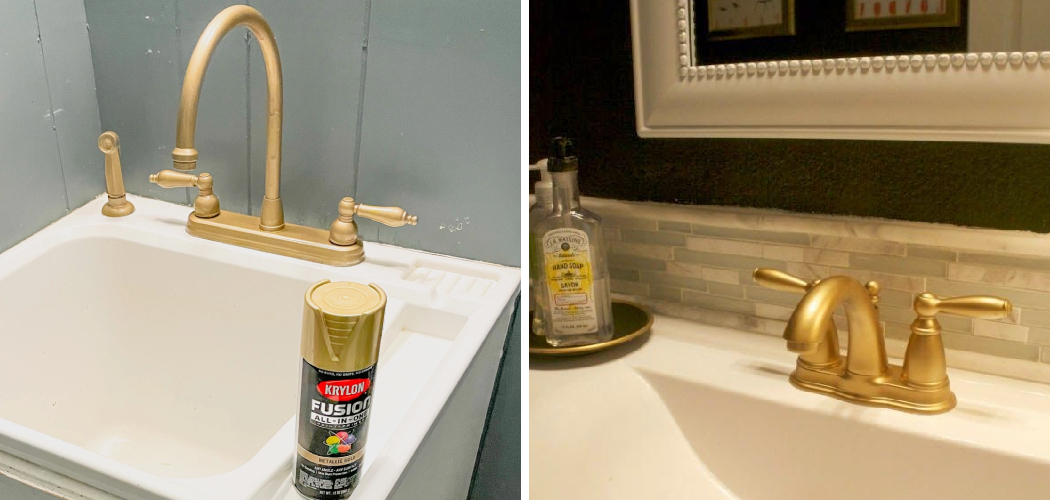
Updating the look of your bathroom doesn’t always require a complete renovation. One effective and budget-friendly way to refresh the space is by painting the bathroom fixtures. Whether it’s refreshing the color of your sink, bathtub, or faucet, a fresh coat of paint can dramatically change the aesthetics of your bathroom. With the right tools and techniques, you can transform outdated or worn fixtures into modern statement pieces,
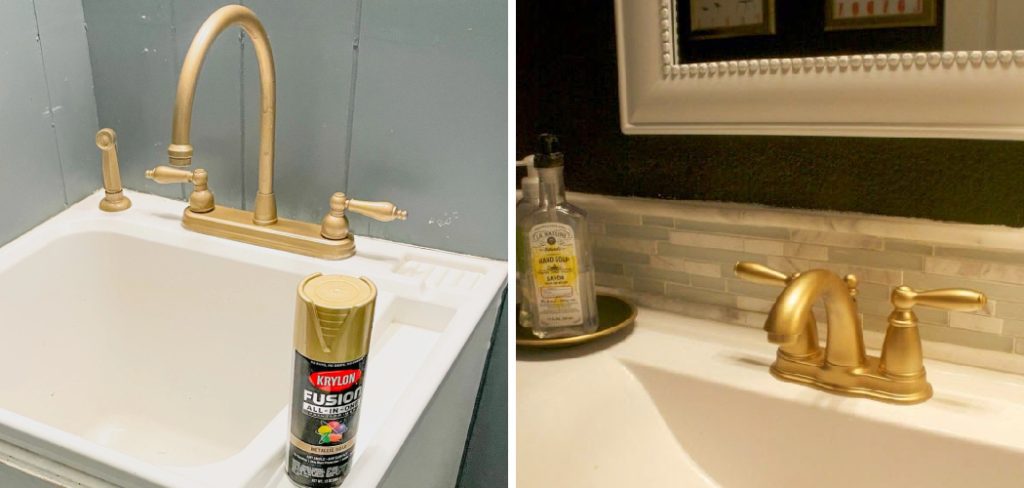
enhancing the overall appearance and feel of your bathroom. This guide will walk you through the process, providing tips and step-by-step instructions on how to paint bathroom fixtures.
Benefits of Painting Fixtures Instead of Replacing Them
Painting bathroom fixtures offers several advantages over replacement. Firstly, it is a cost-effective solution, often saving you significant money compared to purchasing new fixtures and paying for professional installation. Secondly, painting allows for greater customization, as you can choose from a wide range of colors and finishes to match your personal style and the aesthetic of your bathroom. Additionally, painting is less labor-intensive and disruptive than a full replacement, allowing you to update your bathroom in a relatively short period without the need for extensive demolition or plumbing work. Finally, it is an environmentally friendly option, as it reduces waste by keeping your existing fixtures out of the landfill. Overall, painting is a practical and efficient way to give your bathroom a fresh, new look without the hassle and expense of replacing fixtures.
Which Bathroom Fixtures Can Be Painted
When considering a bathroom makeover through painting, it’s important to know which fixtures can be effectively transformed with paint. Many surfaces, such as ceramic, porcelain, metal, and even certain plastics, can be successfully painted with the right preparation and products. Common bathroom fixtures suitable for painting include sinks, bathtubs, toilets, and faucets.
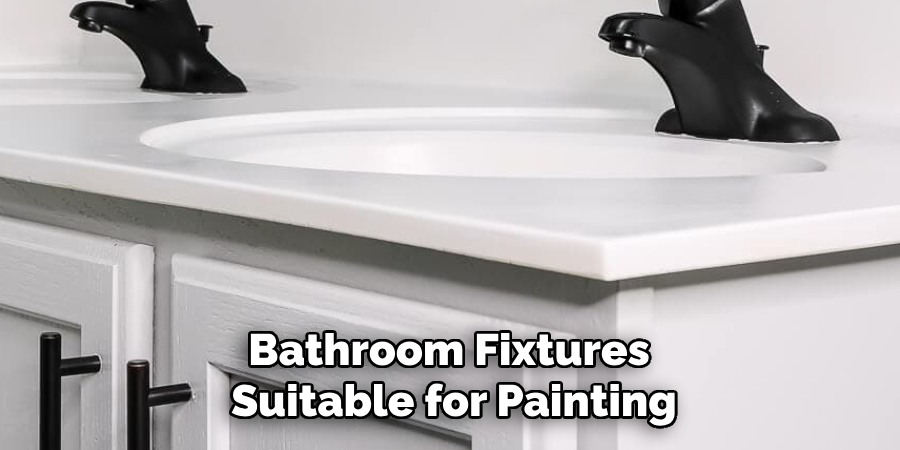
Cabinetry and hardware, such as towel bars and drawer pulls, can also benefit from a fresh coat of paint to match the updated look of your primary fixtures. However, it’s crucial to use paint specifically designed for the material you’re working with and withstand the moisture and wear common in a bathroom environment. Always ensure proper surface preparation and follow the manufacturer’s instructions for the best results.
Materials and Tools Needed for Painting
Before you begin painting your bathroom fixtures, gathering the right materials and tools is essential to ensure a smooth and successful project. Here’s a checklist of what you’ll need:
- Cleaning Supplies: Use a mild detergent or a bathroom cleaner to thoroughly clean surfaces. A degreaser may be necessary for particularly stubborn grime.
- Sandpaper or Sanding Block: To scuff up the surfaces and ensure the paint adheres properly, use sandpaper in a medium to fine grit.
- Painter’s Tape: Essential for protecting areas you don’t want to be painted, such as walls and surrounding surfaces.
- Drop Cloths: Protect your bathroom floors and any nearby surfaces from paint drips or spills.
- Paintbrushes and Rollers: Choose a high-quality brush or roller appropriate for the type of paint and the surface you are painting for smooth application.
- Primer: A high-adhesion primer formulated for use on glossy or ceramic surfaces to provide a solid base for your paint.
- Paint: Select a durable, moisture-resistant paint suitable for the type of fixture and material, such as epoxy or enamel paint.
- Protective Gear: Safety glasses, gloves, and a mask to protect yourself from dust and fumes during sanding and painting.
- Paint Tray: To hold and distribute your paint evenly during application.
By having all these materials and tools ready, you can ensure the process of painting your bathroom fixtures is both efficient and effective, resulting in a professional-looking finish.
10 Methods to How to Paint Bathroom Fixtures
Are your bathroom fixtures looking a little outdated or worn out? Refreshing them with a new coat of paint can breathe life into any bathroom space without the need for a full remodel. Whether you’re a seasoned DIY enthusiast or a beginner in home renovations, this guide will equip you with practical methods to transform your bathroom fixtures with confidence and style.
1. Choose the Right Paint
Selecting the appropriate paint is crucial for durability and finish. Opt for spray paints or epoxy-based paints designed specifically for metal and ceramic surfaces. These paints adhere well to fixtures, ensuring a long-lasting and vibrant appearance.
2. Gather Essential Tools and Materials
Before starting, assemble all necessary materials such as painter’s tape, drop cloths, sandpaper, and cleaning agents. Preparing ahead saves time and helps you stay organized throughout the process.
3. Remove Fixtures if Possible
If feasible, detach fixtures from walls or countertops. This approach allows for a more thorough painting job and eliminates the risk of accidentally painting other surfaces. Use a wrench or screwdriver to safely remove fixtures.
4. Clean Thoroughly
A clean surface is vital for paint adhesion. Use a degreaser or mild detergent to remove grime, soap scum, and residual oils. Rinse and dry the fixtures completely to prevent paint from bubbling.
5. Sand the Surface
Lightly sanding the fixture creates a texture for the paint to grip onto. Use fine-grit sandpaper and gently sand until the surface feels slightly rough. This step is particularly important for glossy fixtures.
6. Use Painter’s Tape for Precision
Apply painter’s tape around areas you wish to protect from paint. This includes screws, handles, and any adjacent surfaces. Taping ensures clean lines and a professional-looking finish.
7. Apply a Primer
Priming the surface enhances paint adhesion and provides a smooth base. Apply a thin, even coat of primer using a small brush or spray can, and allow it to dry completely before proceeding.
8. Paint with Even Strokes
Apply paint in even, steady strokes to avoid drips and runs. If using spray paint, maintain a consistent distance from the surface and use sweeping motions. Multiple thin coats yield better results than one thick coat.
9. Allow Adequate Drying Time
Patience is key in achieving a flawless finish. Allow each coat to dry thoroughly before applying the next. Follow the manufacturer’s instructions for drying times between coats and after the final application.

10. Reattach and Seal Fixtures
Once the paint has completely cured, reattach your fixtures carefully. Consider adding a clear sealant for extra protection and longevity, especially in high-moisture environments like bathrooms.
Tips for a Professional Finish
Achieving a professional finish when painting bathroom fixtures requires attention to detail and refinement. Here are some expert tips to elevate your project:
- Surface Inspection: Before applying the final coat of paint, meticulously inspect the surface for any imperfections or areas missed during the previous steps. Sand down any uneven spots and reapply primer if needed.
- Temperature and Ventilation: Work in a well-ventilated area to ensure proper drying and minimize exposure to fumes. Room temperature should be moderate, as extreme temperatures can affect how the paint cures.
- Quality Tools: Using high-quality brushes and rollers is crucial for a smooth application. Synthetic brushes are often recommended for water-based paints, while natural bristle brushes work well with oil-based paints.
- Technique Mastery: Practice your painting technique on a spare piece before starting the actual fixture. Maintaining a consistent stroke and pressure will help you avoid streaks and irregularities.
- Layering: Build your color gradually with multiple light coats. Each layer should be thin and allowed to dry fully before moving to the next, which helps prevent drips and ensures a uniform appearance.
- Final Touches: After the final coat has dried, inspect for any small errors or drips. A fine-grit sandpaper can often correct these without damaging the finish. Touch-ups should be done with a small brush to maintain precision.
Common Mistakes to Avoid
While painting bathroom fixtures can be straightforward, several common mistakes can hinder the final outcome. By being aware of these pitfalls, you can achieve a professional-looking result with minimal frustration:
- Skipping Surface Preparation: Neglecting to clean and sand the surface properly can result in poor paint adhesion and an uneven finish. Always ensure the fixtures are free of dirt, grease, and old paint residues.
- Ignoring Primer: Some may be tempted to skip the primer to save time, but this step is essential for ensuring the paint adheres well and lasts longer. It also prevents the underlying material from affecting the paint’s color.
- Overloading Paint: Applying too much paint at once can lead to drips, sagging, and a blotchy appearance. Opt for multiple thin coats instead of a single thick layer to maintain a smooth and even finish.
- Inadequate Drying Time: Failing to allow sufficient drying time between coats can cause smudging and extended drying times. Follow the manufacturer’s recommendations to ensure each layer cures properly.
- Improper Ventilation: Painting in a poorly ventilated area can lead to prolonged drying times and increased inhalation of fumes. Ensure your workspace is well-ventilated to optimize safety and efficiency.

Conclusion
Painting bathroom fixtures can be a highly rewarding DIY project that elevates the aesthetics of your space without breaking the bank. By meticulously preparing the surfaces, using quality tools and materials, and adhering to the proper techniques and drying times, you ensure lasting results that look professionally done. Thanks for reading, and we hope this has given you some inspiration on how to paint bathroom fixtures!

