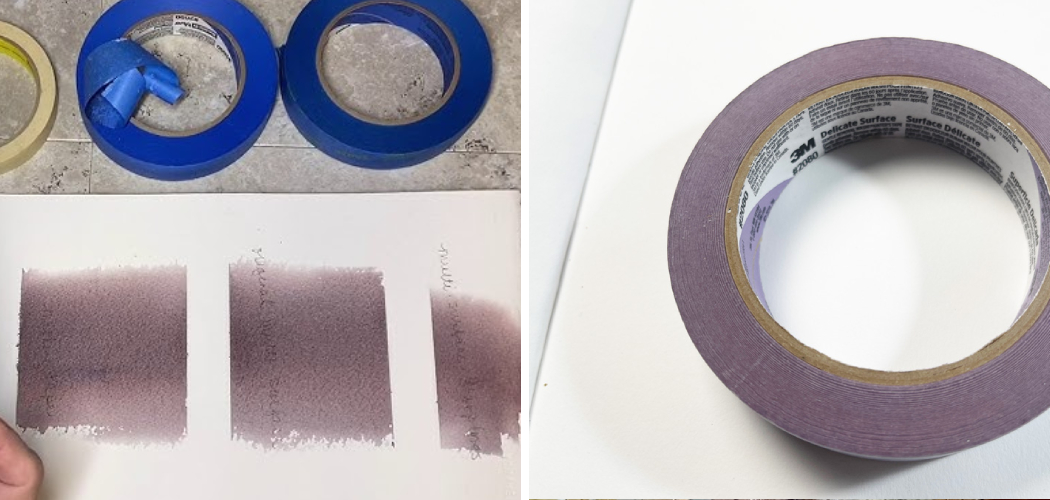
Removing masking tape from a bathroom wall can be a delicate task to prevent damage to the paint or wallpaper beneath. Over time, masking tape adhesive can harden or become brittle, making it challenging to peel off without leaving a residue or pulling off layers of the wall finish. This guide will provide step-by-step instructions on how to remove masking tape from bathroom wall, ensuring your bathroom walls remain intact and free from adhesive marks. By following these simple yet effective techniques, you can keep your bathroom looking pristine and well-maintained.
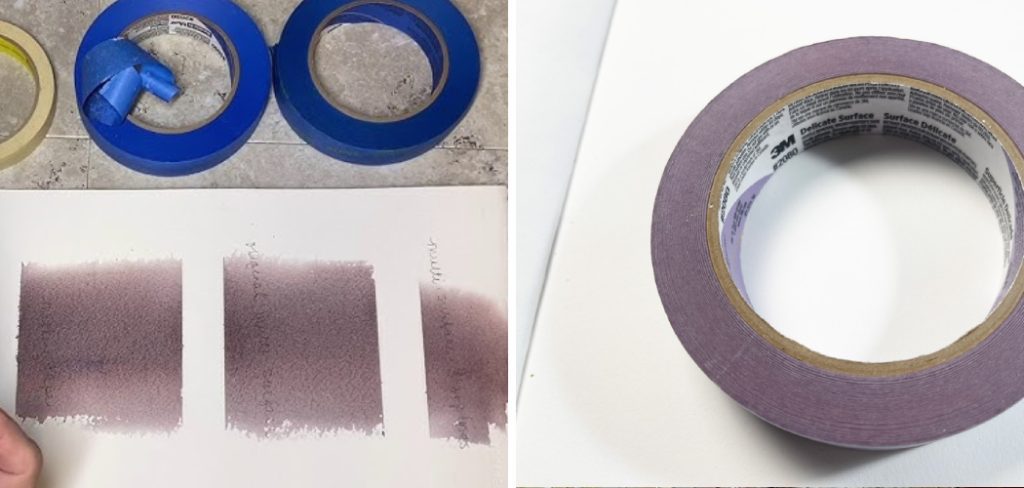
Why Masking Tape is Commonly Used in Bathroom Painting
Masking tape is a popular choice for bathroom painting projects due to its practical benefits and versatility. It creates clean, sharp lines and a professional finish by protecting adjacent surfaces like trim, fixtures, and adjacent walls from unwanted paint splatters. Bathrooms often contain numerous fixtures and intricate edges that require precision, and masking tape facilitates this by allowing painters to focus on surface coverage without
constantly adjusting their strokes. In addition, masking tape is easy to apply and remove, making it a convenient option for both DIY enthusiasts and professional painters. Its specific design helps prevent paint bleed-through, ensuring that the final result is both neat and visually appealing.
Common Issues with Masking Tape Residue
Masking tape residue can present several challenges when left on bathroom walls for extended periods. One common issue is the sticky residue that often remains after peeling off the tape, which can attract dust and dirt, leading to unsightly marks. This adhesive residue is particularly troublesome on painted walls, as aggressive removal methods may harm the paint finish.
Moreover, in humid environments like bathrooms, the tape’s adhesive can harden over time, making it more difficult to remove without causing damage. Another issue is that aged or poor-quality masking tape may split or tear during removal, effectively increasing the amount of residue left behind. These complications underscore the importance of using quality tape and removing it promptly after completing a painting project.
Materials Needed to Remove Masking Tape
Before you begin the process of removing masking tape from your bathroom walls, it’s important to gather the necessary materials to ensure a smooth and effective removal. Here’s a list of materials you’ll need:
- Hair Dryer or Heat Gun: To gently warm the adhesive, making the tape easier to peel away without damaging the wall surface.
- Putty Knife or Plastic Scraper: For carefully lifting the tape edges and scraping off any stubborn adhesive residue.
- Microfiber Cloths: Soft cloths for cleaning the wall surface after tape removal and for applying any cleaning solutions.
- Mild Detergent or Soap: Useful for cleaning any remaining adhesive or dirt off walls without using harsh chemicals.
- Vinegar or Rubbing Alcohol: These can be used as a natural solution for breaking down tough adhesive residue.
- Sponge or Soft Brush: To assist in applying cleaning solutions and gently scrubbing away residue.
- Warm Water: For rinsing or diluting cleaning solutions.
Having these materials at hand will help ensure that you can effectively and safely remove masking tape, preserving the integrity and appearance of your bathroom walls.
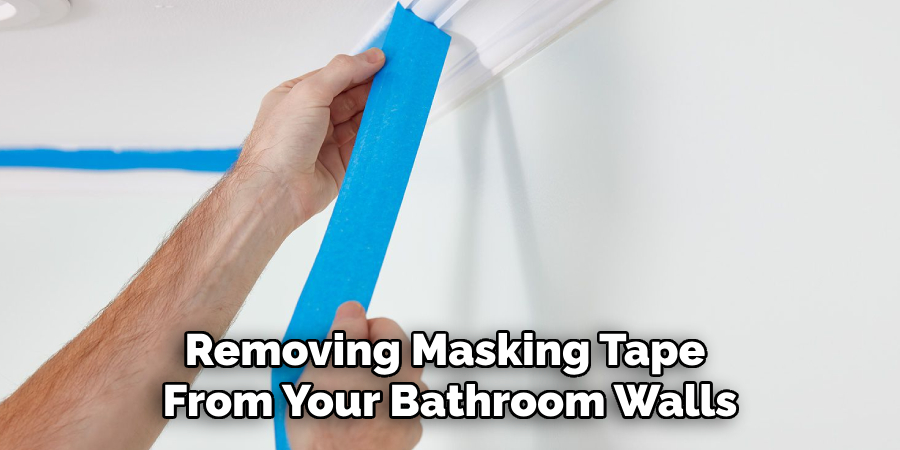
10 Methods How to Remove Masking Tape from Bathroom Wall
Masking tape is a staple in any DIY project, especially when painting or renovating spaces like bathrooms. However, removing it without damaging the walls can often be a challenge. This guide will equip you with tried-and-true methods to ensure that your walls remain pristine after your latest project. Whether you’re a DIY enthusiast, a seasoned renovator, or a homeowner looking for the best results, these techniques will help you achieve a smooth finish.
1. Use Heat from a Hairdryer
A hairdryer is a simple yet effective tool for loosening adhesive. Direct warm air at the tape for a few minutes, which will soften the glue and make peeling it off much easier. This method is particularly useful for older tape that has hardened over time.
2. Apply Vinegar Solution
Vinegar’s mild acidity can break down adhesive bonds. Mix equal parts vinegar and water, apply to the tape with a cloth, and gently peel the tape away. This eco-friendly solution is perfect for those looking for a chemical-free approach.
3. Rubbing Alcohol Trick
Rubbing alcohol is another effective adhesive remover. Dampen a cotton ball with alcohol, apply it to the tape, and allow it to sit for a minute. This will help dissolve the glue, making the tape removal process smoother.
4. Try the Peel-and-Slice Method
For particularly stubborn tape, use a utility knife to slice through the tape while gently peeling it away. Ensure the blade is sharp and handle it with care to avoid scratching the wall surface.
5. Use Goo Gone or Similar Products
Specialty adhesive removers like Goo Gone are designed to tackle tough residues. Apply the product as directed, and the tape should come off with minimal effort. Always do a patch test first to ensure no discoloration occurs.
6. Warm Soap and Water
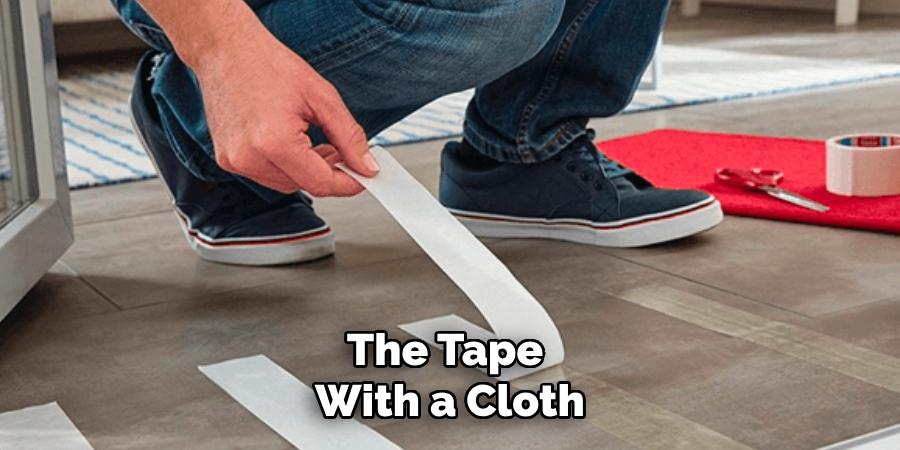
For a gentler approach, soak a cloth in warm soapy water and apply it to the tape. This method is less invasive and particularly effective on surfaces prone to damage.
7. Employ a Plastic Scraper
Use a plastic scraper to gently lift the tape’s edge. This tool is less likely to damage walls compared to metal scrapers and can be very effective when combined with heat or solvent methods.
8. Utilize Steam
Steam can effectively break down adhesives without the need for chemicals. Use a handheld steamer to apply steam directly to the tape, then peel it away while it’s still warm.
9. Baking Soda Paste
Create a paste with baking soda and water, apply it to the tape, and leave it for a few minutes. The paste will weaken the adhesive bond, making removal easier. This non-toxic method is ideal for families with young children or pets.
10. Patience and Gentle Tugging
Sometimes, the best method is simply to take your time. Slowly and carefully peeling the tape at a 45-degree angle can often yield the best results, especially with newer tape.
Things to Consider When Choosing Masking Tape
When selecting masking tape for your bathroom project, there are several important factors to keep in mind to ensure optimal results and minimize the risk of damage. First, consider the tape’s adhesive strength. For bathroom walls, choose a medium to low-tack adhesive that can hold during the project but is easy to remove afterward without leaving residue.
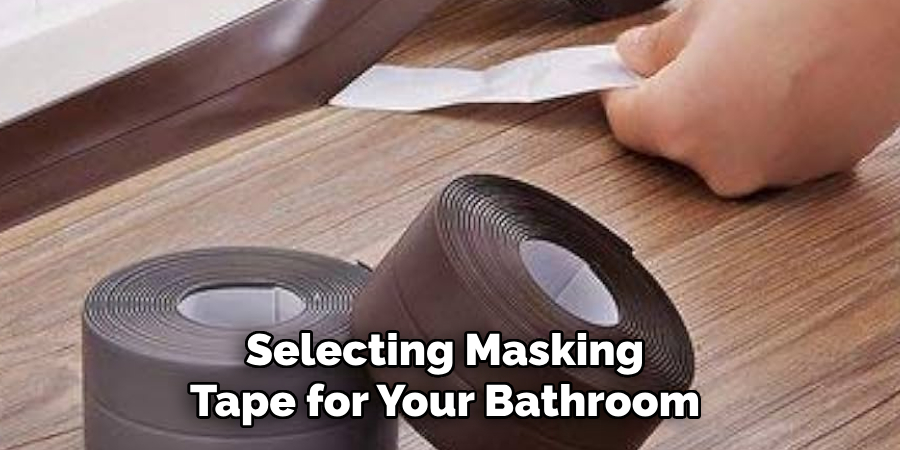
Next, think about the tape width; a wider tape might offer better protection against paint splatters but could be more challenging to apply cleanly on tight corners or detailed areas. Also, ensure the tape is designed for the specific surface material of your walls, as certain tapes may not adhere well to painted surfaces, tiles, or wallpaper. Environmental conditions such as humidity in the bathroom can affect the tape’s performance, so opting for a humidity-resistant tape is wise.
Troubleshooting Common Issues
Even with careful planning and the right tools, removing masking tape can sometimes lead to unexpected challenges. Here are some common issues you might encounter and how to address them:
1. Tape Leaving Residue
If tape leaves a sticky residue on the wall, try using warm, soapy water to soften the adhesive. If that doesn’t work, apply a small amount of vinegar or rubbing alcohol with a soft cloth. Gently rub the area until the residue is gone. Be cautious to avoid damaging the wall finish.
2. Paint Peeling Off
If sections of paint peel off with the tape, it may be due to using the wrong type of tape or improper application. To remedy this, lightly sand the area and repaint. For future projects, use a low-tack tape suitable for delicate surfaces and ensure the paint is fully cured before applying the tape.
3. Tape Not Sticking Properly
If the tape doesn’t adhere well initially, humidity or dust on the wall might be the culprits. Wipe the wall with a damp cloth and let it dry completely before reapplying the tape. Consider using tape designed for high-humidity environments, especially in bathrooms.
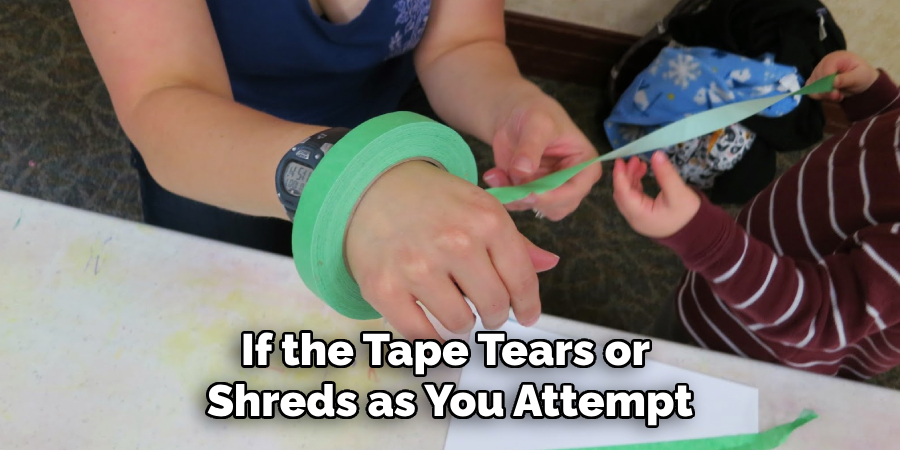
4. Tape Tearing During Removal
If the tape tears or shreds as you attempt to remove it, use a sharp utility knife or plastic scraper to lift the edges and remove small sections at a time. Applying heat can also help make the adhesive more pliable and reduce tearing.
Conclusion
Successfully removing masking tape and selecting the proper type for your projects can significantly impact the final results of your renovations or painting endeavors. By employing a variety of adhesive removal techniques, such as using heat or natural solvents like vinegar, you can ensure a clean finish without damaging surfaces. Similarly, understanding how to choose the right tape based on adhesive strength,
width, and environmental considerations will make your application process smoother and more efficient. Thanks for reading, and we hope this has given you some inspiration on how to remove masking tape from bathroom wall!

