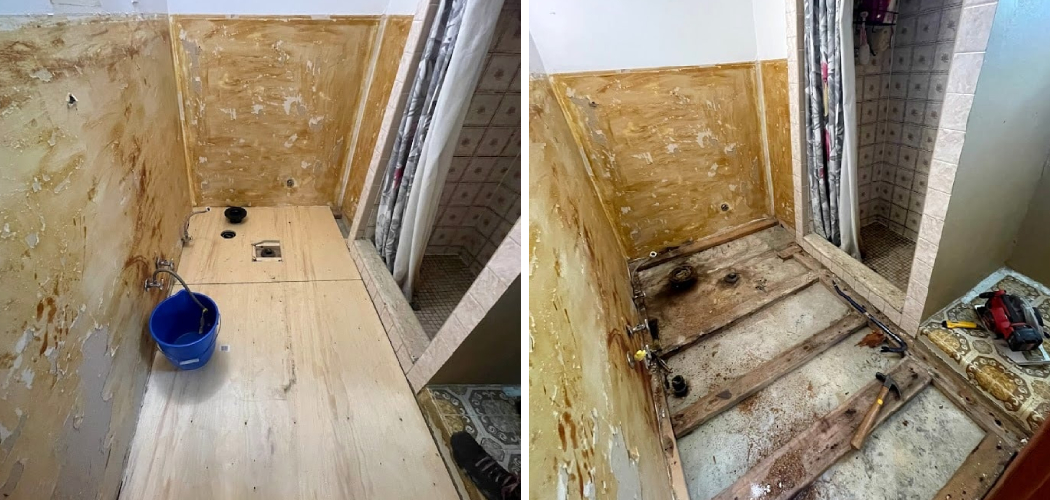
Laying a subfloor in the bathroom is a fundamental step in ensuring a safe and long-lasting foundation for your flooring. This process not only provides structural support but also creates a smooth, even surface to prevent tile cracking and water damage. This guide explores the key aspects of how to lay a subfloor in bathroom. Before embarking on this DIY project, it is essential to have a clear
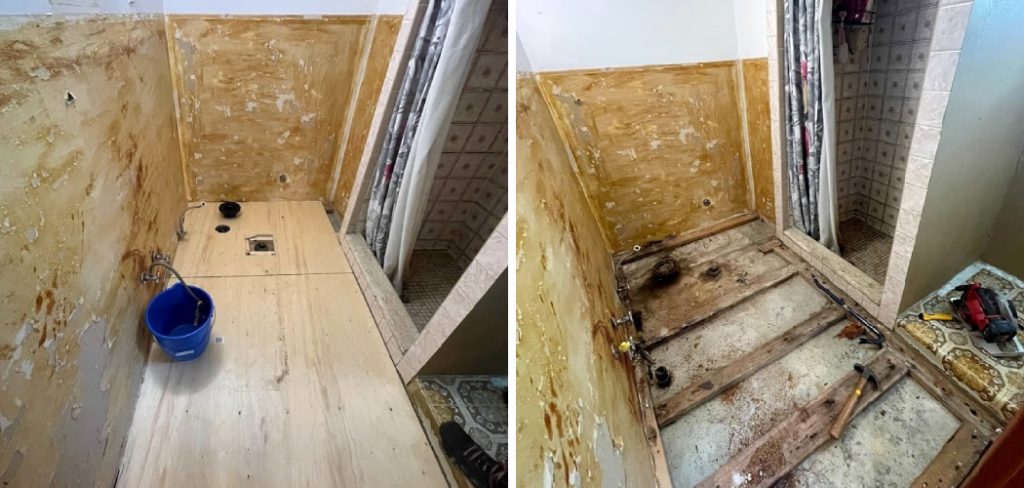
understanding of the materials involved and the necessary steps to achieve a professional result. With the right tools and a bit of patience, you can successfully lay a subfloor that withstands the moisture and demands of a bathroom environment.
What is a Subfloor?
A subfloor is the base layer of a floor in a building, sitting directly on top of the structural frame. It serves as the underlying support for the finish flooring material, such as tile, vinyl, or hardwood. In bathrooms, a durable subfloor is particularly crucial due to the constant exposure to moisture. Typically constructed from plywood or oriented strand board (OSB), a well-installed subfloor not only provides stability and strength but also helps to prevent water damage and maintain the integrity of the finished surface.
By ensuring that the subfloor is properly installed, you lay the groundwork for a floor that is both aesthetically pleasing and resilient.
Importance of a Solid Subfloor for Bathroom Flooring
A solid subfloor is crucial in any bathroom to support the surface flooring and maintain its integrity over time. Bathrooms are subject to frequent exposure to moisture, making them especially prone to water damage. A well-laid subfloor acts as a barrier against water infiltration, which can otherwise lead to mold growth, rot, or instability in your bathroom flooring. Additionally, a robust subfloor ensures that the tiles remain evenly supported,
reducing the risk of cracks or loose tiles that may develop due to uneven surfaces or fluctuations in temperature and humidity. Investing time and effort into constructing a strong subfloor can save significant costs and inconvenience in repairs and maintenance, providing peace of mind for years to come.
Tools and Materials Needed
To lay a subfloor in the bathroom effectively, you’ll need a selection of tools and materials designed to ensure precision and durability. Essential tools include a measuring tape, chalk line, circular saw, and jigsaw for cutting subfloor panels to size. A power drill with a screwdriver bit is necessary for securing the panels in place, while a level ensures each piece is even. Personal protective equipment like gloves, safety goggles, and a dust mask should also be worn.
As for materials, you’ll require moisture-resistant plywood or oriented strand board (OSB), construction adhesive for bonding layers, and galvanized screws or nails for fastening. You may also need a vapor barrier if your bathroom is prone to high moisture levels. Having all these tools and materials on hand before beginning the project will streamline the process and improve the quality of your finished subfloor.
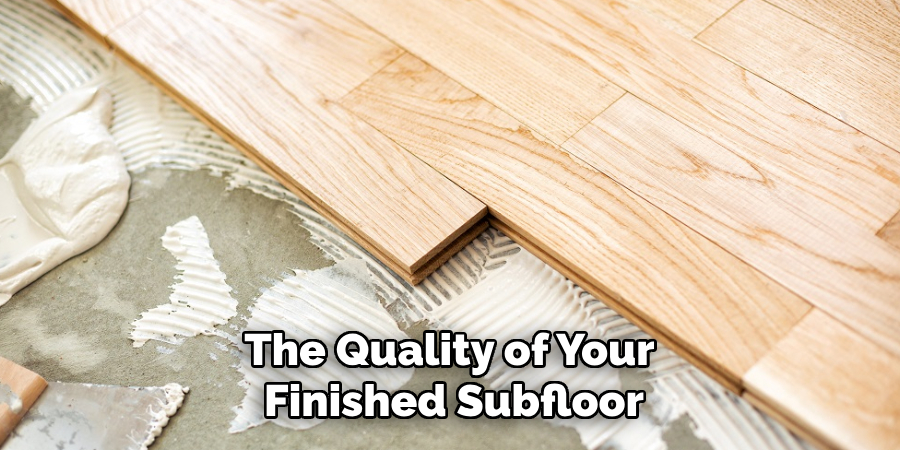
10 Essential Methods on How to Lay a Subfloor in Bathroom
Renovating your bathroom can significantly enhance the comfort and value of your home. One of the most crucial steps in this process is laying a solid subfloor, which provides a stable foundation for the flooring material of your choice. Whether you’re a DIY enthusiast or a seasoned bathroom remodeler, mastering this task can prevent problems like uneven surfaces and water damage.
1. Choose the Right Subfloor Material
Selecting the appropriate subfloor material is the first step. Common options include plywood and oriented strand board (OSB). Plywood is favored for its strength and moisture resistance, making it ideal for bathrooms. OSB is more economical but can swell with water exposure. Consider your budget and the bathroom’s humidity levels when making your choice.
2. Measure and Cut with Precision
Accuracy in measurement is key to a successful subfloor installation. Use a tape measure to determine the dimensions of your bathroom, accounting for any irregularities. Cut your chosen material precisely with a circular saw, ensuring each piece fits snugly within the space. This precision avoids gaps that could lead to instability.
3. Utilize a Moisture Barrier
Bathrooms are prone to moisture, which can ruin subflooring over time. Incorporate a moisture barrier, such as a polyethylene sheet, between the subfloor and the flooring material. This additional layer of protection prevents water from seeping through, prolonging the lifespan of your subfloor.
4. Secure with Screws, Not Nails
When attaching the subfloor to the joists, opt for screws instead of nails. Screws offer better holding power and reduce the risk of squeaky floors. Space the screws about 6 to 8 inches apart along the edges and every 12 inches in the field. This method ensures a tight, secure fit.
5. Level the Surface
Uneven surfaces can create numerous problems during tile or laminate installation. Use a level to check your subfloor’s evenness. If necessary, apply a leveling compound to fill in any low spots. This step is crucial for achieving a smooth, professional finish.
6. Consider Adding a Cement Board
For bathrooms, adding a cement board on top of the subfloor is a wise choice. Cement boards are water-resistant and provide a sturdy base for tiles. Affix the cement board with thin-set mortar and screws, staggering the joints to enhance stability.

7. Seal Joints and Edges
To further protect your subfloor from moisture, seal all joints and edges with a waterproof sealant. This extra layer of protection prevents water from penetrating the seams, reducing the risk of water damage and mold growth.
8. Allow for Expansion Gaps
Wood materials can expand and contract with temperature and humidity changes. Leave a small expansion gap, usually 1/8-inch, around the perimeter of the room. This practice accommodates natural movement and prevents buckling.
9. Plan for Plumbing and Fixtures
Before securing the subfloor, ensure that plumbing and fixture placements are accounted for. Cut out openings for toilet flanges, drains, and other fixtures precisely. Double-check measurements to avoid costly mistakes.
10. Conduct a Final Inspection
Once installed, perform a thorough inspection of your subfloor. Check for any loose screws, gaps, or uneven areas. Addressing these issues before laying down the final flooring material saves time and money in the long run.
Maintenance and Upkeep
Maintaining your bathroom’s subfloor is vital to ensure its longevity and functionality. Regular inspections can help identify signs of wear or potential water damage early on, allowing for timely repairs before issues worsen. Be vigilant for any unusual sounds when walking on the floor, as squeaks or shifts may indicate loose fittings or moisture intrusion. Keep the bathroom well-ventilated to reduce humidity and minimize potential water damage.
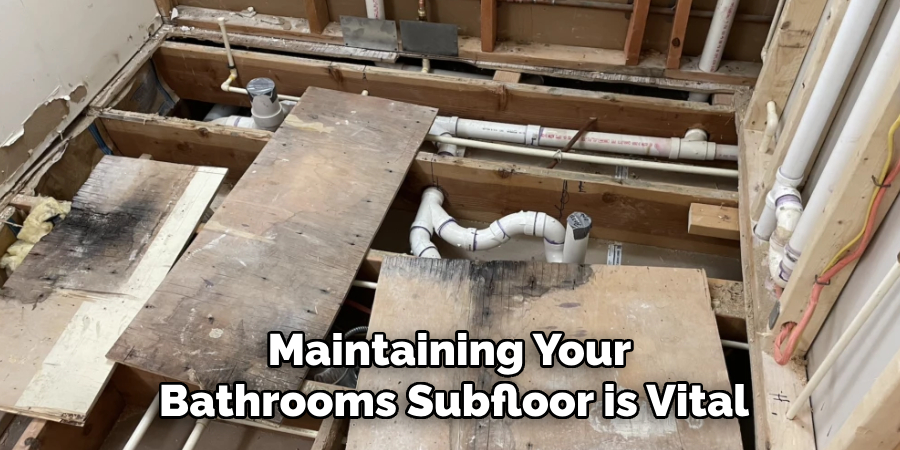
If you notice any water stains or softness in the floor, investigate immediately to address leaks or seal failures. Additionally, it’s wise to reseal joints and edges periodically with a waterproof sealant to maintain a strong barrier against moisture. By incorporating these upkeep practices into your routine, your subfloor can remain in excellent condition, supporting the beauty and safety of your bathroom space for years to come.
Troubleshooting Common Issues on How to Lay a Subfloor in Bathroom
Even with careful planning and execution, issues can arise with your bathroom subfloor over time. Common problems include squeaky floors, water leaks, and uneven surfaces, but fortunately, many of these issues can be addressed with straightforward troubleshooting techniques.
Squeaky Floors
Squeaky floors often result from loose screws or inadequate fastening. To remedy this, locate the source of the squeak and ensure that all screws are tightly secured. In some cases, additional screws may need to be installed. If the problem persists, consider using a lubricant like powdered graphite between the floorboards to reduce friction.
Water Leaks
Water leaks can compromise the integrity of your subfloor. If you notice any signs of leakage, such as damp spots or mold, inspect the moisture barrier and plumbing for breaches. Repair any damaged areas and replace the moisture barrier if necessary. Seal any exposed joints or edges with silicon caulk to prevent further intrusion.
Uneven Surfaces
An uneven subfloor can lead to complications when installing flooring. If you encounter dips or rises, use a leveling compound to smooth out the surface. Be sure to allow sufficient drying time before proceeding with flooring installation. For minor unevenness, sanding the high spots may suffice.
Subfloor Swelling
Subfloor swelling is typically due to prolonged water exposure, especially with OSB. If swelling is detected, remove any wet material and allow the area to dry completely. If the damage is extensive, replacing the affected section of the subfloor may be necessary. Consider installing an improved moisture barrier to prevent future issues.
Conclusion
Ensuring the durability and stability of your bathroom’s subfloor is a crucial aspect of home maintenance. By following a detailed installation process, incorporating moisture barriers, and conducting regular inspections, you can effectively prevent common issues such as water damage and uneven surfaces. Prioritizing high-quality materials and techniques—such as using screws instead of nails and adding a cement board—enhances both the longevity and functionality of the subfloor.
Thanks for reading our blog post on how to lay a subfloor in bathroom! We hope you found it helpful and informative.

