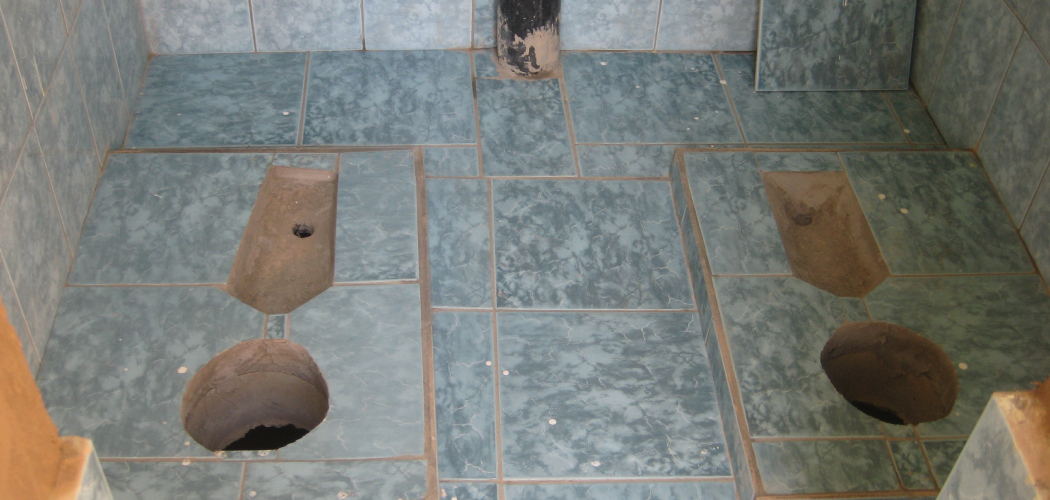
Moving a toilet drain can be essential for homeowners planning a bathroom remodel or reconfiguration. Whether you’re looking to create a more functional layout, fix an improperly placed drain, or upgrade to a new toilet style, understanding how to move a toilet drain in concrete is critical. This task demands careful planning and execution, as it involves altering the plumbing system and working with the concrete floor.
It’s vital to have a solid grasp of the existing plumbing layout, acquire any necessary permits, and adhere to local building codes. Given that this project may involve heavy labor and intricate plumbing adjustments, homeowners should evaluate their capabilities and consider seeking professional help to ensure the work is done safely and correctly.
Planning and Preparation
Assessing the Current Layout
Before embarking on moving a toilet drain in concrete, it is crucial to assess the current plumbing layout. Mapping out the existing plumbing system clarifies how the toilet connects to the drain and identifies any potential obstacles that could complicate the process, such as unexpected piping or electrical conduits. Homeowners should take note of the slope of the existing drain, as this is vital for proper drainage once the new location is established.
If available, consulting the original plumbing plans can be incredibly beneficial, offering insights into the plumbing infrastructure and ensuring that no critical elements are overlooked. A thorough understanding of the layout is essential for a successful transition, helping to avoid costly mistakes and ensuring compliance with local codes.
Gathering Tools and Materials
Equipping yourself with the right tools and materials is essential for a smooth operation. Key items include a concrete saw for cutting through the floor, a jackhammer for breaking up larger concrete sections, and a pry bar for removing debris. Measuring tape will be necessary to ensure accurate measurements for the new drain placement. For thplumbing work, PVC pipes, various fittings, and couplings are essential plumbing work, PVC pipes,
various fittings, and couplings are essentials for constructing the new drain line. A trowel is also needed to finish the concrete patching. Safety gear, such as gloves, goggles, and dust masks, should never be overlooked to ensure personal protection during the project. Following the work, a wet/dry vacuum may be required for effective cleanup, while a quality concrete mix will be needed to patch the area where the old drain was removed. Proper preparation sets the foundation for a successful project.
How to Move a Toilet Drain in Concrete: Marking the New Drain Location
Measuring and Marking
To accurately mark the new drain location for the toilet, determine the desired placement based on the new toilet specifications and any local plumbing code requirements. Use a measuring tape to define the distance from the wall or other relevant fixtures to the new drain’s location. Once the distance is confirmed, use a chalk line or marker to draw a clear outline on the concrete floor.
Ensure the marked position aligns with the necessary plumbing slope for optimal drainage—typically, a minimum slope of 1/4 inch per foot is recommended. Additionally, ensure that the new drain position accommodates any venting requirements, crucial for preventing sewer gas from entering the home. Double-check your measurements and markings before cutting, as precision at this stage is vital for a successful installation.
Cutting and Removing Concrete
Cutting the Concrete
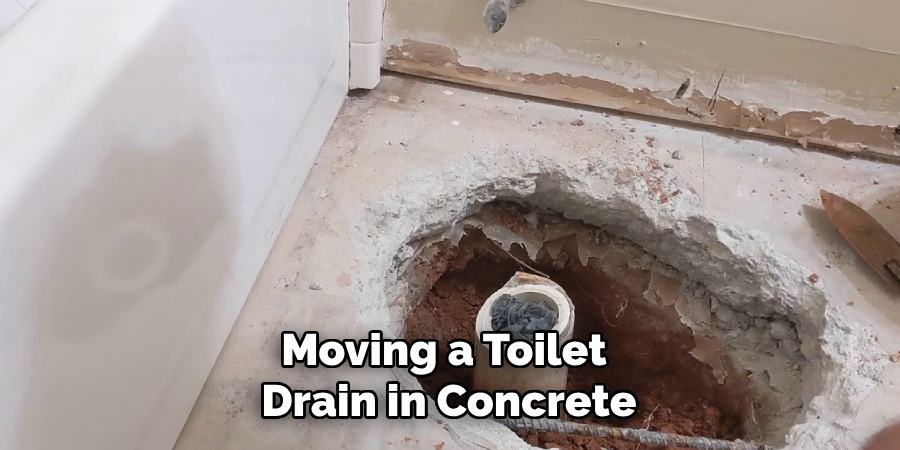
Once the new drain location has been marked, it’s time to cut the concrete. Carefully follow the outlined mark using a concrete saw to make precise cuts along the designated lines. Before starting, wear appropriate protective gear, including safety goggles, gloves, and a dust mask to guard against flying debris and dust. Proper ventilation is necessary; use fans or open windows to allow air circulation.
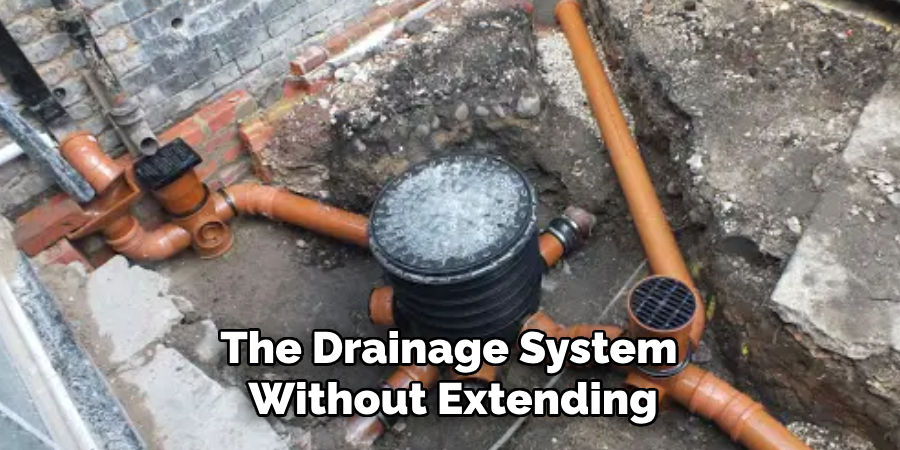
As you begin cutting, maintain a steady pace to make clean cuts, minimizing damage to surrounding areas and preventing the formation of cracks. Consider making multiple passes rather than cutting through the entire thickness at once for deeper cuts. This method reduces tool wear and provides better control. After cutting, it’s essential to check the depth of your cuts; they should be sufficient to reach the bottom of the drainage system without extending too far.
Breaking and Removing Concrete
With the concrete now cut, the next step involves breaking it up for removal. Using a jackhammer or a sledgehammer, carefully break apart the concrete along the cut lines. It’s crucial to work cautiously to avoid damaging any existing plumbing or floor structure. Start from the middle of the cut area and gradually work your way toward the edges, allowing broken pieces to lift away easily.
Once the concrete has been sufficiently broken, use a pry bar or shovel to carefully remove the chunks without causing additional damage. For more control, leverage the pry bar under the larger pieces to lift them out. If using a jackhammer, ensure that you have a clear plan for managing the debris as you work, and always take breaks to prevent fatigue and maintain focus throughout the process.
Clearing the Area
Once the concrete has been removed, it’s important to clear out any remaining debris to expose the area around the existing drain. Use a broom and a wet/dry vacuum to clean up dust and small particles for a clearer workspace. As you clean, inspect the exposed walls or base where the drain was located for any underlying pipes, electrical conduits, or other plumbing elements that could be affected during further work.
Verify that the area is entirely clear of any obstructions to ensure a smooth transition for the new drainage setup. If any unexpected pipes or wiring are discovered, adjusting your plans or seeking professional advice may be necessary to avoid potential hazards or costly mistakes. This thorough cleaning and inspection process guarantees that you’re ready to proceed effectively with rerouting the toilet drain and minimizes risks during the subsequent installation stages.
Rerouting the Drain Pipe
Disconnecting the Old Drain
To begin rerouting the drain pipe, the first step is to disconnect the old drain pipe from the toilet flange. Start by locating the connection between the flange and the existing drain pipe, ensuring you have access to the area. Use a reciprocating saw or pipe cutter to carefully cut through the existing pipe, handling the cuts at a right angle for a clean separation. Take extra care in this process to avoid damaging any nearby plumbing or structural elements.
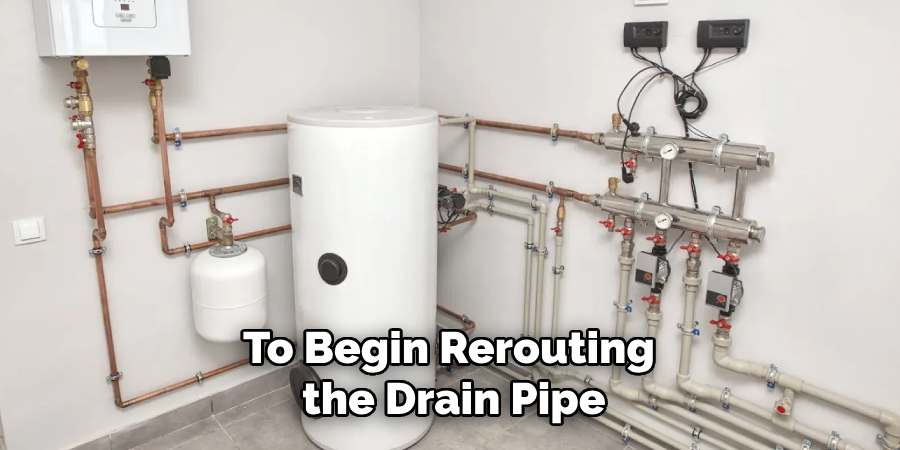
Once the pipe is cut, gently twist and pull the section of the pipe away from the flange. If you encounter resistance, check for any remaining connections or debris. It may also help to use a little lubricant around the joints to ease disassembly. Ensure that the work area is clean and clear of debris to allow for seamless installation of the new drainage system.
Installing New PVC Pipe
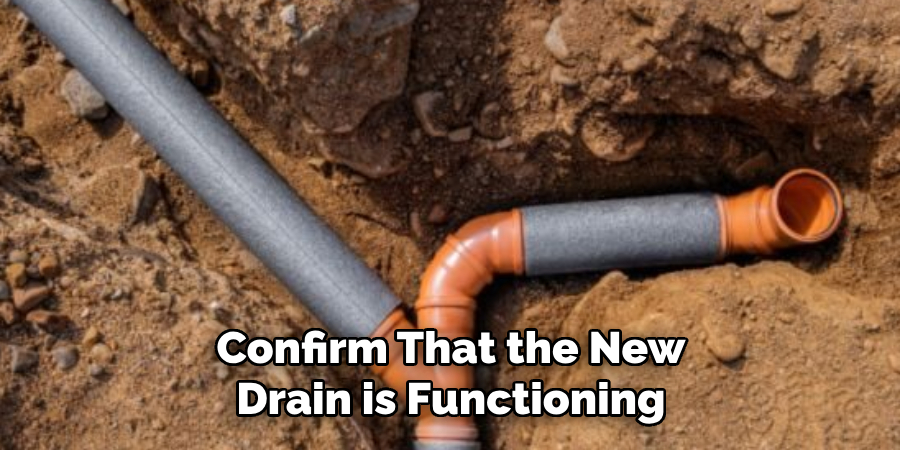
After successfully disconnecting the old drain pipe, it’s time to install the new PVC pipe extending to the new drain location. Measure the distance from the toilet flange to the desired endpoint of the new drain line, ensuring to account for any bends required in the layout. Once you have your measurements, cut the PVC pipe using a proper cutting tool, ensuring clean edges for a secure fit.
When fitting the new pipe, remember that maintaining the correct slope is crucial for efficient drainage—typically, a slope of 1/4 inch per foot is recommended. This ensures water flows naturally towards the drain, preventing any future clogs. As you join sections, use appropriate couplings and PVC cement to tightly secure each connection. Allow the adhesive to cure as per the manufacturer’s instructions before proceeding to the next steps.
Connecting to the Existing Plumbing
Finally, the new drain pipe will be connected to the existing plumbing system. Align the new PVC pipe with the old drain line and ensure a snug fit. Use a coupling to connect the two pipes securely, ensuring no gaps could lead to leaks. Once connected, it’s essential to check the entire system for proper venting, as inadequate ventilation can lead to issues with drainage due to pressure changes.
After everything is connected, run a water test by flushing the toilet to confirm that the new drain is functioning correctly. Look for any signs of leaks at the joint connections, and give special attention to areas where the new and old pipes meet. If any leaks are detected, tighten the connections or apply additional adhesive as necessary. Completing this process thoroughly is vital for the long-term reliability and functionality of the plumbing system.
Filling and Patching the Concrete
Backfilling the Trench
Once the new drain pipe is securely connected, it’s time to backfill the trench to create a stable base for the concrete patch. Begin by layering gravel or sand into the trench, starting at the bottom and ensuring a depth that allows for adequate drainage. Spread the material evenly, filling in until it is level with the surrounding floor. To prevent future settling, it’s essential to compact the backfill as you go; you can use a tamper or a plate compactor for this process.
Target small sections, compacting thoroughly before adding more material to maintain stability. Repeat until the trench is filled to avoid overfilling, which could lead to uneven surfaces or drainage issues. Ensure that the final layer is smooth and level, readying it for the concrete pour.
Pouring and Smoothing Concrete
With the trench backfilled and compacted, mix the concrete according to the manufacturer’s specifications. Aim for a consistency that allows for easy pouring but is thick enough to hold its shape. Begin pouring the concrete into the trench, working from one end to the other to prevent air pockets. Once poured, use a trowel to spread and smooth the concrete surface, ensuring it aligns seamlessly with the surrounding floor.
Take care to remove any excess concrete to create a clean finish. As you work, check for imperfections and adjust the trowel to achieve a uniform texture. After the patch is filled and smoothed, allow the concrete to cure fully as per the recommended time—typically 24 to 48 hours—before engaging in any further work or placing weight on the surface. Proper curing is crucial for ensuring the long-term integrity and durability of the patch.
Reinstalling the Toilet
Installing the New Flange
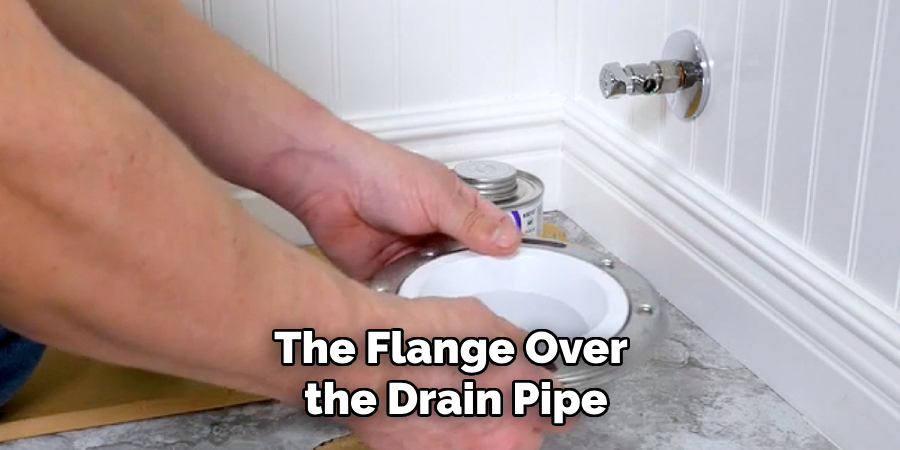
With the concrete patch fully cured, it’s time to install the new toilet flange at the new drain location. Position the flange over the drain pipe, ensuring it is level and properly aligned. Use screws to secure the flange tightly to the concrete floor, applying pressure to prevent any movement. Double-check that the flange sits flush with the surface, as an uneven installation can lead to future leaks and instability of the toilet.
Securing the Toilet
Next, carefully position the toilet over the newly installed flange, aligning the mounting holes with the flange bolts. Gently lower the toilet, ensuring the wax ring is compressed for a watertight seal. Once positioned, tighten the bolts evenly to secure the toilet in place, but be cautious not to overtighten and crack the porcelain. Reconnect the water supply line and turn on the water. Finally, test for leaks by flushing the toilet and checking around the base for stability.
Troubleshooting and Final Checks
Checking for Leaks and Proper Drainage
After completing the installation, checking for leaks around the drain and flange is crucial. Begin by visually inspecting these areas for any moisture accumulation. Additionally, run water through the system and watch for any signs of leakage at the connection points. It could indicate a blockage or improper slope if you notice slow drainage or gurgling sounds. Ensure the pipe is adequately sloped towards the drain to facilitate optimal water flow and address any clogs as necessary.
Addressing Common Issues
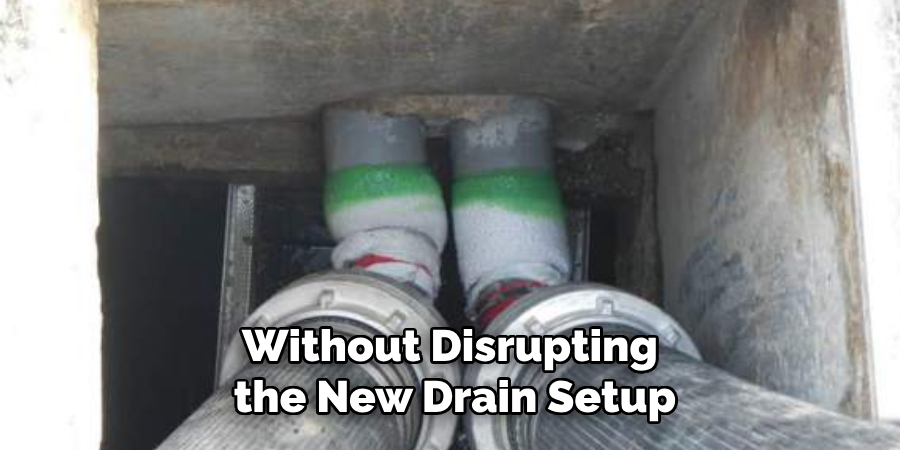
Common problems, such as uneven or wobbly toilet placement, can usually be resolved without disrupting the new drain setup. For an uneven toilet, check the level using a spirit level and adjust as needed by adding shims beneath the base. If the toilet wobbles, ensure the bolts are tight and the wax ring is correctly compressed; if needed, replace the wax ring for a better seal. Ensuring stability is essential for both comfort and functionality.
When to Hire a Professional
Assessing the Complexity of the Project
While many plumbing tasks can be managed with some DIY skills, certain situations warrant professional assistance. If your project involves complex pipe rerouting, extensive concrete removal, or adherence to local building codes, it is wise to consult a licensed plumber or contractor. These professionals possess the expertise and tools to handle intricate installations and address potential challenges effectively, ensuring the job meets all legal and safety standards.
Benefits of Professional Help
Hiring a professional provides numerous benefits, including ensuring the job is completed to a high standard. Professionals bring expertise that minimizes the risk of costly mistakes or damage to your home. Additionally, their familiarity with regulations leads to smoother compliance with local building codes. This saves you time and effort and guarantees the installation’s reliability and longevity, leaving you with peace of mind and a properly functioning plumbing system.
Conclusion
Successfully moving a toilet drain in concrete involves several key steps, including marking the new location, removing the existing concrete, and then rerouting the drain pipe to accommodate the new setup. After securing the new drain pipe and backfilling the trench, the process continues with pouring and smoothing the concrete patch. Finally, reinstalling the toilet involves setting the new flange, placing the toilet, and ensuring a watertight seal. It’s essential to plan carefully, adhere to safety guidelines, and consider professional help for complex issues.
Remember, learning how to move a toilet drain in concrete is a task that is well within reach for DIY enthusiasts with the right tools and thorough preparation. Achieving this can significantly enhance your bathroom’s functionality and aesthetic appeal, making your remodel more rewarding. Don’t hesitate to approach it confidently and strategically to ensure a successful outcome.

