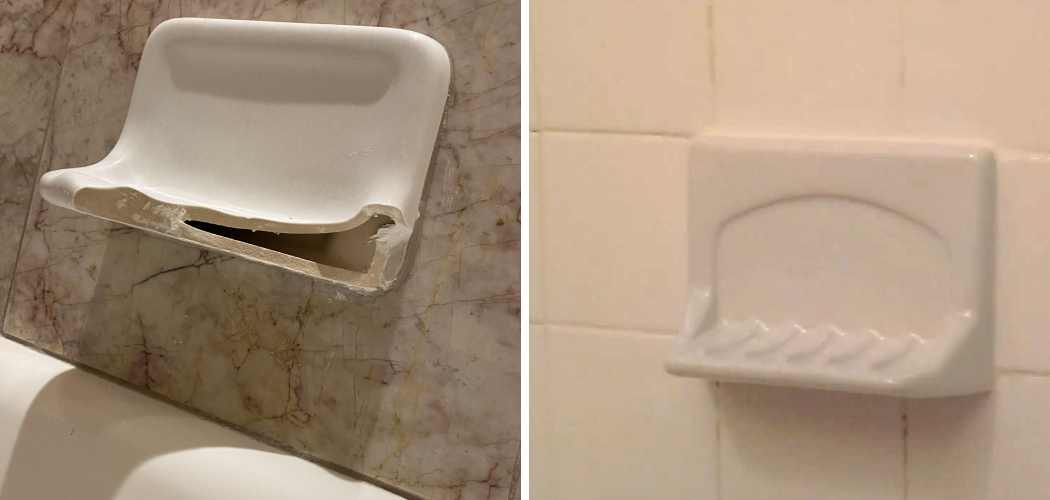
Replacing a soap dish in your shower might seem like a daunting task, but with the right guidance, it can be a straightforward project suitable even for beginners. Whether the current soap dish is outdated, damaged, or you simply want a change, implementing a new one is a great way to enhance the functionality and aesthetic of your bathroom.
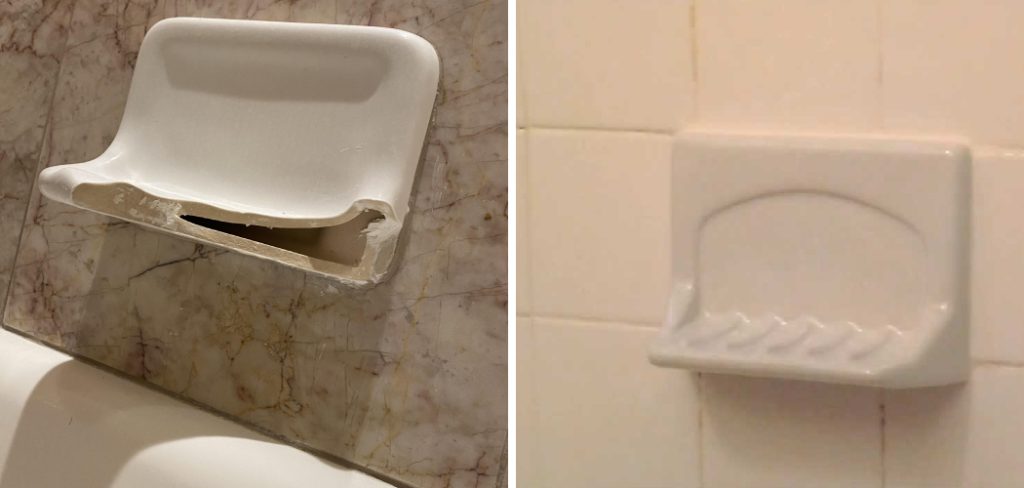
This guide on how to replace soap dish in shower will walk you through each step of the process, ensuring you feel confident in achieving a professional looking finish without the need for extensive tiling or plumbing experience.
Why Replace a Soap Dish in Shower?
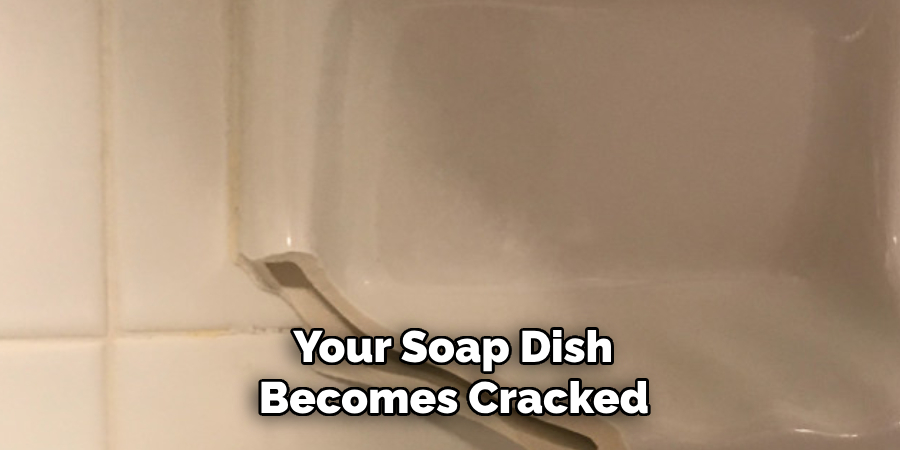
Replacing a soap dish in your shower can offer numerous benefits beyond mere aesthetics. Over time, soap dishes can become worn, cracked, or discolored, detracting from the overall appearance of your bathroom. Damaged soap dishes can also lead to issues such as soap residue buildup or mold growth, as water can seep behind the dish if it’s not properly sealed.
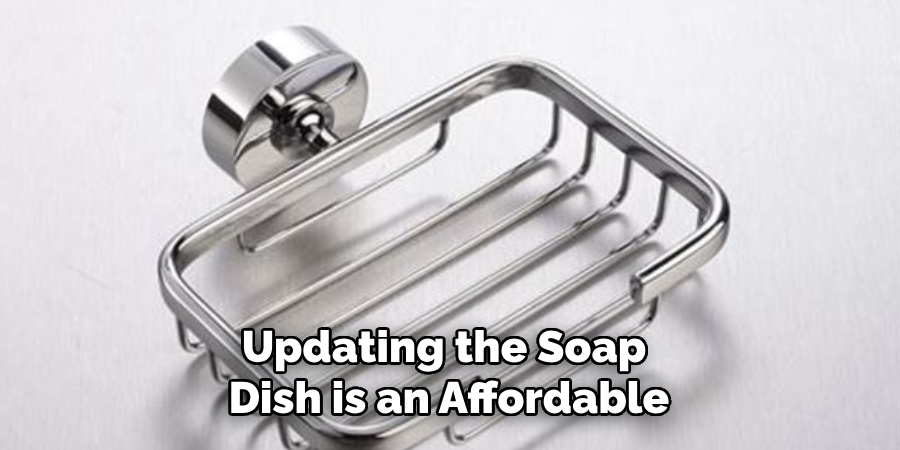
By replacing it, you can prevent potential water damage and maintain a cleaner, healthier shower environment. Moreover, a new soap dish can complement your bathroom’s decor, allowing you to customize the space to your style preferences. Whether opting for a modern design or a classic look, updating the soap dish is an affordable way to refresh the shower without a full renovation.
Materials and Tools You Will Need
- New Soap Dish
- Drill With Masonry Bit
- Caulk Gun
- Silicone Caulk
- Grout (Optional)
- Putty Knife or Scraper Tool
- Leveler
- Tape Measure
8 Step-by-step Guidelines on How to Replace Soap Dish in Shower
Step 1: Prepare the Area
Begin by removing all items from the shower area to ensure a clear workspace. This includes taking out shampoo bottles, sponges, and any fixtures nearby that might obstruct your work. Next, use a cleaning solution to thoroughly clean the area around the existing soap dish. This will help remove any soap scum, dirt, or mold that could hinder the installation of the new dish.
Allow the area to dry completely before proceeding, as adhesive materials need a dry surface to bond effectively. Additionally, put on protective eyewear and gloves to keep yourself safe while working.
Step 2: Remove the Old Soap Dish
Using your putty knife or scraper tool, gently pry off the old soap dish from the wall. Take care not to damage the surrounding tiles during this process. If there is any leftover grout or adhesive, use your scraper tool to remove it as well. Once the old soap dish and residue are cleared, clean the area once again and let it dry completely.
It’s essential to thoroughly remove all old adhesive materials to ensure a flat and smooth surface for the new soap dish installation.
Step 3: Measure and Mark the Location of the New Dish
Using a tape measure, determine the exact location where you want your new soap dish to be placed. Use a leveler to ensure that your marks are straight and even. Double-check the measurements before moving on to drilling.
But before you start drilling, make sure to also take note of any plumbing or electrical fixtures that might be behind the wall in the area where you plan to drill. You do not want to accidentally damage anything while drilling for the new soap dish.
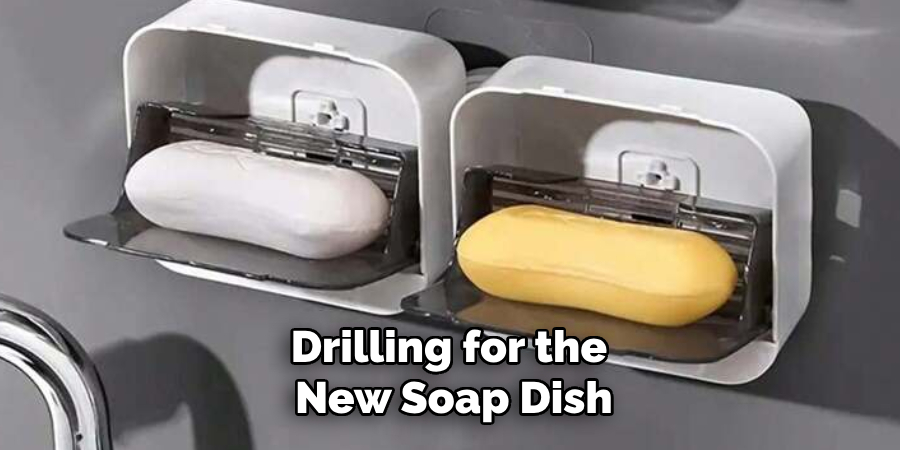
Step 4: Drill Holes
Using a masonry bit on your drill, carefully create holes at the marked locations for your new soap dish. It’s crucial to use a masonry bit as it is designed specifically for drilling into tile and other hard materials commonly found in bathrooms.
Be sure to wear protective eyewear and work slowly and steadily, applying gentle pressure when drilling.
Step 5: Apply Caulk
Once the drilling is complete, it’s time to apply the silicone caulk to create a waterproof seal for the new soap dish. Load the caulk gun with silicone caulk and carefully apply a continuous bead around the edges of the drilled holes. Ensure the bead of caulk is even and covers the entire perimeter where the soap dish will adhere to the wall.
This step is crucial to prevent water from seeping behind the soap dish, which can lead to mold or water damage over time. After applying the caulk, allow it a few minutes to become tacky but not fully set. This will help secure the soap dish in place more effectively when you attach it in the final steps.
Step 6: Attach the New Soap Dish
Carefully align the new soap dish with the drilled holes and press it firmly onto the wall. Make sure it is level and flush with the surrounding tiles. Use gentle pressure to ensure a secure bond between the dish and the caulk. Wipe away any excess caulk that may have squeezed out around the edges of the dish with a damp cloth.
The caulk should hold the dish in place, but you can also use pieces of masking tape to secure it while the adhesive fully sets.
Step 7: Fill any Gaps with Grout (Optional)
If there are any small gaps between the soap dish and the surrounding tiles, you can fill them in with grout for a more polished finish. Mix the grout according to package instructions and apply it using a putty knife. Wipe away any excess grout with a damp cloth and allow it to dry completely before proceeding.
It’s important to note that this step is optional, and you can skip it if you prefer a simpler installation process.
Step 8: Let the Adhesive Set
Allow the adhesive materials to set according to their individual instructions. This may take anywhere from a few hours to a full day, depending on the products used. Once everything has fully dried and set, remove any masking tape or supports and enjoy your new soap dish in your shower!
Following these step-by-step guidelines on how to replace soap dish in shower, you can easily and affordably replace the soap dish in your shower without the need for a professional. Not only will it improve the overall appearance of your bathroom, but it will also help maintain a clean and healthily functioning shower space. So, the next time your soap dish becomes cracked, moldy, or outdated, remember that replacing it is a simple and cost-effective DIY project.
Frequently Asked Questions
Q: Do I Need to Remove the Old Soap Dish Before Installing a New One?
A: Yes, it’s important to remove the old soap dish and any leftover adhesive materials to ensure a flat surface for the new dish to adhere properly. The old dish may also be damaged, making it unsuitable for reuse.
Q: Can I Use Regular Caulk Instead of Silicone Caulk?
A: It’s highly recommended to use silicone caulk for its waterproof properties since it will be exposed to water in the shower. Regular caulk may not provide a strong enough seal, leading to potential water damage or mold growth.
Q: Do I Need to Hire a Professional for This Project?
A: While hiring a professional is always an option, replacing a soap dish is a relatively simple DIY project that can easily be completed by following these step-by-step guidelines. However, if you’re unsure about your abilities or are working with more complicated shower fixtures, it may be best to seek professional assistance.
Q: Can I Install the New Soap Dish Before Removing the Old One?
A: It’s not recommended to install the new soap dish before removing the old one, as this may result in uneven surfaces and difficulty in properly securing the new dish. It’s best to remove the old dish first, clean and prepare the area, then install the new dish for a smooth and successful installation.
Q: Can I Reuse the Old Soap Dish?
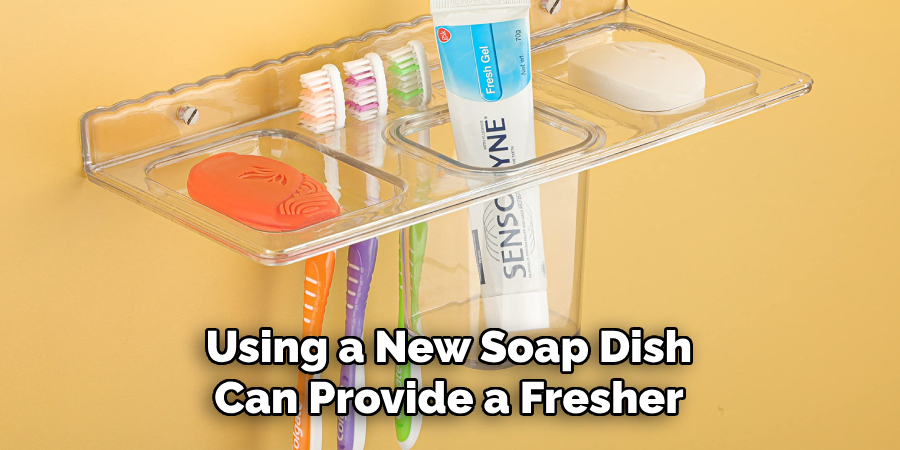
A: If the old soap dish is in good condition and clean, you may be able to reuse it for your new installation. However, using a new soap dish can provide a fresher and more hygienic option for your shower space.
Conclusion
Replacing the soap dish in your shower can seem like a daunting task, but with careful planning and attention to detail, it is a manageable DIY project that can significantly enhance the functionality and aesthetics of your bathroom. By following the step-by-step guidelines on how to replace soap dish in shower provided, you ensure a successful installation process, resulting in a securely mounted and durable soap dish.
This not only refreshes your shower space but also contributes to its upkeep by preventing issues like mold and water damage. Whether you’re looking to update the style of your bathroom or address wear and tear, tackling this project yourself can be both satisfying and cost-effective. Remember to take your time with each step and enjoy the enhanced look and utility of your newly installed soap dish.

