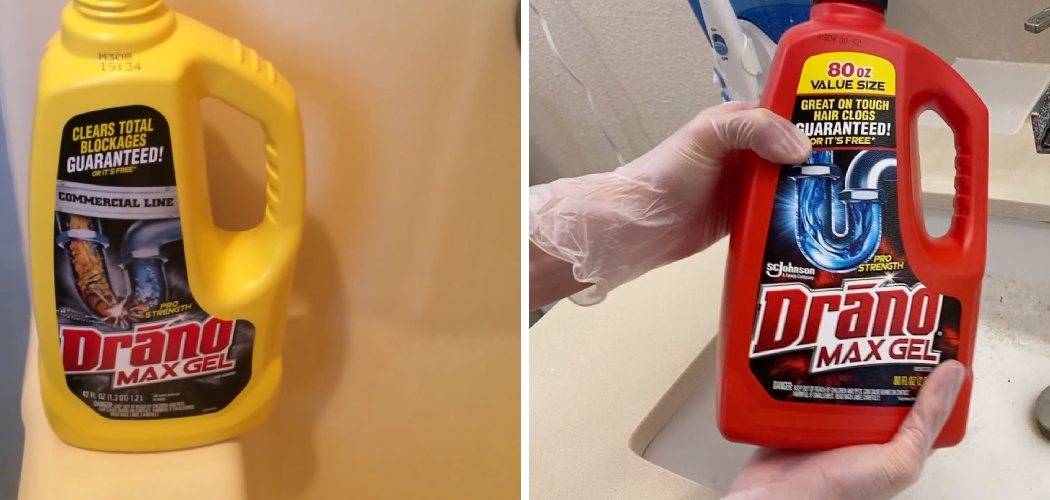
Bathtub drains are often prone to clogs, primarily caused by a buildup of hair, soap scum, and other debris over time. These common issues can lead to slow drainage or even entirely block the drain, necessitating a reliable method for clearing the blockage. Chemical drain cleaners, like Drano, are designed to effectively break down these materials, restoring proper water flow when used appropriately.
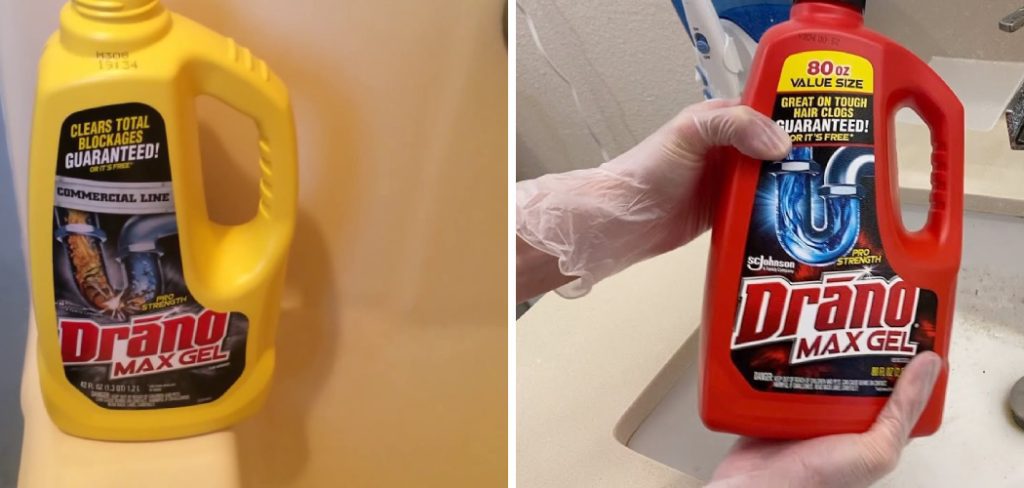
Understanding how to use Drano in bathtub settings is crucial for achieving the desired results while ensuring safety. Drano uses powerful ingredients to dissolve and dislodge debris, making it a popular choice for homeowners facing persistent clogs. However, it’s essential to follow safety precautions when using any chemical cleaner, including wearing protective gear and ensuring proper ventilation to prevent any adverse effects. By adhering to these guidelines, one can efficiently tackle bathtub clogs while maintaining a safe home environment.
Safety Precautions Before Using Drano
When preparing to use Drano, following essential safety precautions is crucial to prevent unnecessary risks. Ventilate the Area by ensuring proper airflow. This can be achieved by turning on the bathroom fan or opening a window to dissipate any fumes that might arise during application. Next, prioritize safety by wearing Protective Gear, such as gloves and eye protection, to safeguard against potential skin and eye irritation caused by the chemical cleaner.
It’s also critical to Avoid Mixing with Other Cleaners. Combining Drano with different cleaning agents can produce dangerous fumes, posing a health hazard. Furthermore, always Keep Children and Pets Away from the bathroom during the Drano application. This precaution helps avoid any accidental exposure to these potentially harmful substances. One can use Drano safely and effectively by rigorously adhering to these guidelines.
Preparing the Bathtub Drain
Before using Drano, it’s important to prepare the bathtub drain properly to maximize its effectiveness. Begin by Removing Any Visible Debris from the drain. Use a pair of tweezers or a similar tool to manually extract hair or large debris that is easily accessible. This step can significantly enhance drainage and ensure that Drano can target deeper blockages without obstruction. Next, ensure that the area around the drain is dry thoroughly.
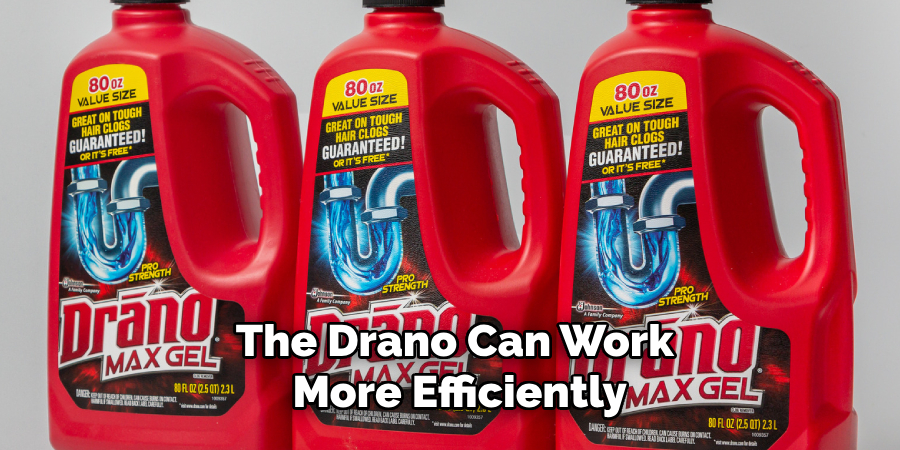
Wipe down the area using a towel to absorb any standing water. Starting with a dry area prevents the Drano solution from being unnecessarily diluted by excess moisture, allowing it to concentrate its power directly on the clog. By removing large, visible debris and ensuring the drain area is dry, the Drano can work more efficiently to dissolve and remove tougher clogs deeper within the pipes.
How to Use Drano in Bathtub: Step-by-Step Guide
Step 1: Choose the Right Drano Product
Selecting the appropriate Drano product is crucial for effectively treating bathtub clogs. Products like Drano Max Gel are specifically designed for tougher clogs found in bathroom settings. This powerful gel is thick enough to coat clogs and break down debris on contact. When determining the best product for your needs, consider the severity of the clog and the design of your plumbing system. Drano formulates various options, ensuring effectiveness against common household drain issues.
Step 2: Measure the Drano Solution
Properly measuring the Drano solution is essential to ensure both safety and effectiveness. For initial treatment, it’s typically recommended to pour half a bottle of Drano Max Gel directly into the drain, though you should always check the specific product instructions as formulations may vary. Accurately measuring the solution helps avoid waste and maximizes the cleaning power.
Step 3: Pour Directly into the Drain
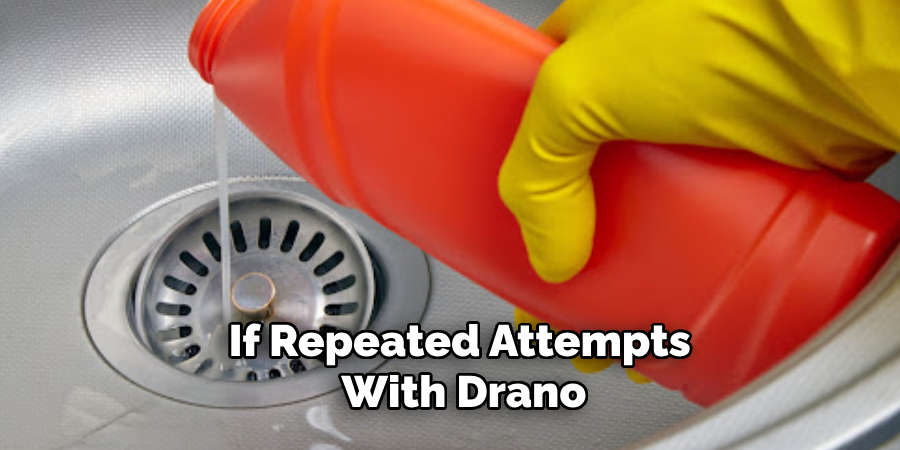
When applying Drano, careful pouring is vital. Aim to pour the solution slowly and directly into the drain to avoid causing splashes, which can result in skin or eye contact. Position yourself comfortably, and gradually tip the bottle to control the flow. Keep it directly over the drain to ensure maximum penetration and avoid detergent contact with the surrounding area.
Step 4: Let Drano Sit for the Recommended Time
Allow Drano to sit for 15-30 minutes or according to the product’s guidelines. This waiting period is crucial for the chemical cleaner to effectively break down and dissolve the clog. During this time, keep the area undisturbed to ensure optimal results. Patience at this stage significantly contributes to the success of the unclogging process, allowing the Drano to work thoroughly on the obstruction.
Flushing the Drain with Hot Water
Step 1: Boil Water (If Safe for Your Pipes)
Before flushing the drain, it’s important to determine if your plumbing can handle boiling water, as extreme temperatures may damage some older PVC pipes. If you’re uncertain, opt for using hot tap water instead. To boil water, simply fill a kettle or pot with adequate water and heat it on your stove until it reaches a rolling boil. This hot water is a key component in effectively washing away the broken-down clog, enhancing the impact of the Drano treatment.

Step 2: Pour Hot Water into the Drain
Once the water has reached the desired temperature, slowly pour it directly into the drain. This should be done gradually to avoid splashing and ensure the hottest water is flowing through the pipes, helping push the dissolved debris further along the system. This method not only assists in clearing the remaining particles but also aids in removing any residual buildup that the Drano might have dislodged.
Repeat if Necessary
If the water drainage has not returned to normal after this flushing step, you may need to repeat the hot water flush. Depending on the severity of the clog and the specific product instructions, reapplying Drano and flushing with hot water may be necessary for optimal results. Always ensure you’re following the safety guidelines and recommendations on the product instructions to avoid any potential damage or safety hazards.
What to Do if Drano Doesn’t Clear the Clog
Try a Plunger
If Drano hasn’t completely cleared the clog, a plunger may be your next best option. First, ensure that there’s some water in the bathtub to create a seal with the plunger. Place the plunger directly over the drain and pump it up and down vigorously, maintaining a steady rhythm. This action helps dislodge any remaining blockage, working with Drano’s prior dissolution efforts. If successful, you should see an improvement in drainage after a few attempts.
Consider a Drain Snake
A drain snake becomes invaluable for more persistent clogs, particularly with hair buildup that Drano may not dissolve entirely. To use it, insert the snake into the drain, rotating the handle to push through the clog. As you retract the snake, it should pull out clumps of hair or debris, effectively clearing the path. Drain snakes can navigate bends in plumbing where other tools cannot, providing a more comprehensive cleaning opportunity.
When to Call a Plumber
Recognizing when a clog is beyond DIY methods is essential. If multiple drains in your home are slow or not draining, this may indicate a more significant issue within your system. Similarly, if repeated attempts with Drano, plungers, and drain snakes yield no results, it’s time to consult a professional. A plumber can provide advanced diagnostics and specialized tools to resolve severe plumbing issues, ensuring your home’s plumbing returns to optimal function.
Cleaning Up and Post-Treatment Tips
Rinse the Drain Area Thoroughly
After completing the unclogging process, it’s crucial to rinse the area around the drain thoroughly to remove any residue left by Drano. Use clean water to wash away potential chemical remnants that might have settled on surfaces, maintaining a safe and clean bathroom environment.
Ventilate After Use
Proper ventilation in the bathroom after using Drano is important to ensure any lingering fumes dissipate. Open a window or turn on an exhaust fan for a few minutes post-treatment to help air out the space, promoting fresh air circulation.
Dispose of Empty Drano Container Properly
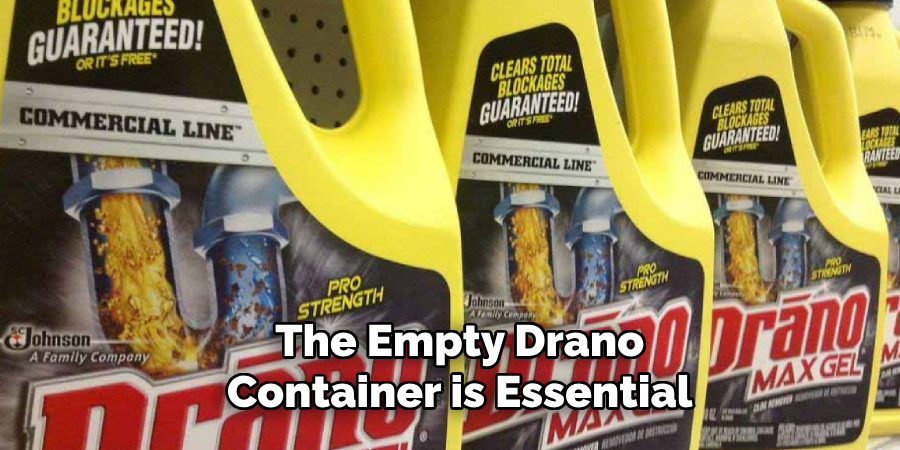
Proper disposal of the empty Drano container is essential to prevent any hazards. Follow local guidelines for disposal, often placing it in a secure trash bin. Ensure the bin is out of reach of children and pets to prevent accidental exposure.
Tips for Preventing Future Clogs
Use a Drain Cover
Placing a drain cover is an effective prevention measure for catching hair and debris that often cause clogs. A mesh or perforated cover over your drain can block these elements, simplifying routine cleanup and maintaining clear pipes.
Flush with Hot Water Regularly
Regular maintenance can keep your drain functional. Flushing with hot water weekly helps dissolve minor buildup before it develops into a major clog. If your pipes are suitable, simply run hot tap water or pour boiling water, keeping water flowing freely.
Limit Soap Scum Buildup
Soap scum is a common cause of clogs, so minimizing its formation is key. Consider using less soap or switch to liquid soap, which tends to leave less residue. This simple change can significantly reduce the frequency of clogs caused by soap buildup, ensuring smoother drainage.
Conclusion
Using Drano is an effective solution for dealing with stubborn bathtub clogs, thanks to its powerful formula designed to dissolve blockages efficiently. Understanding how to use drano in bathtub properly—ensuring adherence to product instructions and safety precautions—maximizes its effectiveness while minimizing potential risks. Observing safety measures, such as wearing gloves and goggles and ensuring proper ventilation, is crucial when handling any chemical cleaner.
Beyond the immediate resolution, maintaining clear drains requires a proactive approach. By following preventive maintenance tips such as using drain covers, regularly flushing with hot water, and minimizing soap scum buildup, you can extend the functionality of your plumbing system and reduce clog incidents over time. Finally, it is important to recognize when a clog is beyond routine measures. A professional plumber should address persistent or worsening clogs to ensure that any larger underlying issues within the plumbing are adequately resolved.

