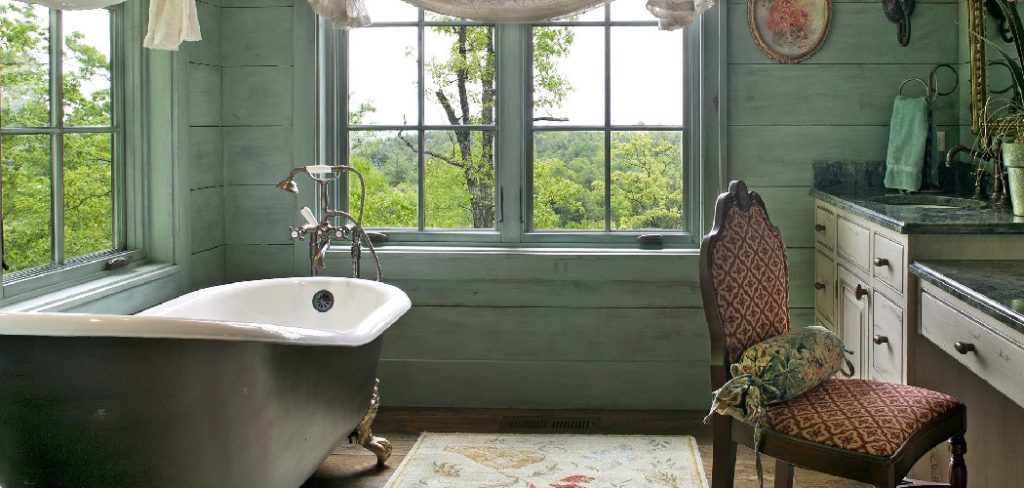
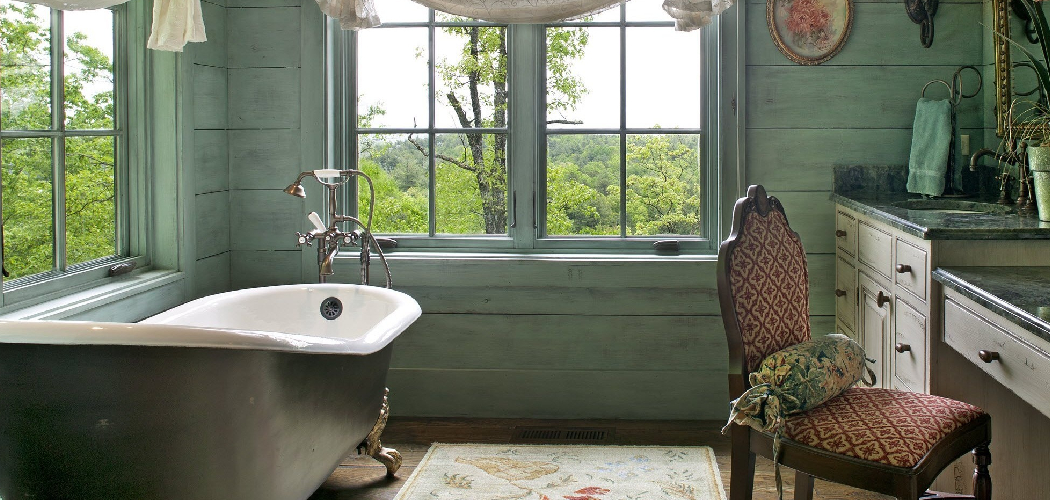
Clawfoot bathtubs are timeless bathroom fixtures known for their classic and elegant design. These iconic tubs offer a vintage appeal that can elevate the aesthetic of any bathroom. However, the finish may wear over time, requiring a makeover to restore its charm. Learning how to paint a clawfoot bathtub is an excellent way to refresh its appearance—whether you’re aiming to bring back its original look or introduce a bold new color.

This guide will walk you through crucial steps, from thorough preparation and sanding to selecting appropriate painting techniques and applying sealants. By following this comprehensive method, you can ensure a durable and visually appealing finish that revitalizes your clawfoot tub, making it a stunning centerpiece once more.
Materials Needed for Painting a Clawfoot Bathtub
To effectively paint a clawfoot bathtub, gather the following materials: Paint (Epoxy or Acrylic for Metal) – Select epoxy or acrylic paints, as they offer durability and adherence to metal or porcelain surfaces. Sandpaper (Various Grits) – Use different grits to create a rough surface that allows the paint to adhere better. Primer (Rust-Resistant for Metal Surfaces) – Essential for enhancing paint adhesion, especially on tubs with exposed metal. Paint Brushes and Rollers – Include various brush types and small rollers for applying even finishes on curved and flat sections. Masking Tape, Drop Cloths, and Painter’s Tape – These are crucial for protecting surrounding areas and achieving clean paint lines.
Preparing the Bathtub Surface
Clean the Bathtub Thoroughly
Begin by cleaning the bathtub thoroughly with a mild cleaner and degreaser. This step is crucial to remove soap scum, oils, and residues that could interfere with paint adhesion. Use a sponge or soft cloth to gently scrub all tub surfaces, including hard-to-reach areas. Rinse the bathtub with warm water and let it dry completely.
Remove Any Rust and Sand the Surface
Next, address any rust spots by sanding them with coarse sandpaper until the rust is fully removed. After tackling rust, proceed to sand the entire surface of the tub. Use medium-grit sandpaper to create a slightly rough texture. This roughness is essential for the primer to adhere properly. Be sure to sand in even, consistent motions and wipe away any dust with a damp cloth once finished.
Tape Off Surrounding Areas
Use masking or painter’s tape to protect areas not intended for painting. Carefully cover the inside of the tub, edges, and any surrounding fixtures. This step helps safeguard these areas from unintended paint splatters or drips.

Dry and Inspect the Tub
Allow the tub to dry completely, ensuring no moisture remains. Inspect the surface for any remaining rust or areas that might need additional sanding. Address these before proceeding to the next step.
How to Paint a Clawfoot Bathtub: Applying Primer to the Tub
Choose a Rust-Resistant Primer
Selecting a rust-resistant primer is imperative for clawfoot tubs, especially those with exposed metal. A quality primer provides a protective barrier against moisture and corrosion, which is vital for older tubs that may have areas susceptible to rust.
Apply an Even Coat of Primer
Using a brush or roller, carefully apply an even coat of primer over the surface. Ensure that each stroke blends seamlessly to avoid bubbles or streaks, which can affect adhesion. Pay particular attention to corners and curves, where uneven application is more likely.
Let the Primer Dry Completely
It is crucial to allow the primer to dry completely before proceeding with the paint application. Refer to the drying time on the primer’s packaging to ensure it has cured adequately. This patience ensures a strong foundation for the paint, enhancing its longevity and finish quality.
How to Paint a Clawfoot Bathtub: Painting the Clawfoot Bathtub
Selecting Paint Colors and Finishes
When selecting paint colors for your clawfoot bathtub, consider the overall aesthetic of your bathroom. Opt for colors that complement existing fixtures and tiles, or choose a bold hue to make your tub a standout feature. Durable epoxy or acrylic paints are ideal, as they resist moisture and wear. Consider a glossy finish for a traditional, sophisticated look that enhances the classic design of the clawfoot tub, or choose a matte finish for a modern and understated appeal.

Using a Paint Brush or Small Roller for Application
To start painting, use a small brush to meticulously paint around the claw feet and other intricate details of the tub. Carefully work your way around corners and edges, ensuring smooth, even strokes to avoid buildup and drips. For larger, flat sections of the tub, employ a small roller. This tool is excellent for achieving a uniform coat without visible brush strokes, which is essential for a polished finish.
Apply Multiple Thin Coats
It is vital to apply multiple thin coats of paint rather than one or two heavy layers. This approach promotes even coverage, reduces the likelihood of unsightly drips, and ensures a more robust finish. Each thin coat should cover the surface entirely but not so heavily that it leaves streaks or runs.
Drying Time Between Coats
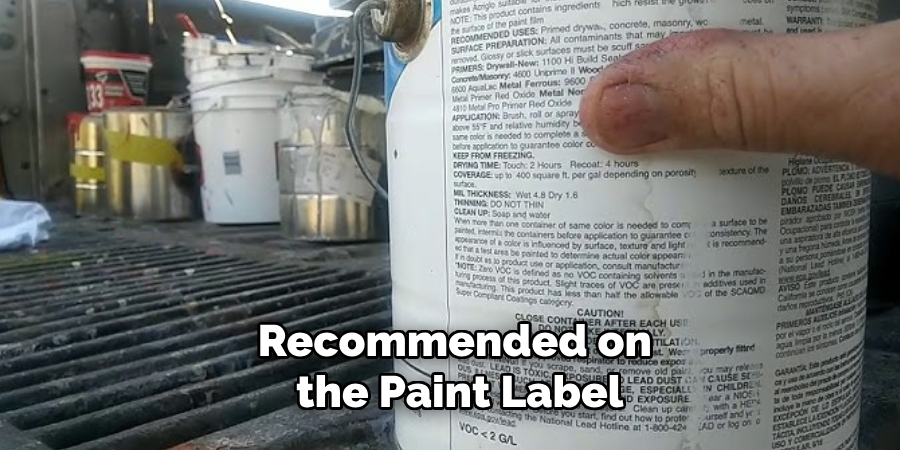
Between each layer, allow the paint to dry fully according to the time recommended on the paint label. This drying period is crucial as it ensures each coat adheres properly. Depending on the paint type and environmental conditions, drying time can range from a few hours to a full day. Patience during this phase is key to achieving a durable and smooth surface that is ready for the final touches and eventual use.

Painting the Claw Feet Separately
Choosing a Different Color for the Feet (Optional)
For added visual interest, consider painting the claw feet of your bathtub a contrasting color. This choice can accentuate the elegant design and serve as a striking focal point in your bathroom. Popular options include metallic tones like gold or silver or even a bold black or deep navy for a modern touch.
Using a Small Brush for Detail Work
When painting the claw feet, use a small, fine-tipped brush to navigate the intricate details and curves. This precision ensures each area is adequately covered without excessive paint buildup. Carefully apply thin layers, allowing each to dry thoroughly to achieve a smooth and professional finish.
Adding Protective Tape if Needed
If opting for a different color on the claw feet, use painter’s tape to protect adjacent areas from unintended paint overlap. Carefully wrap the tape around the base and any sections you wish to keep paint-free. This step ensures clean lines and a neat separation between colors, enhancing the overall appearance.
Sealing the Paint for a Long-Lasting Finish
Choose a Clear Sealant or Topcoat
Apply a clear sealant or topcoat to ensure the best protection for your newly painted clawfoot bathtub. This vital step provides a water-resistant barrier, protecting the paint from moisture, stains, and wear. Clear polyurethane or acrylic sealants are excellent choices that not only preserve the color and vibrancy of the paint but also enhance the finish by adding a layer of gloss or matte, according to your preference.

Apply Even Coats of Sealant
To execute this process effectively, use a brush or small roller to apply the sealant. It’s crucial to apply two or more thin layers to avoid runs or bubbles and to ensure a comprehensive sealant coat. Make sure each layer is consistent and overlaps slightly with the next. Allow each coat to dry fully—follow the manufacturer’s directions regarding drying time—before applying subsequent layers. Patience with this process guarantees a durable and aesthetically pleasing result.
Let the Tub Cure Before Use
After applying the sealant, allow the tub to cure completely, which typically takes several days. This curing process lets the paint and sealant fully harden, solidifying their protective qualities and ensuring long-lasting durability. Avoid using the bathtub during this period to prevent damage to the fresh paint. Once cured, your bathtub will look fantastic and withstand everyday use for years to come.
Tips for Maintaining a Painted Clawfoot Tub
Avoid Abrasive Cleaners
Preserve the finish of your painted clawfoot tub by avoiding abrasive cleaners and scrubbers that can scratch or dull the surface. Instead, opt for mild soap and a soft cloth for regular cleaning, ensuring you maintain the paint’s integrity and shine.
Regularly Inspect for Chips or Peeling
Regularly inspect your tub for signs of chips, peeling, or other wear to keep it looking pristine. Promptly perform touch-ups using matching paint to address minor damage, maintaining a uniform appearance and protecting the underlying surface.
Use Non-Slip Mats with Care
If using bath mats, remember that some can cause scratches on painted surfaces. Choose non-slip mats designed to be gentle on tub finishes and reposition them regularly to prevent prolonged pressure on certain areas. This careful approach will help prolong the lifespan of your tub’s paint.
Common Mistakes to Avoid
Skipping Primer
One major mistake is painting directly on metal without using a primer. This oversight can result in poor adhesion and peeling as the paint struggles to bond to the slick surface. Ensure a proper primer is applied to create a stable base and extend the longevity of the finish.
Using the Wrong Type of Paint
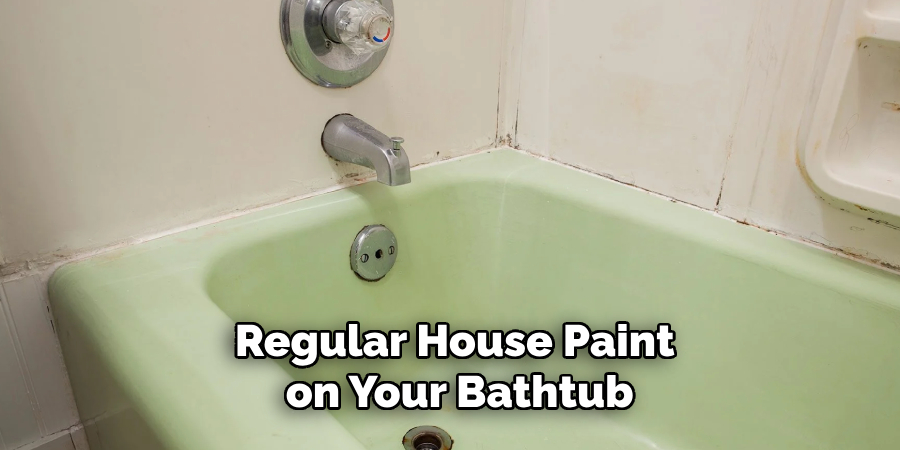
Avoid using regular house paint on your bathtub, as it is not designed to withstand moisture and can lead to early damage. Opt for specialty paint intended for bathroom fixtures to ensure durability and resistance to humidity.
Applying Too Much Paint at Once
Applying heavy coats of paint can cause drips and uneven drying. Instead, use thin layers to achieve better control and consistency. This approach reduces the risk of unsightly imperfections and promotes a smoother, longer-lasting finish.

Conclusion
In conclusion, learning how to paint a clawfoot bathtub can transform your bathroom into a stylish and unique space. To ensure a smooth foundation, start with thorough prep work, including cleaning and sanding. Apply a quality primer to enhance paint adhesion. Use thin, even coats of specialty paint, taking care to follow drying times between each layer. Detail work on the claw feet can add an elegant touch, and using a clear sealant will protect your handiwork.
Patience in allowing each coat to dry thoroughly is crucial for a durable finish. Regular maintenance, such as avoiding abrasive cleaners and using appropriate mats, will preserve your tub’s new look. By adhering to these steps and techniques, you can enjoy a beautifully refreshed bathtub for years, making your renovation efforts truly worthwhile.

