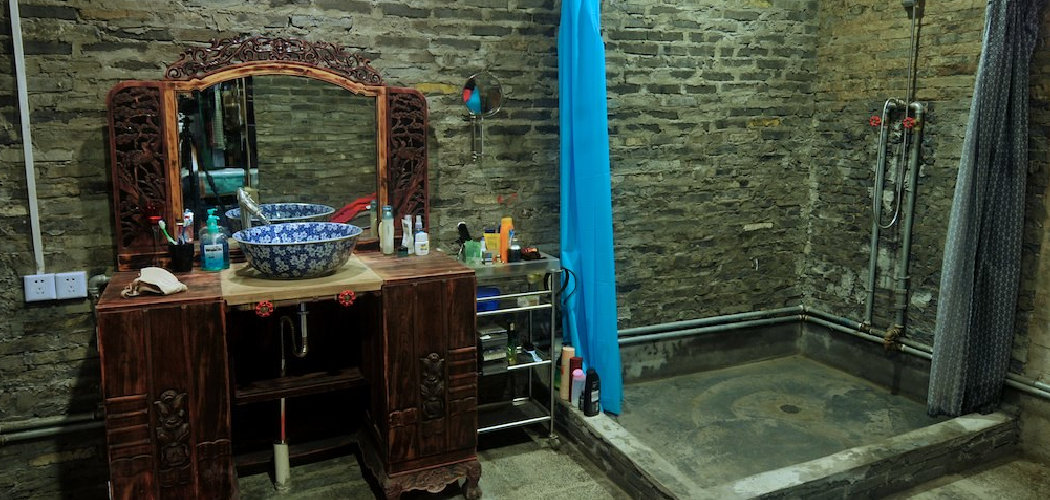
Repurposing a dresser as a bathroom vanity offers a unique opportunity to combine style and functionality in a truly personalized way. One of the primary appeals of this DIY project is the potential for significant cost savings compared to purchasing a traditional vanity. Beyond the economic benefits, creating a custom piece adds character to your bathroom
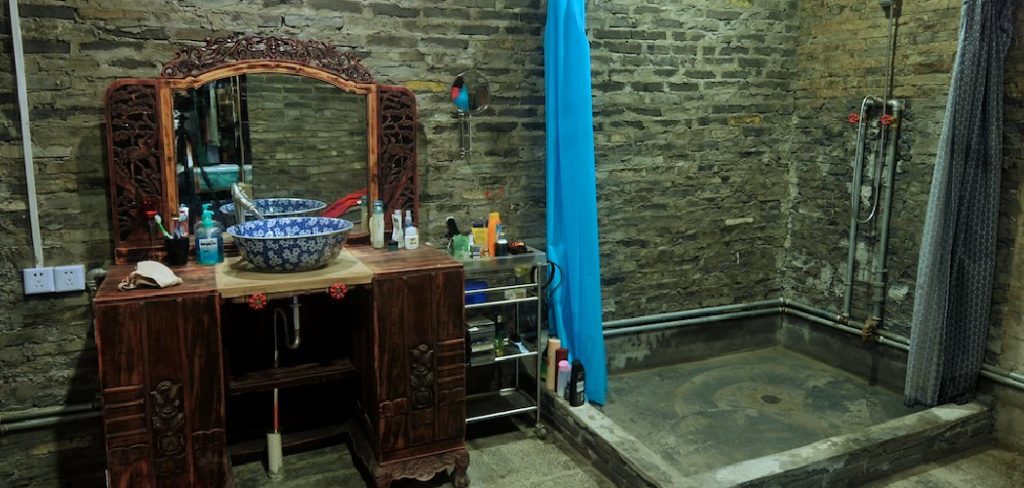
and allows for full customization according to your storage needs and aesthetic preferences. Moreover, this approach supports eco-friendly upcycling by giving an old piece of furniture a new purpose. In this guide, you will learn how to turn a dresser into a bathroom vanity with detailed instructions on selecting the ideal dresser, preparing it for plumbing integration, completing the finishing touches, and maintaining its beauty and functionality.
By mastering these steps, you can transform your bathroom with a distinctive vanity that echoes your unique style while contributing to sustainability.
Choosing the Right Dresser for Your Vanity
Consider the Size and Space
Before selecting a dresser, carefully measure your bathroom space to ensure your new vanity will fit well without overwhelming the room. Consider the width, depth, and height of the bathroom area and the dresser to achieve a harmonious balance. This helps maintain a functional and approachable layout, ensuring sufficient room to move around and accommodate other essential bathroom fixtures.
Select a Sturdy, Waterproof-Compatible Dresser
The foundation of your project hinges on selecting the right dresser. Opt for a solid wood piece to ensure durability and longevity, as these materials better withstand the bathroom’s humid conditions. Particleboard dressers may warp or deteriorate over time, making solid wood a prudent choice for long-term investment.
Decide on the Vanity’s Style and Aesthetic
The transformation of the dresser into a bathroom vanity should complement your existing decor. Whether the style you desire is rustic, vintage, or modern, choose a dresser that aligns with the overall aesthetic of your bathroom. This ensures a cohesive and polished appearance that elevates the look of your space.
Assess Drawer Space for Plumbing
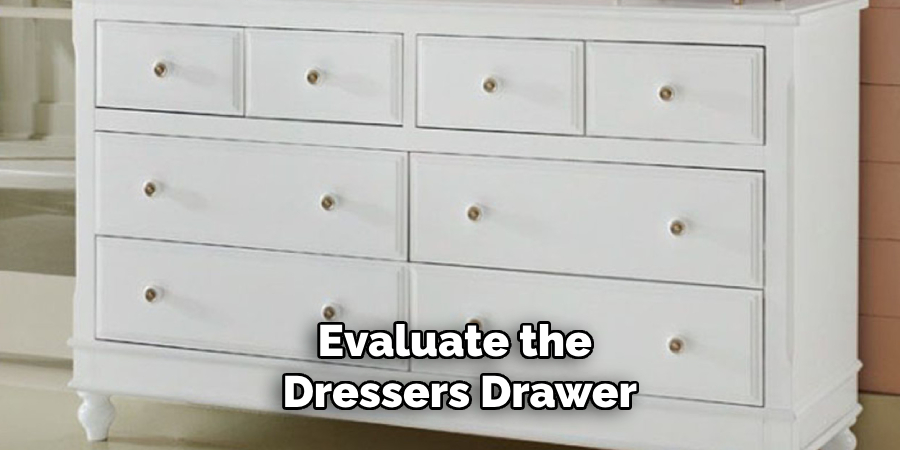
To maintain functionality, evaluate the dresser’s drawer configuration. Ensure it has substantial drawer space that can be modified to accommodate plumbing for the sink while preserving useful storage. Choose a design with flexible or easily adjustable drawers to reduce the impact on storage capacity and optimize utility.
Preparing the Dresser for Plumbing
Measure and Mark for Sink and Faucet Placement
Begin by determining where the sink and faucet will be installed on the dresser. Carefully measure the dimensions and mark the positions on the dresser’s top surface. Ensure that the sink is centered and matches the size and placement of the plumbing fixtures in your bathroom. This step is crucial for aligning the plumbing components correctly and achieving a professional look.
Cutting Openings for Plumbing
With the measurements marked, use a drill and jigsaw to cut openings in the dresser’s top for the sink and faucet placement. For accuracy, start by drilling pilot holes at the corners of your marked areas, then follow the lines with a jigsaw. Exercise caution to ensure clean cuts and avoid splintering the wood. It may be helpful to use painter’s tape along the cutting lines to minimize damage to the surface.
Modifying Drawers for Plumbing Access
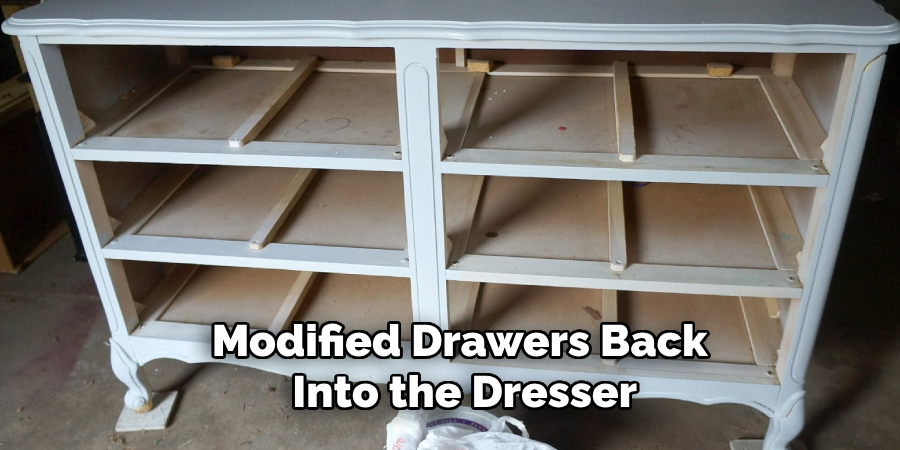
Next, assess the dresser’s interior and determine which drawers need modifications to accommodate plumbing. Remove necessary drawers and use a jigsaw to cut sections from the back and sides, allowing space for pipes and drainage connections. Maintain as much drawer integrity as possible to retain storage functionality. Reinforce any weakened areas with wood glue or braces, if needed, to ensure they remain sturdy.
Sealing and Protecting Wooden Surfaces
As a precaution, seal the cut edges and areas around the sink opening with waterproof wood sealer to protect against moisture damage. Apply a couple of coats, allowing each to dry thoroughly. This barrier helps improve the dresser’s resilience in the humid bathroom environment, extending its lifespan and maintaining its appearance over time.

How to Turn a Dresser Into a Bathroom Vanity: Adding the Sink and Faucet
1. Choose a Sink Style That Complements the Dresser
Select a sink style that enhances the dresser’s aesthetic and functionality. A vessel sink, which sits atop the dresser, often requires minimal modifications and adds an elegant, elevated look. Alternatively, an under-mount sink provides seamless integration for a cleaner, more modern appearance. Consider the dresser’s height and design when choosing your sink to ensure comfort and compatibility.
2. Install the Sink and Faucet
Begin by placing the sink into its designated opening, ensuring it fits snugly. If using a vessel sink, position it centered over the pre-cut opening. Follow the manufacturer’s instructions to secure the sink using any provided mounting hardware. Attach the faucet through the pre-drilled hole, ensuring it aligns with the sink for optimal water flow. Tighten the nuts and washers beneath the dresser to firmly hold the faucet.
3. Seal Around the Sink and Faucet
Apply a waterproof silicone sealant around the sink’s edges and the faucet’s base to prevent water seepage. Run a continuous bead of silicone and use a finger or tool to smooth it, creating a watertight seal. Let the sealant cure according to the product’s recommended drying time before using the sink.
4. Test for Leaks
Once the installation and sealing are complete, turn on the water to test the sink and faucet for leaks. Check all connections for signs of water escape and tighten any loose fittings if needed. Ensure the water flows smoothly and drains efficiently, addressing any issues before completing the project. This step ensures your vanity’s functionality and prevents potential water damage.

Finishing the Vanity
Refinish or Paint the Dresser (Optional)
To further enhance the dresser’s transformation into a vanity, consider refinishing or painting it to match your bathroom decor. Opt for a color that complements your space, whether it’s a classic white for a clean look or a bold shade to create a statement piece. If retaining the natural wood finish is preferred, a fresh coat of stain can rejuvenate and enrich the wood’s color.
Ensure that any paint or stain is suitable for humid environments to minimize water damage and maintain the vanity’s aesthetic over time.
Apply a Protective Sealant
Applying a protective sealant is essential for safeguarding your vanity against humidity and water splashes common in a bathroom. Use a water-resistant finish such as polyurethane or marine-grade varnish to create a durable barrier. This finish protects the wood and enhances its appearance, giving it a subtle sheen. Apply multiple thin coats, allowing each to dry completely before adding the next, to achieve maximum protection and longevity of the dresser-turned-vanity.
Reassemble Drawers and Add Hardware
After ensuring all paint, stain, and sealant are dry, reassemble the modified drawers back into the dresser. Check that the drawers slide smoothly and adjust as necessary for optimal functionality. Installing new or original hardware can further refine the vanity’s look. Consider stylish knobs or pulls that enhance the overall design and provide a touch of elegance.
Add Decorative Elements (Optional)
Personalize your vanity by integrating decorative elements such as ornate knobs, patterned drawer liners, or stylish countertop decor. These additions can reflect your personal taste and add a unique flair to the bathroom. Consider incorporating functional elements like small trays or baskets to organize essentials, ensuring both style and practicality are achieved with your new vanity.
Tips for Maintaining Your Dresser Vanity
Regularly Check for Water Damage
To ensure the longevity of your dresser vanity, make it a habit to inspect the areas around the sink and faucet for any signs of moisture or wear that could lead to bigger issues. Look for discoloration, swelling, or soft spots, indicating potential water damage, and address them promptly.
Wipe Down Regularly to Prevent Humidity Damage
Humidity can be detrimental to wooden surfaces, so wiping down your vanity frequently is essential. Use a soft cloth to remove any water spots or condensation, ensuring that surfaces remain dry and the finish stays intact. This routine helps prevent mold and preserves the wood’s quality.
Keep a Drain Tray or Waterproof Mat Nearby
A practical tip is to place a drain tray or waterproof mat on the countertop to catch spills and prevent water from damaging the wood. These mats protect the vanity from regular use and water exposure, which can help maintain its appearance and functionality.
Avoid Harsh Cleaners
Opt for gentle, non-abrasive cleaners to clean your vanity without compromising its finish. Harsh chemicals can fade or damage the wood, so choose milder solutions that will clean it while protecting the integrity of the surface. Regular, gentle cleaning will keep your vanity looking pristine.
Styling Ideas for Your Dresser Vanity
Decorative Mirrors and Wall Art
Select a mirror that complements the dresser’s aesthetic and enhances the overall look of your bathroom. Consider a vintage frame for a classic dresser or a sleek, minimalist design for a modern touch. Position the mirror to reflect natural light, brightening your space. Additionally, incorporate wall art that ties into the bathroom’s theme, adding a personal and stylish touch.
Storage Baskets and Organizers
Utilize baskets and organizers inside the dresser drawers to keep your toiletries neatly arranged and maximize storage space. Choose baskets made from durable materials like wicker or bamboo for a natural touch that complements the vanity. These practical additions help maintain a clutter-free environment, ensuring both functionality and style.
Coordinating Lighting Fixtures
Lighting is crucial in highlighting your vanity and enhancing the bathroom ambiance. Consider adding sconces on either side of the mirror for balanced illumination or an overhead light fixture for a broader glow. Select lighting that matches the vanity’s design elements, creating a cohesive and inviting atmosphere.
Potential Challenges and How to Solve Them
Fitting the Plumbing Correctly
One common issue when converting a dresser into a vanity is fitting the plumbing correctly. Dressers aren’t designed with plumbing in mind, making it crucial to precisely measure and cut openings for pipes. If alignment issues arise, use adjustable plumbing fittings or flexible hoses. For complex cases, consulting a professional plumber can prevent leaks or misalignment.
Protecting Against Water Damage
Water damage is a significant concern, especially if the vanity is near a shower or tub. To mitigate risks, ensure all seams are tightly sealed and consider additional waterproofing measures like using caulk along vulnerable edges. Placing a waterproof mat between the vanity and water sources can help absorb spills and prevent the deterioration of wood.
Ensuring Adequate Storage
Utilizing the remaining drawers for storage is essential. Consider adding dividers to organize items efficiently and maximize space. Small baskets can fit inside deeper drawers for categorizing toiletries. If additional storage is needed, installing shelves above the vanity can provide extra room without compromising mobility or access.

Conclusion
Converting a dresser into a bathroom vanity is a rewarding project that combines custom style with eco-friendly reuse, enhancing the bathroom’s charm and character. The process of how to turn a dresser into a bathroom vanity involves selecting a suitable dresser, modifying it for plumbing, sealing it for water resistance, and adding personalized finishing touches.
This DIY project offers a creative outlet and a functional, stylish centerpiece that reflects your personality. Enjoy your unique vanity that flawlessly combines aesthetics with practicality, making your bathroom a space of beauty and utility.

