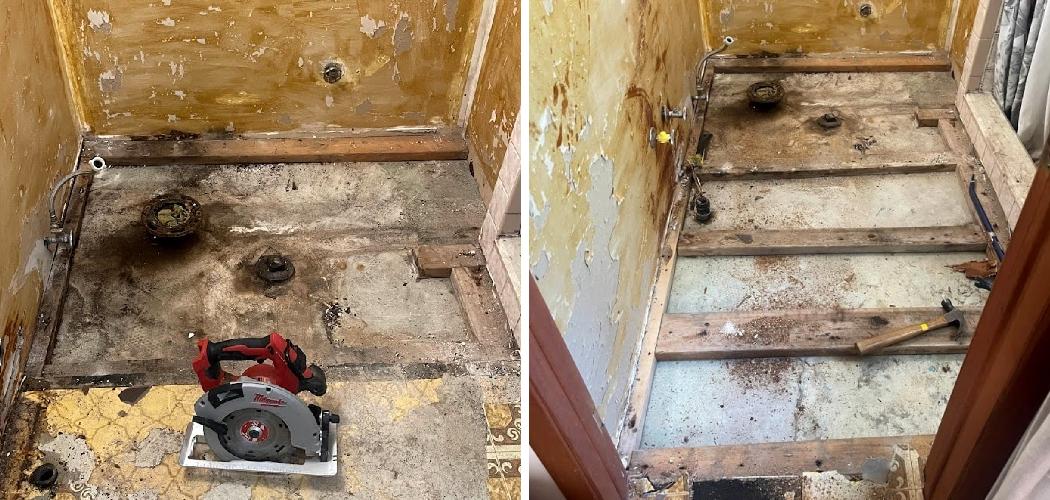
The bathroom subfloor is critical to your home’s structural integrity, often bearing the brunt of daily wear and tear, humidity, and potential water damage. Over time, this can lead to mold growth, structural weakening, and persistent odors, making it essential to address such problems promptly. A compromised subfloor not only disrupts the bathroom’s functionality but can also lead to leaks affecting other home areas.
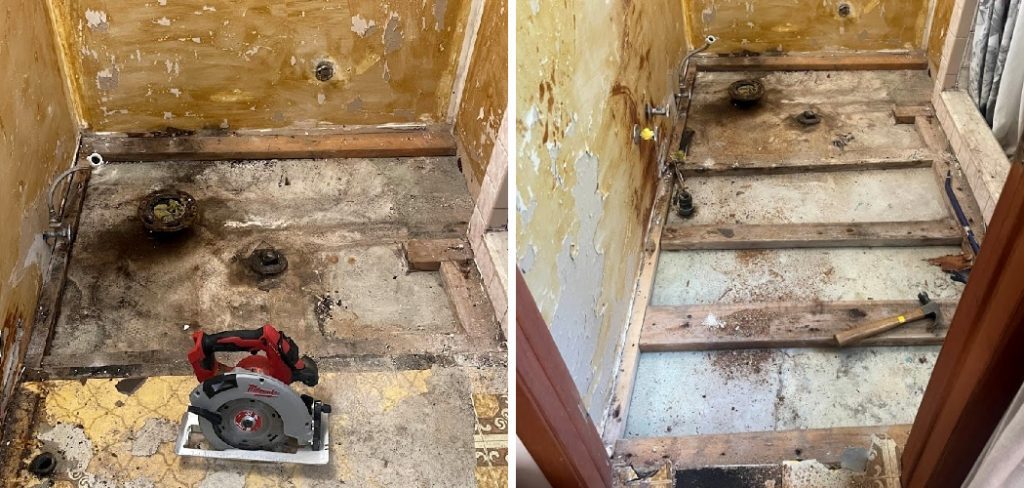
Understanding how to replace subfloor in bathroom settings is essential for maintaining bathroom safety and preventing further damage. This guide covers everything you need to know, from the tools and materials required to a detailed, step-by-step approach for safely removing and replacing the subfloor. Additionally, we provide useful tips for preventing future damage and ensuring your bathroom remains safe, comfortable, and functional.
Signs That Your Bathroom Subfloor Needs Replacing
Identifying the need for subfloor replacement can prevent extensive damage and costly repairs. One of the most evident signs is visible water damage, such as soft spots, warping, or discoloration on the floor surface, indicating potential subfloor compromise. A persistent musty odor in the bathroom can be a warning sign of mold growth, as mold often begins to affect the subfloor before spreading to other areas.
Additionally, if your bathroom floor exhibits sagging, sinking, or unevenness, it may suggest that the structural integrity of the subfloor has been compromised. This weakening can cause the floor to bounce or dip underfoot. Lastly, mold and mildew growth on the flooring materials is a crucial indicator that moisture has seeped into the subfloor. These fungi thrive in damp conditions typical of bathrooms, and their appearance suggests that immediate attention is necessary to prevent further deterioration.
Tools and Materials Needed
To successfully replace the bathroom subfloor, you’ll need a range of tools and materials to ensure a smooth process. Essential tools include a pry bar, circular saw, utility knife, drill, tape measure, chisel, and hammer. For materials, prepare plywood for subfloor replacement, a moisture barrier such as roofing felt, screws, and waterproof sealant. Additionally, safety equipment like gloves and a mask are crucial for protection during the project.
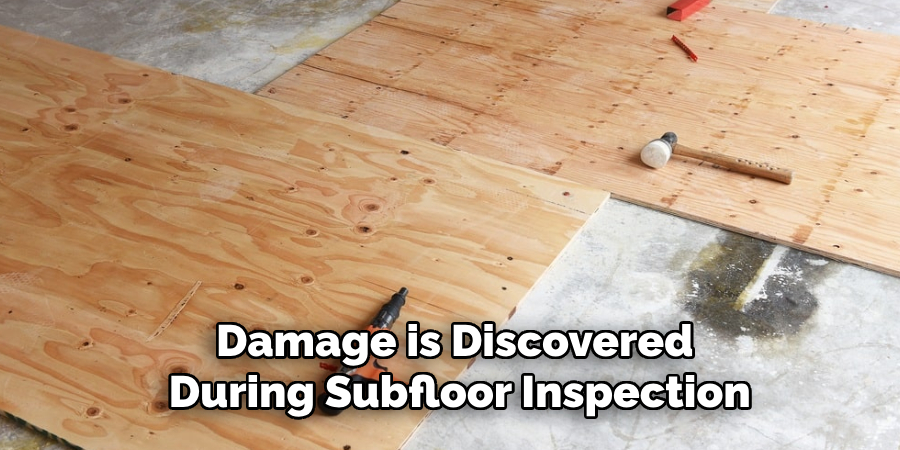
It’s also wise to have optional joist reinforcements on hand if damage is discovered during subfloor inspection, ensuring a secure foundation for your new installation.
Preparing the Bathroom for Subfloor Replacement
Remove All Fixtures and Flooring Materials
Begin by carefully disconnecting and removing all fixtures, such as the toilet, vanity, and any other components that might obstruct access to the subfloor. Turn off the water supply and ensure all connectors are detached to prevent damage during removal. Label and store any screws or parts for easy reassembly later on.
Take Up Existing Flooring
Next, safely remove the top layer of flooring. This process requires patience and precision to avoid damaging the surrounding area, whether it’s tile, vinyl, or laminate. For tiles, use a chisel and hammer to carefully break the tiles and remove them. Cut and peel back sections systematically to expose the subfloor beneath for vinyl or laminate.
Inspect the Area for Water Leaks
Conduct a thorough inspection for water leaks from pipes or fixtures. Examine all visible piping and joints for moisture and repair any detected leaks to prevent future damage before proceeding with subfloor replacement.
How to Replace Subfloor in Bathroom: Removing the Damaged Subfloor
Step 1: Identify the Subfloor Sections to Remove
Begin by carefully assessing the bathroom floor to identify which subfloor sections require removal. A tape measure delineates the damaged areas, ensuring the boundaries are clearly marked. This step is crucial to prevent unnecessary removal of intact and healthy subfloor sections. Mark each area with chalk or a pencil to guide the subsequent cutting process.
Step 2: Cut the Damaged Subfloor Sections
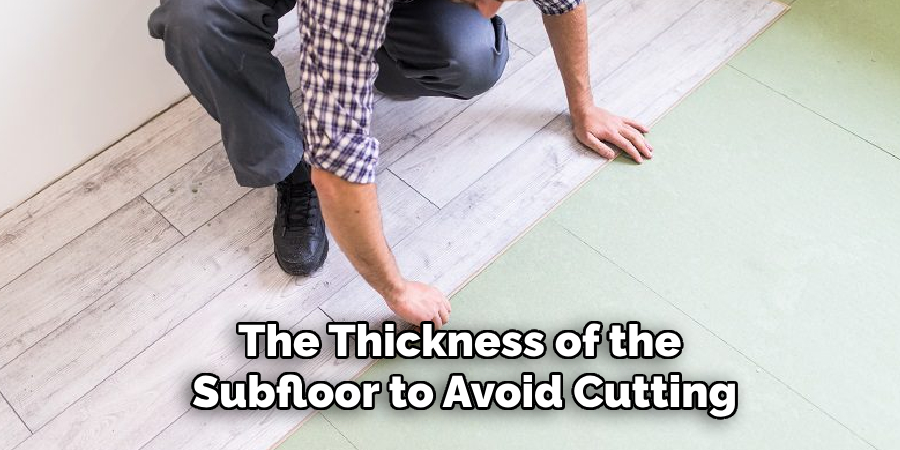
With the damaged sections identified and marked, use a circular saw to make precise cuts along the marked lines. Adjust the saw blade depth to match the thickness of the subfloor to avoid cutting into underlying joists. Work slowly and methodically to ensure accuracy, following the marked lines closely. Ensure that cuts do not run too deep, which could jeopardize the integrity of the structural joists below.
Step 3: Remove the Damaged Subfloor Pieces
Once the sections are cut, carefully employ a pry bar to lift the damaged subfloor pieces. Start at an edge and work your way around each piece to ease it out of its position without causing additional damage to adjacent areas. Be vigilant in removing any nails or screws that were anchoring the subfloor in place to clear the area completely.
Step 4: Inspect the Joists
After removing the compromised subfloor sections, inspect the exposed joists for signs of water damage or mold. Address any concerns by repairing or reinforcing compromised joists before proceeding with the installation of new subfloor materials. This step ensures a solid and durable foundation for your bathroom’s new subfloor.
How to Replace Subfloor in Bathroom: Installing the New Subfloor
Step 1: Measure and Cut New Subfloor Pieces
Begin by measuring the dimensions of the sections removed from your bathroom subfloor. Use a tape measure to obtain precise measurements, ensuring the new subfloor pieces fit snugly into the repaired area. Transfer these dimensions to the new plywood, marking the outlines with a pencil. Carefully cut the plywood using a circular saw, following the marked lines accurately. Ensure your cuts are straight to achieve a proper fit without any gaps or overhangs that could affect the subfloor’s stability and integrity.
Step 2: Attach the New Subfloor to Joists
Position the freshly cut plywood pieces into the designated areas, ensuring they fit seamlessly. Use a drill and screws to secure the new subfloor into the joists below, spacing the screws evenly to provide adequate support. Ensuring the subfloor is level is crucial, so check alignment after securing each piece, adjusting as needed. A well-supported and level subfloor will lay the foundation for a durable and safe bathroom floor.
Step 3: Add a Moisture Barrier
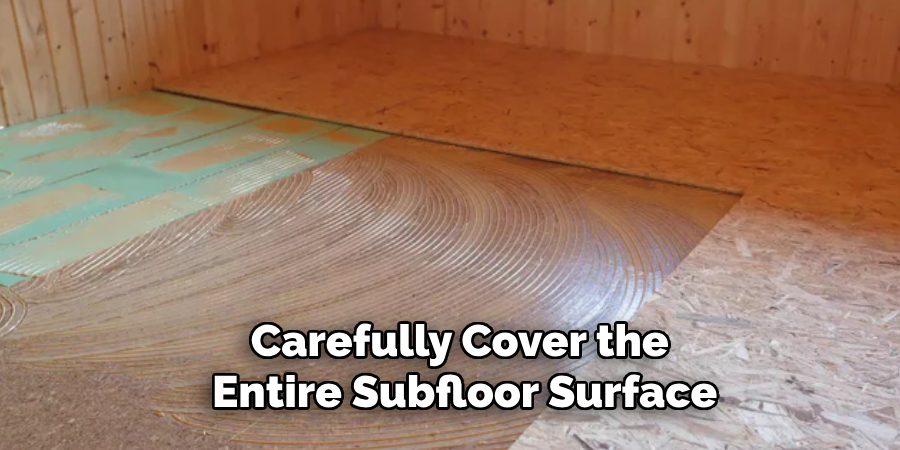
To protect your new subfloor from future moisture damage, lay a moisture-resistant barrier over it. Materials such as roofing felt or waterproof sheeting are ideal for this task. Carefully cover the entire subfloor surface, extending the barrier slightly up the walls to prevent any water seepage. This extra step is essential for prolonging the life of your bathroom flooring, safeguarding it against leaks and humidity.
Step 4: Seal All Seams and Edges
Complete the installation by sealing all seams and edges where the new subfloor meets the walls and any joints between subfloor pieces. Use a waterproof sealant, applying it generously to create a tight, watertight barrier. Proper sealing is critical for preventing water penetration, which can lead to mold growth and structural damage. Verify that all seams are adequately covered, ensuring a long-lasting and reliable subfloor installation.
Reinstalling Flooring and Fixtures
It’s time to reinstall the bathroom flooring and fixtures with the new subfloor securely in place. To ensure longevity, begin by selecting a durable, moisture-resistant flooring material such as tile or waterproof vinyl. Carefully lay each piece, ensuring a snug fit and utilizing appropriate adhesives or grouting materials for stability. Once the flooring is set, reinstall the bathroom fixtures, starting with the vanity and any other components requiring reattachment.
Align and secure all fixtures, reconnecting water supply lines and ensuring watertight seals at all connections. Lastly, install the toilet, securing it firmly to its base and connecting it to the water supply. Test all fixtures to verify proper installation and functionality. Following these steps, restore your bathroom to a fresh, fully operational state with a solid foundation designed to withstand everyday use and prevent moisture-related issues.
Tips for Preventing Future Subfloor Damage
Regularly Inspect for Leaks and Moisture
Conduct regular checks for leaks in your bathroom, focusing on pipes, under sinks, and around toilets. Catching these potential issues early can save you from extensive repairs later.
Apply Caulk Around Fixtures
Seal the edges around your toilet, sinks, and bathtubs with waterproof caulk. This simple preventive measure stops water from seeping beneath your flooring, where it can cause damage over time.
Use Mats and Rugs
Place water-absorbent mats around the tub and shower. These mats can significantly reduce water pooling on the floor, helping to keep your subfloor dry and protected.
Ensure Good Bathroom Ventilation
Proper ventilation is essential for preventing mold and mildew. Install an exhaust fan or ensure windows are open regularly to decrease humidity levels, keeping your subfloor dry and damage-free.
When to Call a Professional
Structural Issues or Severe Water Damage
If you encounter significant mold growth, severe water damage, or structural issues with your subfloor, it is wise to seek professional help. Professionals can assess the extent of the damage and determine the safest and most effective course of action.
Benefits of Professional Subfloor Replacement
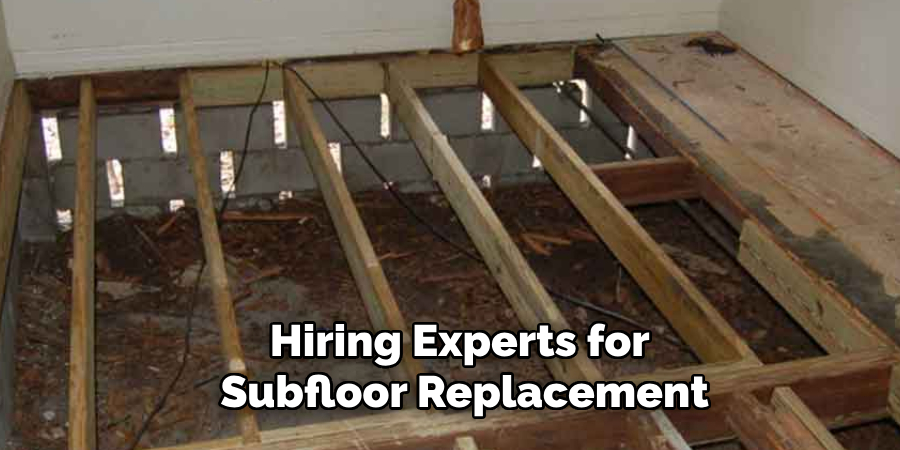
Hiring experts for subfloor replacement ensures safe removal and proper disposal of damaged materials. They bring the skills and tools needed for precise installation, adhering to rigorous building codes, ultimately providing peace of mind with a durable and compliant new subfloor.
Conclusion
In summary, the process of replacing a bathroom subfloor involves several crucial steps, from identifying damage to reinstalling flooring and fixtures. Key stages include removing compromised sections, inspecting joists, installing a new level subfloor, and applying moisture protection. Regular maintenance and precautions, such as inspecting for leaks and ensuring proper ventilation, are essential for prolonging the life of your bathroom floor.
Knowing how to replace subfloor in bathroom settings empowers homeowners to tackle issues promptly, maintaining safety and integrity. While a DIY approach is viable with the right tools and care, professional help is always an option for those seeking additional peace of mind.

