Sealing bathroom tile is an essential step to protect your surfaces from water damage, stains, and mold growth. Over time, grout and tile can become porous and susceptible to moisture infiltration, which can compromise the integrity of your bathroom. Properly sealing your tiles not only enhances their durability but also maintains their appearance, ensuring your bathroom stays clean and well-maintained for years to come.
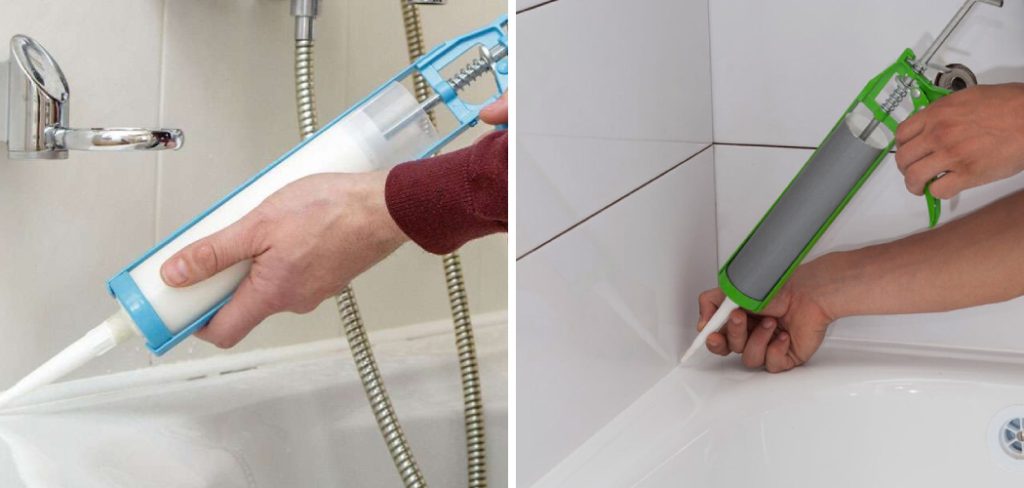
This guide will walk you through the process of how to seal bathroom tile effectively and safely.
Why Sealing Bathroom Tile Is Necessary
Sealing bathroom tile is crucial for preventing water and moisture from seeping into the porous surfaces of tile and grout. Bathrooms are exposed to high levels of humidity and frequent water exposure, making them a prime location for potential mold and mildew growth if not properly protected. Additionally, unsealed tile and grout are prone to staining from soap, shampoo, and other bathroom products, which can be difficult to remove.
By sealing these surfaces, you create a protective barrier that helps maintain the structural integrity of the tile while keeping it looking clean and fresh. This preventative step can save you time, effort, and money on repairs and cleaning in the long run, making it an essential part of bathroom maintenance.
Tools and Materials Needed
Before you begin sealing your bathroom tile, it’s important to gather all the necessary tools and materials to ensure the process goes smoothly. Here’s what you’ll need:
- Tile and Grout Sealer – Choose a high-quality sealer that is appropriate for your specific type of tile and grout.
- Clean Cloths or Sponges – For cleaning and applying the sealer.
- Mild Detergent or Tile Cleaner – To thoroughly clean the tile and grout before sealing.
- Grout Brush or Scrubbing Brush – For removing dirt and grime from the grout lines.
- Masking Tape – To protect surrounding areas that shouldn’t be sealed, like fixtures and edges.
- Rubber Gloves – To protect your hands during the application process.
- Ventilation Mask – Recommended for working with sealers in a poorly ventilated space.
- Bucket of Water – For cleaning tools or wiping the surface as needed.
Having these tools and materials ready will make the sealing process more efficient and help deliver professional results.
10 Methods How to Seal Bathroom Tile
1. Choose the Right Sealer
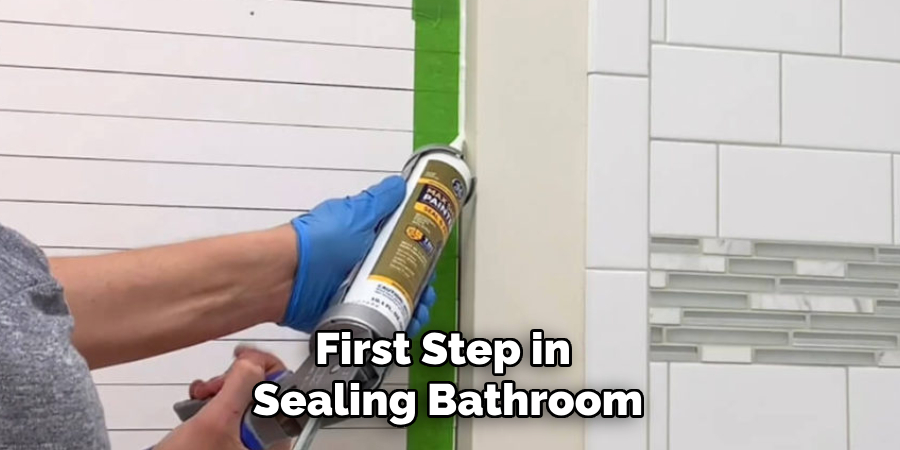
The first step in sealing bathroom tiles is selecting the appropriate sealer for your tile type. Penetrating sealers are ideal for porous tiles like natural stone, while surface sealers work best for ceramic and porcelain tiles. Read the manufacturer’s recommendations to ensure compatibility. Using the right sealer will maximize protection and longevity.
2. Clean the Tiles Thoroughly
Before applying the sealer, clean the tiles and grout thoroughly to remove dirt, grease, and soap scum. Use a pH-neutral cleaner and a soft-bristle brush to scrub the surface. Rinse with clean water and let the tiles dry completely. Sealing over dirt or moisture can trap contaminants and reduce the effectiveness of the sealer.
3. Repair Any Damage
Inspect the tiles and grout for cracks, chips, or missing sections. Repair any damage using appropriate materials, such as grout filler or tile adhesive. Allow the repairs to cure fully before proceeding. This step ensures a smooth and even application of the sealer.
4. Protect Surrounding Areas
Use painter’s tape to protect walls, fixtures, and other surfaces adjacent to the tiles. Cover the bathroom floor with drop cloths or plastic sheets to catch any drips or spills. Taking these precautions prevents accidental damage and makes cleanup easier.
5. Apply the Sealer to Grout First
If you’re sealing both the tiles and grout, start with the grout lines. Use a small brush or applicator bottle to apply the sealer directly to the grout. Work in small sections to ensure thorough coverage. Allow the sealer to penetrate for the recommended time before wiping away excess with a clean cloth.
6. Seal the Tile Surface
For the tile surface, use a roller, sponge, or spray applicator to apply the sealer evenly. Work in small, manageable sections to prevent the sealer from drying before you can spread it. Ensure even coverage by overlapping strokes slightly. Avoid pooling, as this can lead to uneven results.
7. Allow Adequate Drying Time
After applying the sealer, let it dry according to the manufacturer’s instructions. This drying time can range from a few hours to 24 hours, depending on the product. Keep the bathroom well-ventilated to speed up the drying process and ensure a strong seal.
8. Apply a Second Coat (if Necessary)
For areas with heavy moisture exposure, such as showers, a second coat of sealer may be required. Repeat the application process, ensuring the first coat is completely dry before applying the second. Additional coats provide extra protection against water and stains.
9. Buff and Clean the Surface
Once the sealer has dried, buff the tiles with a clean, dry cloth to remove any residue and enhance their shine. This step ensures a smooth finish and prevents streaks or dull spots. Wipe the tiles gently to avoid scratching the sealed surface.
10. Perform Regular Maintenance
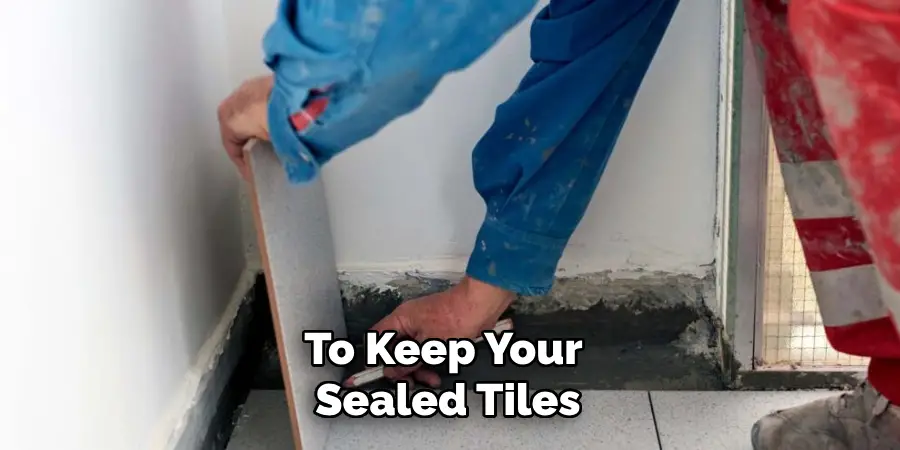
To keep your sealed tiles in optimal condition, clean them regularly with a pH-neutral cleaner and avoid abrasive scrubbing pads. Reapply the sealer as recommended by the manufacturer, typically every 1-3 years, depending on the level of wear and moisture exposure. Regular maintenance prolongs the life of the sealer and keeps your bathroom looking pristine.
Things to Consider When Sealing Bathroom Tile
Before sealing your bathroom tiles, there are a few key considerations to keep in mind to ensure the best results and to avoid common issues:
- Type of Tile and Grout – Not all tiles and grout require sealing. For example, glazed porcelain or ceramic tiles are less porous and may only need grout sealing, while natural stone tiles require a penetrating sealer for proper protection. Understanding the material type will help you choose the most effective sealing solution.
- Bathroom Usage – High-traffic bathrooms or those with frequent water exposure, like showers, may need more durable sealing products and possibly more frequent reapplication compared to guest bathrooms with less use.
- Ventilation – Always ensure that the bathroom is well-ventilated during and after sealing. Many sealers emit strong fumes that can be harmful if inhaled in poorly ventilated areas. A ventilation mask and an open window or exhaust fan can help maintain air quality.
- Application Conditions – Avoid applying sealer in overly humid or damp conditions, as this can affect drying and curing. Ensure the surfaces are completely dry before sealing to prevent trapping moisture, which can lead to mold growth or reduced effectiveness.
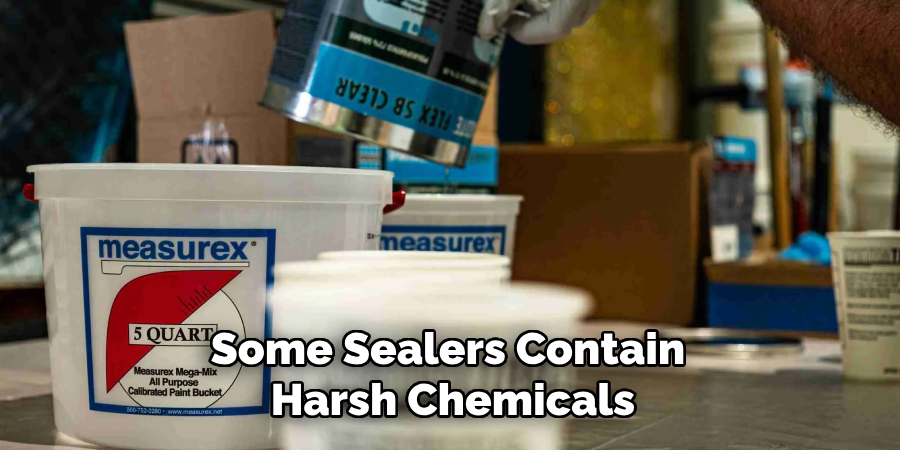
- Environmental Impact – Some sealers contain harsh chemicals that can be harmful to the environment. If eco-friendliness is a priority, look for water-based or biodegradable sealer options to minimize environmental impact while still providing effective protection.
Being mindful of these factors will help you achieve a professional finish and prolong the life of your bathroom tiles.
Common Mistakes to Avoid
When sealing bathroom tiles, it’s important to avoid certain common mistakes that can compromise the effectiveness of the seal and the overall appearance of your tiles. Here are some pitfalls to watch out for:
- Skipping Surface Preparation – Failing to clean the tiles and grout thoroughly before sealing is one of the most frequent errors. Dirt, grime, or moisture will prevent the sealer from adhering properly, resulting in a weak or uneven seal. Always ensure the surface is spotless and completely dry.
- Using the Wrong Sealer – Not all sealers are suitable for every type of tile. Using a penetrating sealer on non-porous ceramic tiles, for instance, can leave a sticky residue, while surface sealers won’t penetrate natural stone effectively. Always check the manufacturer’s guidance and select a sealer tailored to your tile material.
- Applying Too Much or Too Little Sealer – Overapplying sealer can create unsightly puddles or a sticky surface, while applying too little can leave areas unprotected. Follow the product’s instructions to apply the correct amount, working in small sections for even coverage.
- Rushing Drying Times – Allowing insufficient drying time between coats or before using the bathroom can weaken the seal and lead to poor results. Be patient and adhere to the drying times recommended by the manufacturer to ensure proper curing.
- Neglecting Ventilation – Sealing in a poorly ventilated bathroom can expose you to harmful fumes and slow down drying. Ensure adequate ventilation by opening windows, using an exhaust fan, or wearing a mask during the sealing process.
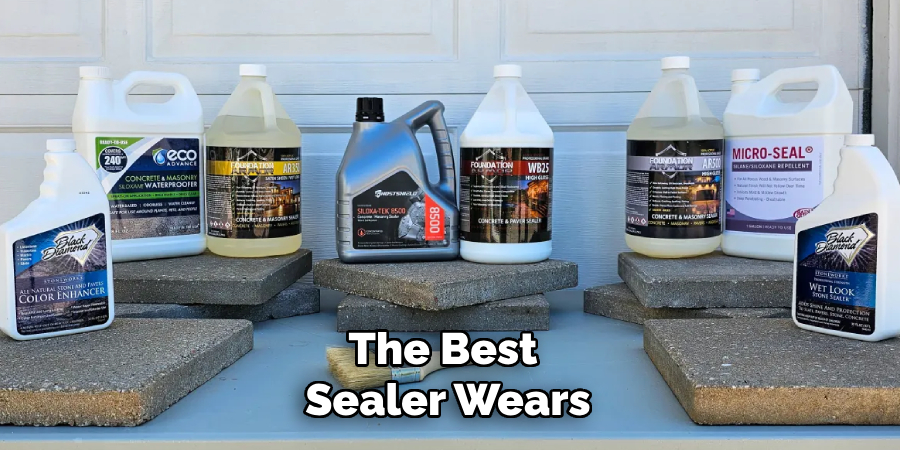
- Forgetting to Reseal – Even the best sealer wears down over time, especially in high-moisture areas like showers. Forgetting to reapply sealer as recommended can expose your tiles and grout to water damage, mold, or staining. Set reminders for periodic resealing to maintain protection.
Avoiding these mistakes will save you time and effort, and it will ensure your bathroom tiles remain protected, looking clean, and in great condition for years to come.
Conclusion
Sealing your bathroom tiles is a critical step in maintaining their appearance and longevity. By selecting the right sealer, preparing the surfaces properly, and following the application process carefully, you can protect your tiles and grout from moisture, stains, and wear. Regular maintenance and resealing as needed will keep your tiles in optimal condition, ensuring they remain both functional and visually appealing. Thanks for reading our blog post on how to seal bathroom tile! We hope you found it helpful and informative.
