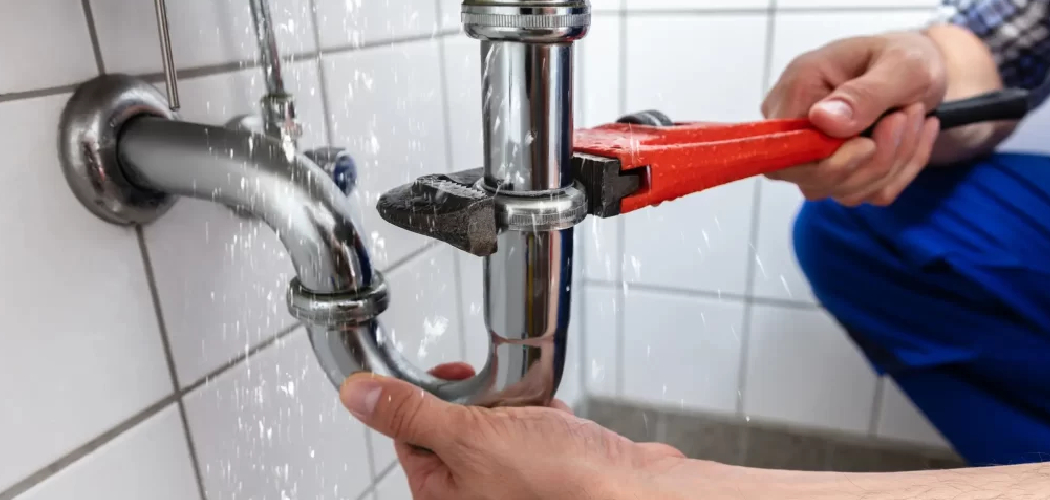
Properly maintaining your bathroom sink is important to ensure it functions efficiently and prevents leaks. Over time, sink drain fittings can become loose, leading to water seepage and potential damage to surrounding areas. With the right tools and a little know-how, tightening a bathroom sink drain fitting is a simple task that can save you time and money.
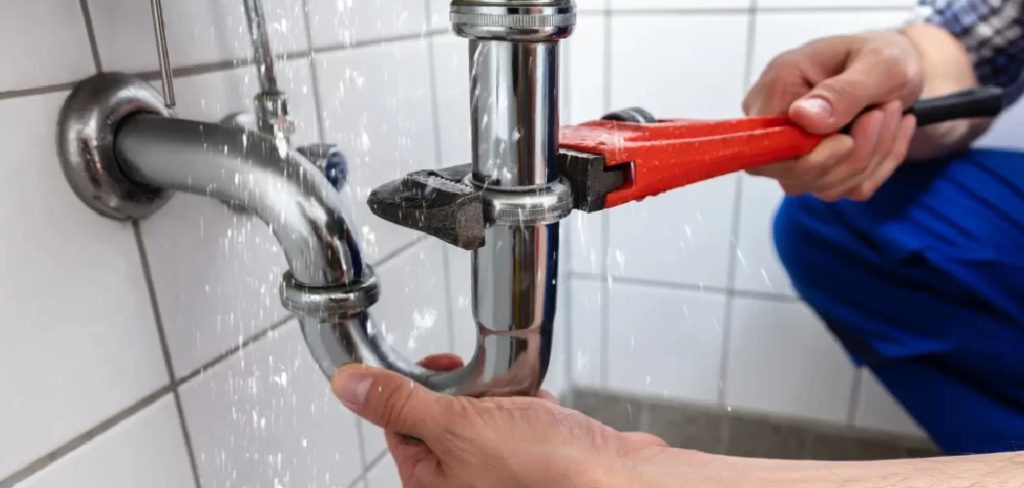
This guide on How to tighten a bathroom sink drain fitting will walk you through the steps to securely tighten the fitting and keep your sink in optimal condition.
Why Does the Bathroom Sink Drain Fitting Become Loose?
The most common reason for a loose bathroom sink drain fitting is regular use. Over time, the constant flow of water and debris can cause the fittings to loosen. Additionally, if the proper installation techniques are not followed during installation, it may result in loose fitting.
Another factor that can contribute to a loose drain fitting is temperature changes. Extreme temperatures can cause materials to expand and contract, potentially loosening connections over time.
Needed Materials
Before getting started, make sure you have the necessary materials on hand:
Adjustable Wrench:
This tool is necessary for loosening and tightening the fittings on your sink.
Plumbers Tape:
Also known as Teflon tape, this thin white tape helps create a tight seal between pipe threads.
Plumber’s Putty:
This putty will help create a watertight seal around the drain flange.
8 Step-by-step Guidelines on How to Tighten a Bathroom Sink Drain Fitting
Step 1: Turn Off the Water Supply
Before starting any work on your bathroom sink, it is crucial to turn off the water supply. Locate the shut-off valves under the sink; these are usually positioned on the wall or cabinet directly beneath the basin. Turn the valves clockwise until they are fully closed.
This step prevents any unexpected water flow while you work on the drain fitting. Once the water is off, open the faucet to drain any remaining water in the pipes and ensure the system is fully depressurized.
Step 2: Remove the Drain Stopper and Drain Flange
The drain stopper is typically located inside the sink and connected to a pivot rod underneath. To remove it, unscrew the pivot rod from the clevis strap and release the stopper. Hold onto these pieces as you will need to reattach them later.
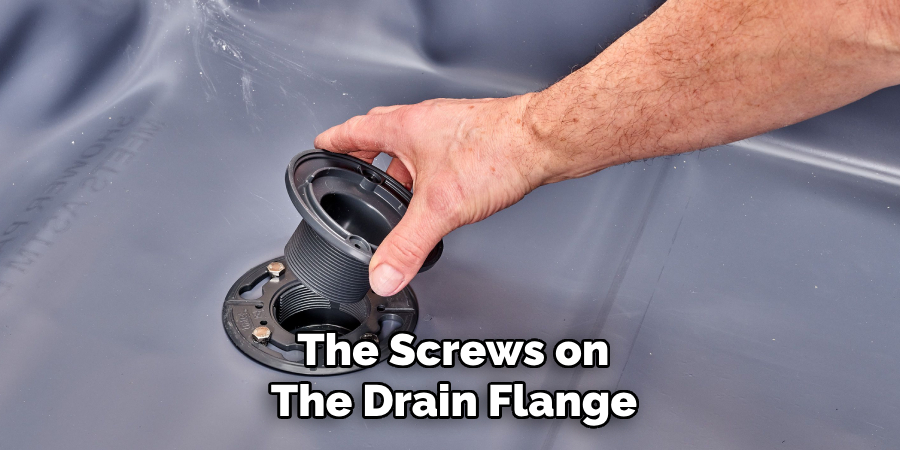
Next, use a screwdriver to loosen and remove the screws on the drain flange. Once they are removed, carefully pull out the flange with your hands.
Step 3: Clean Around the Fitting
With the drain flange and stopper removed, take the time to thoroughly clean around the drain fitting. Use a clean cloth or a sponge to wipe away any residue, grime, or old plumber’s putty that may have accumulated. If necessary, use a gentle scrubber or cleaning solution to remove stubborn debris.
This step ensures the surface is clean and free of contaminants, allowing for a secure and watertight seal when reassembling the components. Once cleaned, dry the area completely to prevent moisture from interfering with the seal.
Step 4: Apply Plumber’s Putty
Plumber’s putty is a soft, moldable substance that is used to create a tight seal around the drain flange. Take a small amount of putty and roll it into a rope-like shape. Place this rope around the edge of the drain opening, ensuring it covers the entire circumference.
Next, carefully place the drain flange back into position in the sink. Firmly press down on it to secure it in place and evenly distribute the plumber’s putty.
Step 5: Reattach Drain Flange and Stopper
Once the flange is in place, reattach it with the screws you removed earlier. Make sure they are tightened securely, but avoid over-tightening, as this can damage the flange or cause leaks.
Next, reattach the pivot rod and clevis strap to the stopper and place it back into the drain opening. Test the stopper by pulling up on the rod; it should lift and lower smoothly without any resistance.
Step 6: Tighten Fittings
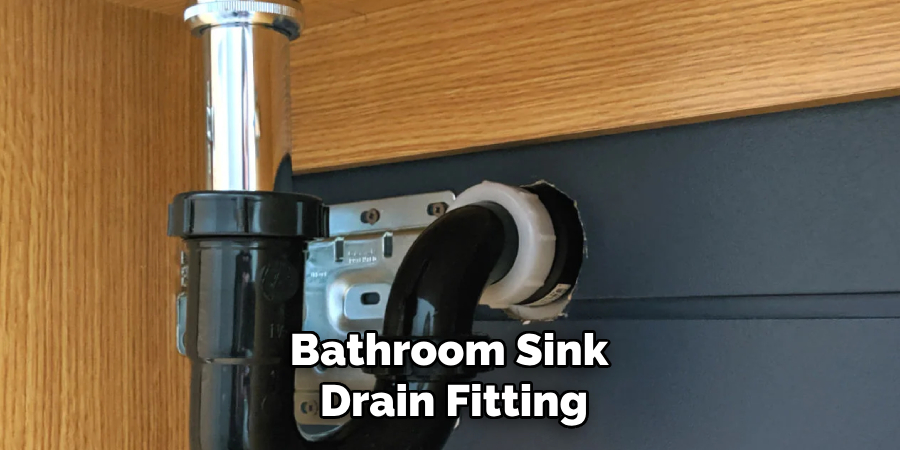
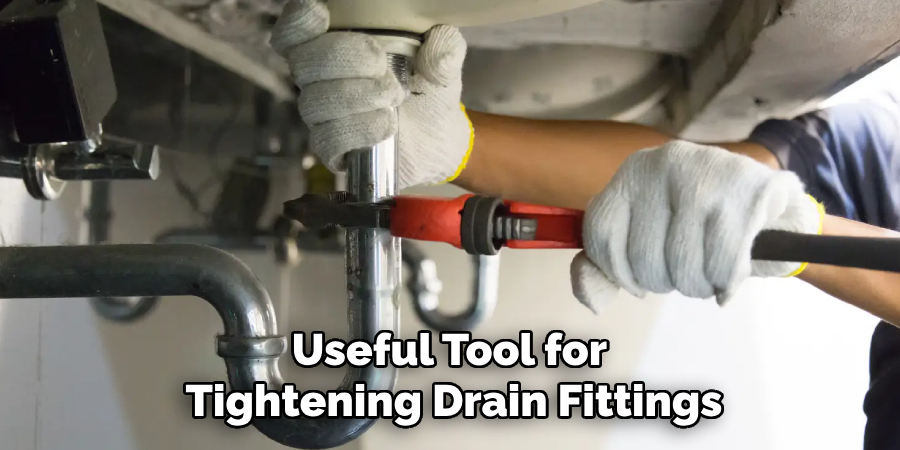
With everything in place, use an adjustable wrench to tighten all fittings underneath the sink. This includes the nut connecting the bottom of the drain flange to the P-trap, as well as any other nuts or connections you see.
Be careful not to overtighten these fittings as they can break or strip easily. Ensure they are snug and secure but not too tight.
Step 7: Reconnect Water Supply
Once all the fittings are tightened, turn the water supply back on by turning the shut-off valves counterclockwise. Allow the water to run for a few seconds to check for any leaks or drips. If everything looks good, you can proceed to use your sink as normal.
It is recommended that these fittings be periodically checked and tightened as necessary to prevent future leaks.
Step 8: Regular Maintenance
To prevent future loosening of drain fittings, it is essential to perform regular maintenance on your bathroom sink. This includes periodically checking and tightening fittings if necessary, cleaning around the drain opening, and replacing worn-out parts as needed.
Taking these simple steps on How to tighten a bathroom sink drain fitting will not only keep your sink running smoothly but also help prevent costly repairs down the road.
Do You Need to Call a Professional?
While tightening a bathroom sink drain fitting is a relatively simple task that many homeowners can handle on their own, there are situations where calling a professional plumber may be the best course of action. If you encounter persistent leaks even after following the steps outlined above, it may indicate a more serious issue such as damaged pipes, faulty components, or improper installation.
Additionally, if you notice corrosion, cracks, or significant wear and tear on the plumbing parts, a professional plumber will have the tools and expertise to replace these components correctly.
Another reason to seek professional help is if the accessibility to the plumbing under your sink is limited or if you are uncomfortable working in tight spaces. A professional can ensure the job is completed safely without risking damage to the sink or the surrounding areas. By consulting a licensed plumber, you can address the problem effectively and prevent any further complications down the line.
Additional Tips
- Use a penetrating lubricant such as WD-40 to loosen stuck nuts or fittings.
- If you are working on an older sink, consider replacing all the plumbing components to prevent future leaks and ensure proper functioning.
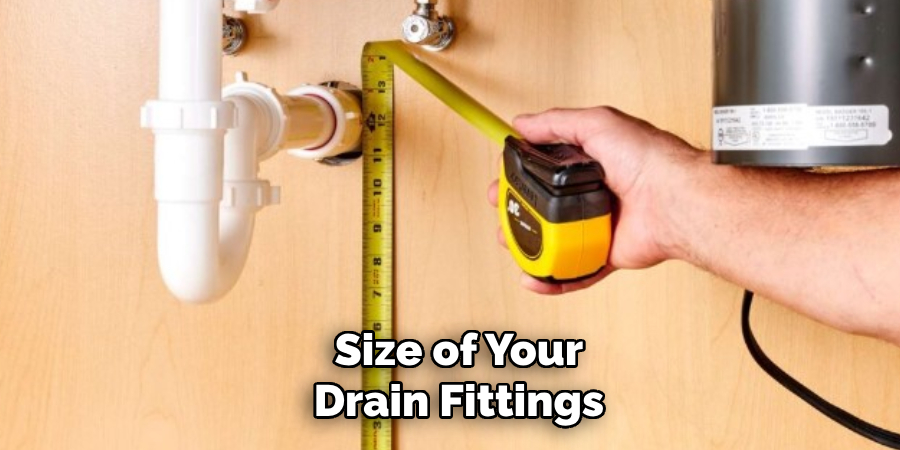
- Take note of the type and size of your drain fittings before starting any repairs. This will help you purchase the correct replacement parts if needed.
- Consider using Teflon tape on pipe threads for additional sealing and protection against leaks.
By following these guidelines on How to tighten a bathroom sink drain fitting, you can confidently tighten a bathroom sink drain fitting without the need for professional assistance. However, if at any point you feel unsure or uncomfortable with the task, do not hesitate to seek professional help. It is always better to address plumbing issues promptly and correctly to avoid costly repairs in the future.
Frequently Asked Questions
Q: How Do I Know if My Bathroom Sink Drain Fitting Needs Tightening?
A: The most common sign of a loose fitting is water leaking from the drain area. You may also notice your sink draining slowly or a foul odor coming from the drain. If you experience any of these issues, it is best to check and tighten the fittings as needed.
Q: Can I Use Teflon Tape Instead of Plumber’s Putty?
A: While Teflon tape can be used in some plumbing applications, it is not suitable for creating a watertight seal around a drain fitting. Plumber’s putty is specifically designed for this purpose and should be used instead.
Q: How Often Should I Check My Bathroom Sink Drain Fittings?
A: It is recommended to check and tighten your sink’s drain fittings at least once every six months or more frequently if you notice any signs of leaks or loosening. Regular maintenance can prevent major issues and save you money in the long run.
Q: Can I Use a Wrench to Tighten Fittings?
A: Yes, an adjustable wrench is a useful tool for tightening drain fittings. However, be careful not to overtighten as this can cause damage to the fittings or pipes. It is best to use gentle pressure and tighten until snug.
Conclusion
Tightening a bathroom sink drain fitting is a straightforward task that can save you time and money in the long run. By following these 8 step-by-step guidelines on How to tighten a bathroom sink drain fitting and performing regular maintenance, you can keep your sink in optimal condition and prevent any potential leaks or damages. Remember to always be gentle when tightening fittings and use the necessary tools and materials for a secure seal.
With proper care, your bathroom sink will continue to function efficiently for years to come. So, make sure to regularly check on it and address any issues as soon as they arise to avoid any major problems in the future. Happy fixing!

