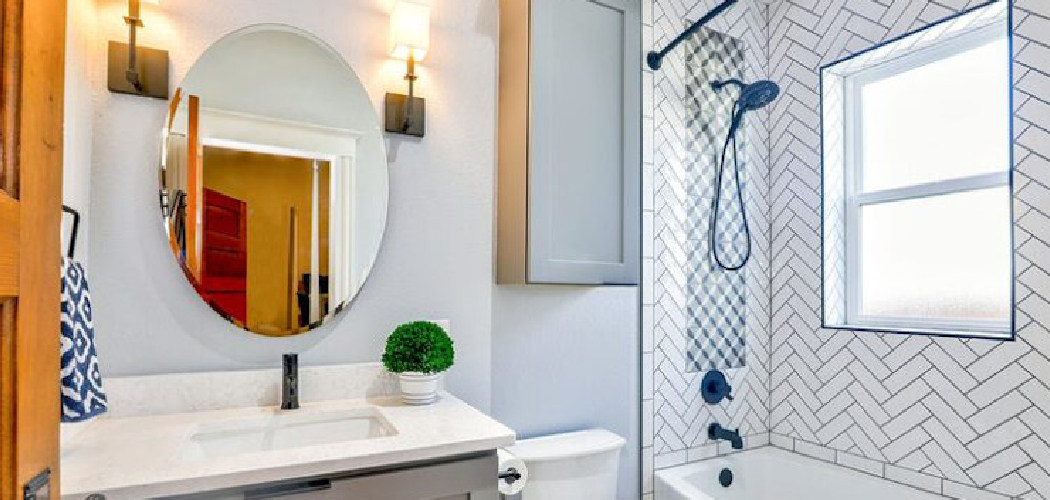
Replacing bathroom tiles can seem like a challenging task, especially if you’re trying to remove damaged tiles without affecting the surrounding ones. However, with the right tools, techniques, and a bit of patience, you can efficiently replace individual tiles while preserving the rest of your bathroom’s look. This guide will walk you through the step-by-step process of how to replace bathroom tiles without damaging others, ensuring a smooth and damage-free replacement.
The Importance of Careful Tile Removal
Careful tile removal is crucial to maintaining the integrity of the surrounding tiles and avoiding unnecessary damage. If excessive force is applied or the wrong tools are used, neighboring tiles may crack or shift, leading to additional repairs and increased costs. Precision and control during the removal process help preserve the grout lines and existing adhesive, which can simplify the reinstallation of a new tile.
Taking the time to remove tiles carefully ensures a professional-looking result and maintains the overall design and functionality of your bathroom.
Why Replace Individual Bathroom Tiles
Replacing individual bathroom tiles is an effective solution for addressing localized damage without undertaking a complete renovation. Cracked, chipped, or stained tiles can diminish the aesthetic appeal of your bathroom and potentially lead to water infiltration, which may cause structural damage over time. By replacing only the affected tiles,
you can restore the appearance and functionality of your bathroom while saving time and money compared to replacing the entire flooring or wall tiling. This approach also helps maintain the original design, allowing you to preserve tiles that are still in good condition and prevent unnecessary waste.
10 Methods How to Replace Bathroom Tiles without Damaging Others
1. Assess the Situation and Plan Your Approach
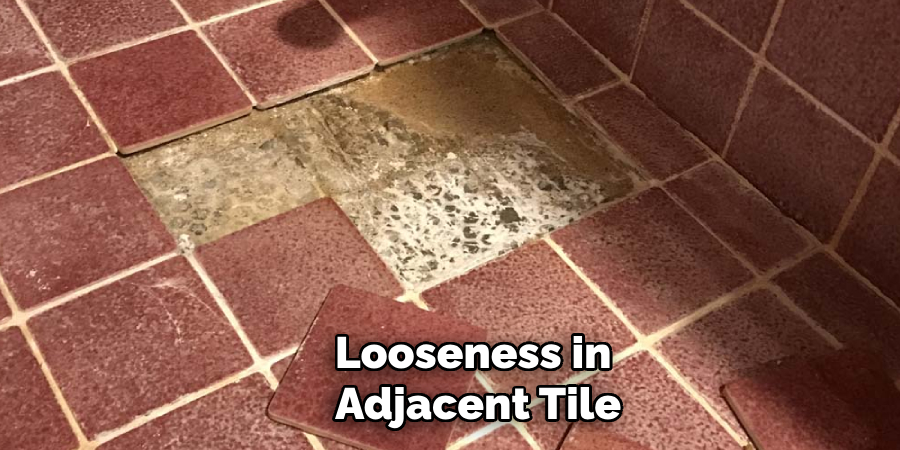
Begin by carefully examining the damaged tile and its surroundings. Determine whether the tile is set into mortar, adhesive, or thinset, as this will influence your approach. Check for signs of looseness in adjacent tiles, which could complicate the process. Before proceeding, gather information about the type, size, and pattern of the tile, ensuring you have a replacement that matches perfectly.
By assessing the situation thoroughly, you minimize the risk of errors and damage during the replacement process.
2. Protect the Surrounding Tiles
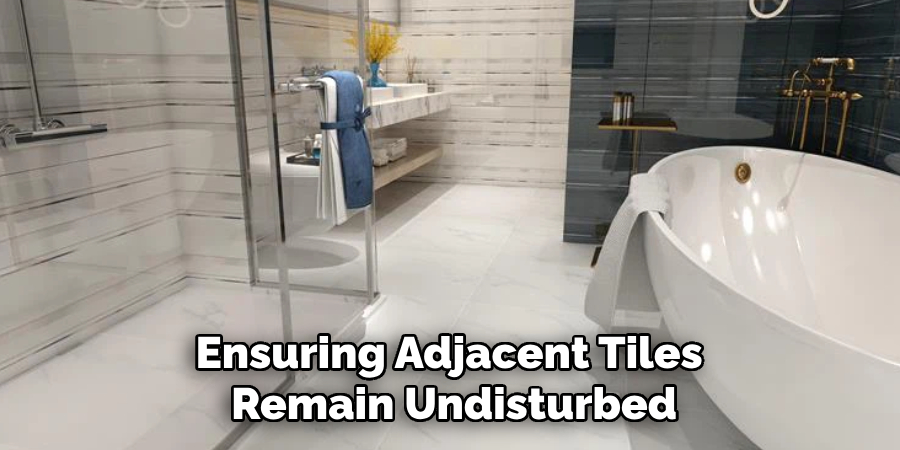
Protecting the adjacent tiles is crucial to ensure they remain undamaged. Apply painter’s tape around the edges of the surrounding tiles to shield them from accidental scratches or chipping during the process. Additionally, consider covering the area with a drop cloth or tarp to catch falling debris. This precaution not only safeguards the tiles but also makes cleanup easier.
3. Gather the Right Tools and Materials
Having the correct tools and materials on hand ensures a smooth and efficient process. Essential tools include a grout saw, utility knife, chisel, hammer, tile adhesive, notched trowel, rubber grout float, and a replacement tile. For grout removal, consider using an oscillating multi-tool with a grout removal blade for precision. If possible, opt for tools with rubberized grips to maintain control and reduce the risk of slippage.
4. Remove the Grout Around the Damaged Tile
Start by removing the grout around the damaged tile, as grout acts as a barrier between tiles. Use a grout saw or an oscillating tool to carefully cut through the grout lines. Work slowly and deliberately to avoid exerting pressure on adjacent tiles, which could lead to cracks or dislodgment. Remove all grout completely to create a clear separation between the damaged tile and its neighbors.
5. Break the Tile into Manageable Pieces
To remove the damaged tile, it is often easier to break it into smaller, more manageable pieces. Place a cloth or towel over the tile to prevent shards from flying during the process. Using a hammer and chisel, gently tap in the center of the tile to create cracks. Gradually work outward, avoiding excessive force that could disturb the adhesive bond of surrounding tiles. This controlled approach reduces the risk of damage to the surrounding area.
6. Extract the Tile Pieces Gently
Once the tile is broken into smaller pieces, use a chisel or flathead screwdriver to carefully lift them out. Insert the tool at a shallow angle under each piece, applying gentle pressure to separate it from the adhesive or mortar. Work slowly around the perimeter of the tile, ensuring adjacent tiles remain undisturbed. For particularly stubborn pieces, use a rubber mallet to apply light taps for added leverage.
7. Clean the Substrate Thoroughly
After removing the tile, the substrate must be cleaned to ensure a smooth surface for the replacement tile. Use a scraper or putty knife to remove old adhesive, mortar, or any residue. Vacuum or wipe away debris to prevent uneven installation. If the substrate is damaged, consider applying a thin layer of leveling compound to create a uniform surface. A clean and level base is essential for achieving a professional finish.
8. Dry-Fit the Replacement Tile
Before applying adhesive, perform a dry fit by placing the replacement tile into the cleaned area. Check for proper alignment with the grout lines and ensure it sits flush with the surrounding tiles. Trim the replacement tile if necessary using a tile cutter or wet saw. This step ensures that the tile fits perfectly, eliminating the need for adjustments once adhesive is applied.
9. Apply Adhesive and Set the Replacement Tile
Spread a thin, even layer of tile adhesive onto the substrate using a notched trowel. Be careful not to apply too much adhesive, as excess can seep into the grout lines and affect the surrounding tiles. Position the replacement tile into place, pressing it gently but firmly to ensure good contact with the adhesive. Use a level to confirm that the tile is aligned and sits evenly with its neighbors. Allow the adhesive to cure for the time specified by the manufacturer before proceeding.
10. Grout and Seal the Tile
Once the adhesive has cured, it’s time to grout the replacement tile. Mix the grout according to the manufacturer’s instructions and use a rubber grout float to apply it into the gaps around the tile. Push the grout firmly into the spaces, ensuring there are no air pockets. Wipe away excess grout with a damp sponge, taking care not to disturb the grout lines of the surrounding tiles.
After the grout has dried, apply a grout sealer to protect against moisture and stains. Finish by buffing the entire area with a soft cloth to remove any remaining residue and restore the shine.
Things to Consider When Replacing a Tile
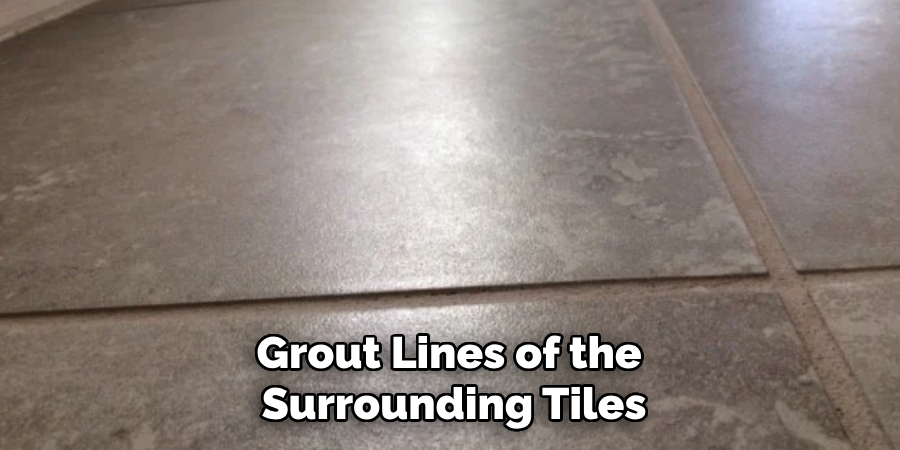
Before embarking on a tile replacement project, it’s important to assess a few key factors to ensure a successful outcome. First, identify the exact type and style of the tile you need to replace. Matching the material, size, and finish with the existing tiles is crucial to maintain a cohesive appearance. Always purchase a few extra tiles during the initial installation for future replacements, if possible.
Second, evaluate the condition of the surrounding tiles. Inspect for any signs of damage or looseness that may indicate underlying structural issues. Address these problems before replacing the tile to avoid repeated repairs.
Lastly, consider the timing and environmental conditions. Replacing tiles in extremely humid or cold environments may impact the adhesive’s curing process. Plan the project during moderate weather conditions and allow ample drying time for lasting results.
Common Mistakes to Avoid
When replacing a tile, there are several common mistakes that can compromise the quality of the work and lead to additional repairs. Avoiding these pitfalls will help ensure a successful and long-lasting result.
Skipping Proper Preparation
Skipping steps like cleaning the substrate, removing all adhesive, or checking for a level surface can compromise the installation. Always complete the preparatory steps thoroughly to provide a solid foundation for the replacement tile.
Using the Wrong Tools or Materials
Using tools not designed for tile work, such as an inappropriate adhesive or grout, can result in poor adhesion and mismatched aesthetics. Be sure to use high-quality materials and the correct tools for the job.
Applying Too Much Adhesive
Overapplying adhesive can lead to a messy installation, with excess seeping into the grout lines and creating an uneven surface. Spread adhesive evenly and use a notched trowel to avoid this issue.
Rushing the Removal Process
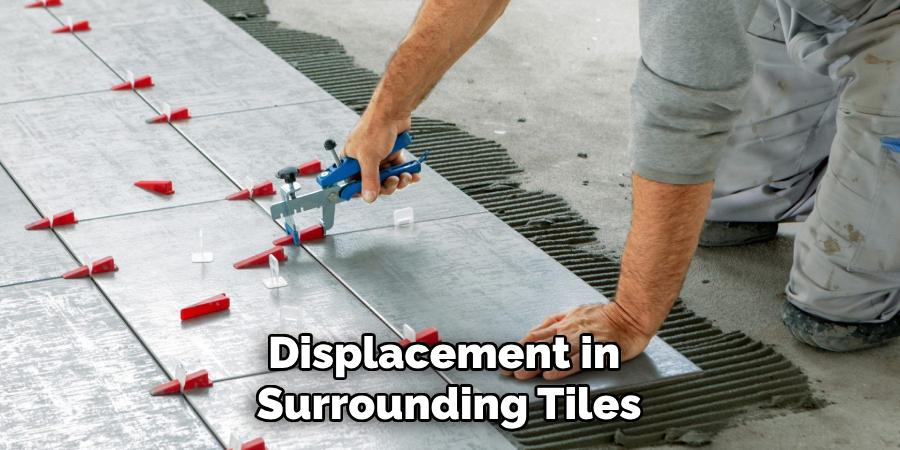
Removing a damaged tile hastily can cause cracks or displacement in surrounding tiles. Work patiently and methodically, especially when using hammers or chisels, to protect neighboring tiles.
Neglecting Alignment
Failure to dry-fit or align the replacement tile properly with existing grout lines can result in a noticeable mismatch. Always check the fit and use a level to confirm precise placement.
Conclusion
Replacing a bathroom tile without damaging the surrounding ones is a task that demands meticulous care and attention to detail. By following these ten elaborated methods on how to replace bathroom tiles without damaging others, you can successfully replace a single tile or small section while preserving the integrity of the entire surface. With the right tools, techniques, and a patient approach, you’ll achieve a seamless and professional result, extending the life and beauty of your bathroom tiles.

