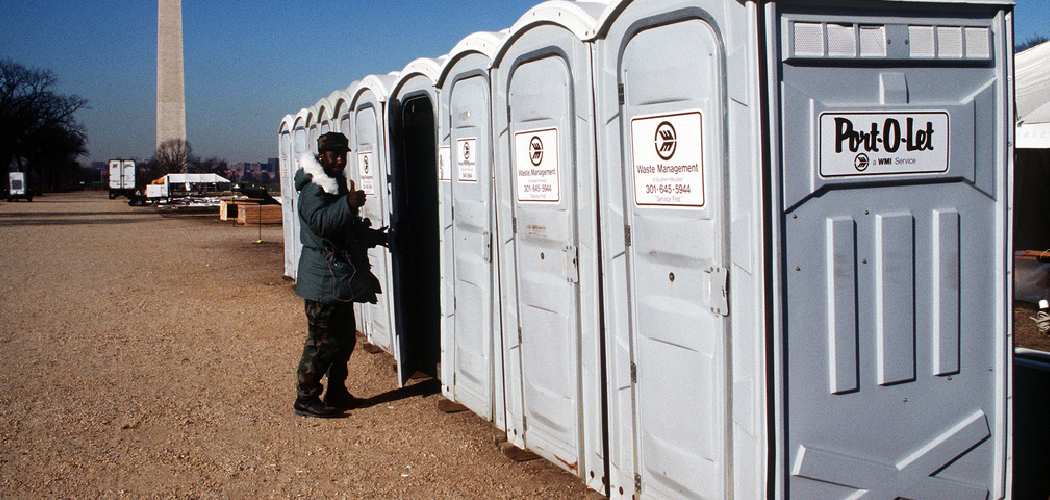
Are you planning an outdoor event? Then, consider having a portable toilet for your guests’ convenience.
Setting up a portable toilet for outdoor events is essential to ensure convenience and hygiene for all attendees. Whether you are organizing a music festival, a family gathering, or any outdoor occasion, knowing how to correctly assemble a portable toilet can make a significant difference in maintaining cleanliness and comfort. Having a portable toilet can also help reduce long lines and wait times for bathroom use, making it a practical addition to any outdoor event.
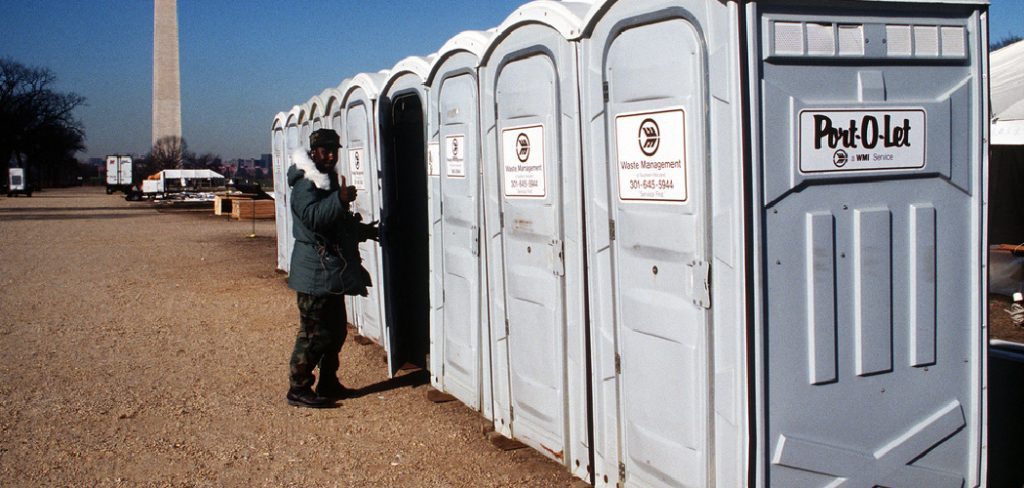
This guide will walk you through the straightforward steps needed on how to assemble a portable toilet for outdoor events , so you can focus on making your event a success.
What are the Benefits of Having a Portable Toilet at Outdoor Events?
Before we dive into the steps of assembling a portable toilet, let’s first discuss some of the benefits of having one at your outdoor event.
- Convenience: One of the main advantages of having a portable toilet is its convenience. With a designated bathroom area readily available, guests do not have to worry about finding restrooms or waiting in long lines, allowing them to enjoy the event without interruptions.
- Hygiene: A portable toilet provides a clean and sanitary option for attendees, ensuring their health and well-being are taken care of. Most portable toilets come equipped with hand sanitizers and waste disposal bags, making it easier for guests to maintain proper hygiene.
- Accessibility: A portable toilet is an excellent solution for outdoor events held in remote locations or areas without access to regular restrooms. It provides bathroom facilities for guests who may have difficulty accessing traditional bathrooms due to mobility issues.
- Eco-friendly: Portable toilets are designed to be environmentally friendly, using less water and electricity compared to traditional restrooms. This makes them a sustainable option for any outdoor event.
What Will You Need?
Now that we have discussed the benefits of having a portable toilet at your outdoor event let’s review the materials you will need to assemble one. These include:
- Portable Toilet Kit: This kit typically includes a seat and lid, waste tank, water tank, and toilet paper holder.
- Water: Depending on your portable toilet type, you may need to fill the water tank before use.
- Hand Sanitizer: To maintain proper hygiene standards, it is recommended that hand sanitizer be readily available in or near the portable toilet area.
- Waste Disposal Bags: These bags are used to dispose of waste from the portable toilet. They should be easily accessible for guests to use.
- Gloves: It is always a good idea to have gloves when handling waste or cleaning materials.
10 Easy Steps on How to Assemble a Portable Toilet for Outdoor Events
Step 1. Choose a Suitable Location:
Selecting the right location for your portable toilet is crucial for convenience and hygiene. Look for a flat, stable surface that ensures the toilet won’t tip or shift during use. The area should be accessible to guests yet far enough from food preparation or dining spaces to maintain cleanliness and minimize odors. Consider the direction of the wind and place the toilet in a way that prevents unpleasant smells from drifting toward the main event area.
Additionally, ensure that the location is shaded if possible, as this can help keep the toilet area more fabulous and comfortable during hot weather. Finally, verify that the spot complies with local guidelines or restrictions regarding portable toilet placement.
Step 2. Set Up the Base/Foundation:
Begin by unpacking all the components of the portable toilet and locating the base or foundation. Position the base on the pre-selected flat surface, ensuring it’s stable and level. This foundation will support the entire structure, so it must be properly aligned to avoid tilting or instability. Some portable toilets may include anchoring points or stakes to secure the base further, mainly if the event is windy or uneven outdoors.
Double-check the stability before proceeding to the next step to ensure a smooth assembly process.
Step 3. Assemble the Main Structure:
Once the base is secured, start assembling the main structure of the portable toilet. Attach the walls or panels to the base one at a time, ensuring they are correctly aligned and securely fastened. Most models will have labeled panels or clear instructions for assembly to help with this process. If the portable toilet has a roof, place it on top after the walls are in place, securing it firmly according to the manufacturer’s guidelines.
Confirm that all connections are tight and stable to prevent gaps or unsteady components. Take your time with this step, as the structure’s integrity depends on careful assembly.
Step 4. Install the Interior Components:
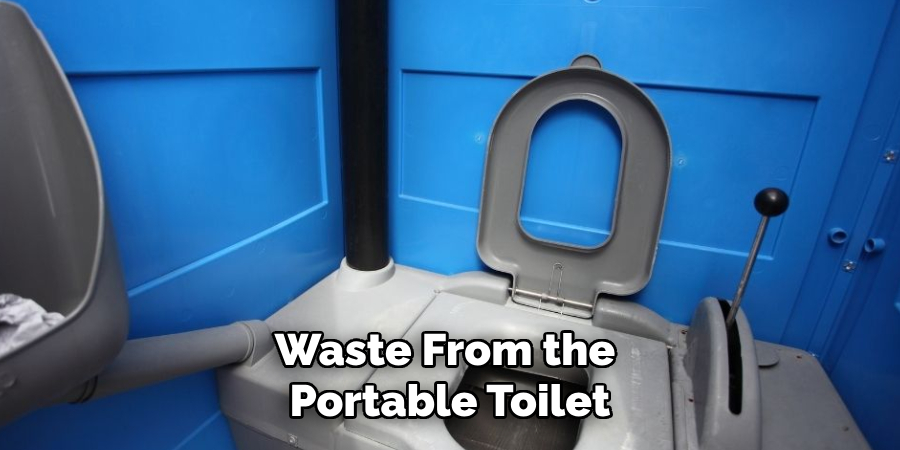
With the main structure assembled, install the interior components such as the toilet seat, waste container, and any additional features like a hand sanitizer dispenser or toilet paper holder. Follow the manufacturer’s instructions to ensure these elements are securely fitted and properly aligned. Check that the waste container is installed correctly to prevent leaks or odors. If the unit includes ventilation or other specialized systems, ensure they are set up and functioning as intended. This step completes the core functionality of the portable toilet.
Step 5. Perform a Final Inspection and Testing:
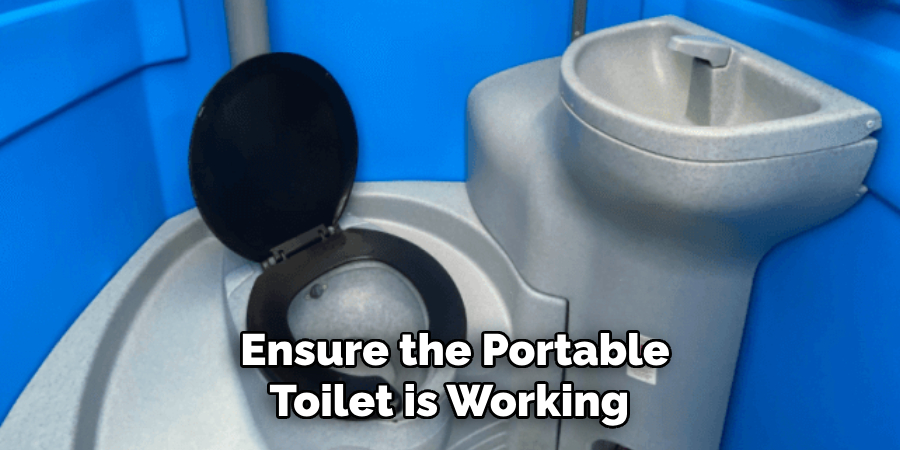
Once all components are installed, thoroughly inspect the portable toilet to ensure everything is assembled correctly and securely. Check for any loose screws, gaps, or misaligned parts. Test the bathroom’s functionality, including the waste container mechanism, ventilation system, and any additional features like the hand sanitizer dispenser.
Address any issues promptly to avoid problems during use. A final inspection ensures the unit is safe, hygienic, and ready for deployment.
Step 6. Provide Maintenance and User Guidelines:
Provide precise maintenance and user guidelines to ensure the portable toilet remains functional and hygienic over time. Include instructions for cleaning the waste container, replacing sanitation supplies, and maintaining ventilation or specialized systems. Advise users on proper usage to prevent damage and promote cleanliness. Regularly scheduled maintenance checks are also recommended to keep the unit in prime condition.
Clear guidelines will enhance the longevity and user experience of the portable toilet.
Step 7. Schedule Regular Waste Disposal Services:
Arrange for regular waste disposal services to maintain hygiene standards and ensure the portable toilet remains operational. Depending on usage, coordinate with a licensed waste management provider to empty and sanitize the container. Ensure that disposal adheres to local environmental regulations and guidelines. Frequent waste removal prevents unpleasant odors and reduces the risk of overflows and contamination.
Document the service schedule to ensure accountability and consistency in waste management practices.
Step 8. Stock Essential Supplies:
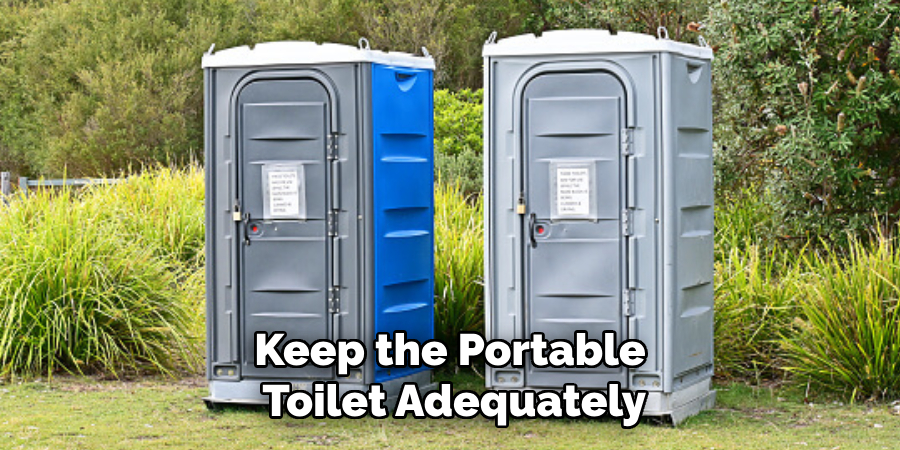
Keep the portable toilet adequately stocked with essential supplies such as toilet paper, hand sanitizer, and any necessary cleaning agents. Regularly monitor supply levels to ensure they are replenished before they run out, especially during periods of heavy usage. Providing these basics enhances user comfort and hygiene and minimizes the risk of misuse or unsanitary conditions. Well-stocked supplies contribute significantly to a positive user experience.
Step 9. Perform Routine Maintenance Checks:
Regular maintenance checks are conducted to ensure the portable toilet is working properly. Inspect for any damages, such as cracks, leaks, or malfunctioning parts, and address them promptly to prevent further issues. Check that all doors, locks, and ventilation systems are functioning correctly. Routine inspections help maintain the toilet’s durability and reliability, ensuring it remains safe and accessible.
Document any maintenance performed to preserve a record of upkeep and adherence to quality standards.
Step 10. Ensure Proper Waste Disposal:
Proper waste disposal is a critical aspect of maintaining portable toilets. Regularly empty waste tanks following local regulations and guidelines to prevent overflow and unpleasant odors. Use appropriate equipment and dispose of the waste at designated treatment facilities to ensure environmental safety. Cleaning and sanitizing the waste tank after each emptying cycle is essential to maintaining hygiene and extending the life of the portable toilet.
Consistently adhering to best practices for waste disposal demonstrates a commitment to safety and responsible management.
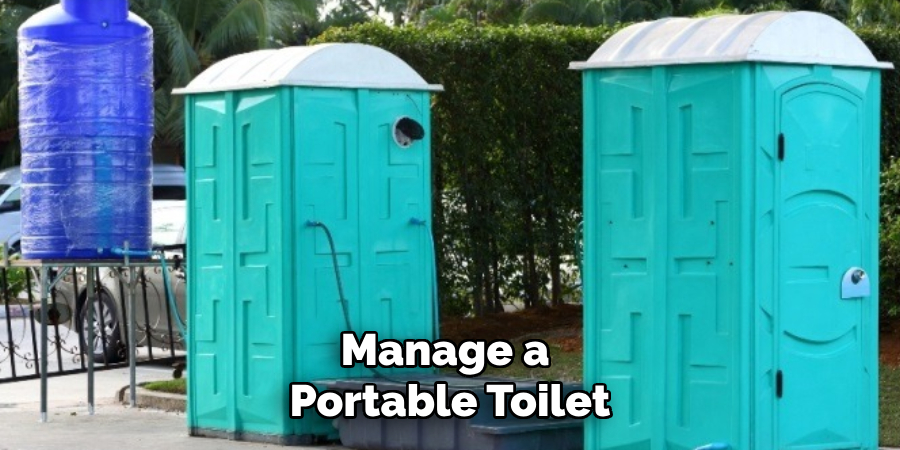
By following these steps, you can successfully assemble, maintain, and manage a portable toilet.
5 Things You Should Avoid
- Skipping the Instruction Manual: Never assume you know how to set up a portable toilet without consulting the provided instruction manual. Each model may have unique components or assembly steps crucial for proper functionality.
- Ignoring Stability and Ground Preparation: Avoid setting up the toilet on uneven or unstable ground. This can lead to tipping over or malfunctioning during use. Always ensure the surface is level and secure before beginning assembly.
- Failing to Secure the Waste Tank Properly: Neglecting to attach and seal the waste tank securely can result in leaks or unpleasant odors. Double-check that all connections are tight and the tank is correctly aligned.
- Rushing Through Assembly: Composing the toilet without following the proper sequence can cause missing or misplaced components. Take your time to ensure all parts are correctly installed and functional.
- Overlooking Ventilation Setup: Forgetting to set up the ventilation system or airflow components can lead to poor odor control. Ensure the vents are aligned correctly to maintain users’ comfort and prevent unpleasant smells.
Conclusion
How to assemble a portable toilet for outdoor events requires attention to detail, proper preparation, and adherence to manufacturer instructions.
You can ensure a smooth assembly process by avoiding common mistakes such as neglecting stability, improper waste tank setup, or overlooking ventilation. Following each step carefully guarantees functionality and enhances user comfort and hygiene during the event.
Proper assembly ensures that your portable toilet will serve its purpose reliably, creating a pleasant experience for all attendees.

