When replacing or installing a bathroom sink drain, determining the correct size is crucial to ensure a proper fit and prevent leaks. Bathroom sink drains come in various sizes, and knowing how to measure correctly can save time and effort during the installation process. This guide will walk you through how to measure bathroom sink drain size, helping you choose the right components for a seamless setup.
Common Reasons to Measure the Drain Size
Measuring the bathroom sink drain size is often necessary for several reasons. One common reason is replacing an old or damaged drain. Over time, drains can corrode, develop leaks, or become clogged beyond repair, requiring a suitable replacement. Additionally, if you are upgrading your bathroom sink or faucet, ensuring the drain size matches the new sink’s specifications is essential to avoid compatibility issues.
Another reason might be installing a pop-up drain or other specialized drainage system, which requires precise measurements to function correctly. Ultimately, measuring the drain size helps ensure a proper fit, prevents plumbing problems, and promotes an efficient drainage system.
Tools and Materials Needed
Before measuring your bathroom sink drain size, gather the necessary tools and materials to make the process easier and more accurate. Here is a list of items you may need:
- Measuring Tape or Ruler – To measure the diameter of the drain opening and other components.
- Calipers (Optional) – For more precise measurements, especially if the drain has irregular shapes.
- Notepad and Pen – To record your measurements for future reference.
- Flashlight – Useful for better visibility when measuring under the sink or in dimly lit areas.
- Plumber’s Putty or Silicone Sealant (Optional) – Handy for sealing and securing the drain once the correct size is determined.
- Protective Gloves – To keep your hands clean and safe while working around plumbing components.
Having these tools and materials on hand will ensure you can measure the drain size efficiently and prepare for any necessary adjustments or replacements.
10 Methods How to Measure Bathroom Sink Drain Size
1. Understand the Standard Drain Sizes
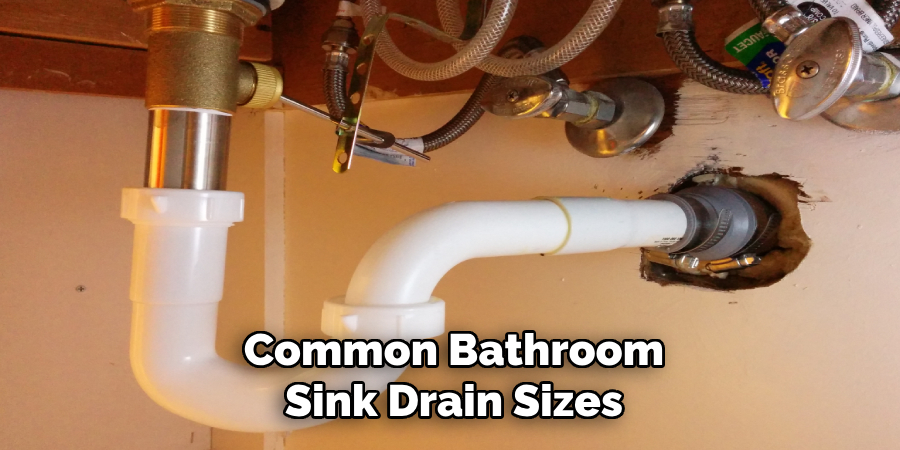
Before measuring, familiarize yourself with common bathroom sink drain sizes. Most sinks use a 1.25-inch, 1.5-inch, or 1.625-inch diameter drain opening. Knowing these standards can help you identify the likely size of your drain and guide your measurement process. Compare these measurements with your sink for a preliminary estimate.
2. Gather the Necessary Tools
To measure your sink drain accurately, you’ll need specific tools: a tape measure, a caliper (for precise readings), and possibly a straight edge. Having these tools on hand ensures you can take exact measurements without guesswork, which is crucial for tasks like selecting a new drain assembly.
3. Measure the Drain Opening Diameter
Start by measuring the diameter of the sink’s drain opening. Place a tape measure or caliper across the widest part of the circular drain opening. Record the measurement in inches, ensuring the tool spans the full diameter. This dimension corresponds to the drain’s overall size.
4. Check the Tailpiece Diameter
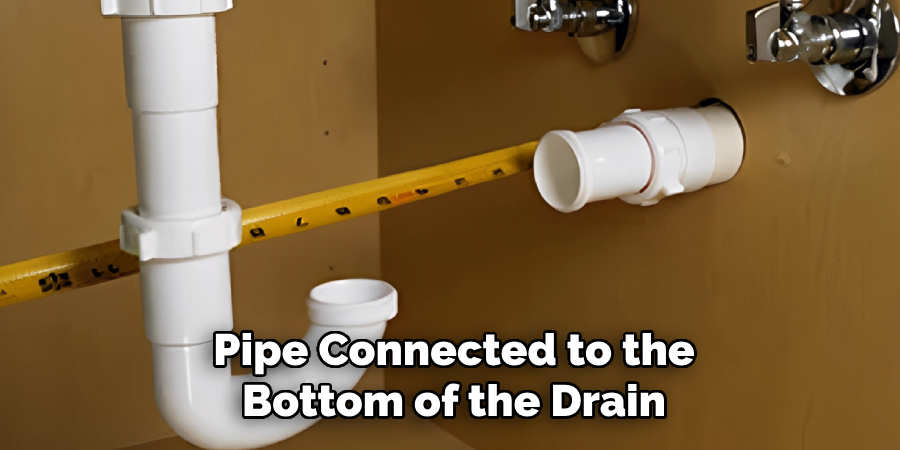
The tailpiece is the vertical pipe connected to the bottom of the drain. To measure its diameter, detach it carefully and use a caliper or tape measure to determine its width. This measurement is critical if you’re replacing the tailpiece or connecting it to an existing pipe system.
5. Inspect the Threaded Sections
Some drains feature threaded connections that attach to the tailpiece or plumbing pipes. Measure the outer diameter of these threaded sections with a caliper. This dimension ensures compatibility with other threaded components, such as nuts or washers, preventing mismatched parts.
6. Determine the Sink’s Thickness
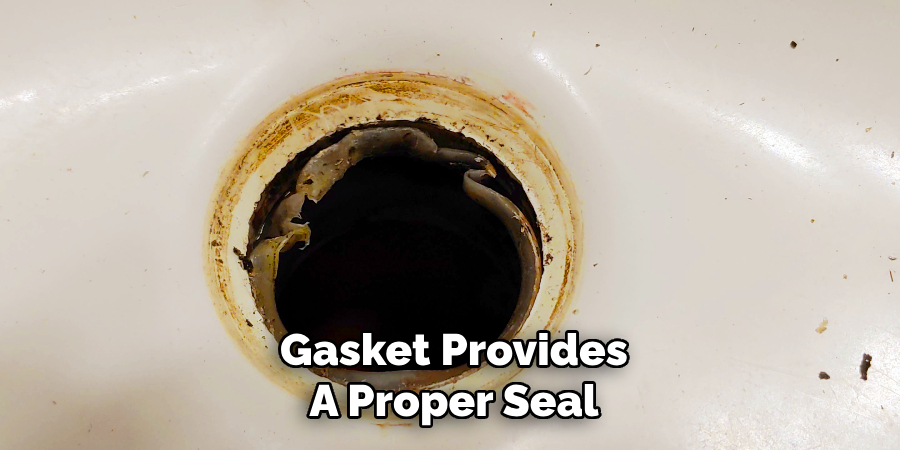
Sink thickness can affect the drain assembly’s fit. Use a straight edge to span the sink’s opening and a tape measure to gauge the distance between the top of the sink and the bottom of the drain opening. Record this thickness to ensure the drain flange or gasket provides a proper seal.
7. Measure the Drain Hole Depth
Depth measurements help determine how deep the drain opening is and ensure the selected drain assembly will fit securely. Insert a ruler or straight edge vertically into the drain opening and measure the depth from the sink’s surface to the bottom of the drain hole.
8. Assess the P-Trap Connection Size
The P-trap is an essential part of the sink’s plumbing, preventing sewer gases from entering your bathroom. Measure the diameter of the pipe where the P-trap connects to the tailpiece. Ensuring compatibility between these components is vital for a secure and functional plumbing system.
9. Account for Flange Dimensions
The drain flange is the visible part of the drain assembly inside the sink bowl. Measure its outer diameter to ensure it covers the drain opening entirely. Additionally, verify that the flange’s width matches the sink’s aesthetic and practical requirements.

10. Use Reference Guides or Manufacturer Specifications
If you’re unsure about your measurements, consult the sink’s installation manual or manufacturer’s specifications. These resources often provide detailed dimensions for the drain opening and compatible components, reducing the risk of errors.
Maintenance and Upkeep
Proper maintenance of your bathroom sink drain ensures its longevity and prevents common issues like clogging, leaks, and corrosion. Here are a few tips to keep your drain in optimal condition:
- Regular Cleaning – Clear debris such as hair, soap scum, and grease from the drain to prevent build-up. Use a drain brush or a mixture of baking soda and vinegar monthly to maintain cleanliness and avoid blockages.
- Avoid Harsh Chemicals – While chemical drain cleaners may quickly dissolve clogs, they can harm your plumbing over time. Opt for natural solutions or use a plumber’s snake for stubborn clogs.
- Inspect for Leaks – Periodically check for leaks around the drain, tailpiece, and P-trap. Tighten loose connections or replace worn components promptly to avoid water damage.
- Clean the Drain Flange – Wipe down the drain flange regularly to prevent discoloration and maintain its appearance. Use a soft cloth and a mild cleaner for this task.
- Check Seals and Gaskets – Over time, seals and gaskets around the drain assembly can wear out. Inspect these components and replace any that are cracked or deteriorated to ensure a watertight seal.
- Flush the Drain – Occasionally flush the drain with hot water to dissolve soap residue and improve water flow. This simple step can reduce the chances of clogs forming over time.
Following these maintenance practices will help keep your bathroom sink drain functioning properly while extending its lifespan. A well-maintained drain also enhances the overall hygiene and efficiency of your bathroom.
Troubleshooting Common Issues
Even with proper maintenance, bathroom sink drains can occasionally experience problems. Here are some common issues and how to address them:
1. Slow Drainage
- Cause: Slow drainage is often caused by clogs from hair, soap scum, or debris buildup in the pipes.
- Solution: Remove the drain stopper and use a drain snake or plunger to clear the blockage. Alternatively, pour a mixture of baking soda and vinegar down the drain, followed by hot water, to dislodge minor clogs.
2. Leaking Drain Assembly
- Cause: A leaking drain assembly may result from worn-out gaskets, loose connections, or improperly applied plumber’s putty.
- Solution: Inspect the assembly, tighten any loose connections, and replace deteriorated gaskets. If necessary, reapply plumber’s putty around the flange to ensure a proper seal.
3. Unpleasant Odors
- Cause: Odors can arise from trapped debris, stagnant water, or a dry P-trap that allows sewer gases to escape.
- Solution: Clean the drain thoroughly using a drain brush or natural cleaning solution. For a dry P-trap, run water through the sink to refill it. Adding a few drops of essential oil can also help neutralize lingering smells.
4. Water Pooling Around the Sink
- Cause: Pooling water may indicate a blockage in the drain or an improperly sealed flange.
- Solution: Clear any clogs within the drain and inspect the flange for leaks. Reseal it with plumber’s putty if necessary for a watertight fit.
5. Corrosion or Rust
- Cause: Corrosion may occur over time due to moisture and exposure to certain cleaning agents.
- Solution: Replace corroded components, such as the drain flange or tailpiece, with durable materials like stainless steel. Regular cleaning and avoiding harsh chemicals can prevent future corrosion.
6. Drain Stopper Malfunction
- Cause: A malfunctioning drain stopper may be caused by misalignment or damage to the mechanism.
- Solution: Disassemble the stopper mechanism, clean all components, and realign or replace damaged parts. Test the stopper to ensure it opens and closes properly.
By addressing these common issues promptly, you can maintain the efficiency of your bathroom sink drain and prevent further complications. If problems persist, consider consulting a professional plumber for expert assistance.
Conclusion
Accurately measuring a bathroom sink drain size is essential for effective installation and maintenance. By following these ten detailed methods, you can ensure proper compatibility with plumbing fixtures and avoid common issues. Thanks for reading our blog post on how to measure bathroom sink drain size! We hope you found it helpful and informative.

