Removing a ceramic toilet paper holder may seem challenging, but with the right tools and guidance, it can be a straightforward task. Whether you’re updating your bathroom decor or replacing a broken holder, knowing the proper steps can save time and effort while preventing damage to your walls.

This guide on how to remove ceramic toilet paper holders will walk you through the process, ensuring a smooth and efficient removal.
Why Remove a Ceramic Toilet Paper Holder?
Before diving into the steps, it’s essential to understand why you might need to remove a ceramic toilet paper holder. Some common reasons include:
- Upgrading or changing the look of your bathroom
- Replacing a broken or damaged holder
- Making repairs to the wall behind the holder
Whatever your reason may be, knowing how to properly remove a ceramic toilet paper holder will come in handy for any future updates or repairs.
Tools You Will Need
To successfully remove a ceramic toilet paper holder, you will need the following tools:
Screwdriver:
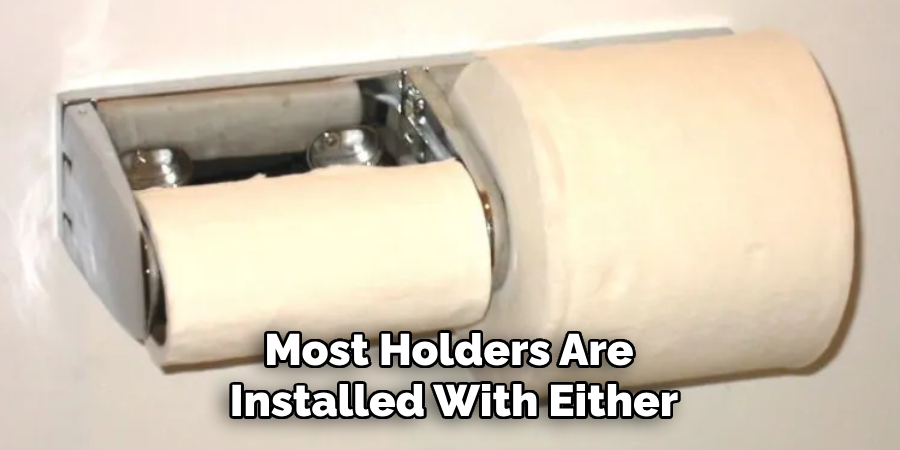
The type of screwdriver you need will depend on the screws used to install the holder. Most holders are installed with either flathead or Phillips head screws, so having both types of screwdrivers handy is recommended.
Putty Knife:
A putty knife can be useful in gently prying the holder away from the wall without causing any damage. Plastic putty knives are ideal for this task as they won’t scratch or chip the ceramic.
Drop Cloth:
To protect your bathroom floor and prevent any mess, it’s a good idea to lay down a drop cloth before starting the removal process.
8 Step-by-step Guides on How to Remove Ceramic Toilet Paper Holders
Step 1: Prepare the Work Area
Begin by preparing the area around the ceramic toilet paper holder to ensure a clean and hassle-free removal process. Lay down a drop cloth or old towel beneath the holder to catch any debris or broken pieces that may fall during the process. Clear the area of any nearby items, such as toiletries or decorations, to prevent accidental damage.
Make sure the work area is well-lit so you can clearly see the holder and its attachment points. Taking time to prepare a safe and organized workspace will make the job much easier.
Step 2: Locate the Attachment Points
Inspect the holder to locate where it is attached to the wall. Most holders are secured with screws or adhesive, and knowing this beforehand will help you determine the best approach for removal.
If you see visible screws, then proceed to step 3. If there are no screws in sight, skip ahead to step 4.
Step 3: Remove Screws
If the ceramic toilet paper holder is secured with screws, use the appropriate screwdriver to carefully loosen and remove them. Ensure you are holding the holder steady while unscrewing to prevent it from falling or causing damage to the wall.
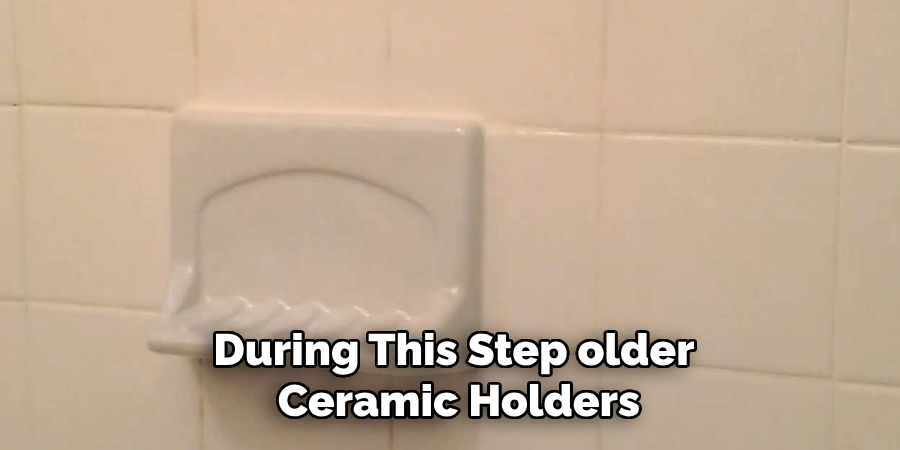
Once the screws are completely removed, gently pull the holder away from the wall. Be cautious during this step—older ceramic holders may be fragile, and too much force could cause them to crack or break. Keep the screws in a safe place if you plan to reuse them later. If the holder is still attached after removing the screws, there may also be adhesive or other securing elements, in which case you can proceed to the next step.
Step 4: Heat Up the Adhesive
If you don’t see any screws, then the holder is most likely attached with adhesive. To loosen the adhesive and make it easier to remove, use a hair dryer on high heat and blow hot air along the edges of the holder. Continue this for several minutes until you can feel the adhesive loosening up.
You can also try using a heat gun or hot water on a cloth if you don’t have a hairdryer. However, be cautious when using these methods as they may cause damage to the ceramic or surrounding area if not used carefully.
Step 5: Pry the Holder Away from the Wall
Once the adhesive is loosened, use a plastic putty knife to gently pry the holder away from the wall. Start at one edge and work your way around until the holder is completely detached. If it feels too difficult to remove, then apply more heat to loosen the adhesive further.
But be careful not to use too much force as this may cause the holder to break or damage the wall.
Step 6: Remove Any Remaining Adhesive
After removing the ceramic holder, you may notice some leftover adhesive on the wall. Use a putty knife to carefully scrape away any excess glue. If there is still residue remaining, you can use rubbing alcohol or adhesive remover and a cloth to clean it off.
Avoid using harsh chemicals or abrasive materials that could cause damage.
Step 7: Repair Any Damage to the Wall
Removing a ceramic toilet paper holder can sometimes reveal holes, scratches, or other damage behind it. If this is the case, you will need to repair the wall before installing a new holder.
Minor holes can be filled with spackling or putty and sanded down once dry. For larger holes, you may need to use a wall patch kit or consult a professional for repairs.
Step 8: Clean Up and Dispose of Old Holder
Once you have removed the ceramic toilet paper holder and completed any necessary repairs, it’s time to clean up the work area. Carefully fold up the drop cloth or towel and dispose of any broken pieces in a safe manner.
If your ceramic holder is still intact, you could consider donating it or repurposing it for another use. Otherwise, properly dispose of it according to your local guidelines on how to remove ceramic toilet paper holders.
Do You Need to Use Professionals?
Deciding whether to hire professionals to remove a ceramic toilet paper holder depends on the complexity of the task and your confidence in handling it yourself. If the holder is firmly secured with strong adhesive and integrated into tiled walls, or if you notice signs of potential wall damage, it might be wise to consult a professional. They have the experience and tools necessary to remove the holder safely while minimizing the risk of damage to the surrounding area.
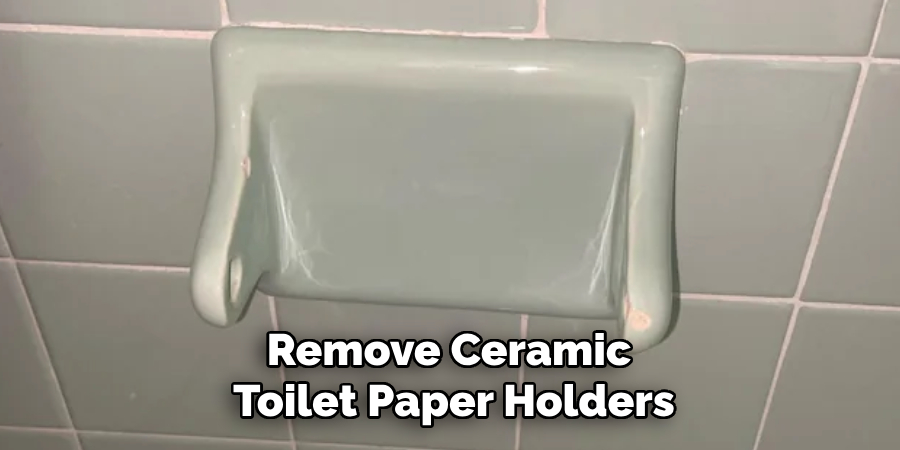
On the other hand, if the holder is attached with screws or the removal process seems straightforward, you can likely manage the task yourself by following the step-by-step guide provided above. Assess your comfort level with DIY projects, and don’t hesitate to seek professional assistance if you’re unsure about how to proceed. Hiring a professional may save time and prevent costly mistakes, especially when dealing with older installations or delicate bathroom materials.
Frequently Asked Questions
Q: Can I Reuse the Same Holder After Removal?
A: Yes, as long as it is still in good condition and you have all the necessary screws and hardware. If the holder was attached to adhesive, you will need to purchase new adhesive strips or use a different method for installation.
Q: Can I Remove a Ceramic Toilet Paper Holder Without Breaking It?
A: While removal can be done without breaking the holder, it is not always guaranteed. Some holders may be more fragile than others, and there is always a risk of damage during the removal process. Proceed with caution and use gentle techniques to minimize this risk.
Q: Do I Need to Turn Off the Water Supply Before Removing a Holder?
A: No, unless your toilet paper holder is directly attached to a plumbing fixture or pipe, turning off the water supply is not necessary for removal. However, if you are unsure or have any concerns about potential water damage, it’s best to err on the side of caution and turn off the water supply before starting.
Q: Can I Install a New Holder in the Same Location?
A: Yes, as long as the wall is still in good condition and any damage has been repaired. Make sure to properly measure and mark the placement of your new holder before installation to ensure it is level and secure.
Q: Is It Possible to Remove a Ceramic Toilet Paper Holder Without Any Tools?
A: While it may be possible with enough heat and gentle prying, having tools such as a screwdriver or putty knife will make the process much easier and less risky for potential damage. It’s recommended to have at least a putty knife and hairdryer or heat gun for this task.
Conclusion
Removing a ceramic toilet paper holder can be a straightforward task with the right tools and techniques. Whether it is secured with screws or adhesive, taking a measured and careful approach will help ensure that the holder is removed without causing unnecessary damage.
Remember to repair any wall damage, clean up the workspace, and dispose of or reuse the holder appropriately. By following these steps on how to remove ceramic toilet paper holders, you’ll have a clean slate to install a new holder or potentially redesign the space entirely.

