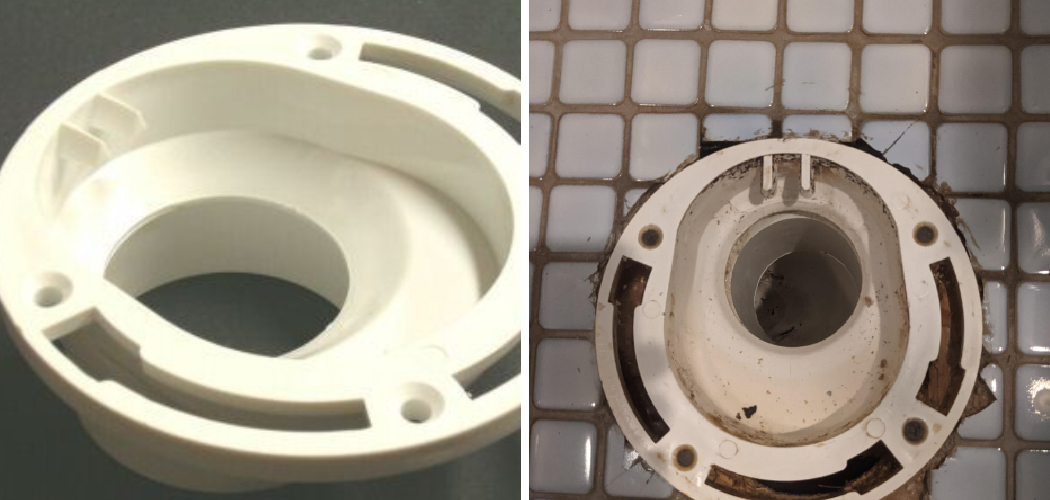
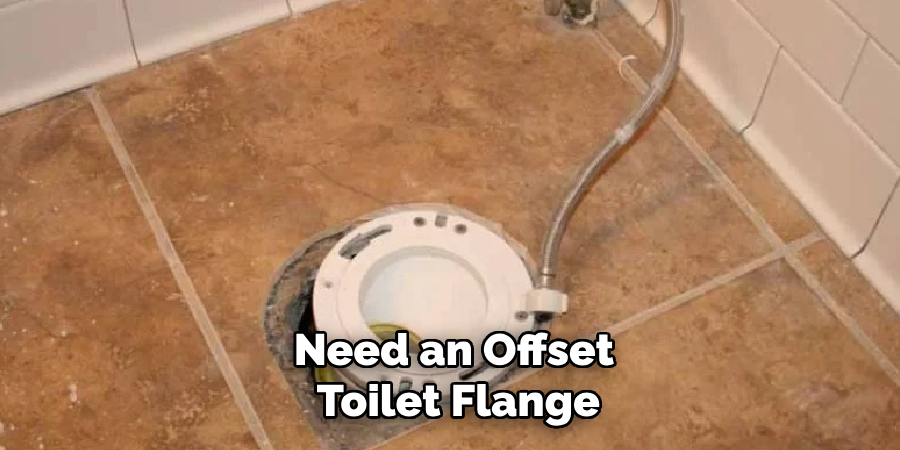
Installing an offset toilet flange can be an essential task when you’re dealing with plumbing challenges, such as aligning a toilet to fit within limited space. This specialized flange allows you to shift the toilet’s position slightly without requiring major renovations to the plumbing system. Whether you are remodeling a bathroom or fixing an older setup, understanding how to properly install an offset toilet flange can save time, reduce frustration, and ensure a secure and functional installation.
In this blog post on how to install an offset toilet flange, we will discuss the necessary tools and materials, step-by-step instructions, and some helpful tips to make the installation process easier.
Tools and Materials
Before starting any project, it is essential to have all the necessary tools and materials on hand. For installing an offset toilet flange, you will need the following:
Tools and Materials (continued)
- An offset toilet flange
- Measuring tape
- Pipe wrench
- Screwdriver (flathead or Phillips, depending on the screws)
- PVC pipe cutter or hacksaw
- Wax ring or rubber seal
- Plumbing adhesive
- Cleaning supplies (rags, bucket, and gloves)
Having these tools and materials ready beforehand ensures a smoother installation process and minimizes unnecessary interruptions.
9 Step-by-step Instructions on How to Install an Offset Toilet Flange
Step 1: Measure the Distance
The first step in installing an offset toilet flange is to measure the distance from the existing drainpipe to the desired location of the toilet. Use a measuring tape to determine how far the flange needs to be shifted to properly position the toilet. Ensure to measure accurately and account for any obstructions, such as walls or fixtures that may affect the placement.
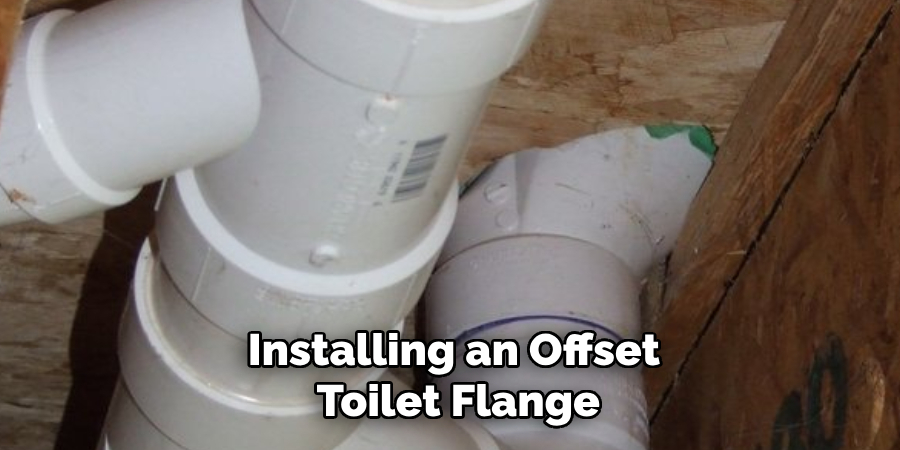
Precise measurements will help you avoid alignment issues and ensure a proper connection between the toilet and the drainpipe. Once the measurements are taken, mark the new location for reference.
Step 2: Prepare the Area
Before installing the offset toilet flange, it is critical to prepare the area around the existing drainpipe. Start by removing the old flange, if present, using a screwdriver or wrench to unscrew and detach it. Clean the drainpipe thoroughly to remove any debris, old wax, or adhesive that might interfere with the new installation. Use cleaning supplies such as rags and gloves for this step to ensure the area is clean and safe to work on.
If the flooring around the old flange is damaged or uneven, take this time to repair or level it. This ensures a secure and stable foundation for the new flange. Proper preparation of the area will help create a tight seal and prevent leaks in the long run.
Step 3: Cut the Drainpipe
To make room for the offset toilet flange, you may need to cut a portion of the existing drain pipe. Use a PVC pipe cutter or a hacksaw to trim the pipe according to your measurements from Step 1. Make sure to cut straight and smooth edges for a proper fit with the new flange.
If using a hacksaw, use caution and wear protective gear, such as gloves and goggles, as metal shavings can be hazardous. Additionally, ensure that you have enough clearance around the area before cutting any pipes.
Step 4: Test Fit the Flange
Before attaching anything permanently, it is crucial to test fit the new offset toilet flange. Place the flange over the cut pipe and rotate it to align with your marked location from Step 1. Check that it fits securely and does not wobble or move around. Additionally, ensure that there is enough clearance between the flange and any nearby fixtures or walls.
The test fit will give you a better idea of how the flange will fit and if any adjustments need to be made before permanently attaching it.
Step 5: Apply Adhesive
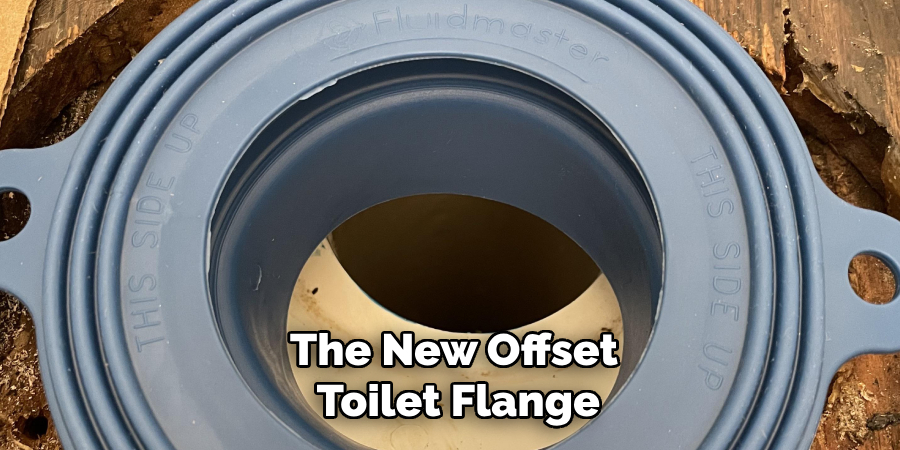
To provide a watertight seal, apply plumbing adhesive around the inner rim of the offset toilet flange. This will help bond and secure the flange onto the drainpipe. Use an adhesive that is compatible with PVC pipes for maximum effectiveness. Carefully read and follow the instructions on the adhesive for best results.
But, be mindful not to over-apply the adhesive as it might seep into the drainpipe and cause blockages.
Step 6: Attach the Flange
Carefully place the offset toilet flange onto the drainpipe and align it with your marked location. Press down firmly to ensure a tight seal between the flange and pipe. Secure the flange in place by screwing it onto the floor using screws provided with the flange or additional ones if needed. Make sure that all screws are tightly fastened for a secure fit.
You can also use a wrench to tighten the flange onto the pipe, ensuring that it does not move or shift.
Step 7: Install the Wax Ring/Rubber Seal
To create a watertight seal between the toilet and the flange, you will need to install a wax ring or rubber seal. Place the wax ring on top of the offset toilet flange, making sure it fits snugly around the opening. If using a rubber seal, make sure it is centered over the flange’s opening and press down to secure it in place.
It is essential to use a new wax ring or rubber seal for each toilet installation to prevent leaks.
Step 8: Install the Toilet
With the offset toilet flange in place and your wax ring/rubber seal installed, you can now proceed with installing the toilet. Carefully position the toilet over the flange and align it with the bolts on the floor. Gently push down on the toilet to secure it onto the wax ring/rubber seal and create a tight seal.
Once aligned correctly, fasten the toilet onto the floor using bolts provided with your toilet or additional ones if needed. Make sure all bolts are tightly secured, but avoid over-tightening them as they may crack or damage the toilet.
Step 9: Test for Leaks
After completing all installation steps, it is essential to test for leaks before using the toilet. Turn on the water supply and allow the tank to fill. Check for any water seeping out from the base of the toilet or around the flange. If there are no leaks, congratulations, you have successfully installed a new offset toilet flange!

However, if there are any leaks, turn off the water supply and check for any loose connections or improper seals. Make necessary adjustments and test again until there are no leaks present.
Following these steps on how to install an offset toilet flange will help ensure a successful and secure installation of an offset toilet flange, providing a stable and reliable connection between your toilet and drainpipe. Remember to always follow safety precautions and read instructions carefully when working with plumbing materials. Happy DIY-ing!
Frequently Asked Questions
Q1: Why Do I Need an Offset Toilet Flange?
A: An offset toilet flange is necessary when the existing drainpipe is not in the ideal location for installing a toilet, such as when the pipe is too close to a wall or in an awkward position. The offset flange allows for proper alignment between the drainpipe and toilet, ensuring a secure and stable installation.
Q2: Can I Install an Offset Toilet Flange Myself?
A: Yes, installing an offset toilet flange can be done as a DIY project. However, it is essential to have some plumbing knowledge and skills before attempting this installation. If you are unsure, it is best to hire a professional plumber to ensure the job is done correctly and safely.
Q3: How Do I Know if I Need an Offset Toilet Flange?
A: If you are installing a toilet in a new location or replacing an old one and notice that the drainpipe is not in the ideal position, you will likely need an offset toilet flange. Additionally, if your current flange is damaged or cracked, it may be necessary to replace it with an offset flange for a secure connection.
Q4: Can I Use Any Type of Adhesive for Installing the Flange?
A: No, it is essential to use an adhesive that is compatible with PVC pipes to install an offset toilet flange. Using the wrong type of adhesive can result in a weak bond and cause leaks. It is best to carefully read and follow the instructions on the adhesive before using it.
Conclusion
Installing an offset toilet flange may seem like a daunting task, but with careful planning and attention to detail, it can be completed successfully. By following each step on how to install an offset toilet flange methodically—from measuring and preparing the area to testing for leaks—you can ensure a secure and leak-free installation. Taking the time to correctly install the flange not only guarantees proper toilet function but also prevents costly water damage or repairs down the line.
Whether you’re addressing a misaligned drainpipe or creating additional space in your bathroom, an offset toilet flange offers a practical and efficient solution. With the right tools and patience, this project is well within reach for any DIY enthusiast.

